
Generate Daily Attendance Report and Email Daily Attendance Email
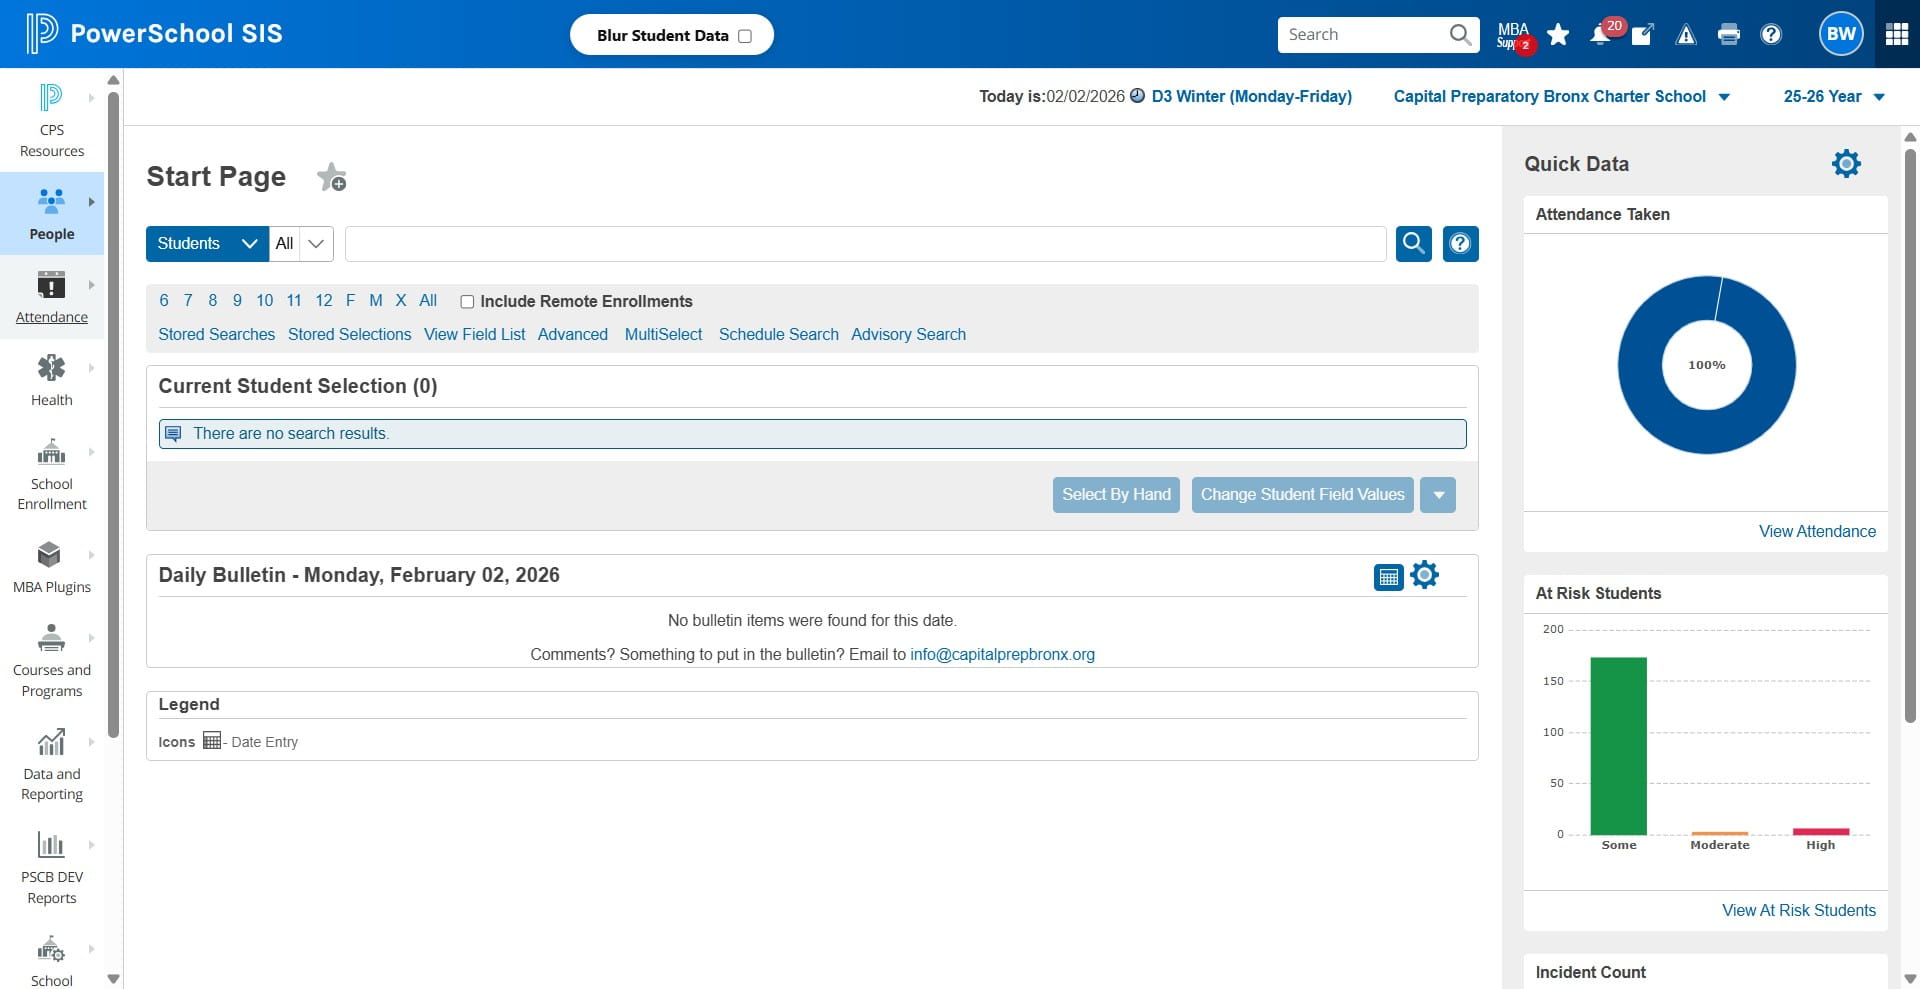
Click on "PowerSchool SIS"
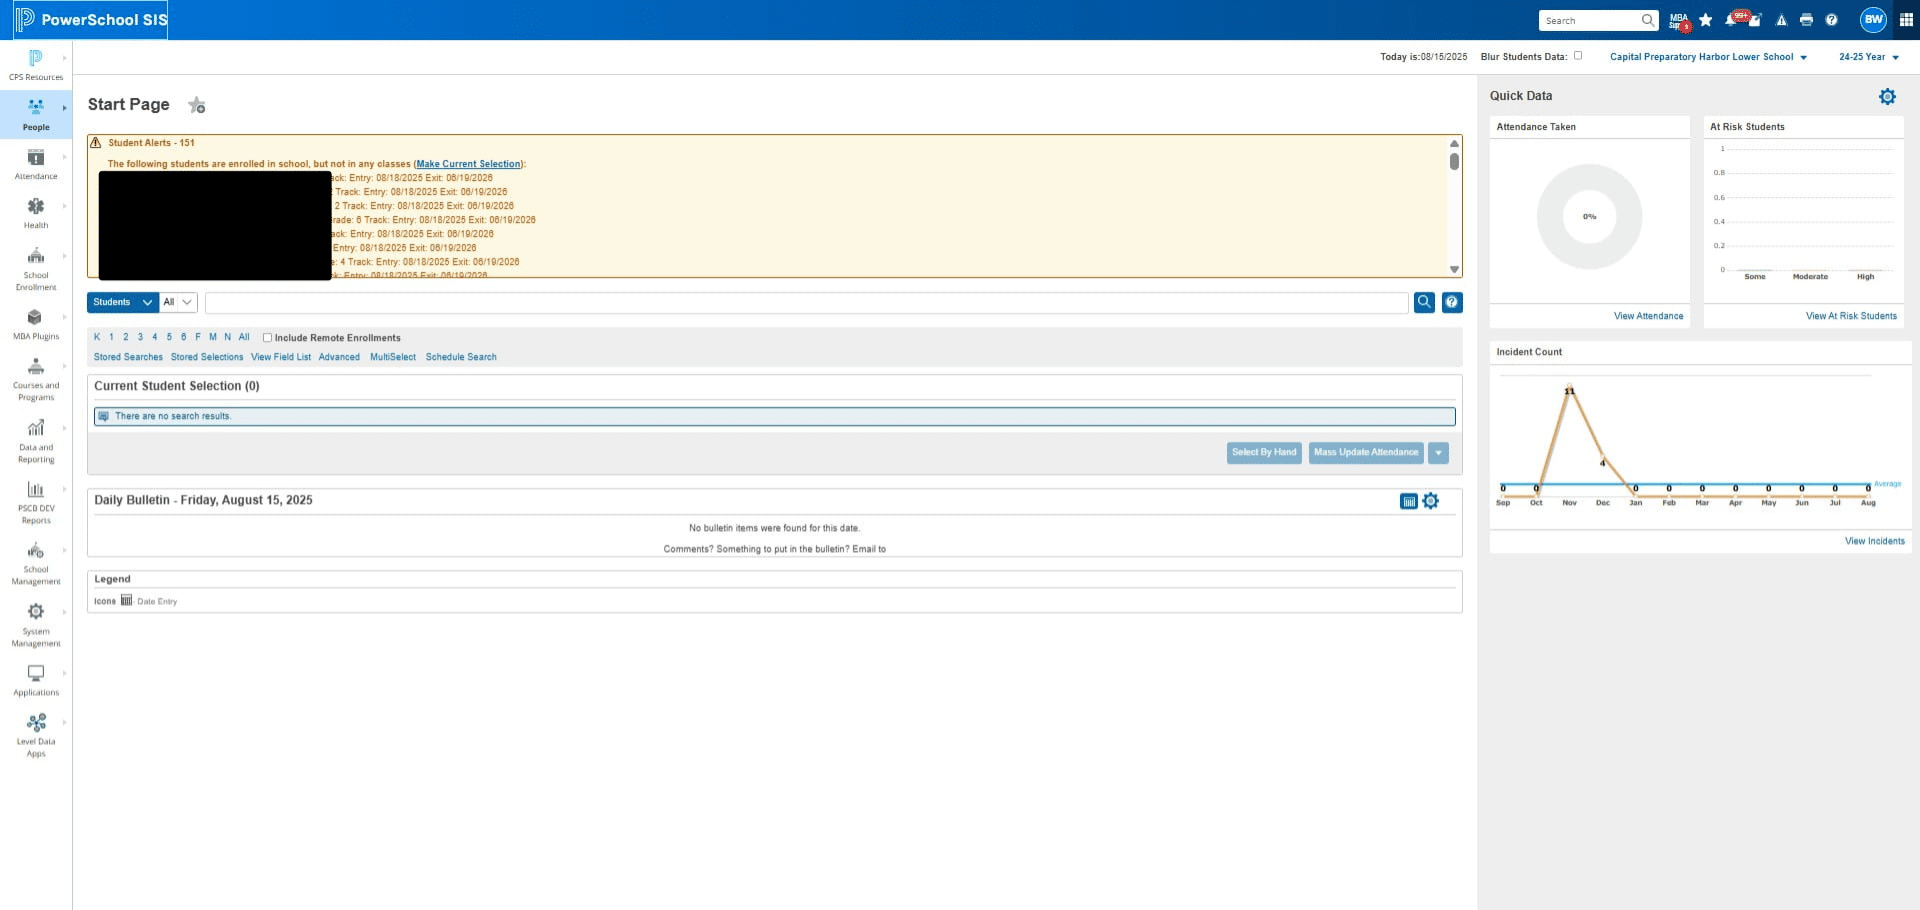
Click on "View Attendance"
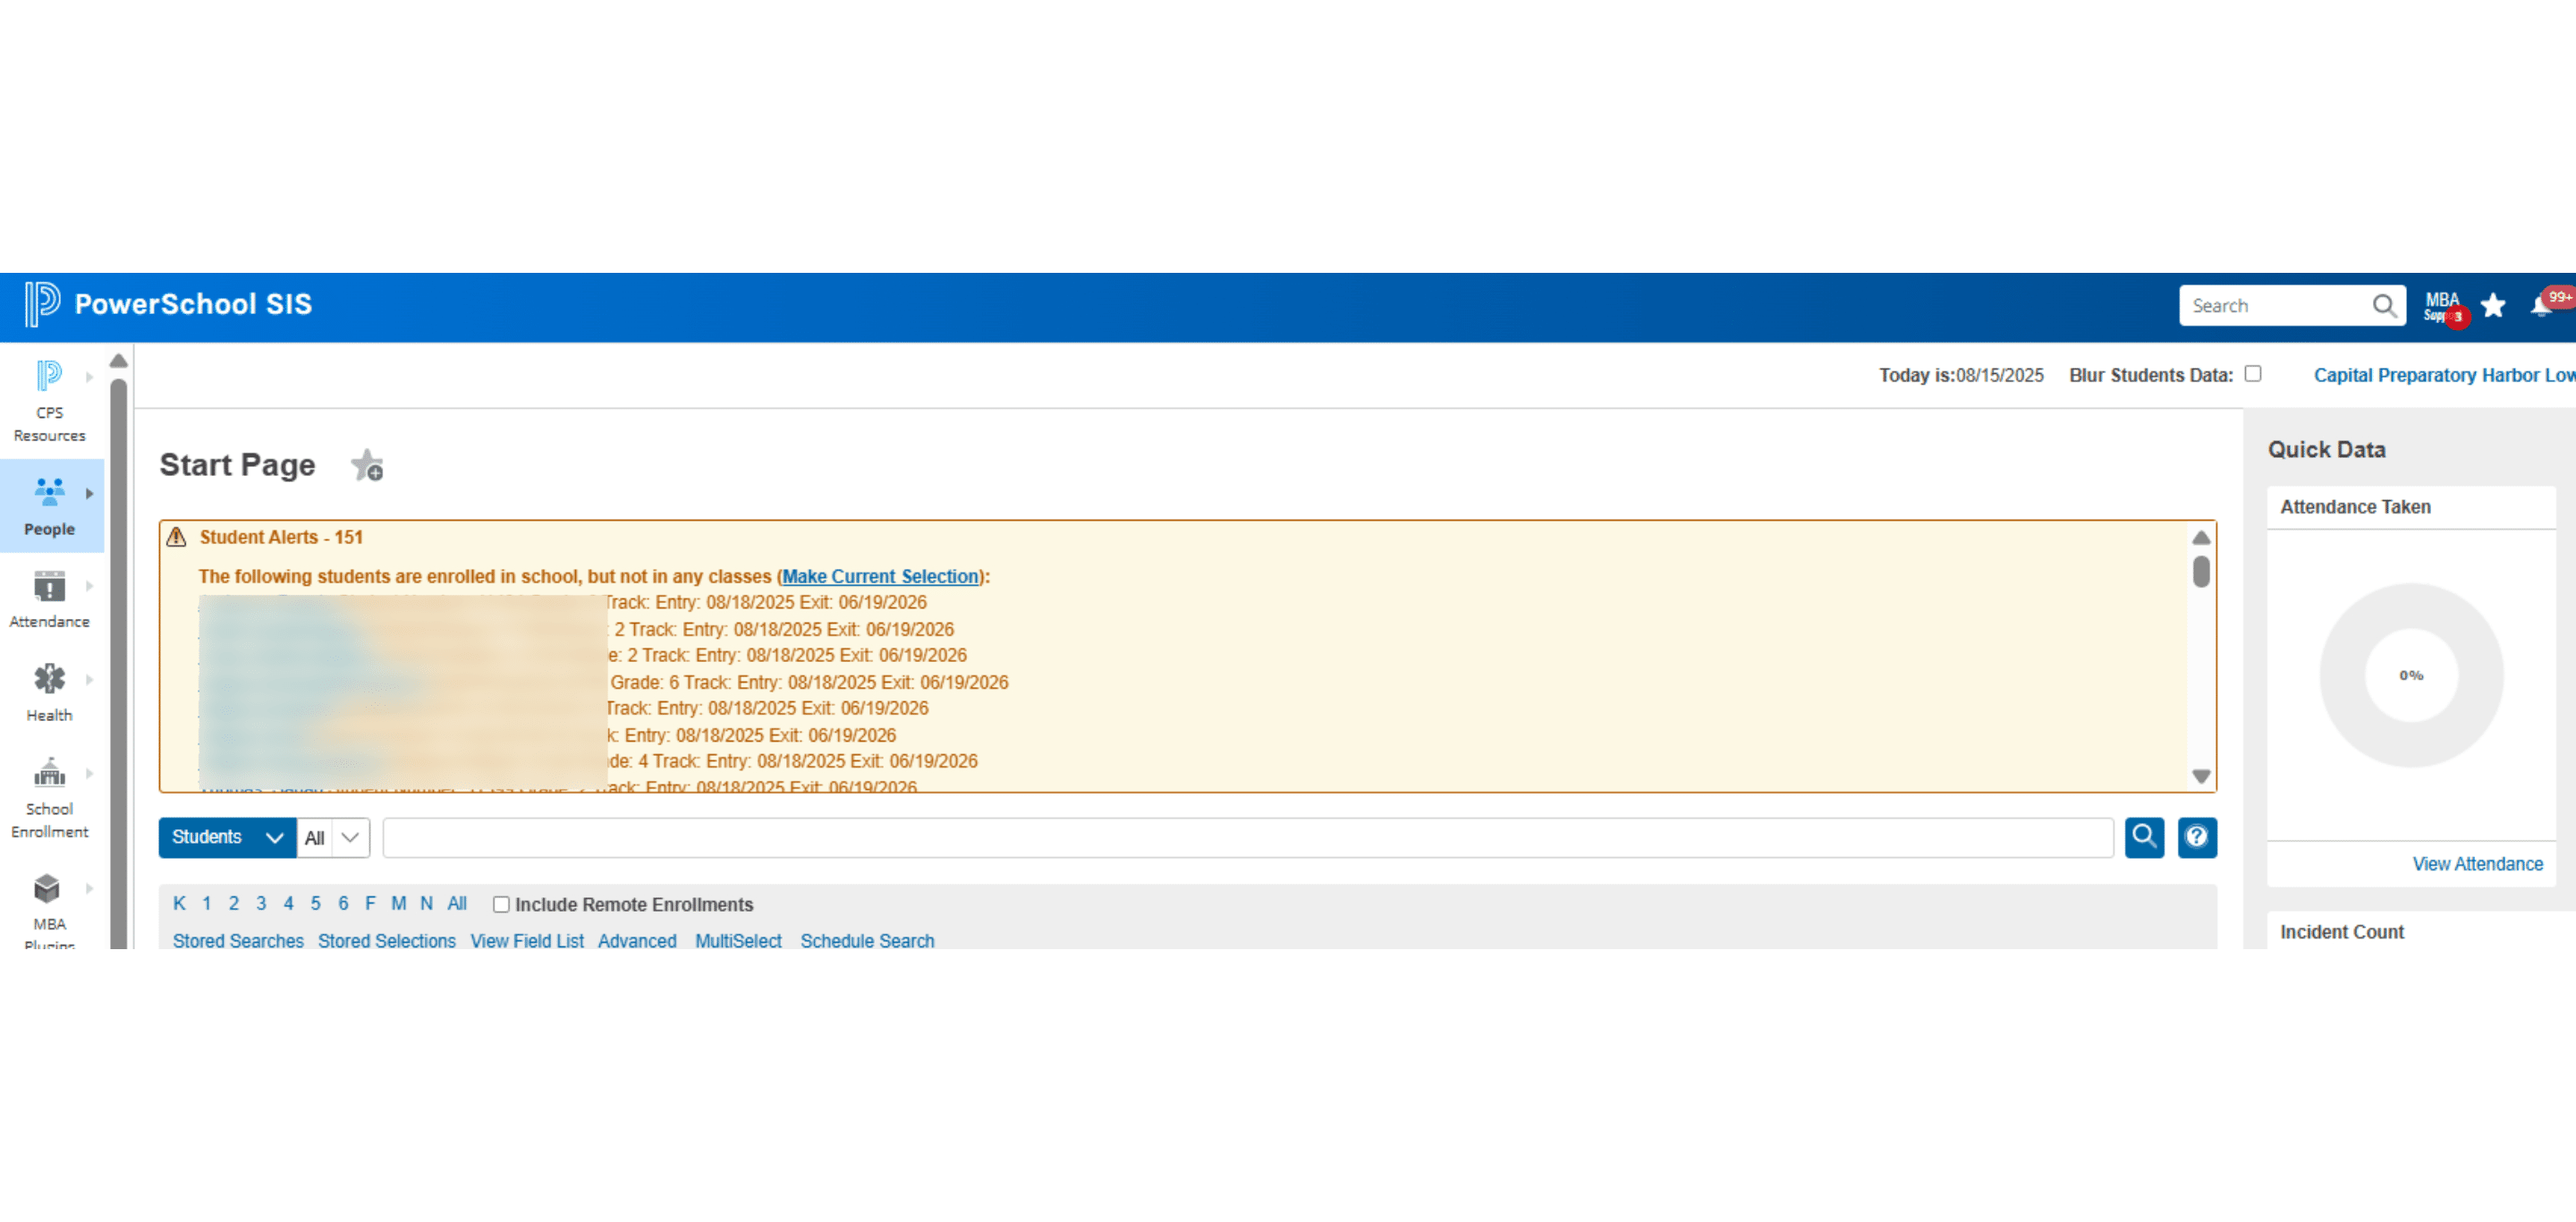
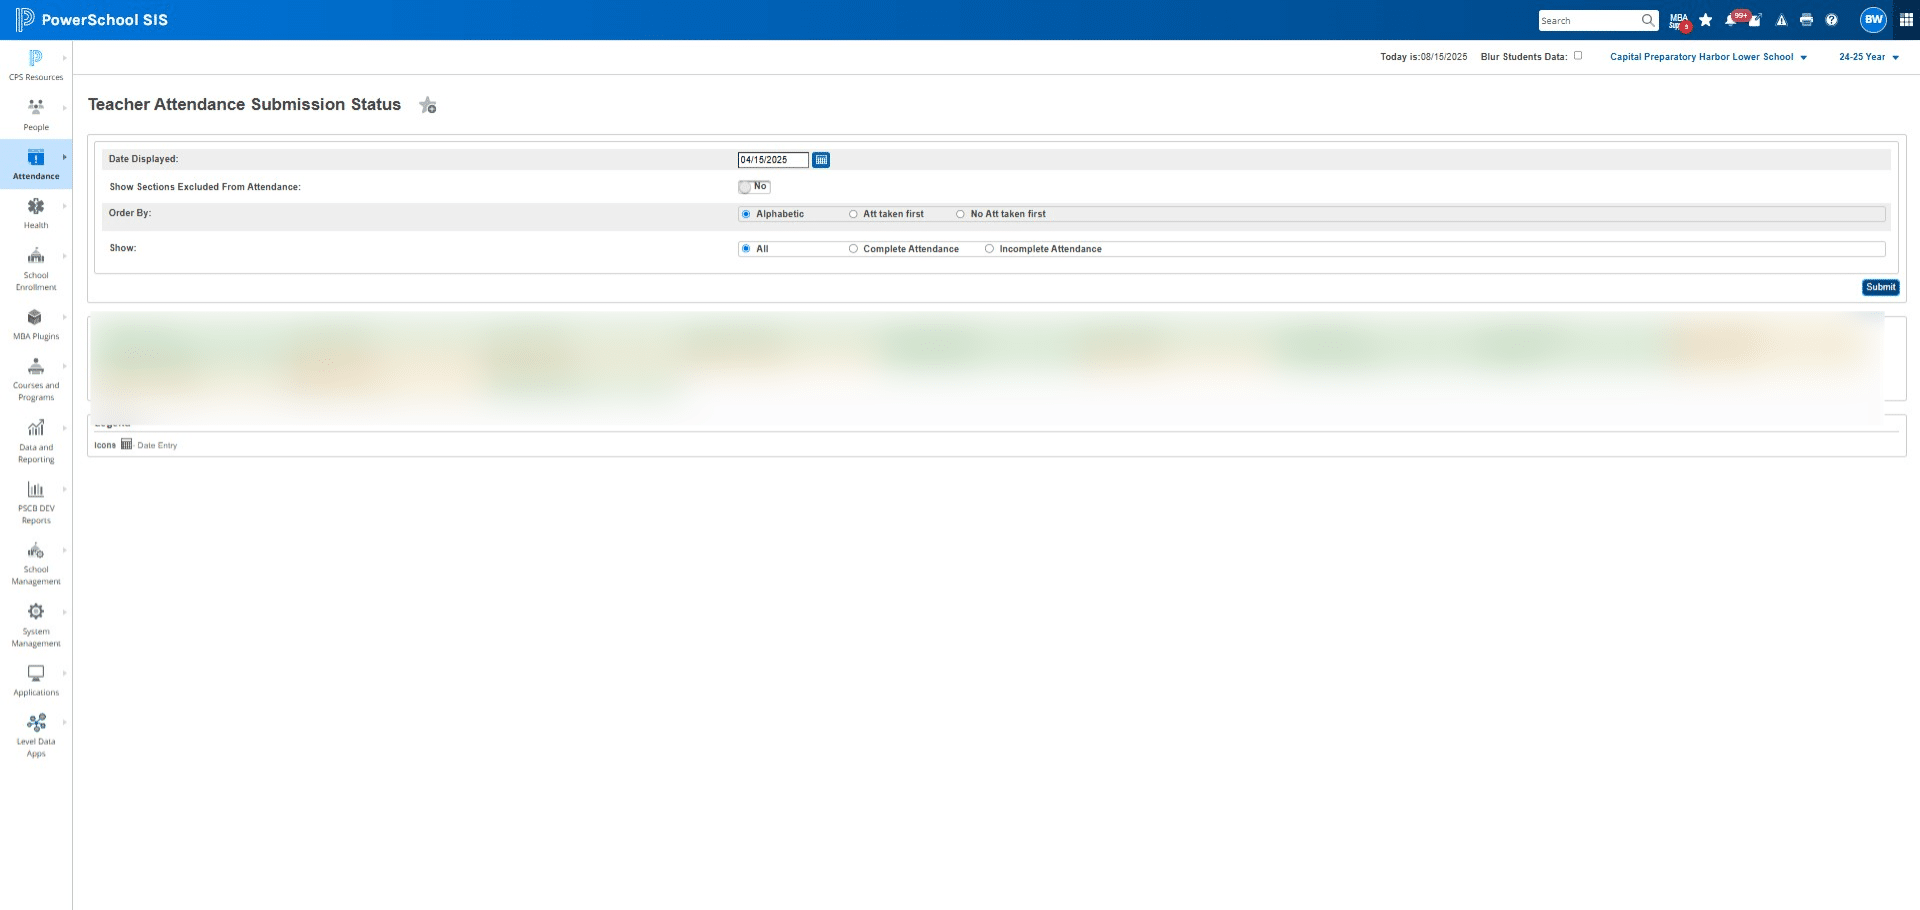
Follow up with illuminators who did not complete their attendance.
Click on "Submit"
Mark students who signed in via Tardy Sign In Sheet
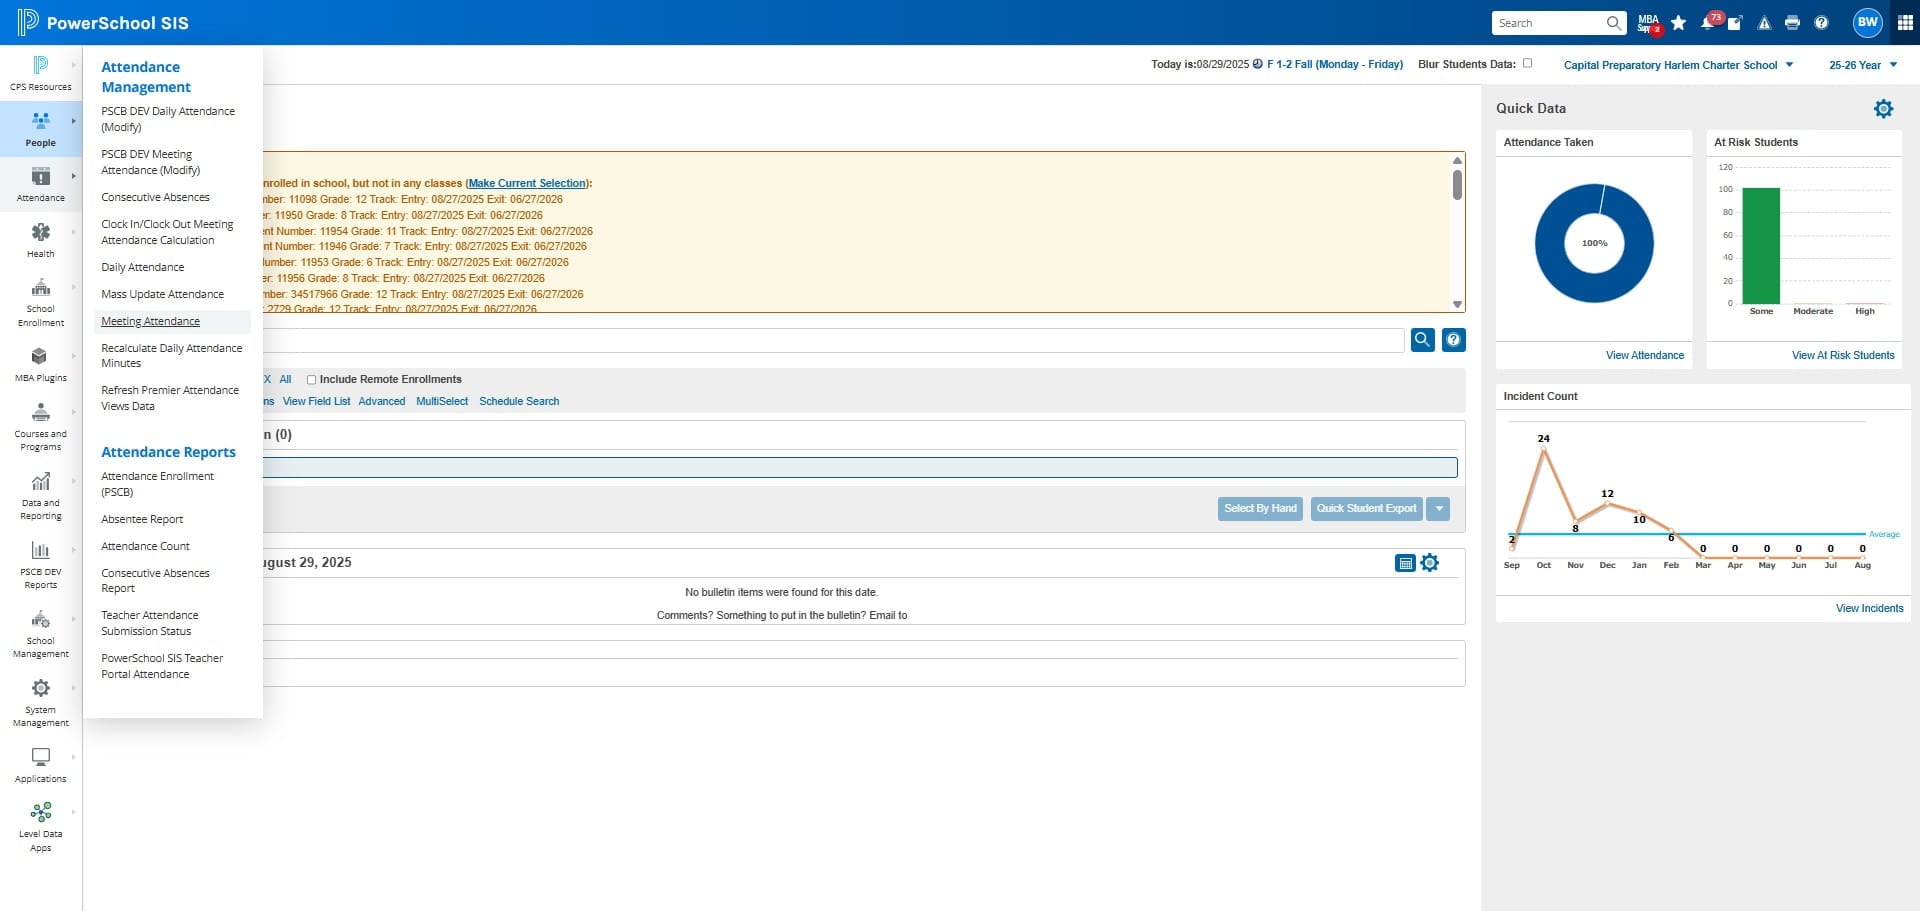
Click on "Attendance"
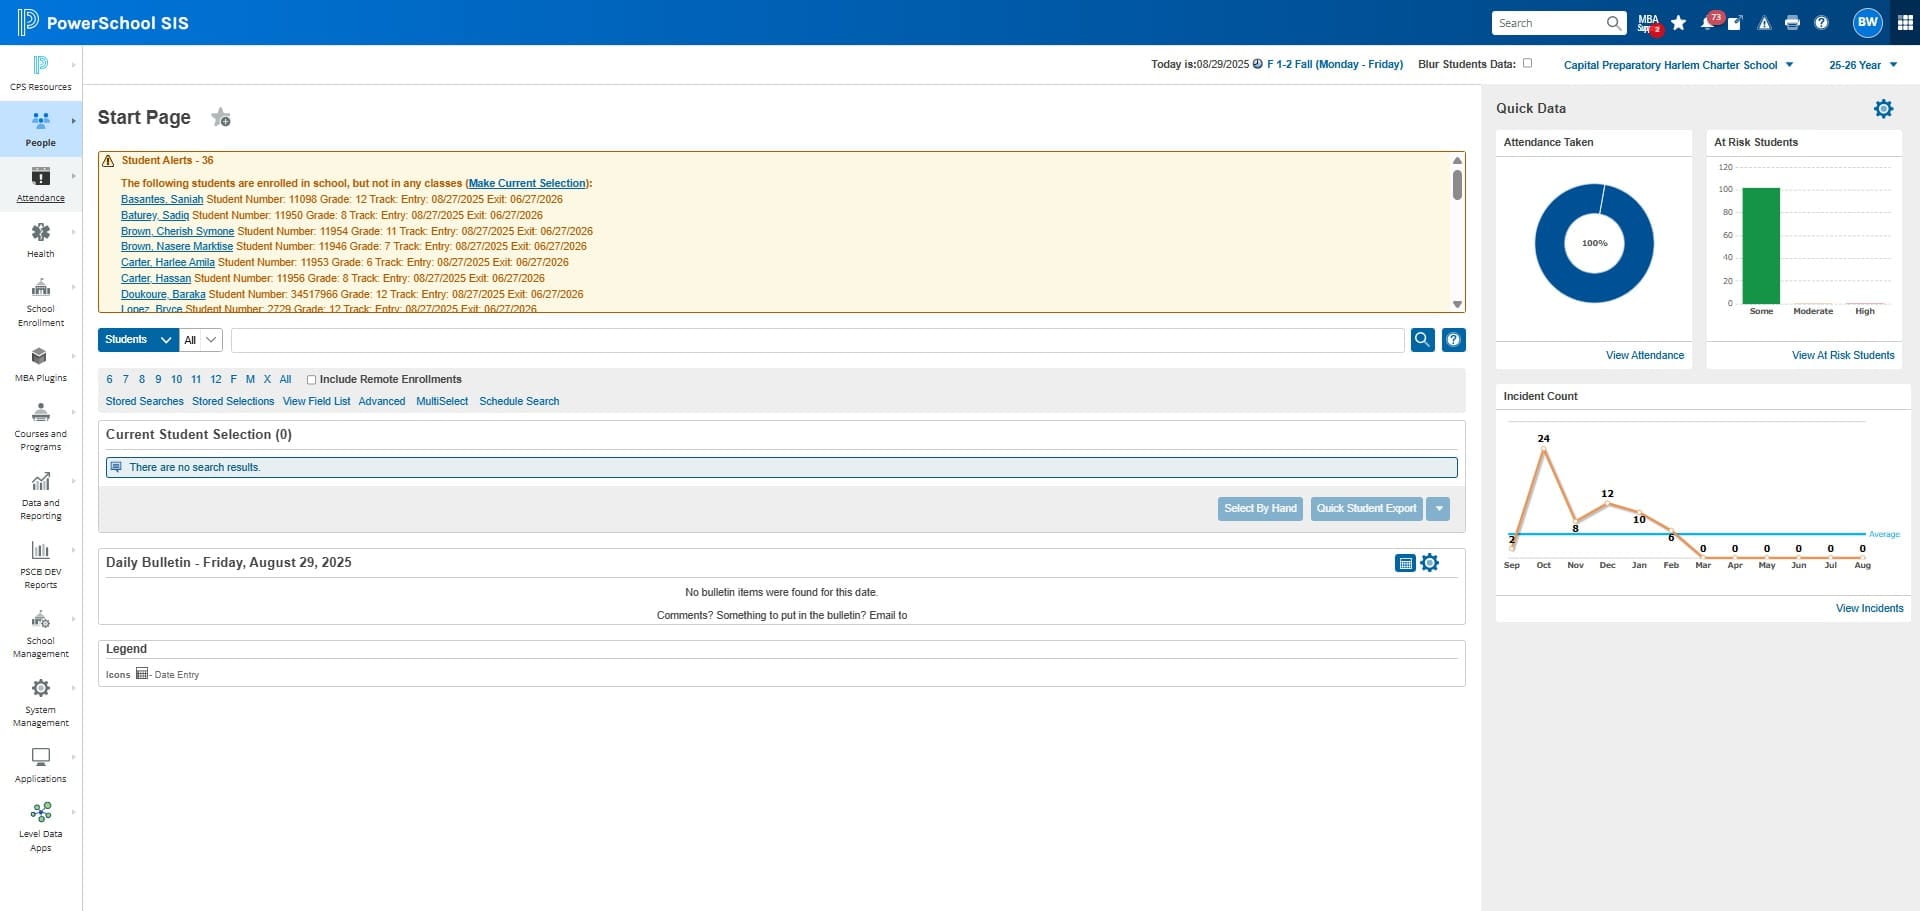
Click on "Meeting Attendance"
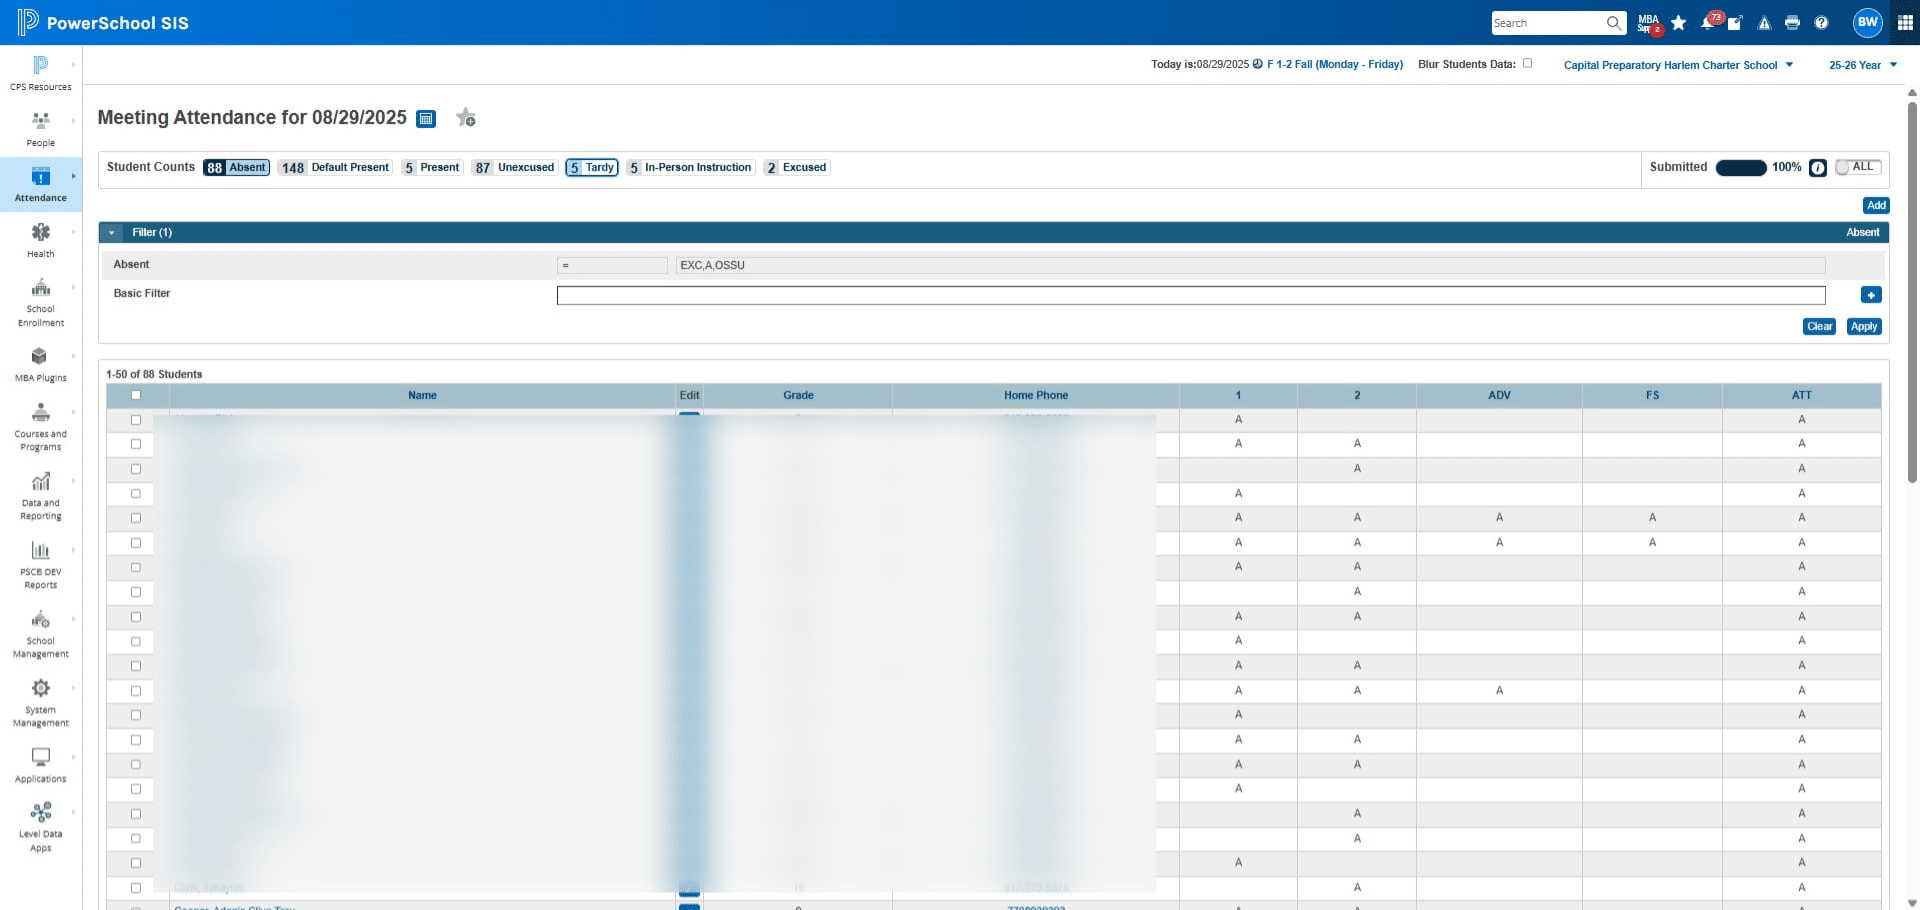
Click on "Tardy"
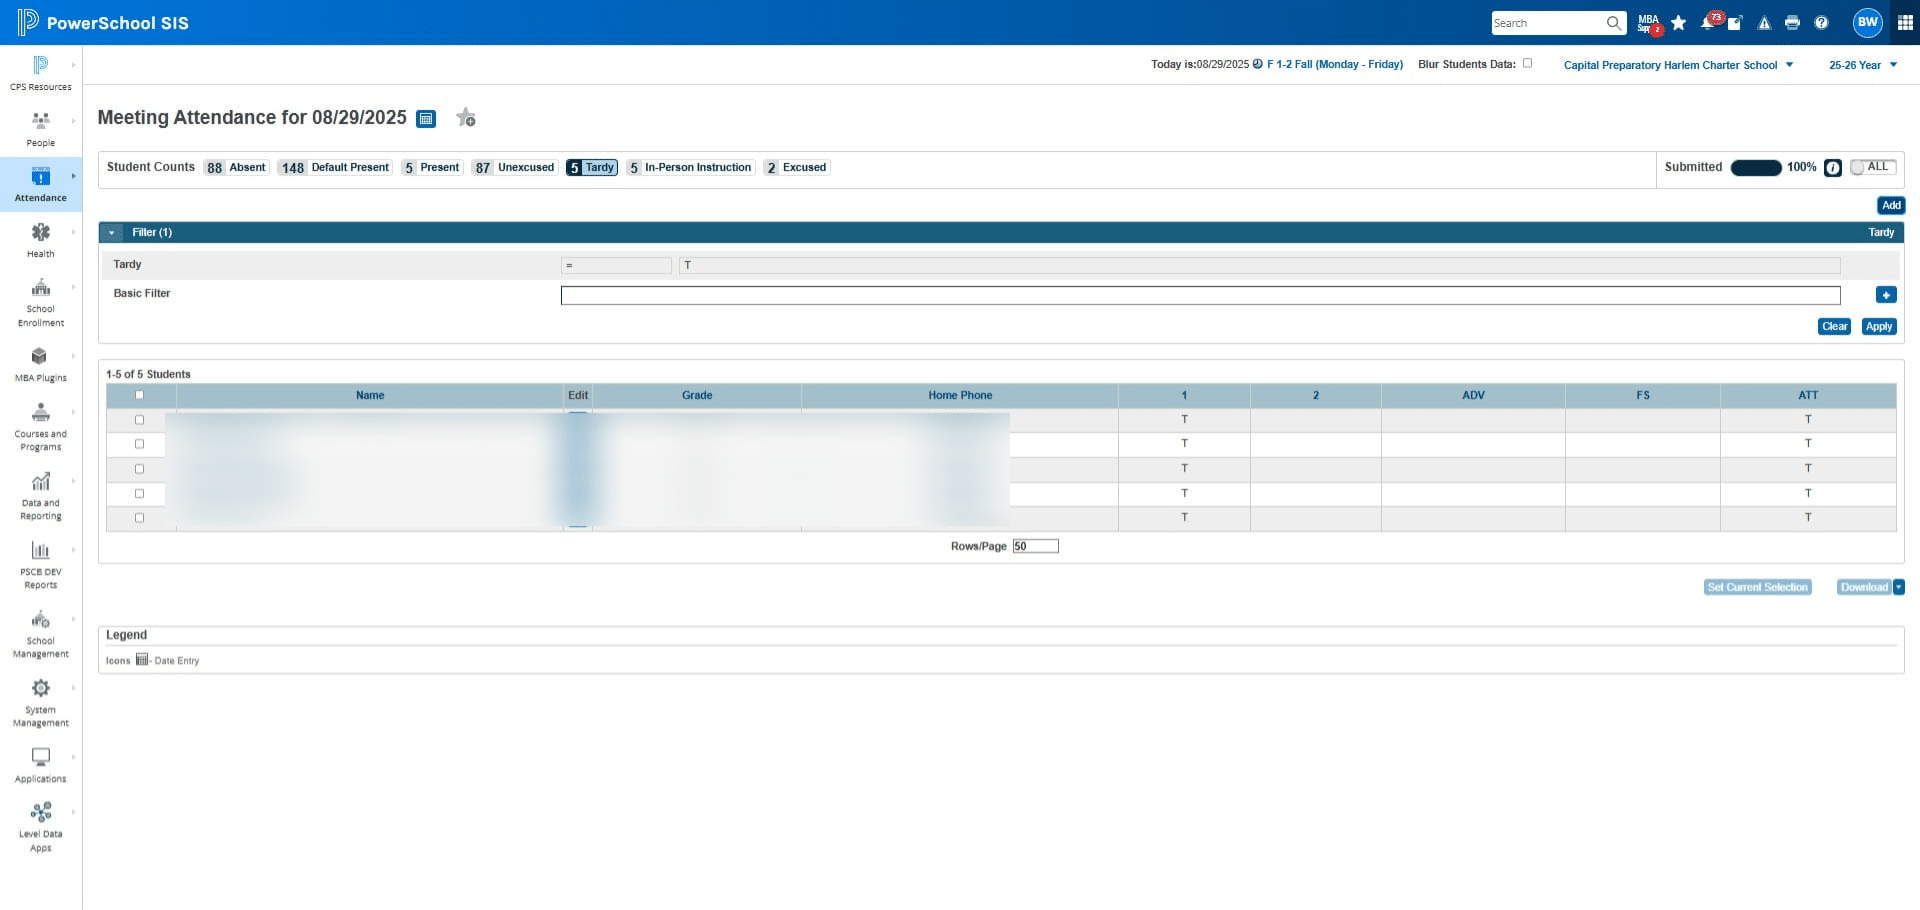
Click on "Add"
Click the box and search for the students name
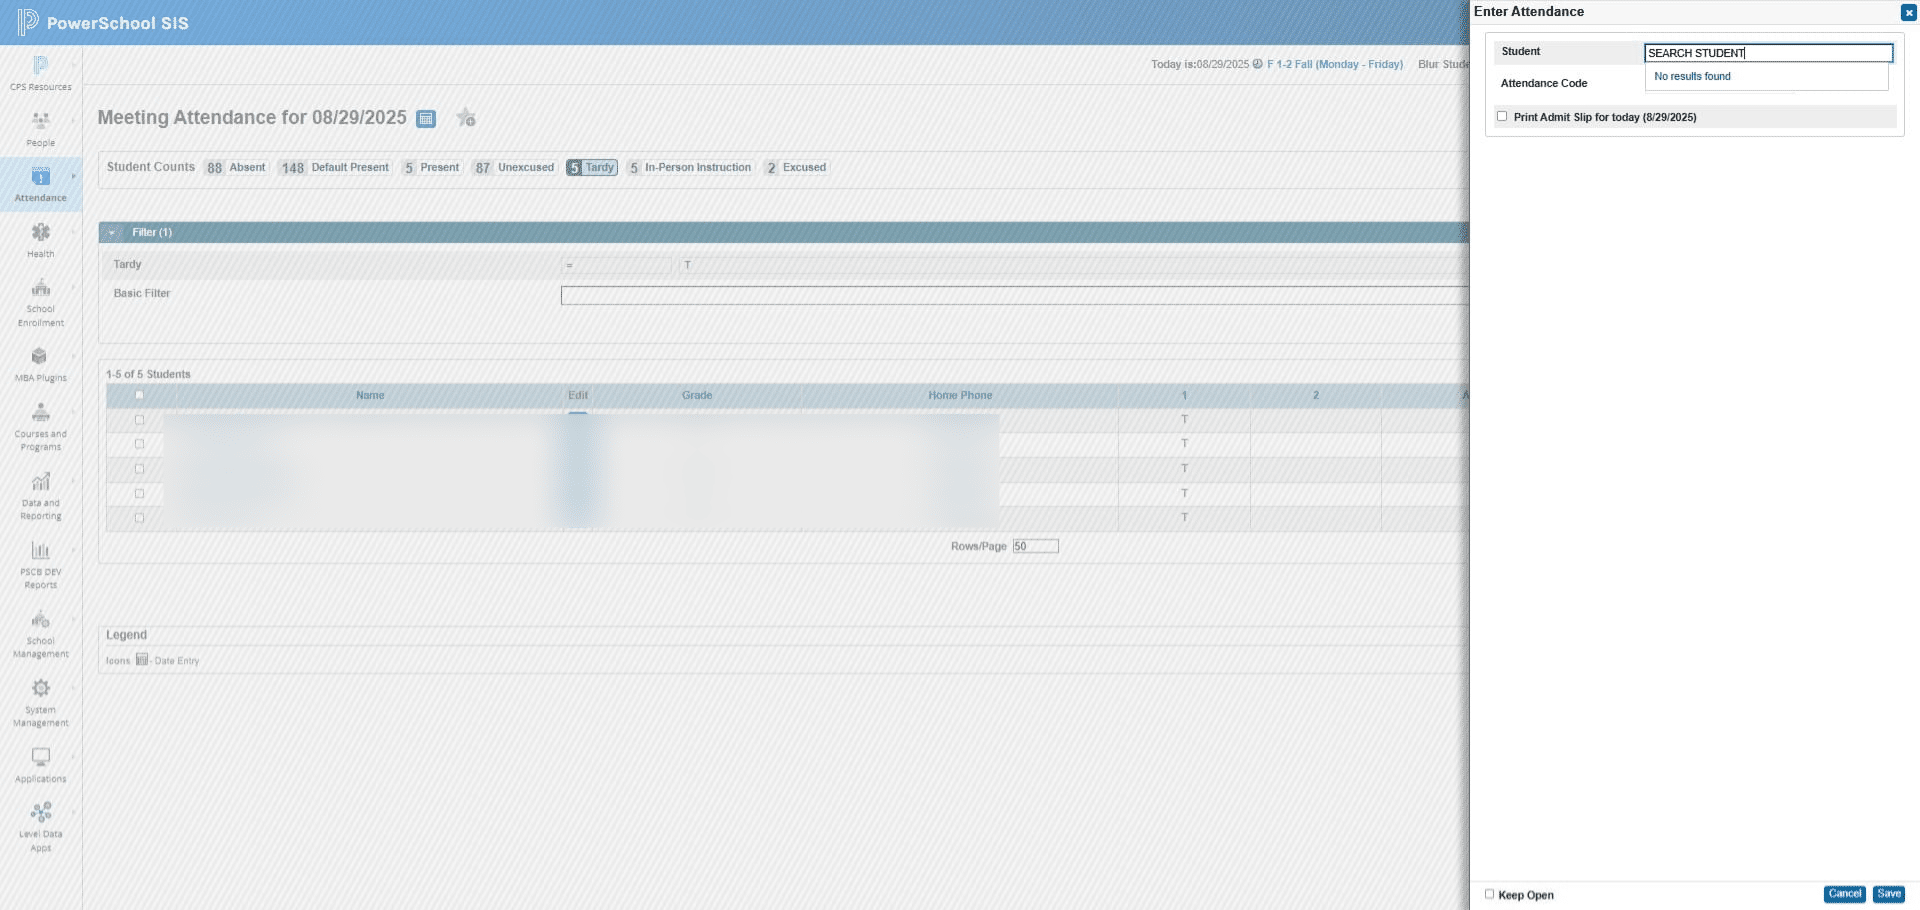
Click on "(Present)" and change to "T (Tardy)"
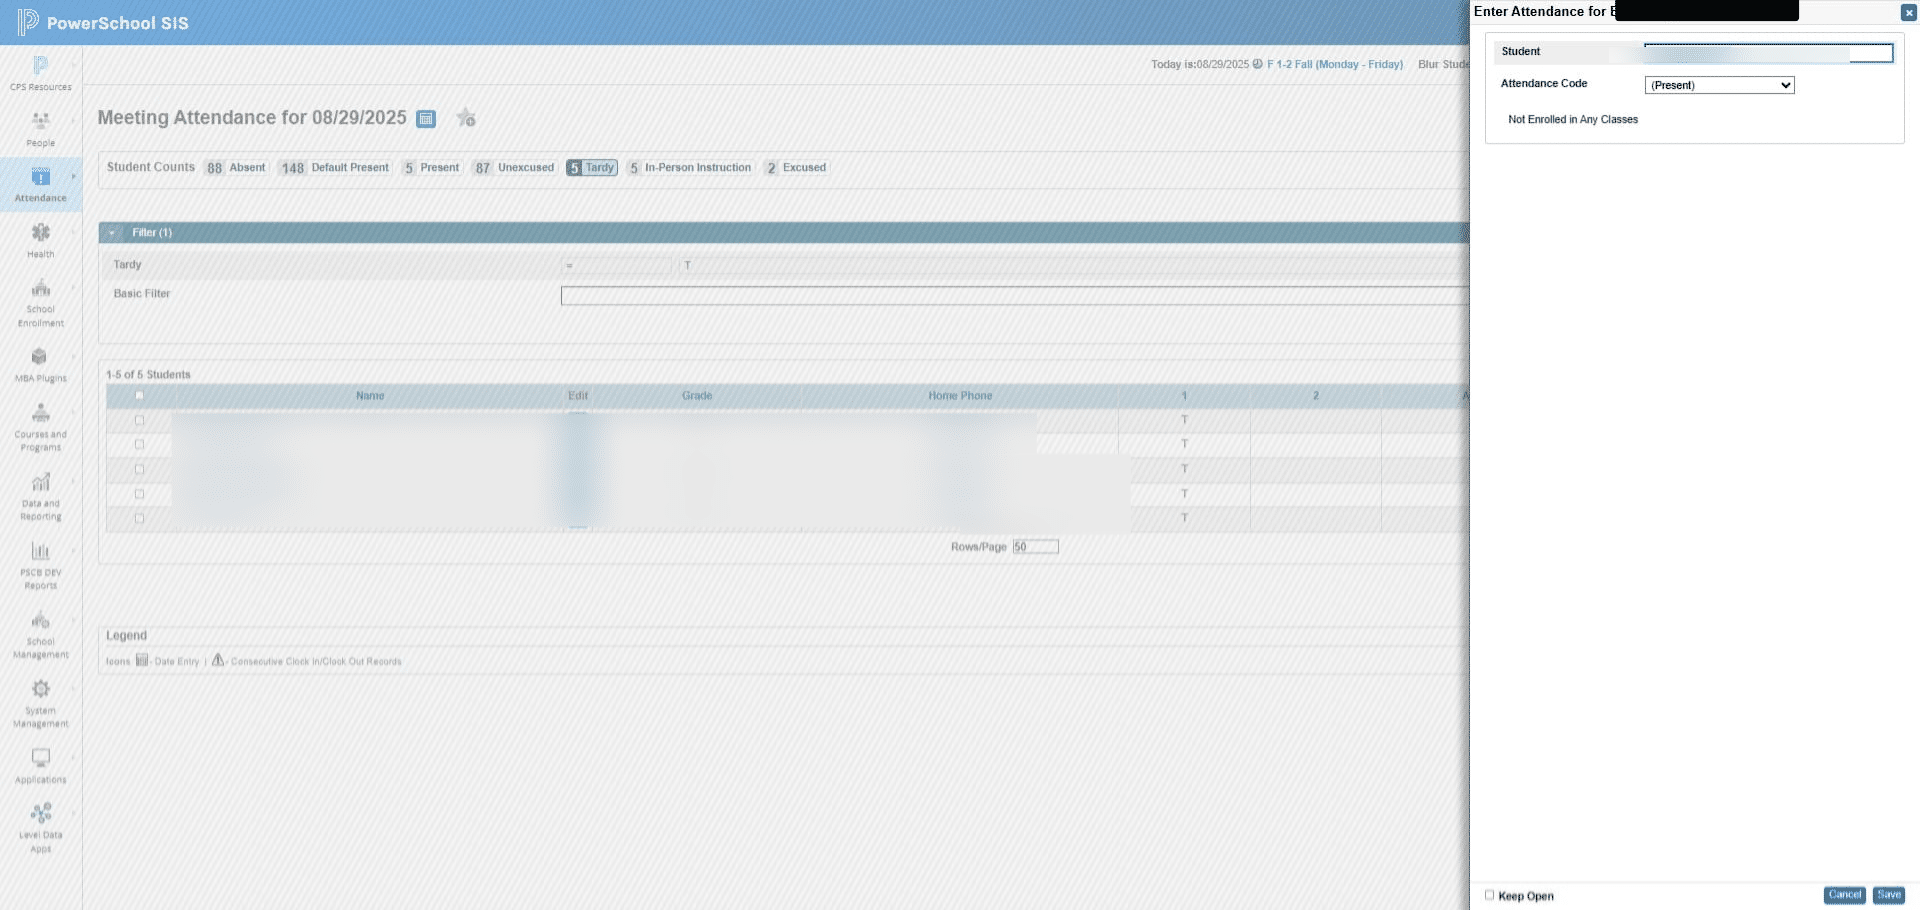
Click save! You will have to do this individually per student.
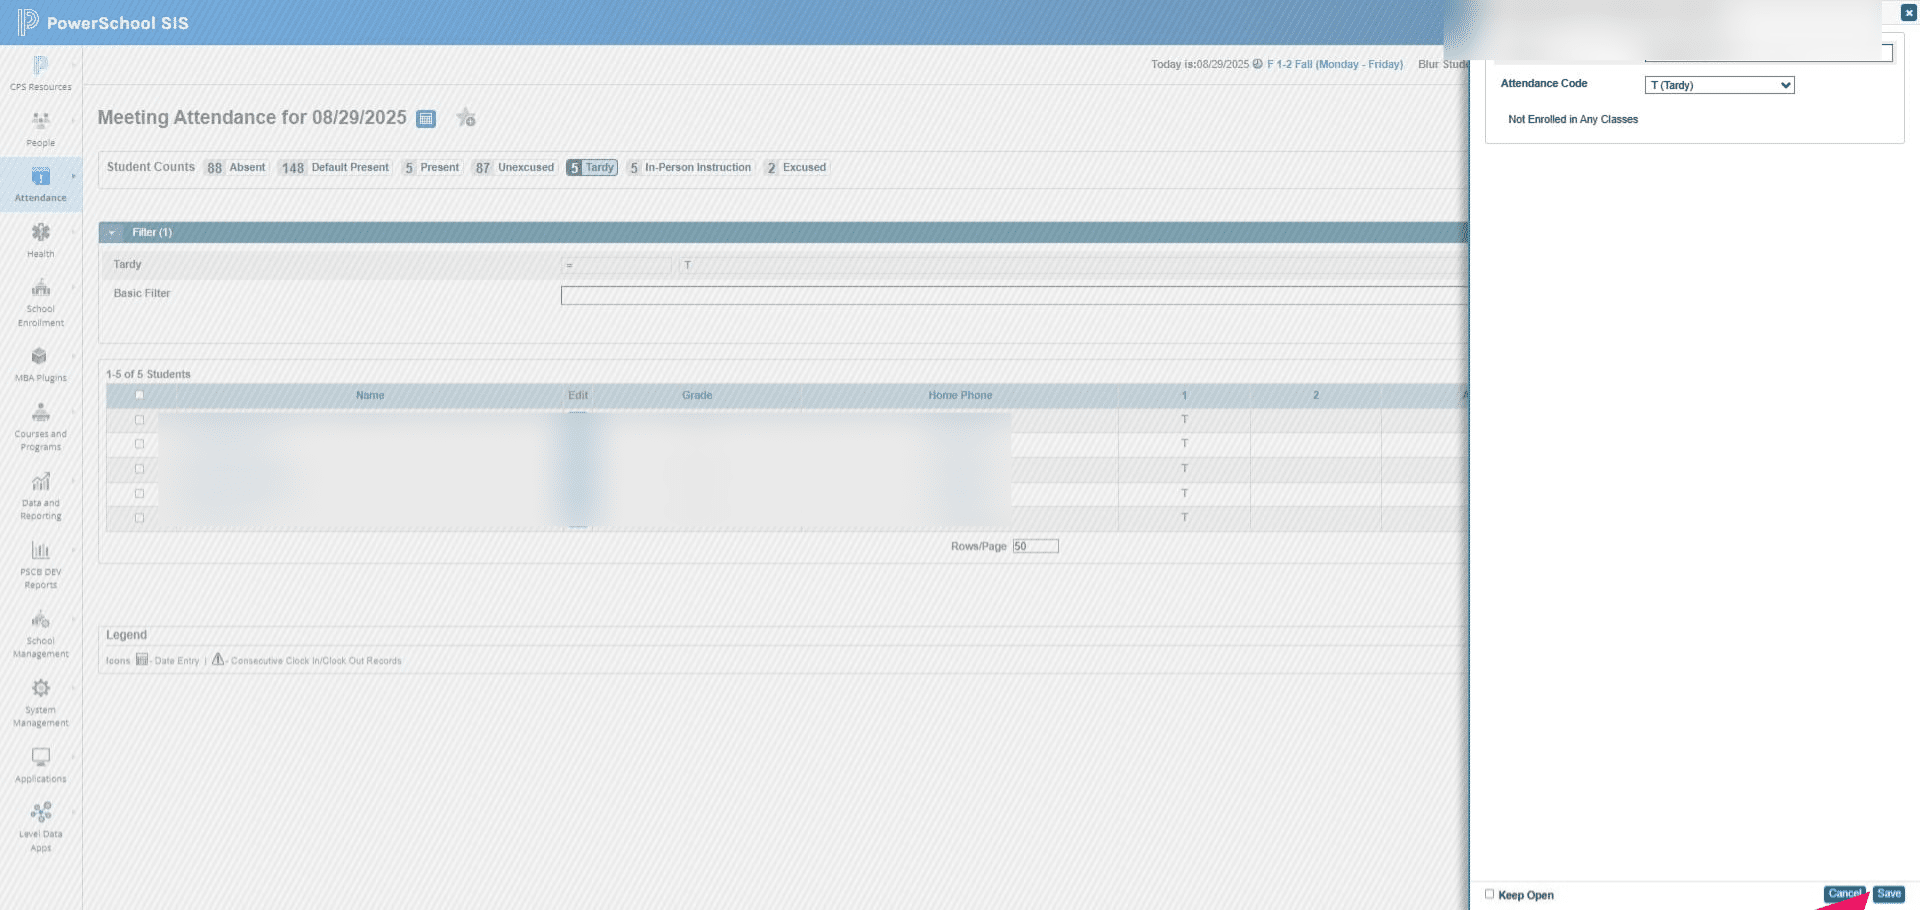
Mark Students marked tardy by illuminator in 1st period of the day
Click on "PowerSchool SIS"
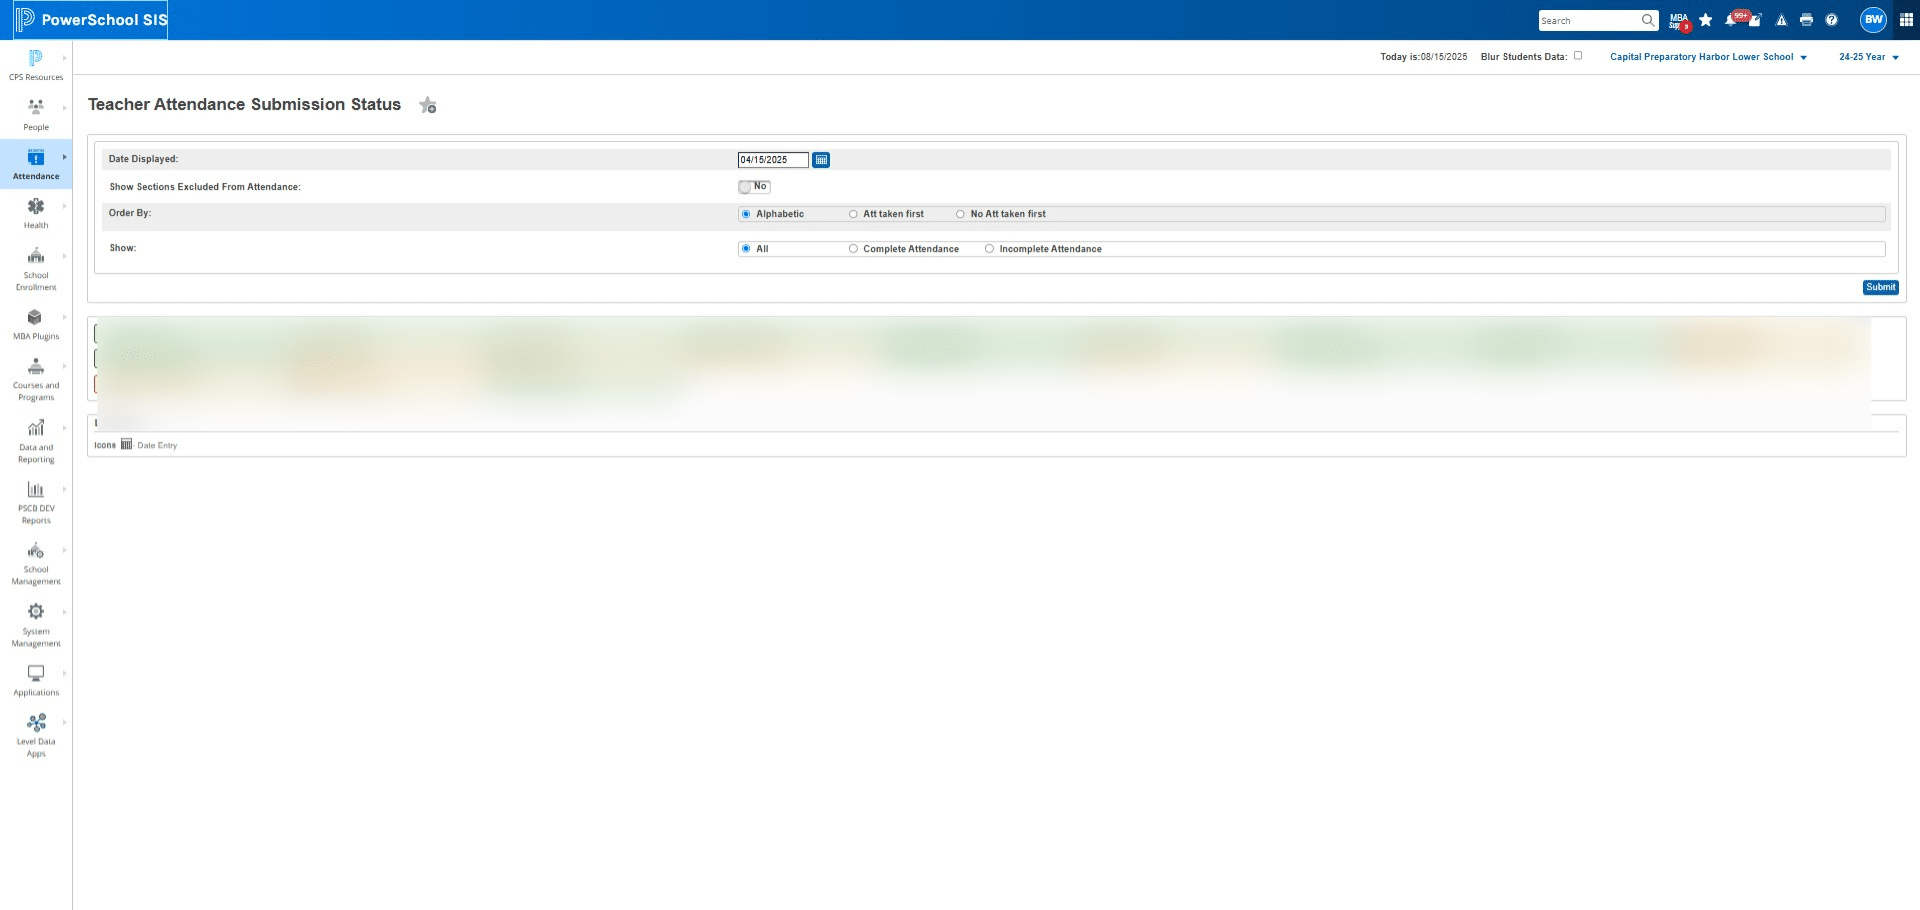
Click on "Attendance" and then "Meeting Attendance"
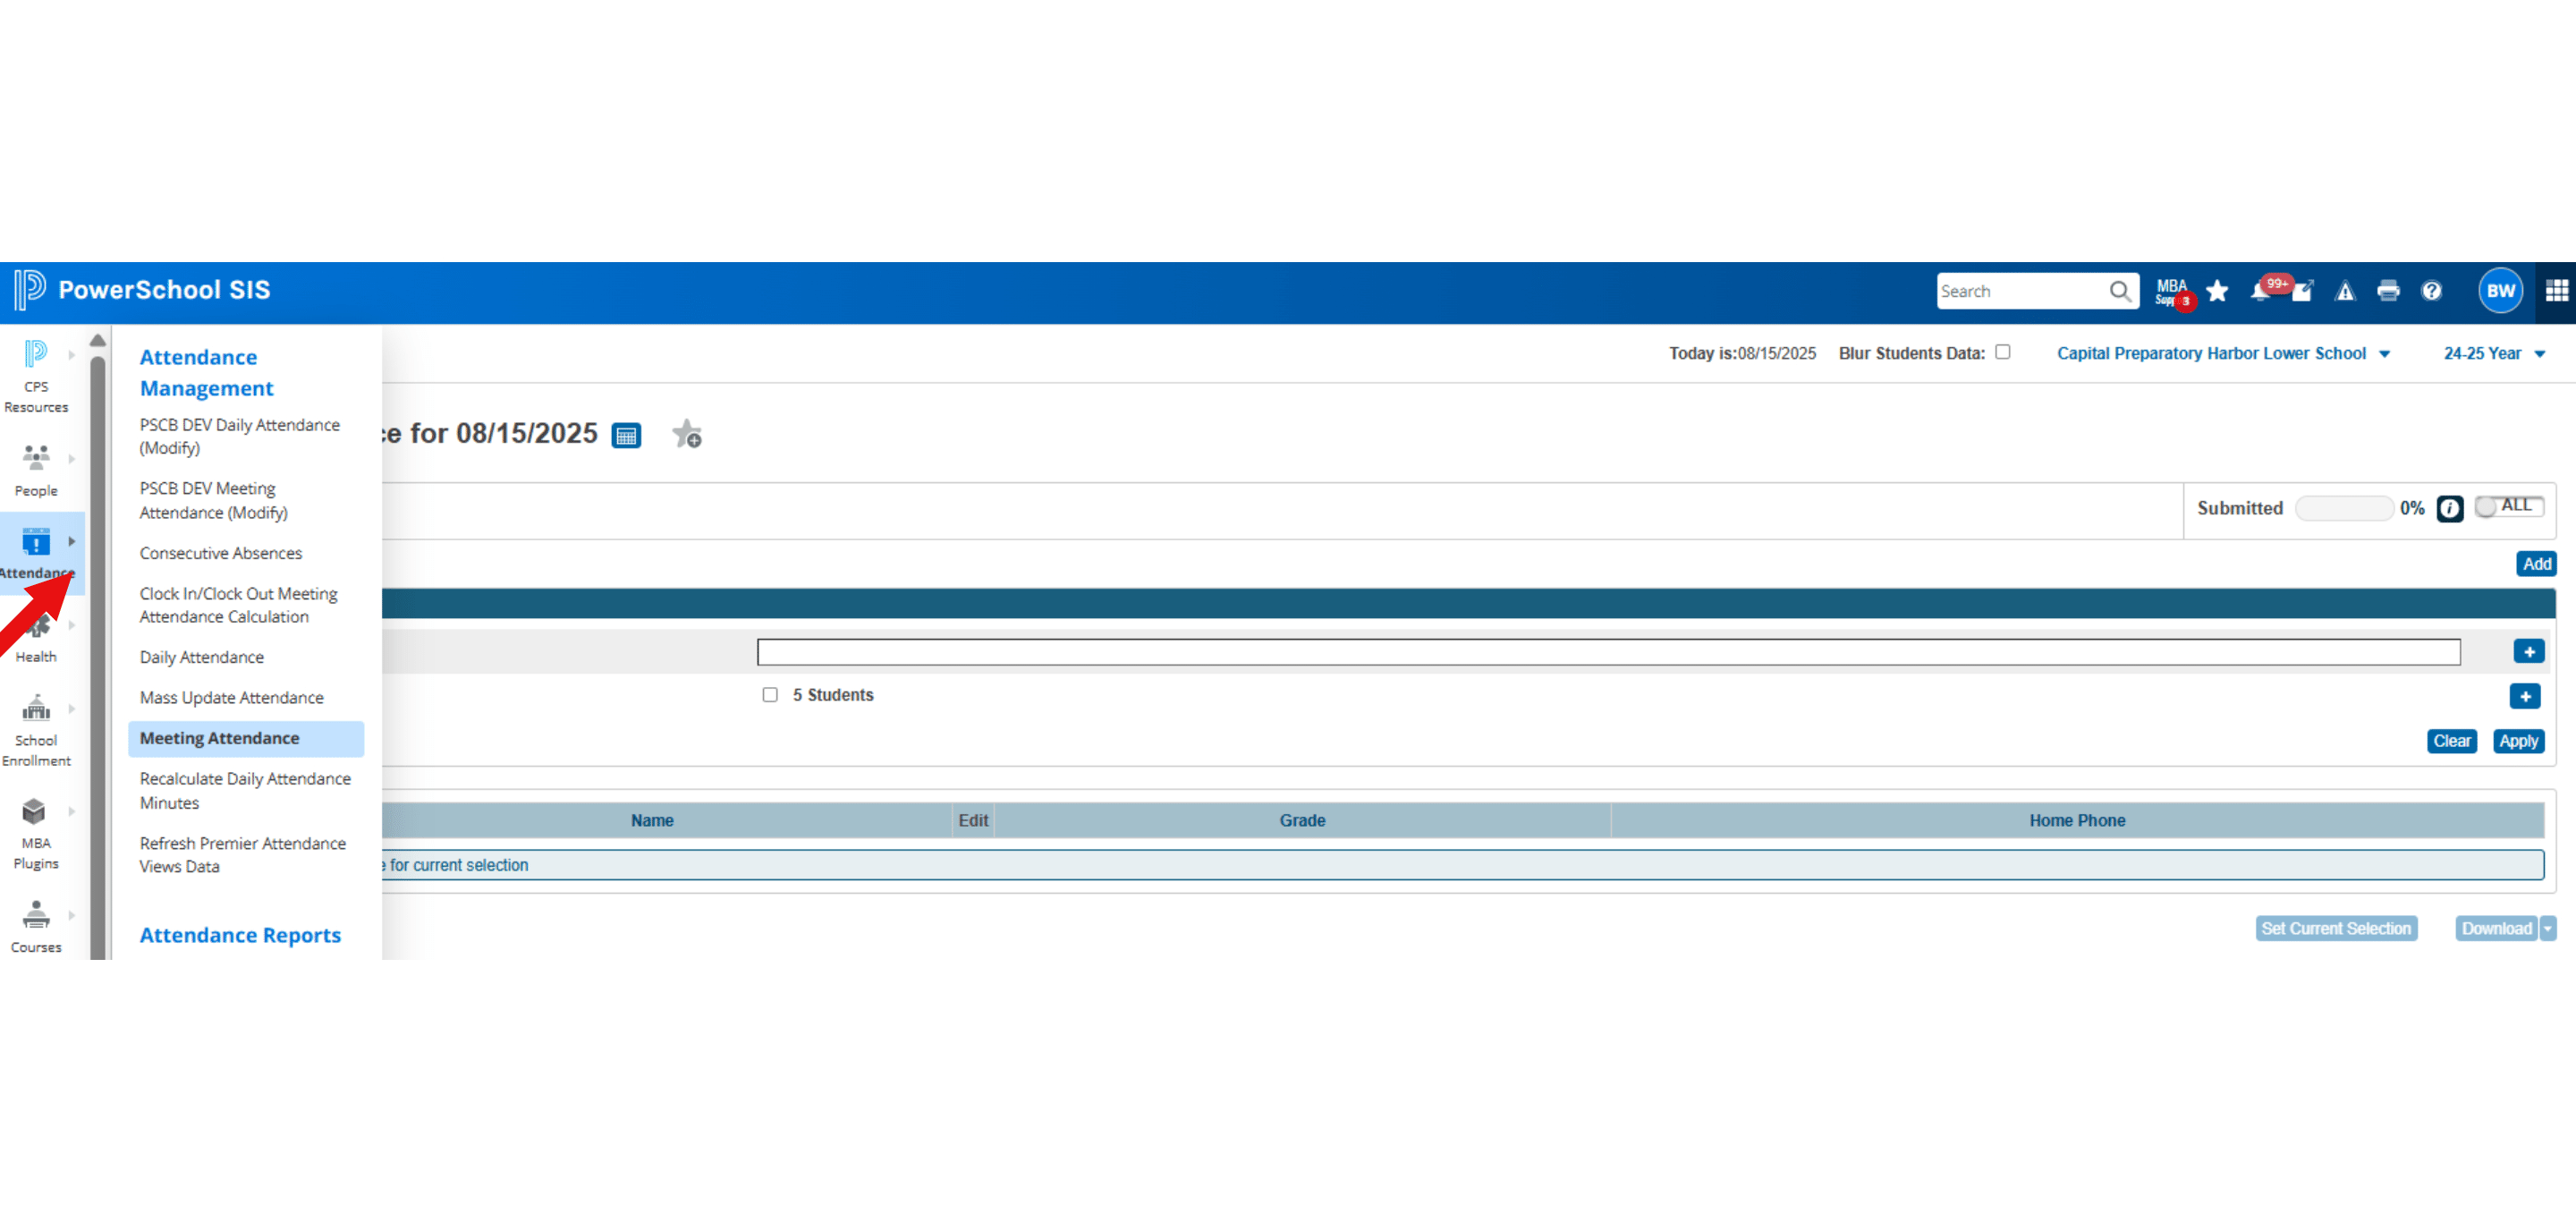
Click on TARDY
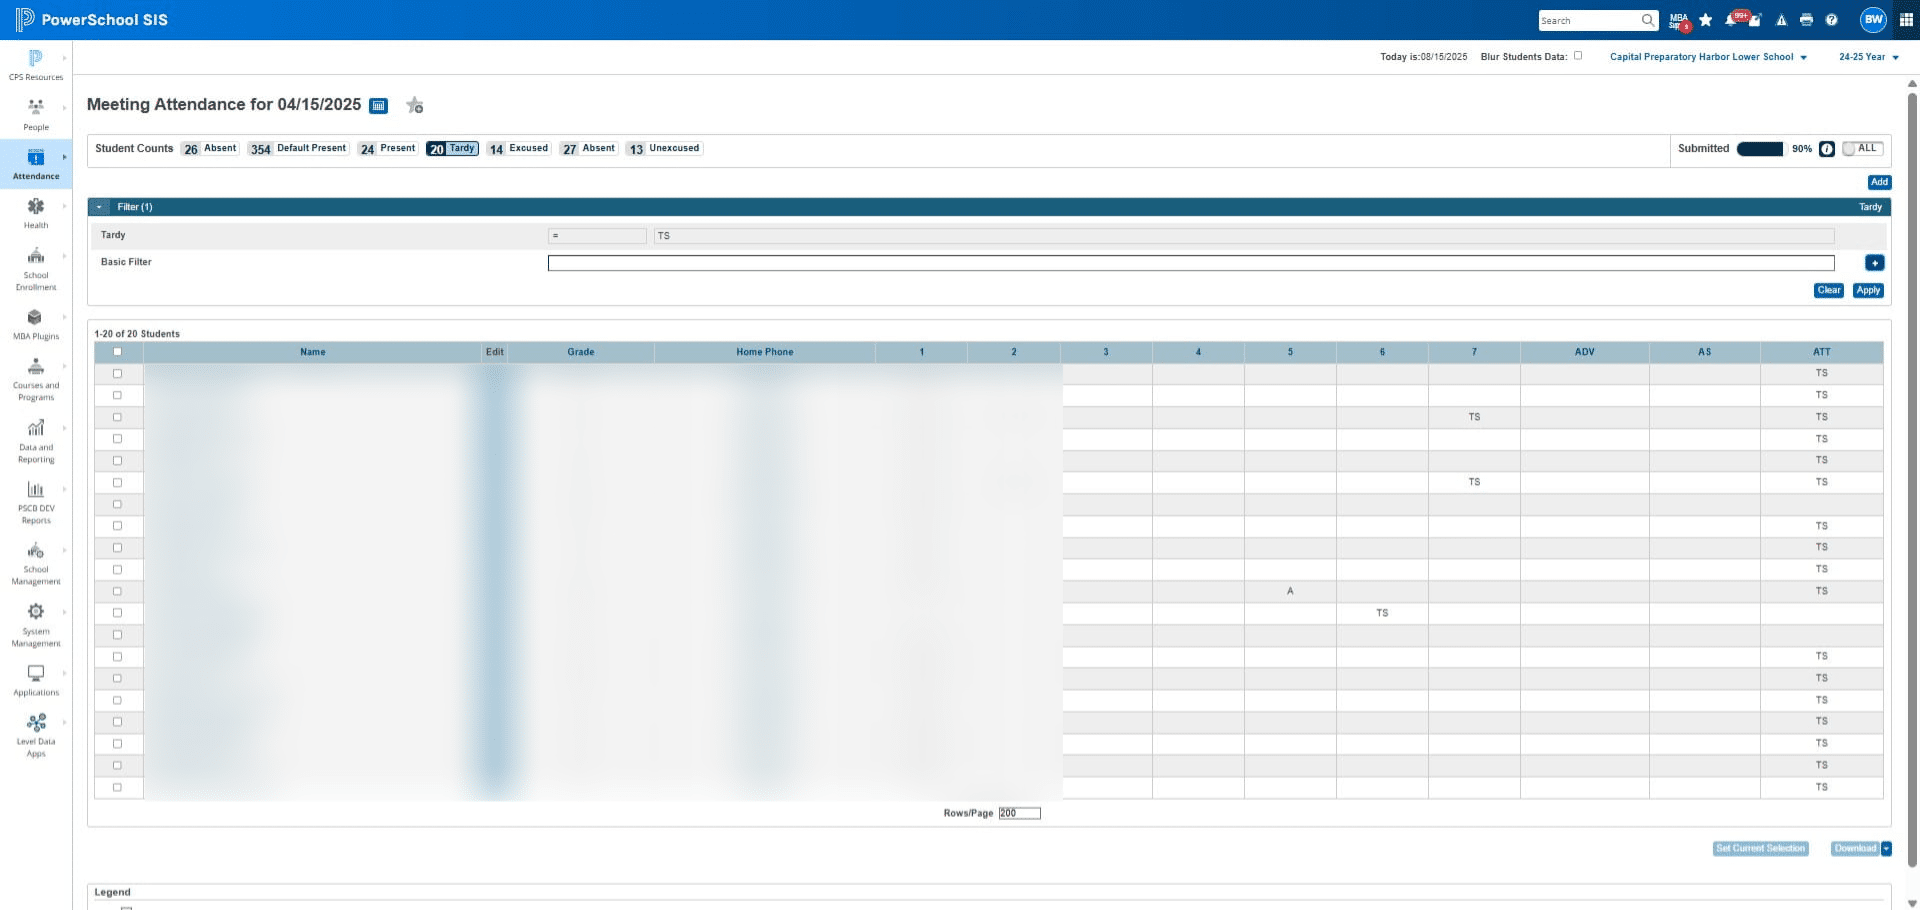
When sending the morning attendance email, ensure you filter for the first period of the day. Failure to do so will result in changing the attendance status for all students marked tardy or absent during any period.
Click the plus sign to filter the information
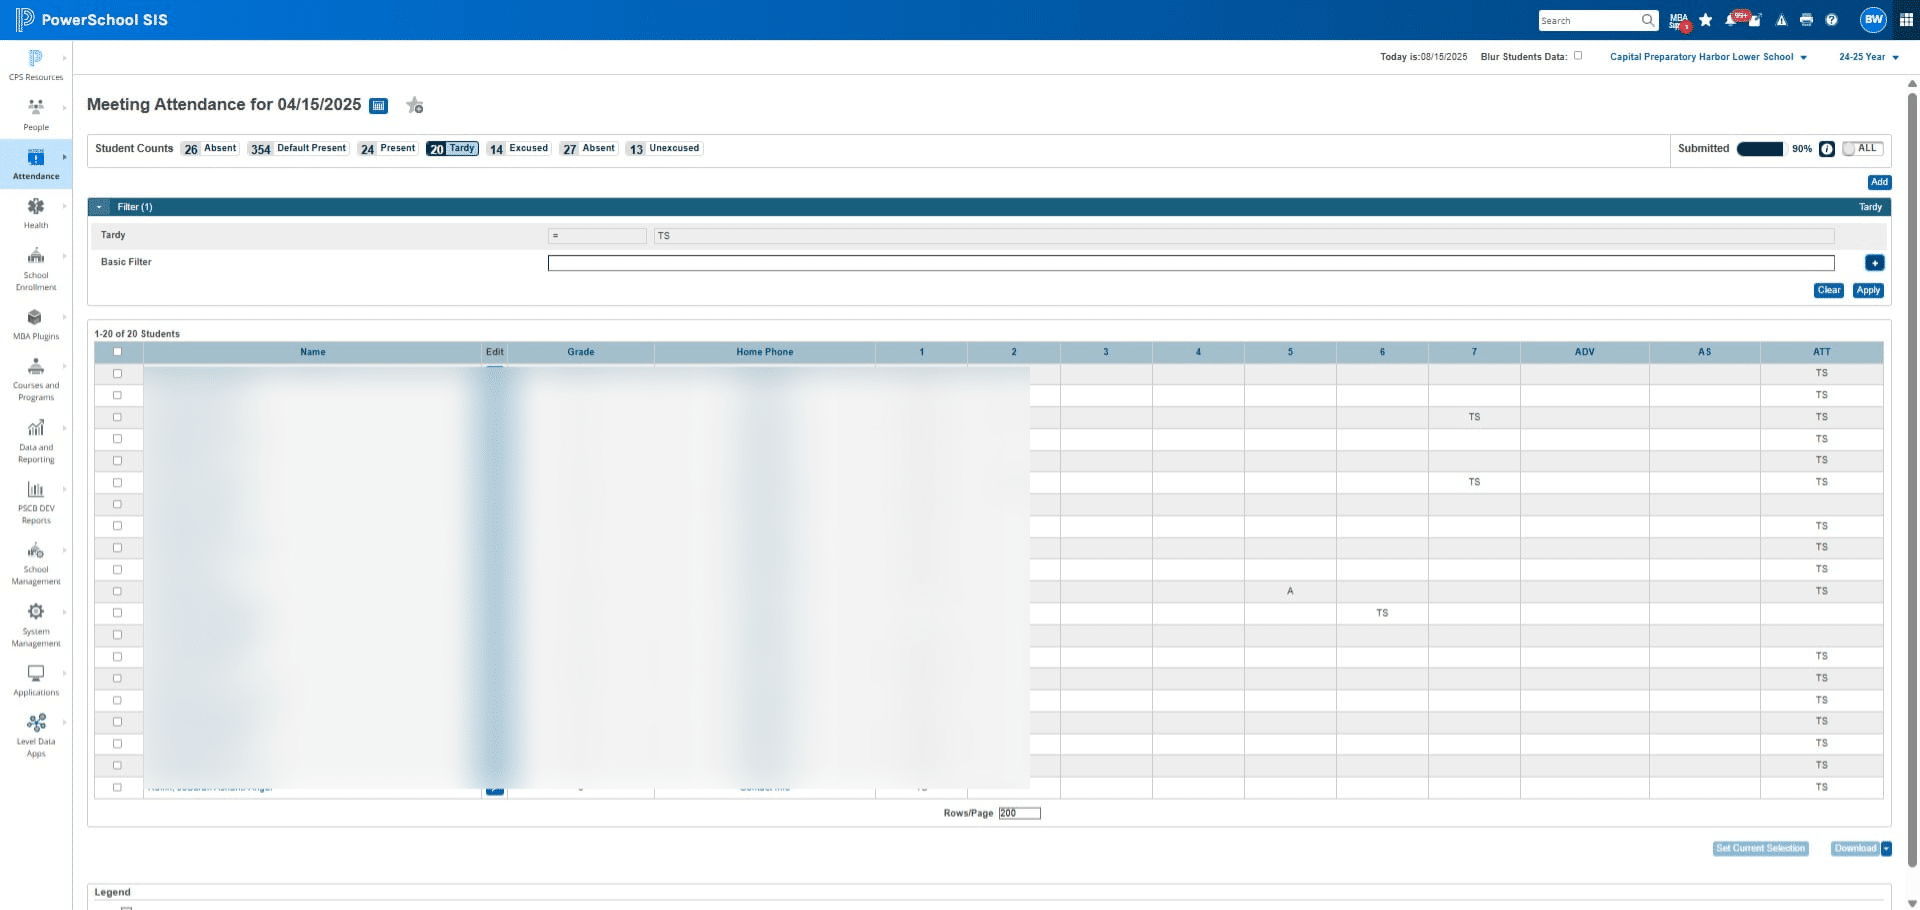
Click on "Name" and select the first period of the day
(usually this is period 1, but some schools schedule's change daily, if you don't know which period you started with, CONTACT YOUR DOO!)
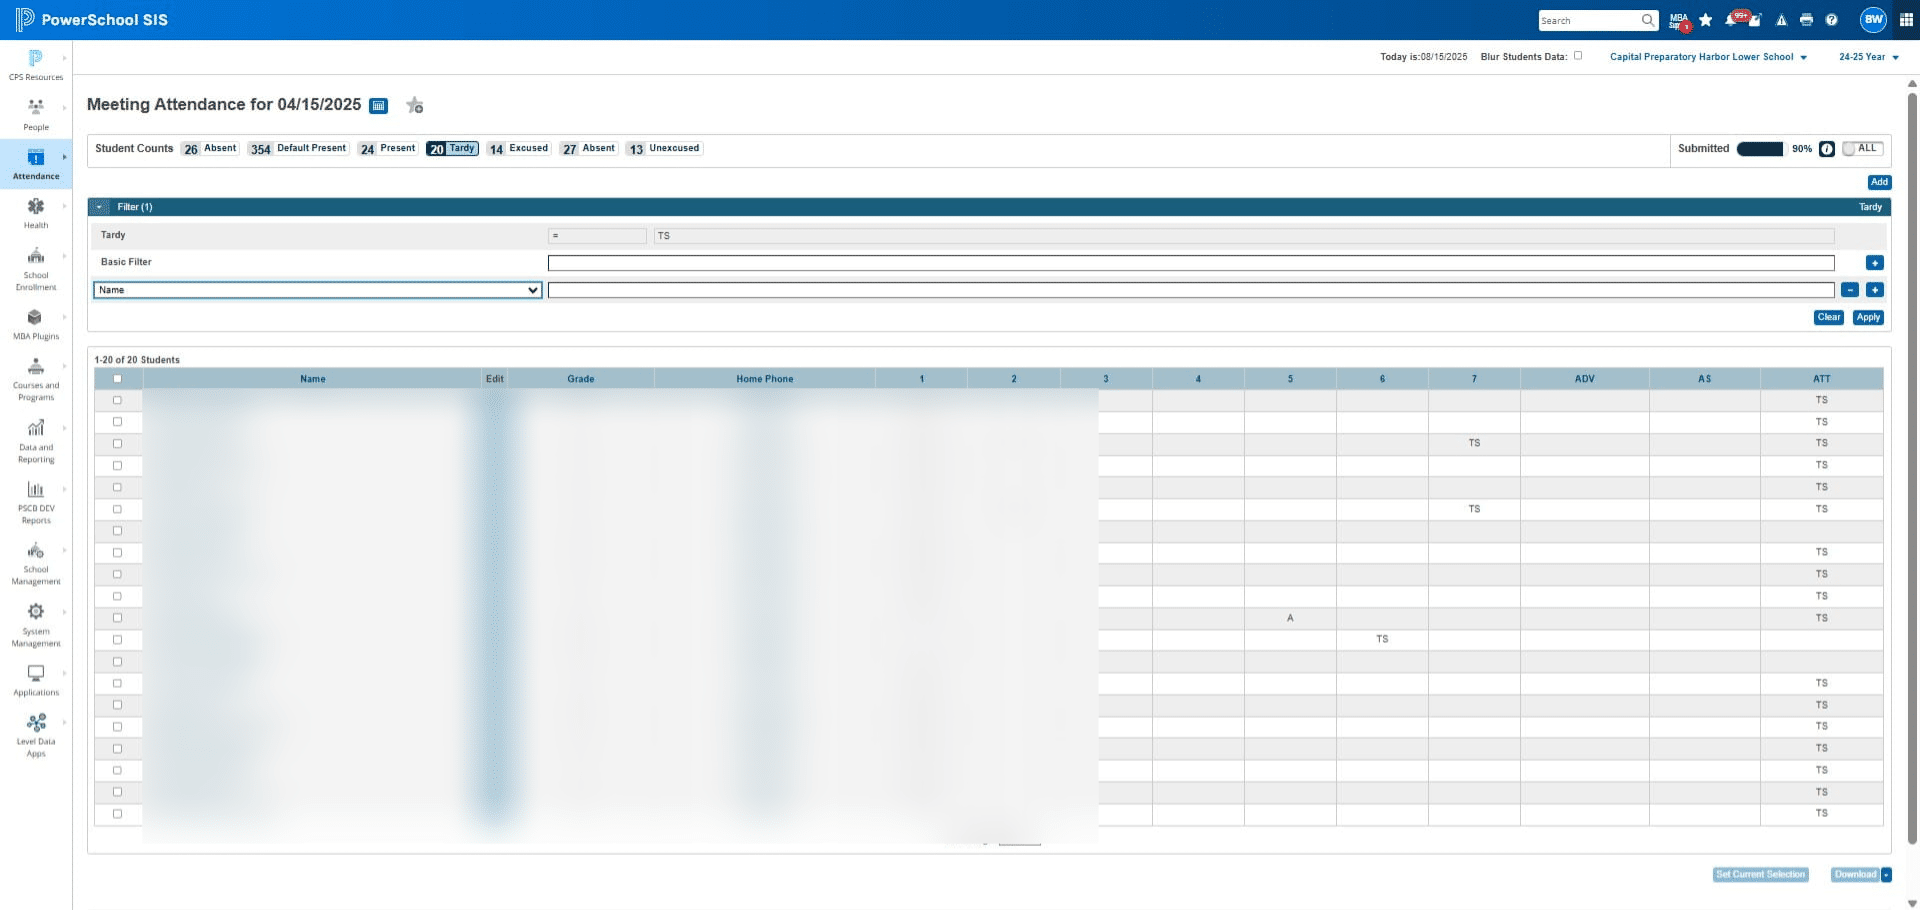
After you select the Period, click the blank space next to it and type in T.
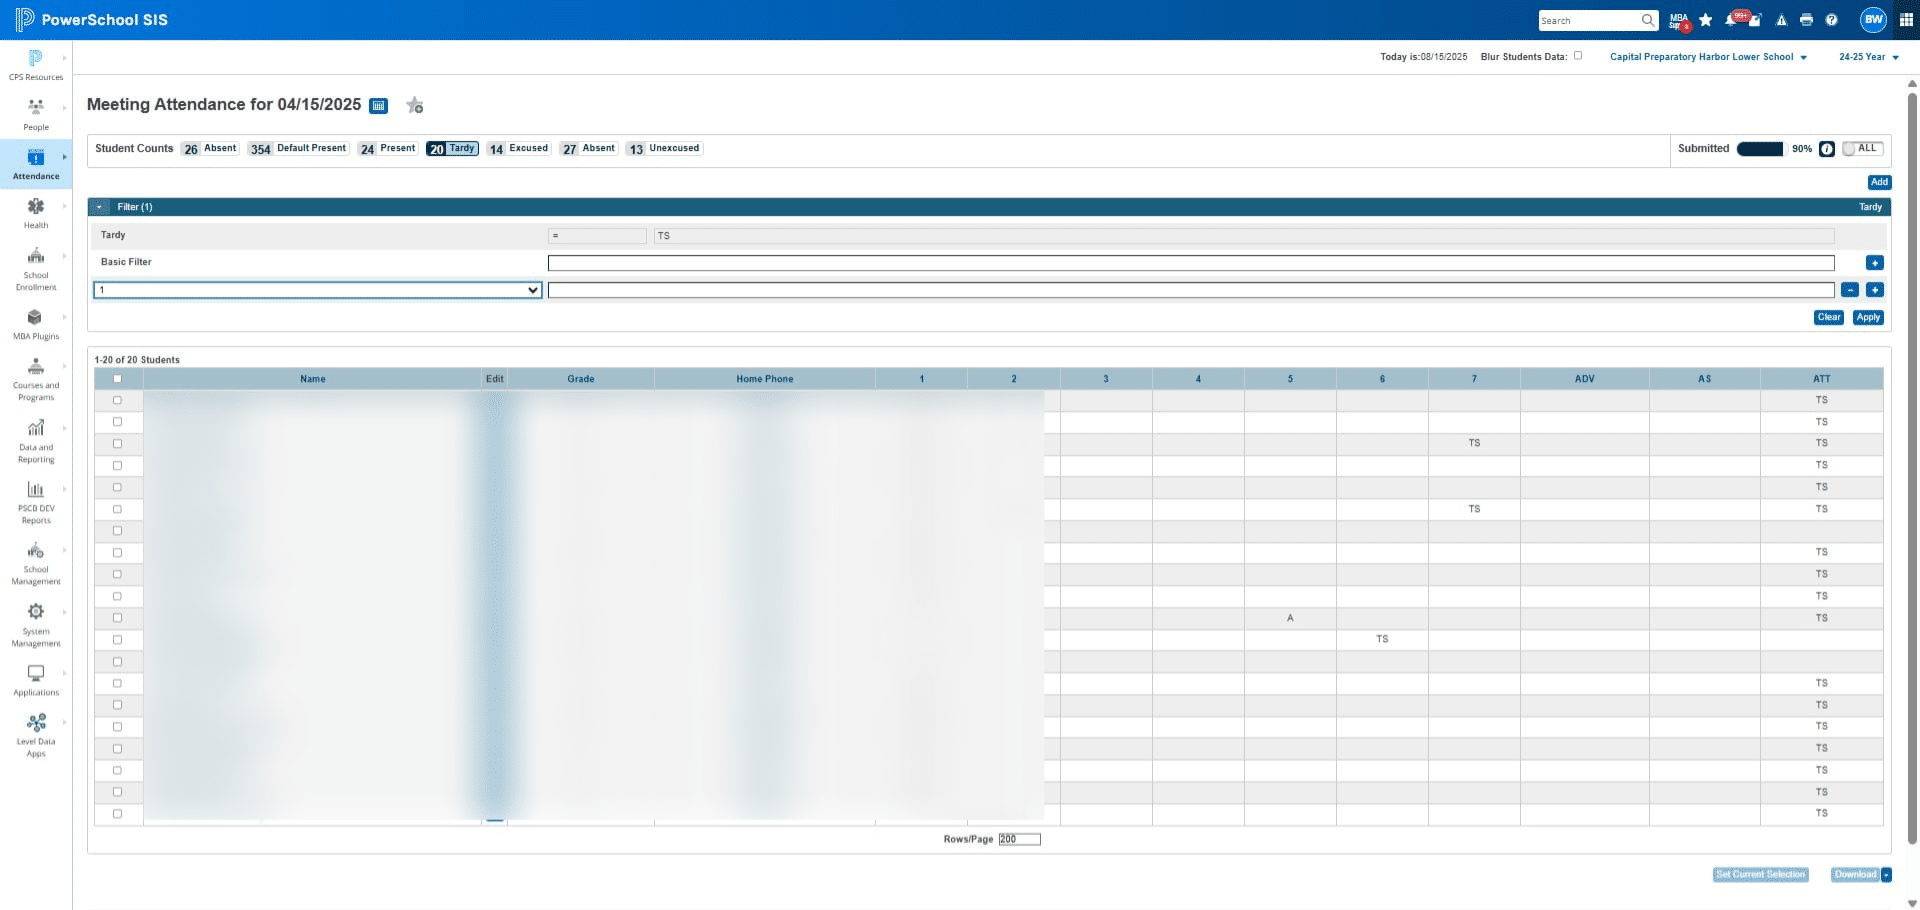
Click on "Apply"
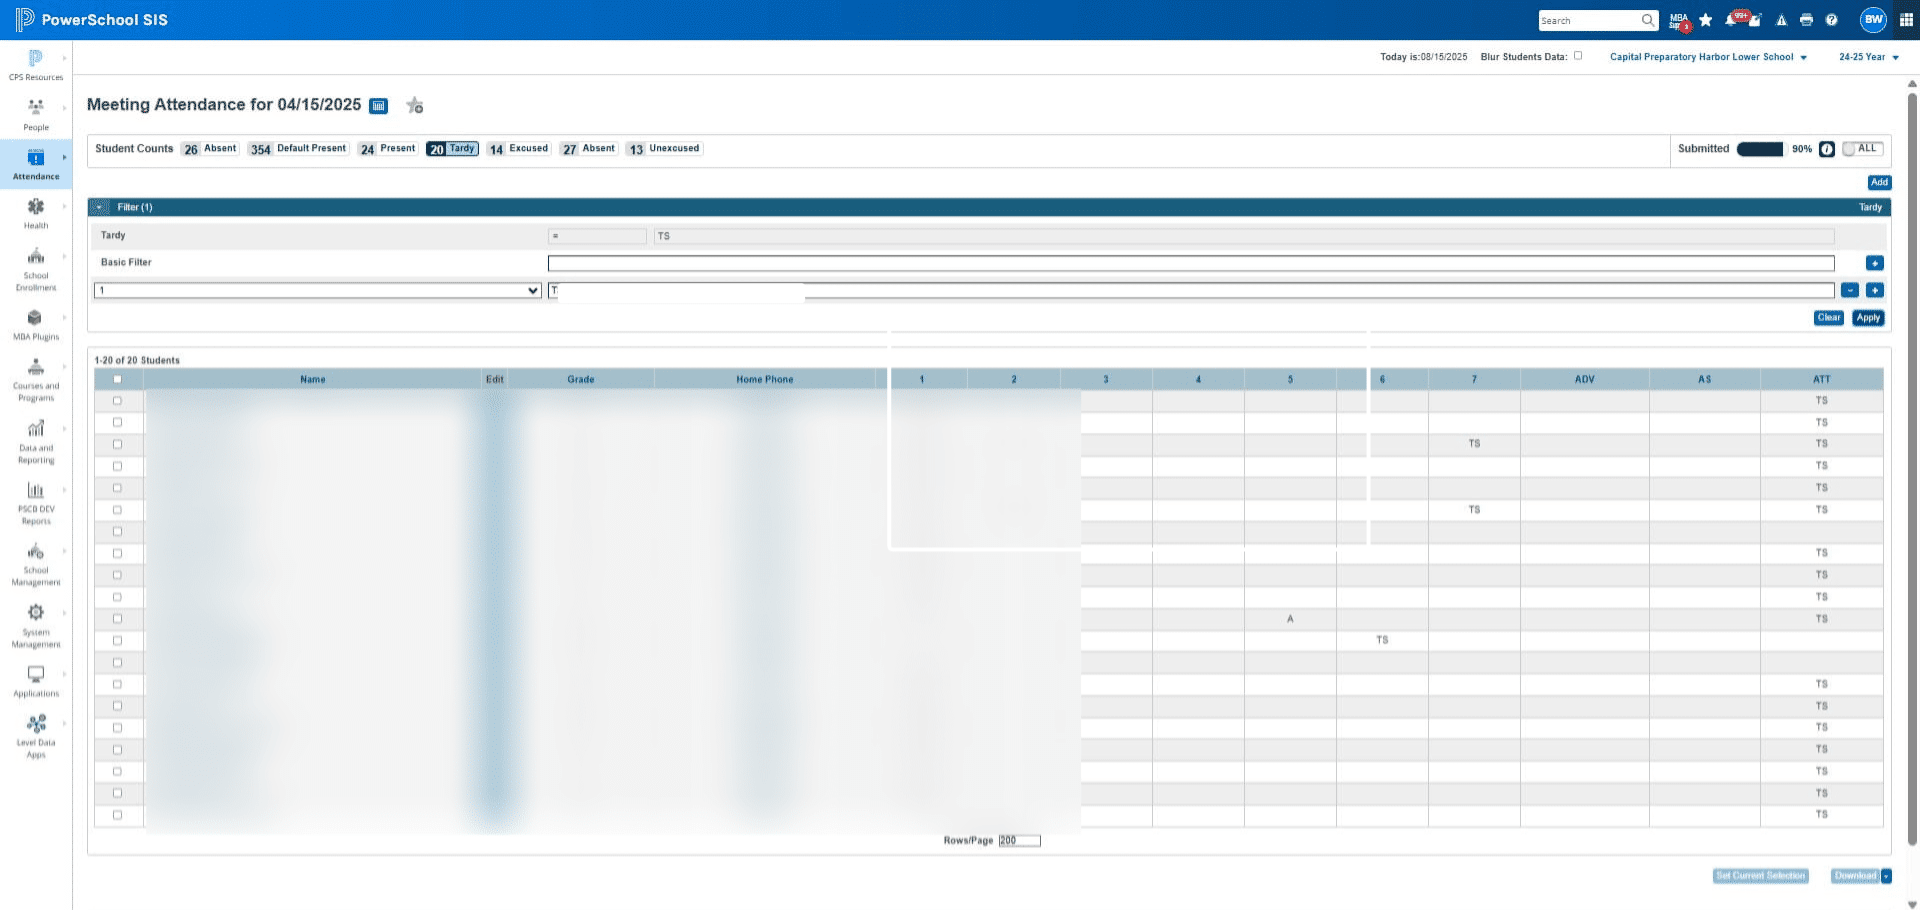
Scroll down and update the number of rows to 200 so you are selecting ALL students not just students on Page 1
After you filtered, select all students by clicking the checkbox
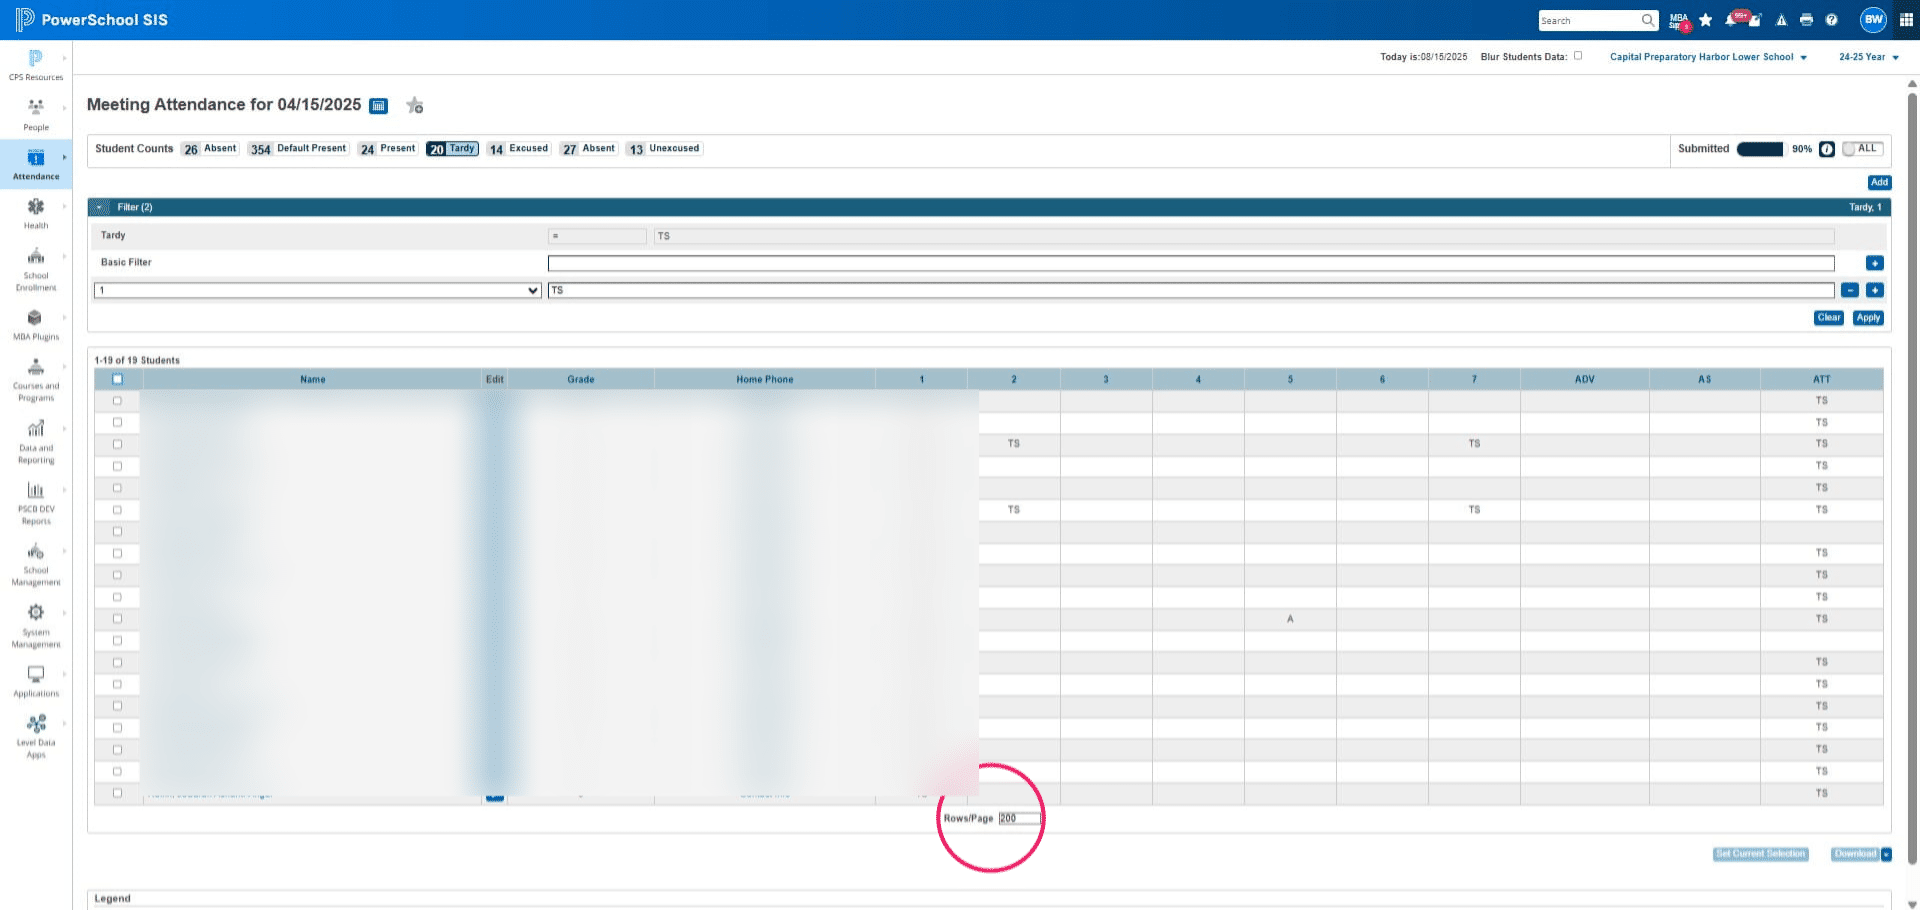
Click on "Set Current Selection"
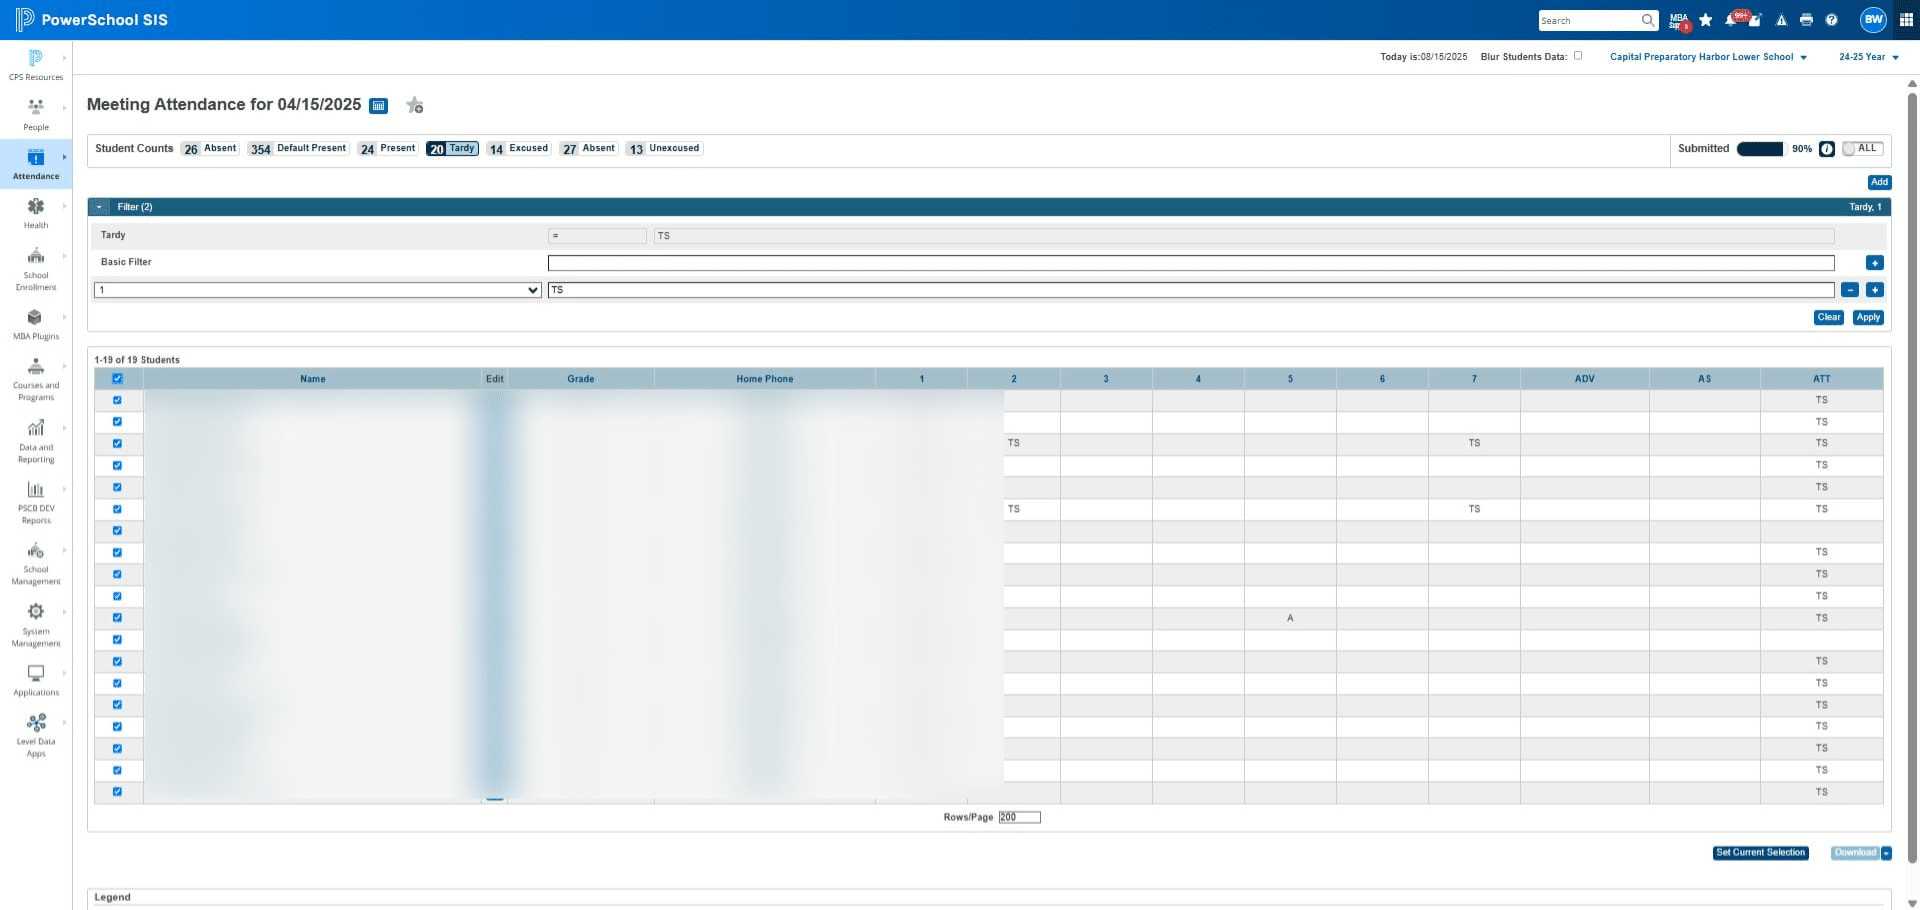
Click on "PowerSchool SIS"
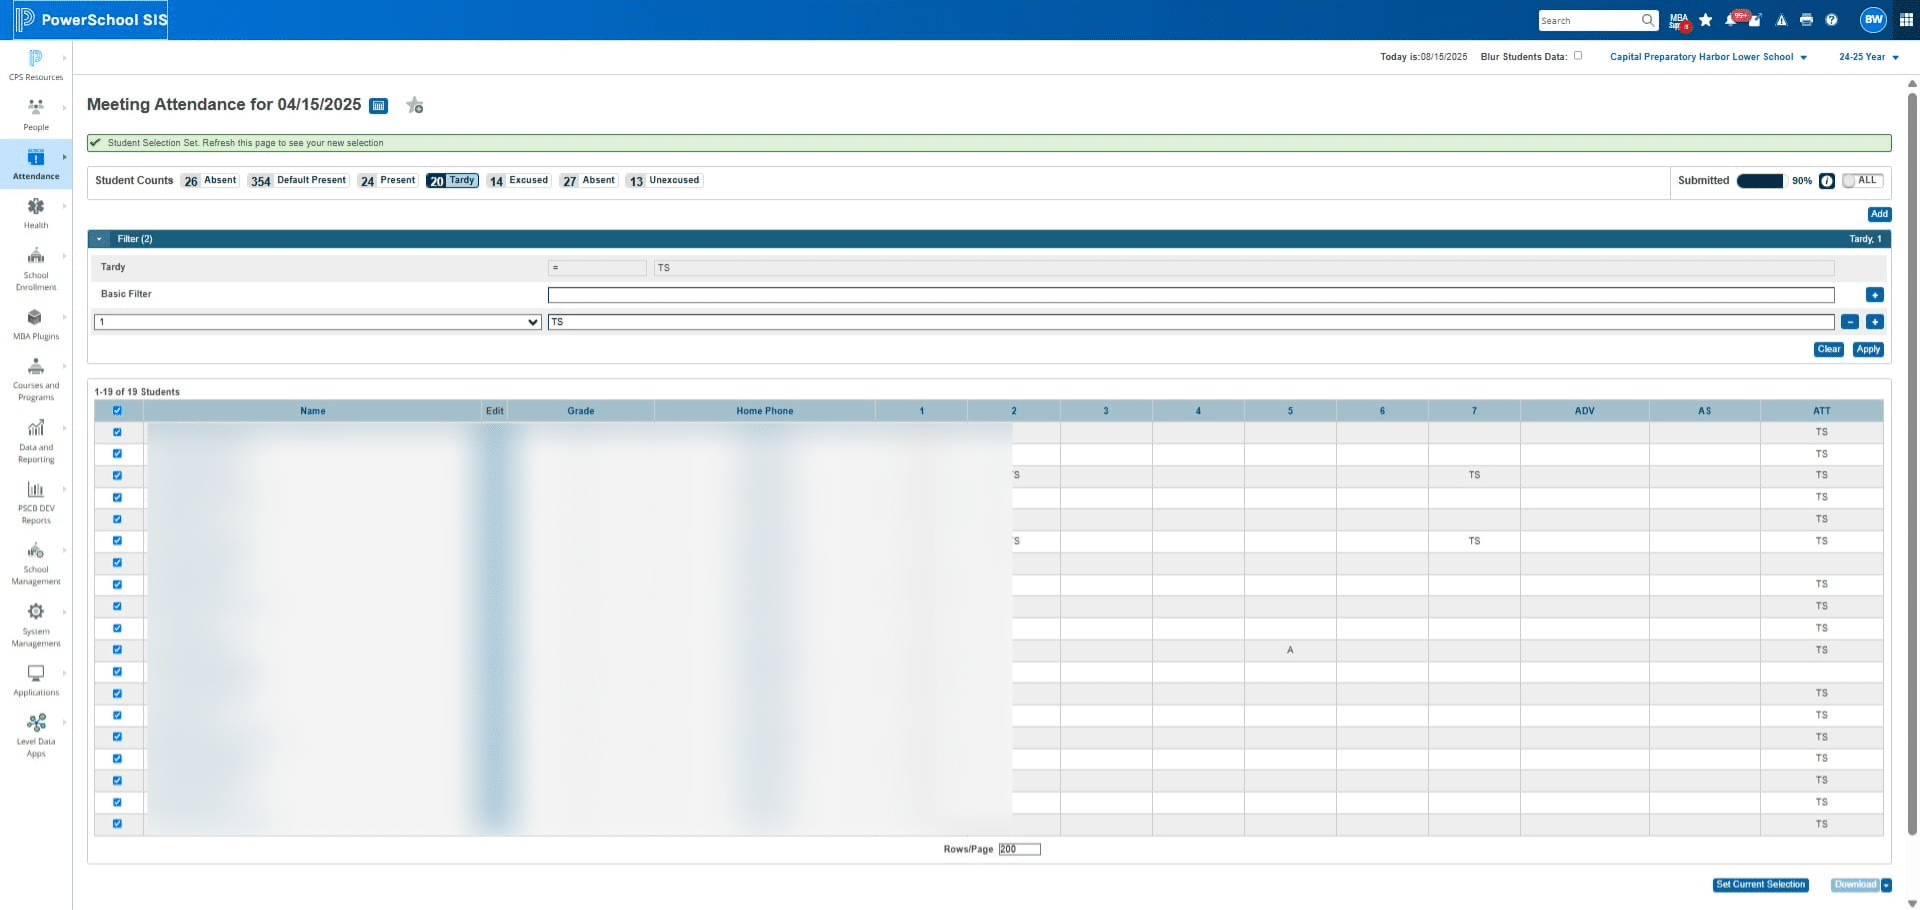
Click the dropdown arrow
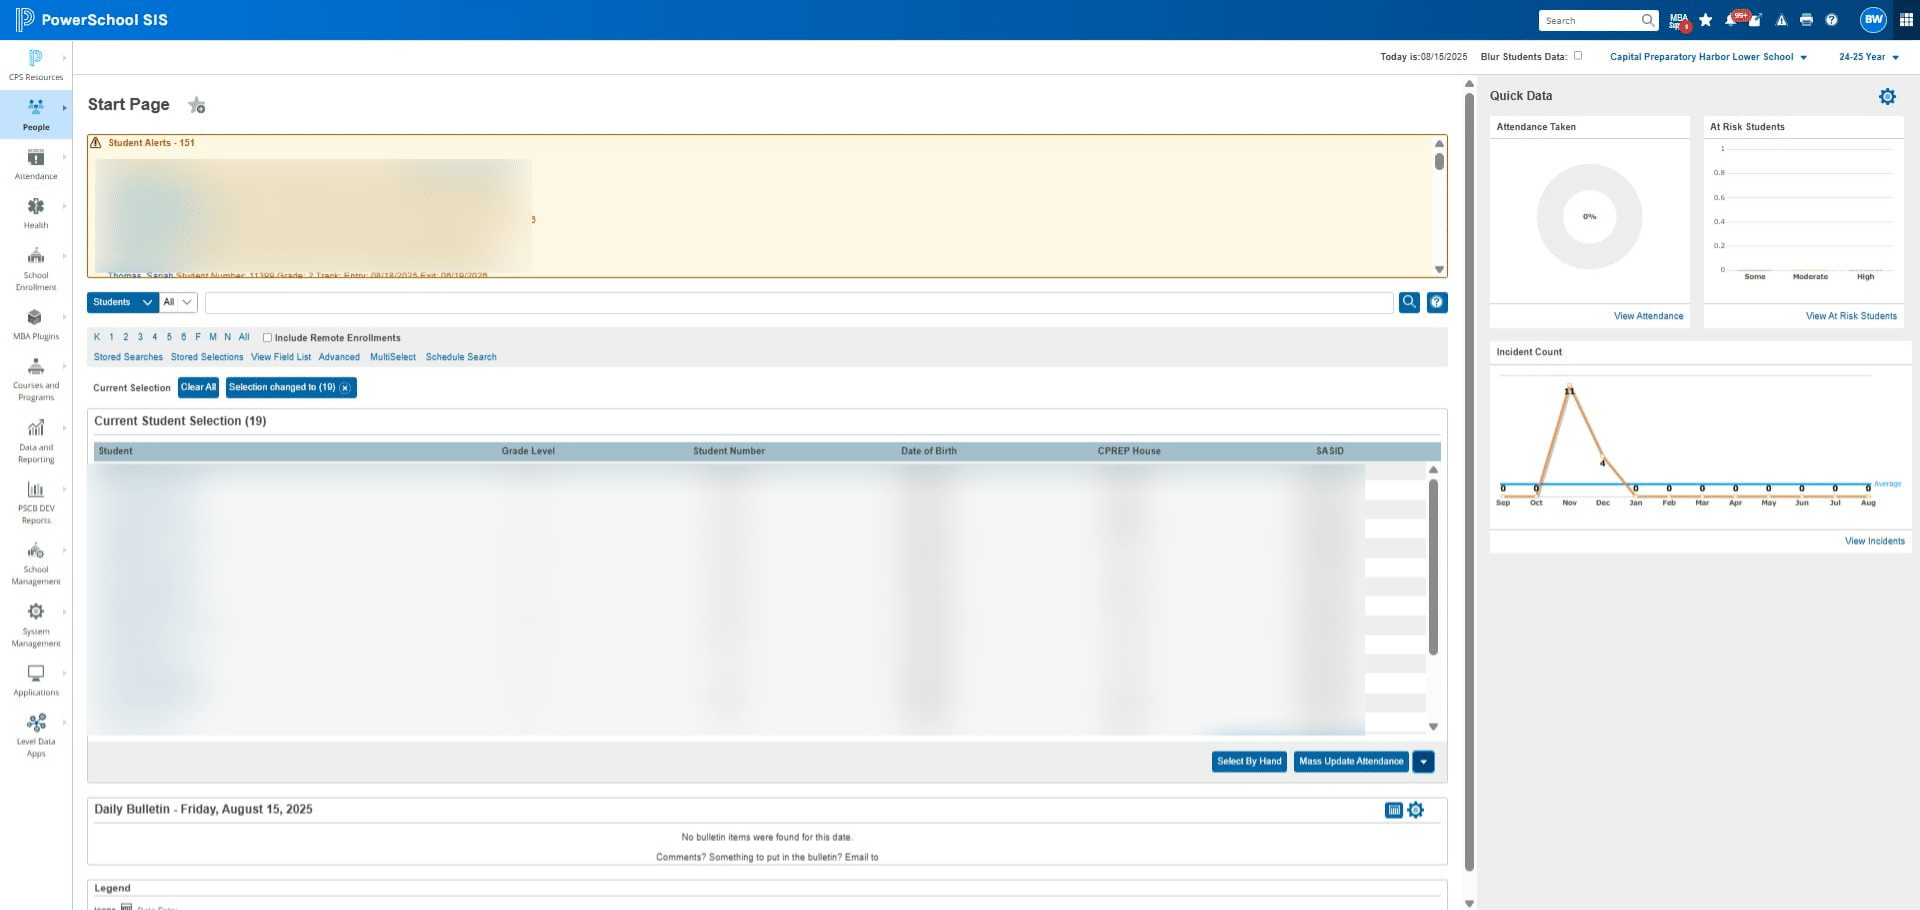
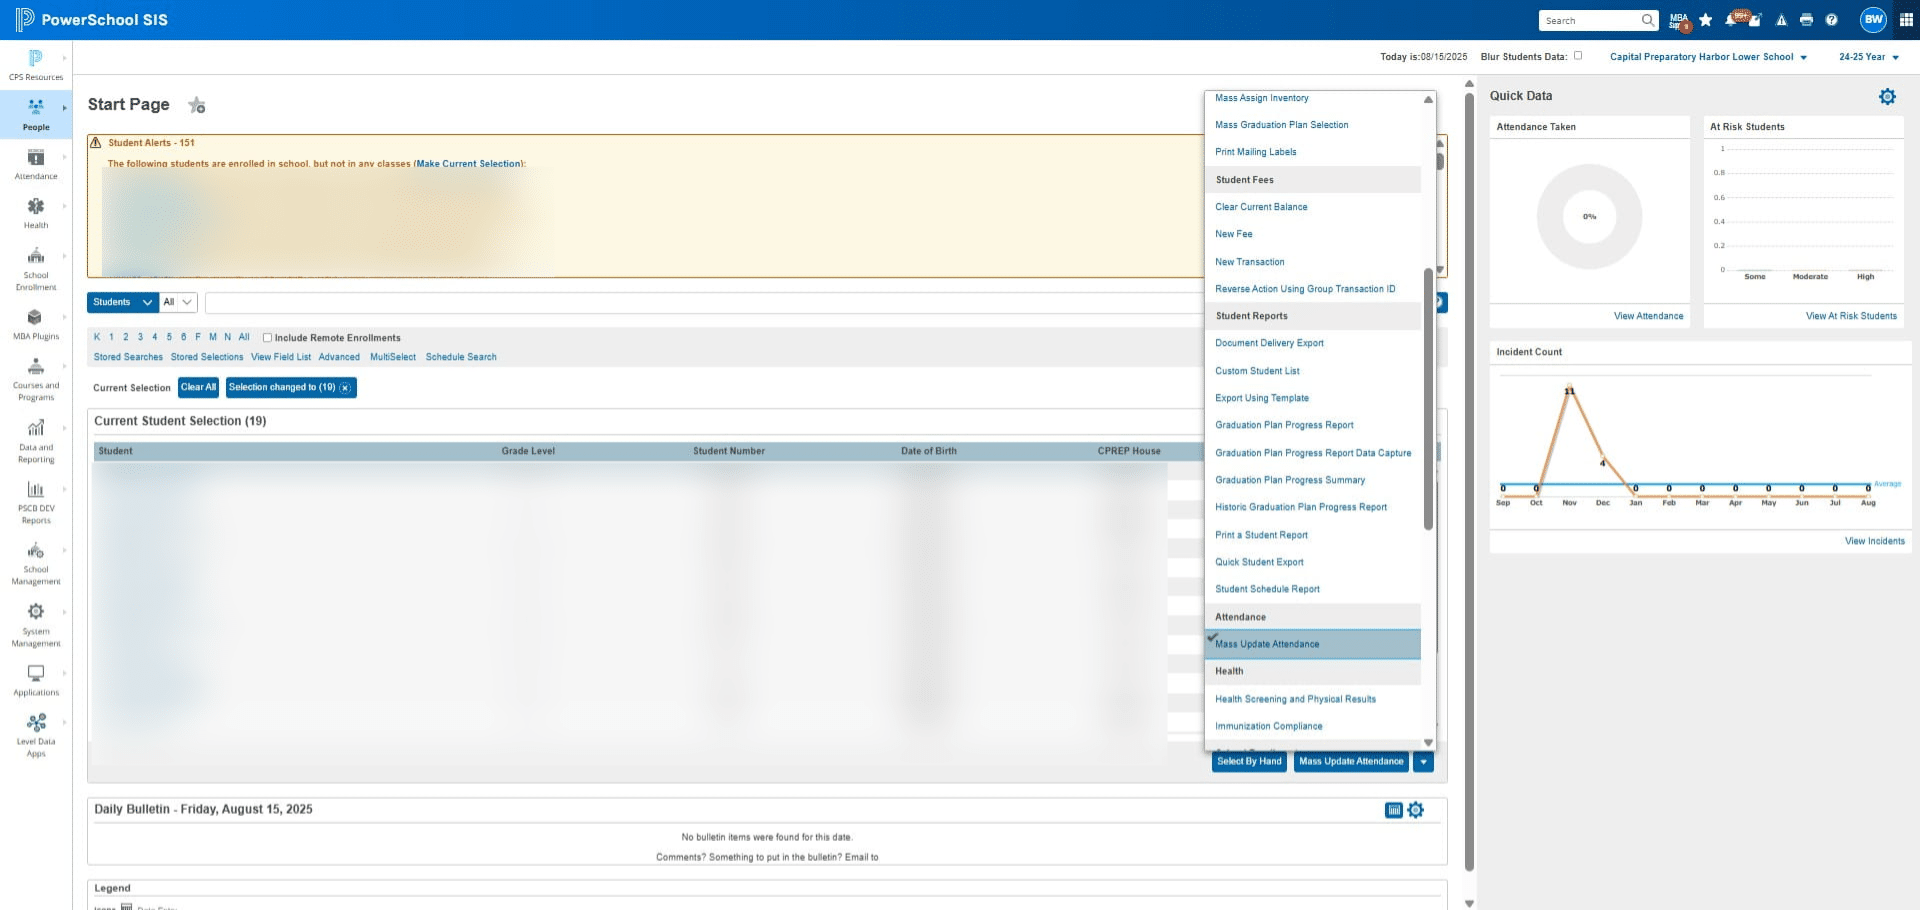
Click on "Mass Update Attendance"
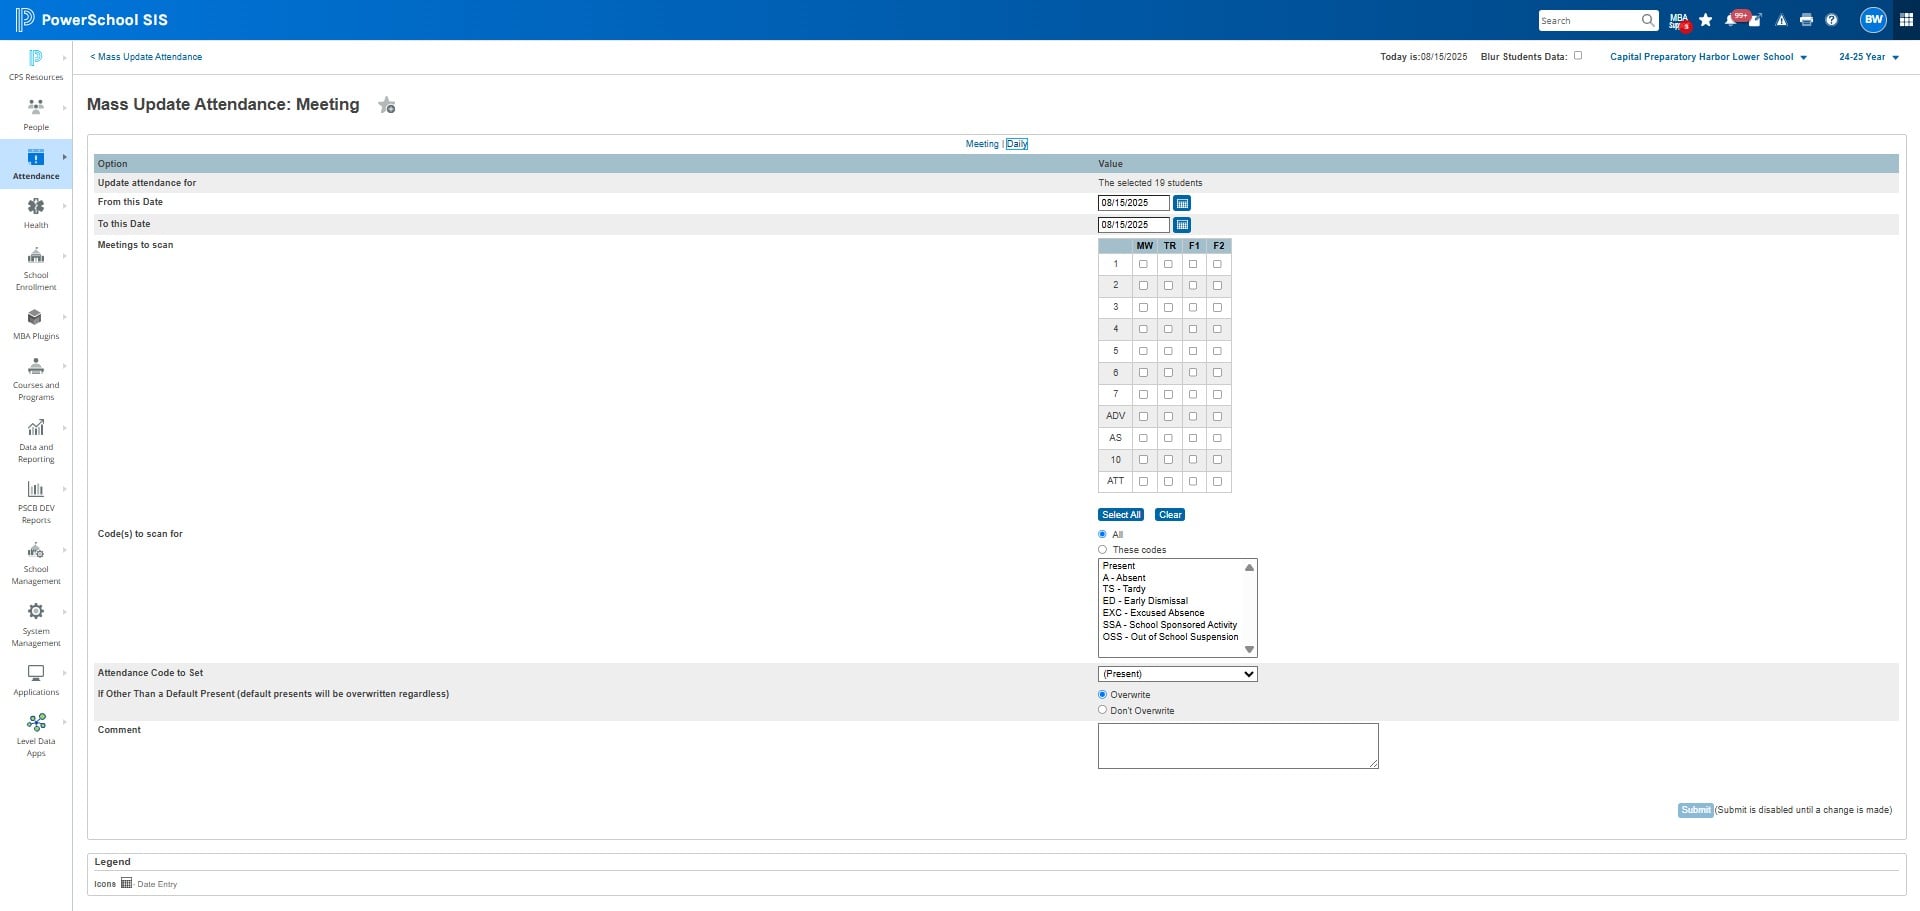
Click on "Daily"
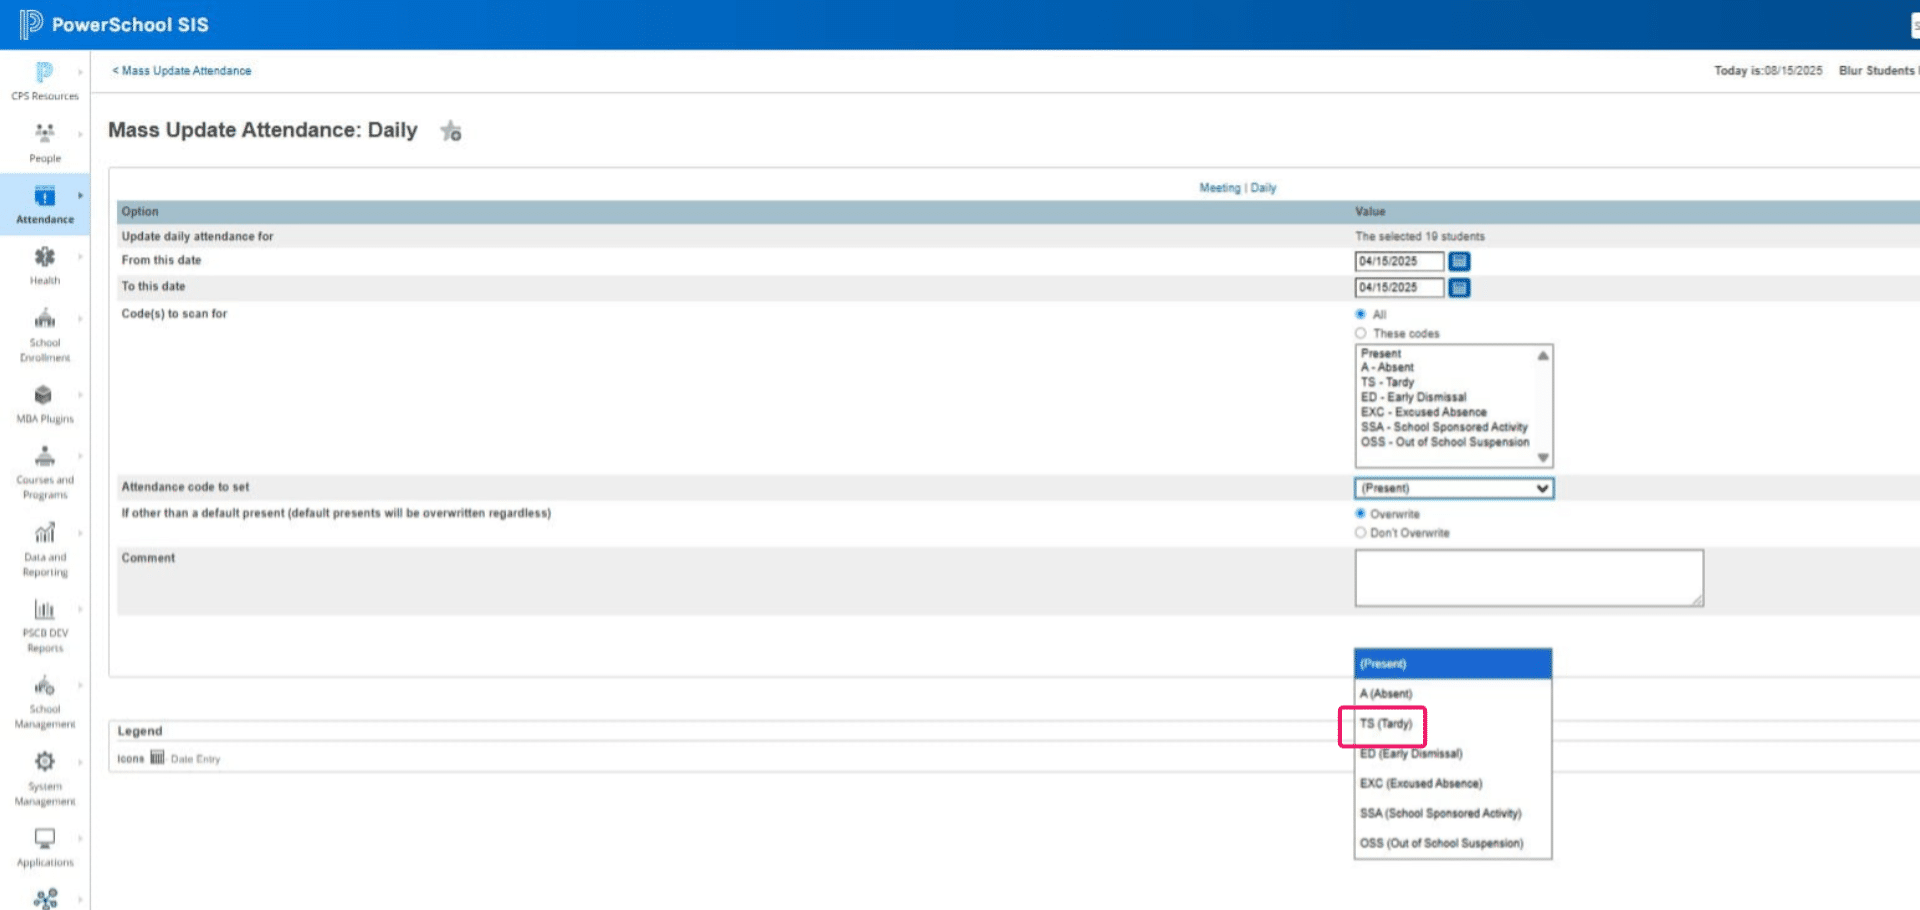
Click on "(Present)" and switch to "T (Tardy)"
Click on "Submit"
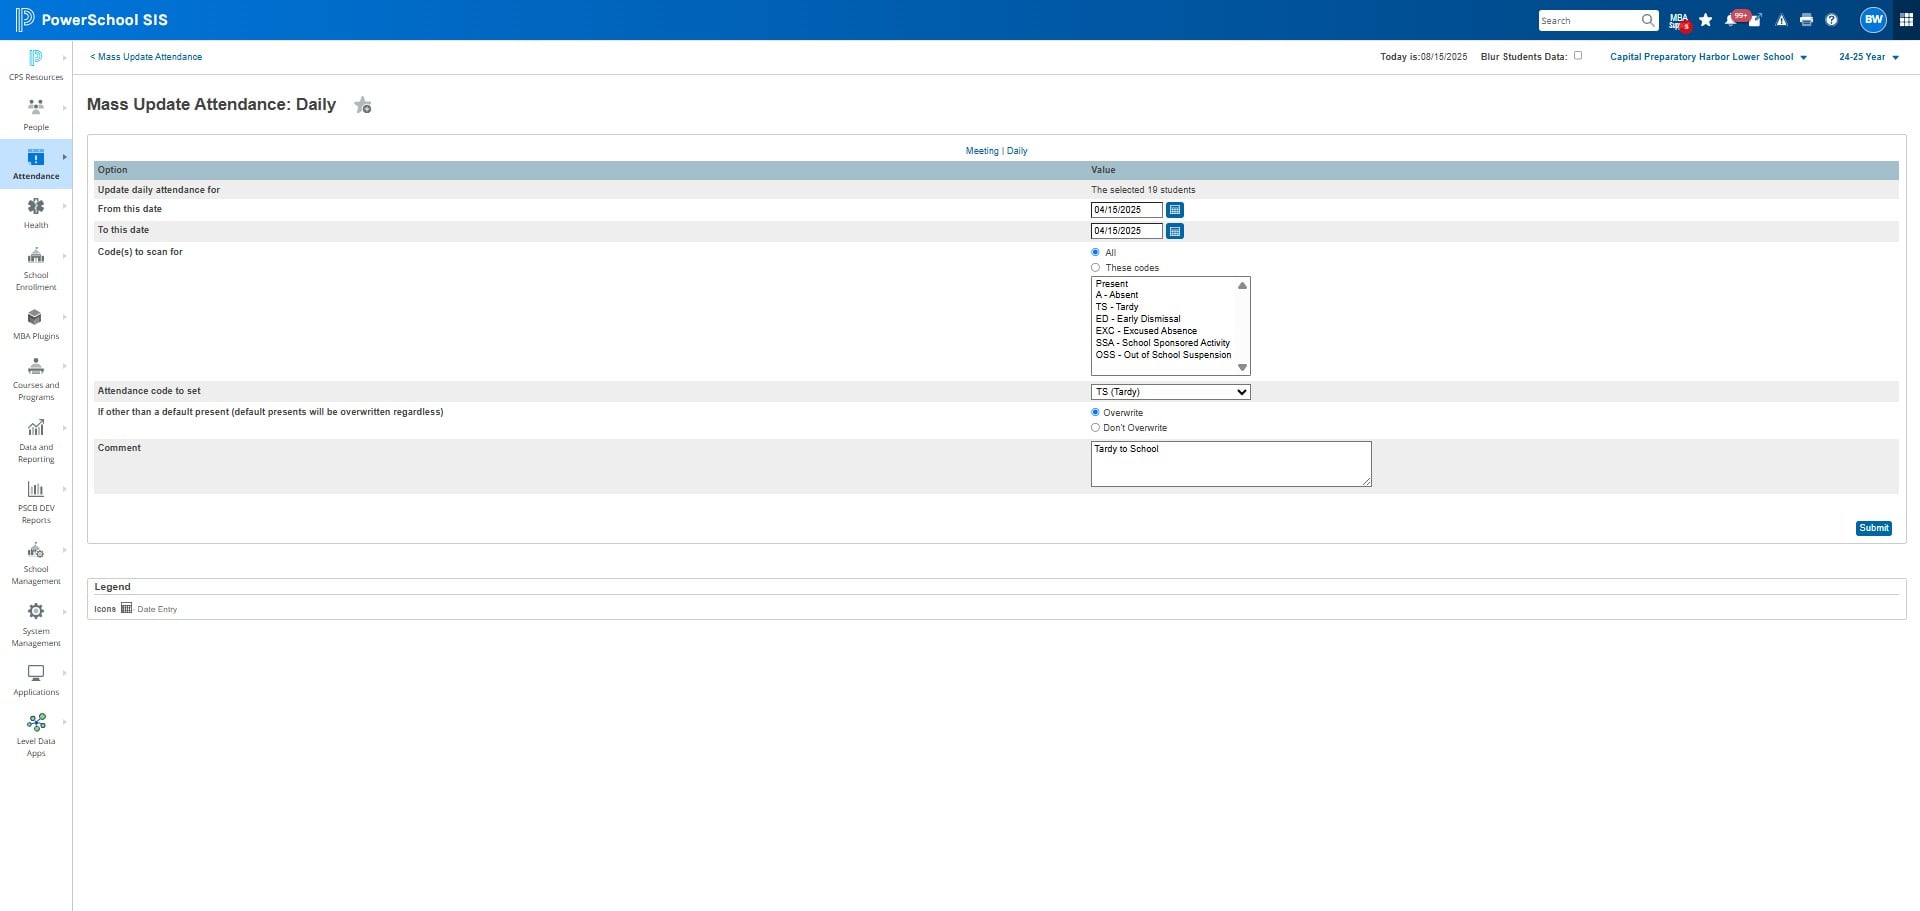
Update Absent Students in the ATT Period
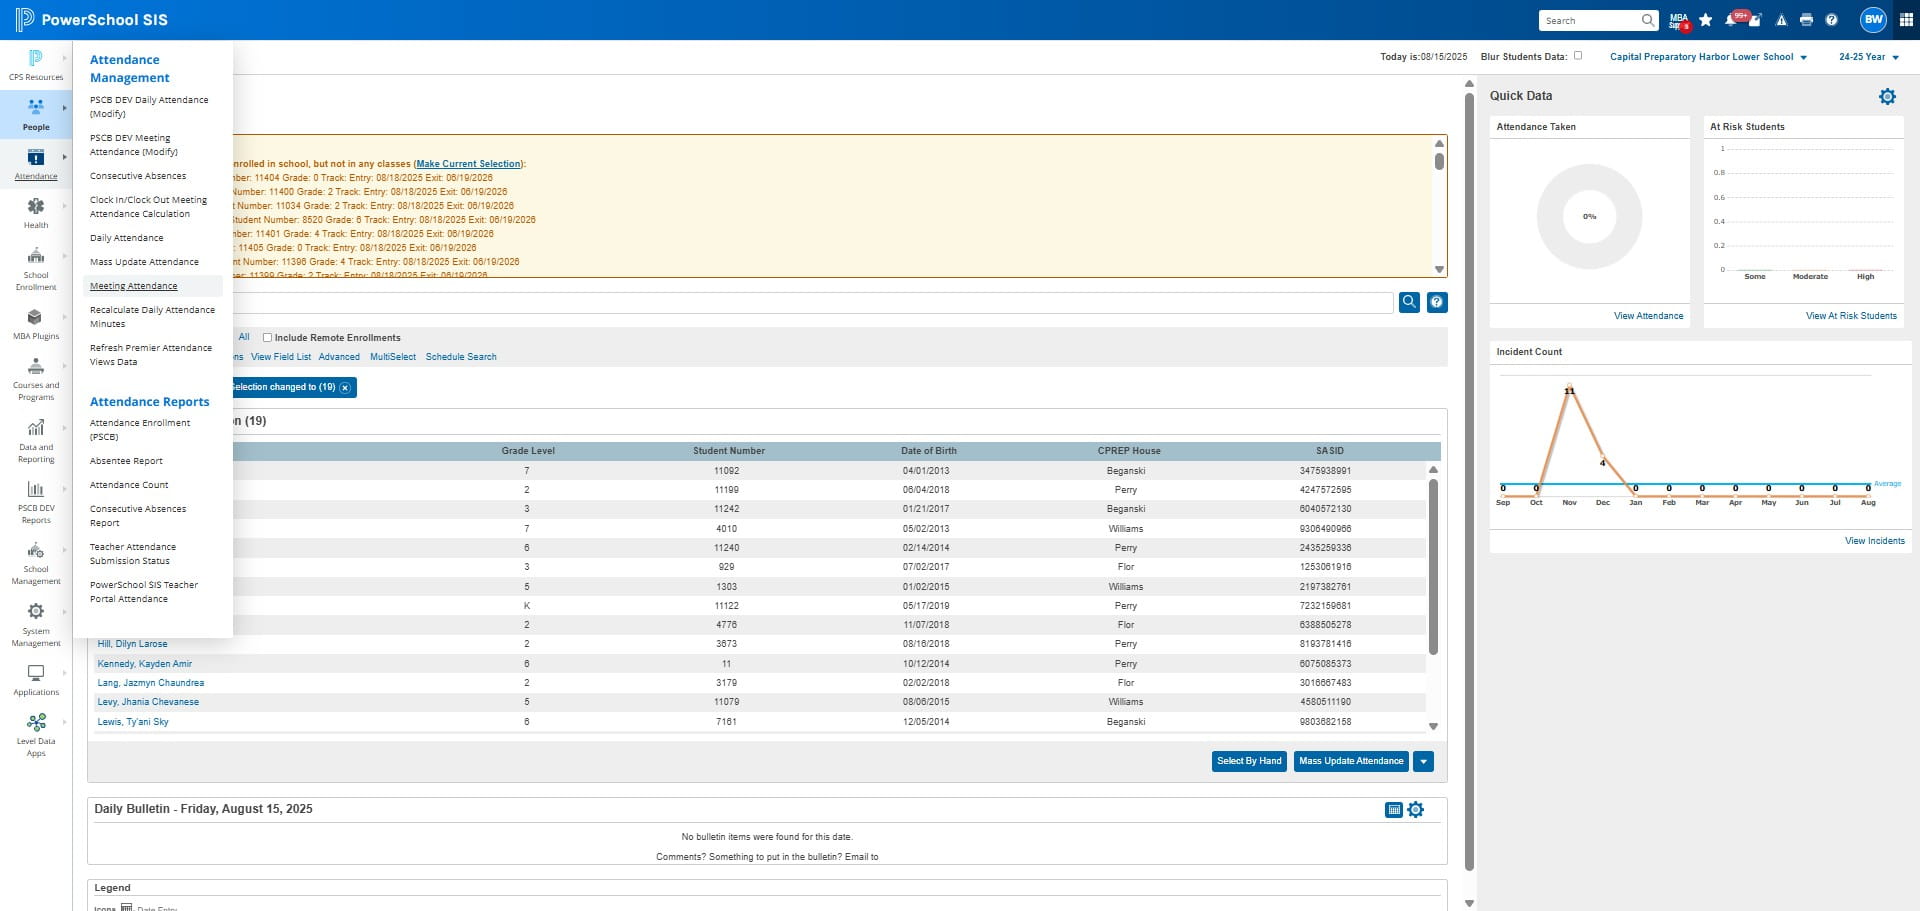
Click "Attendance"
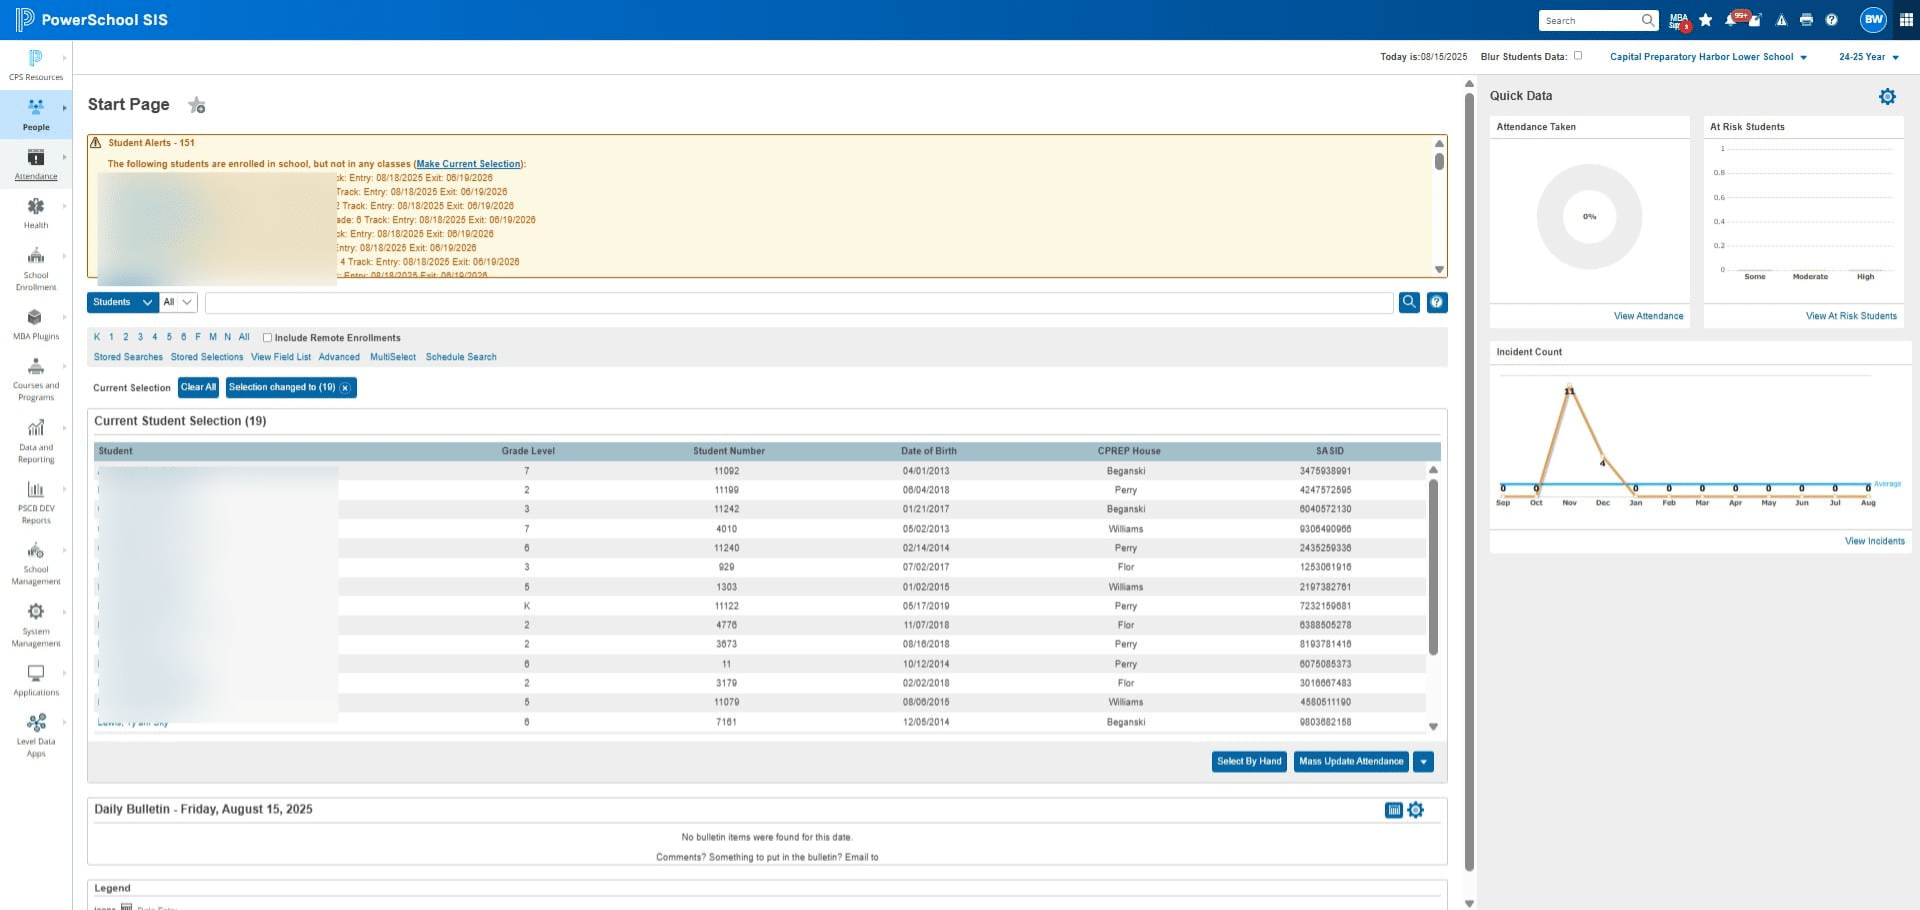
Click on "Meeting Attendance"
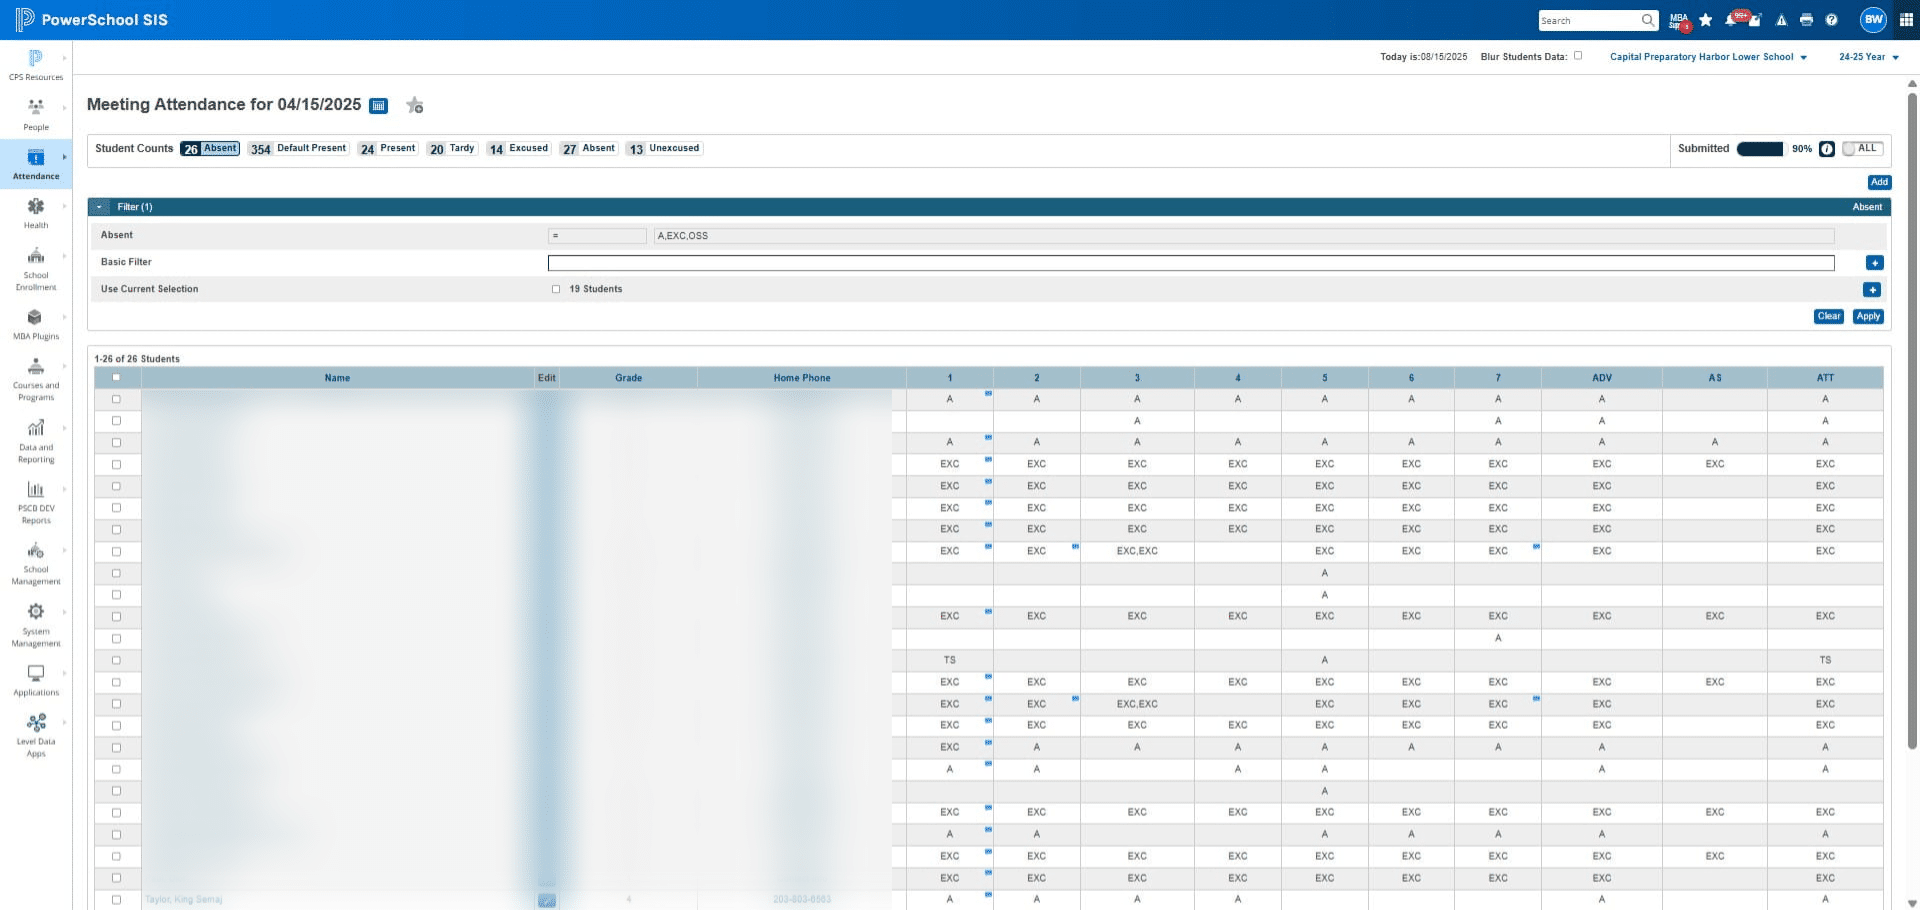
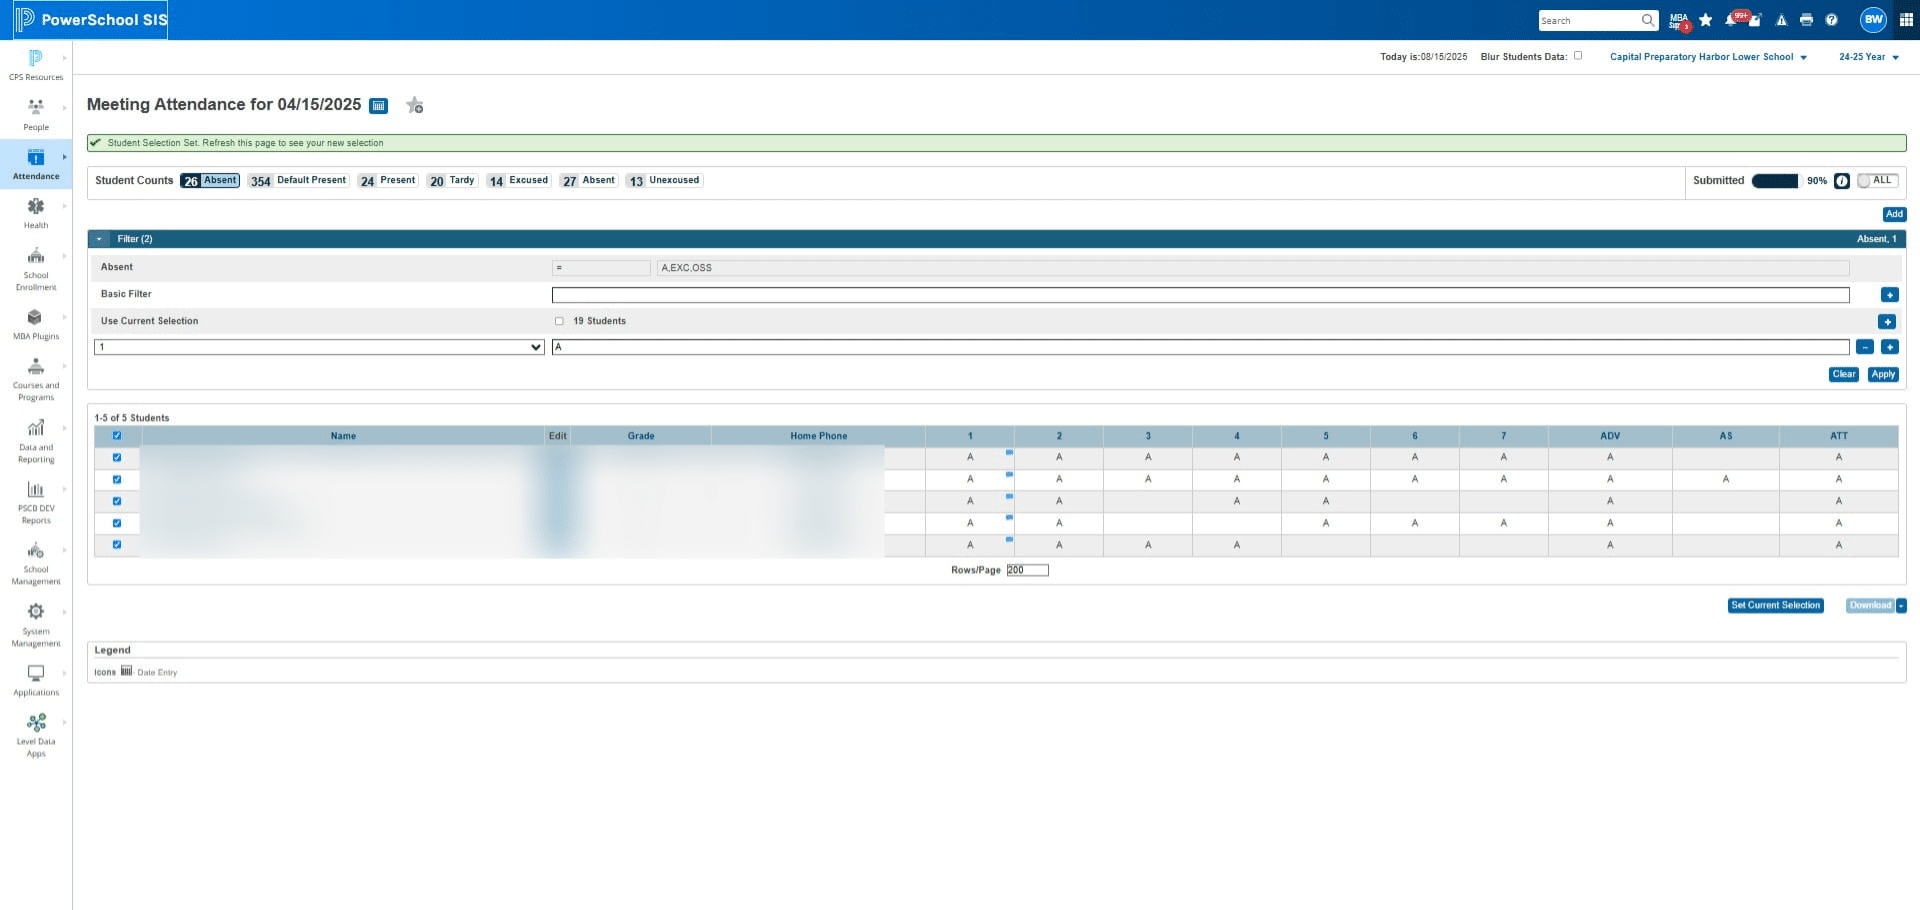
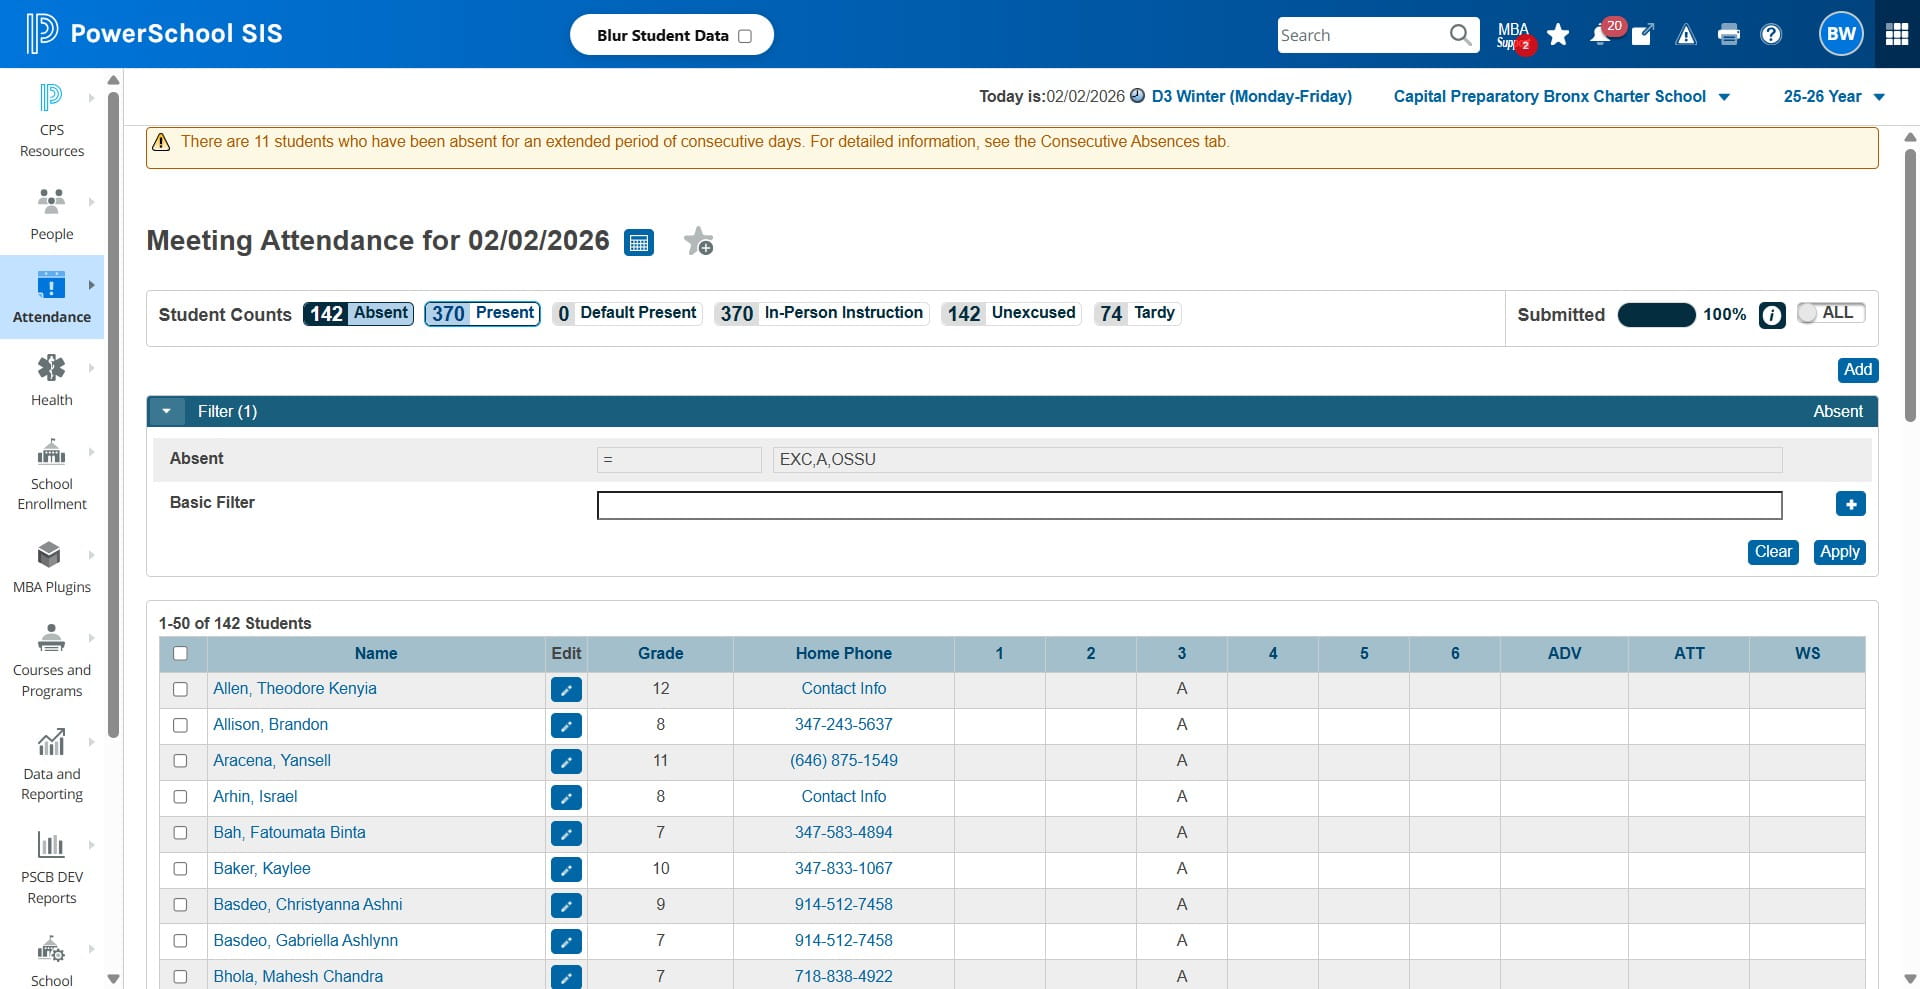
Click on "Absent"
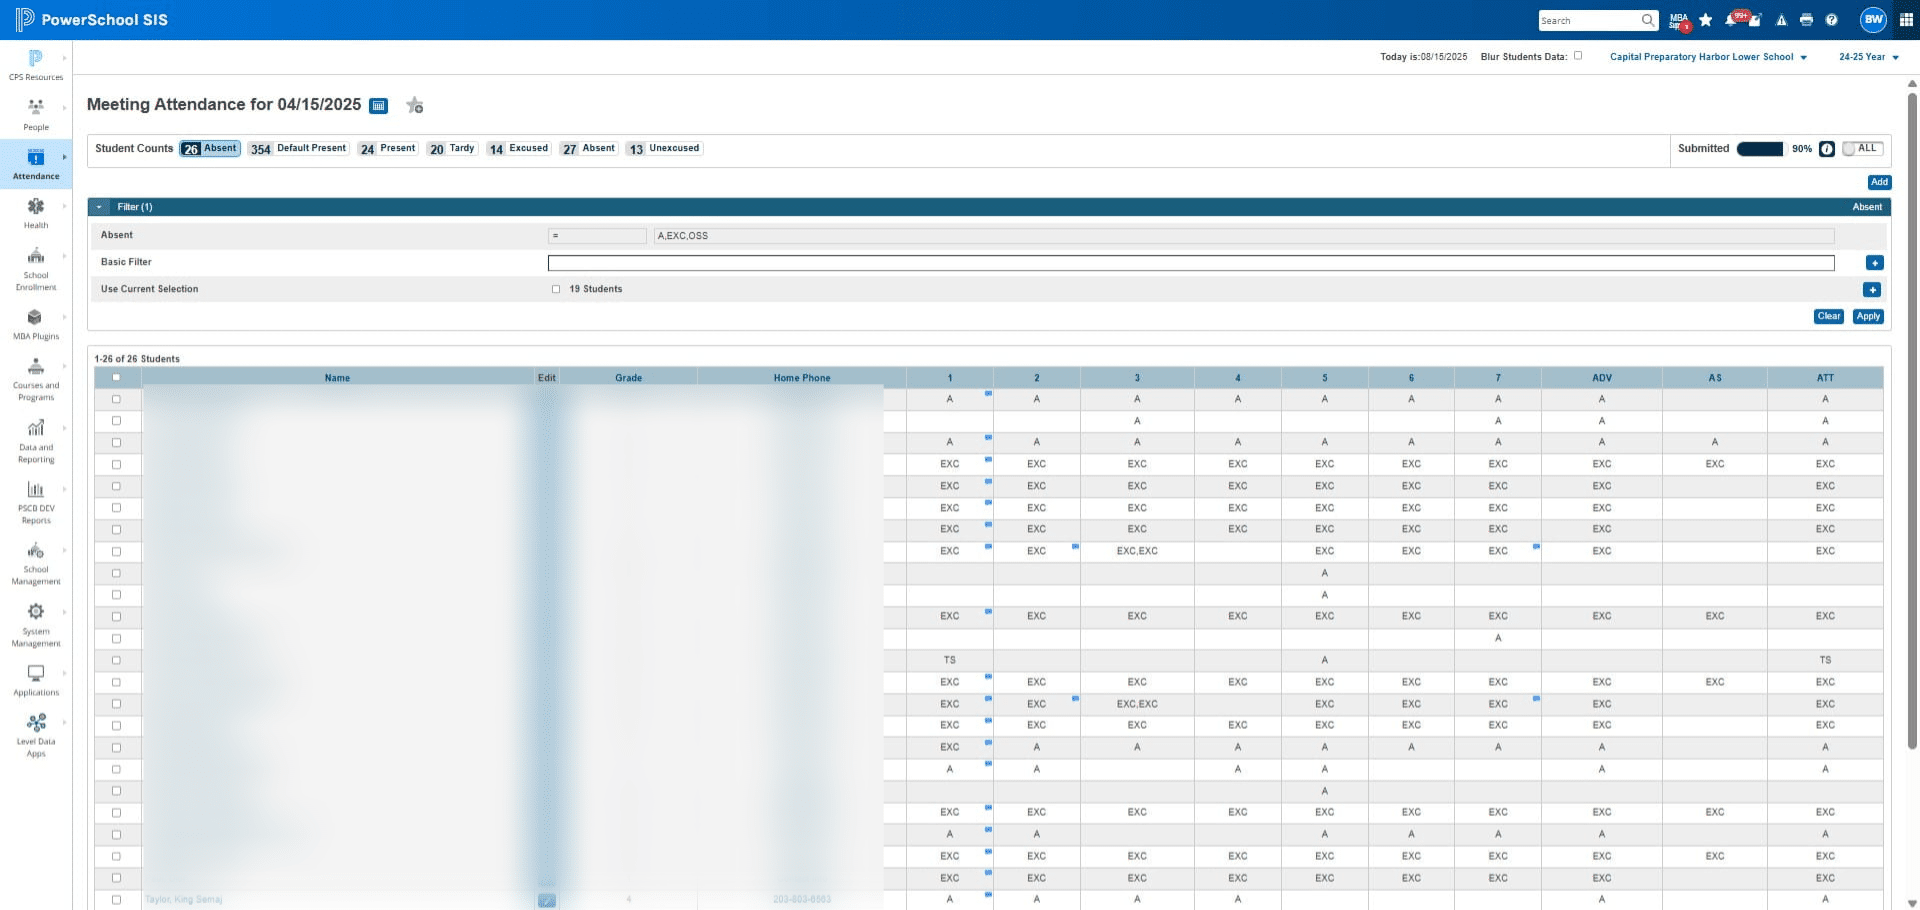
When sending the attendance email, ensure you filter for the first period of the day. Failure to do so will result in changing the attendance status for all students marked tardy or absent during any period.
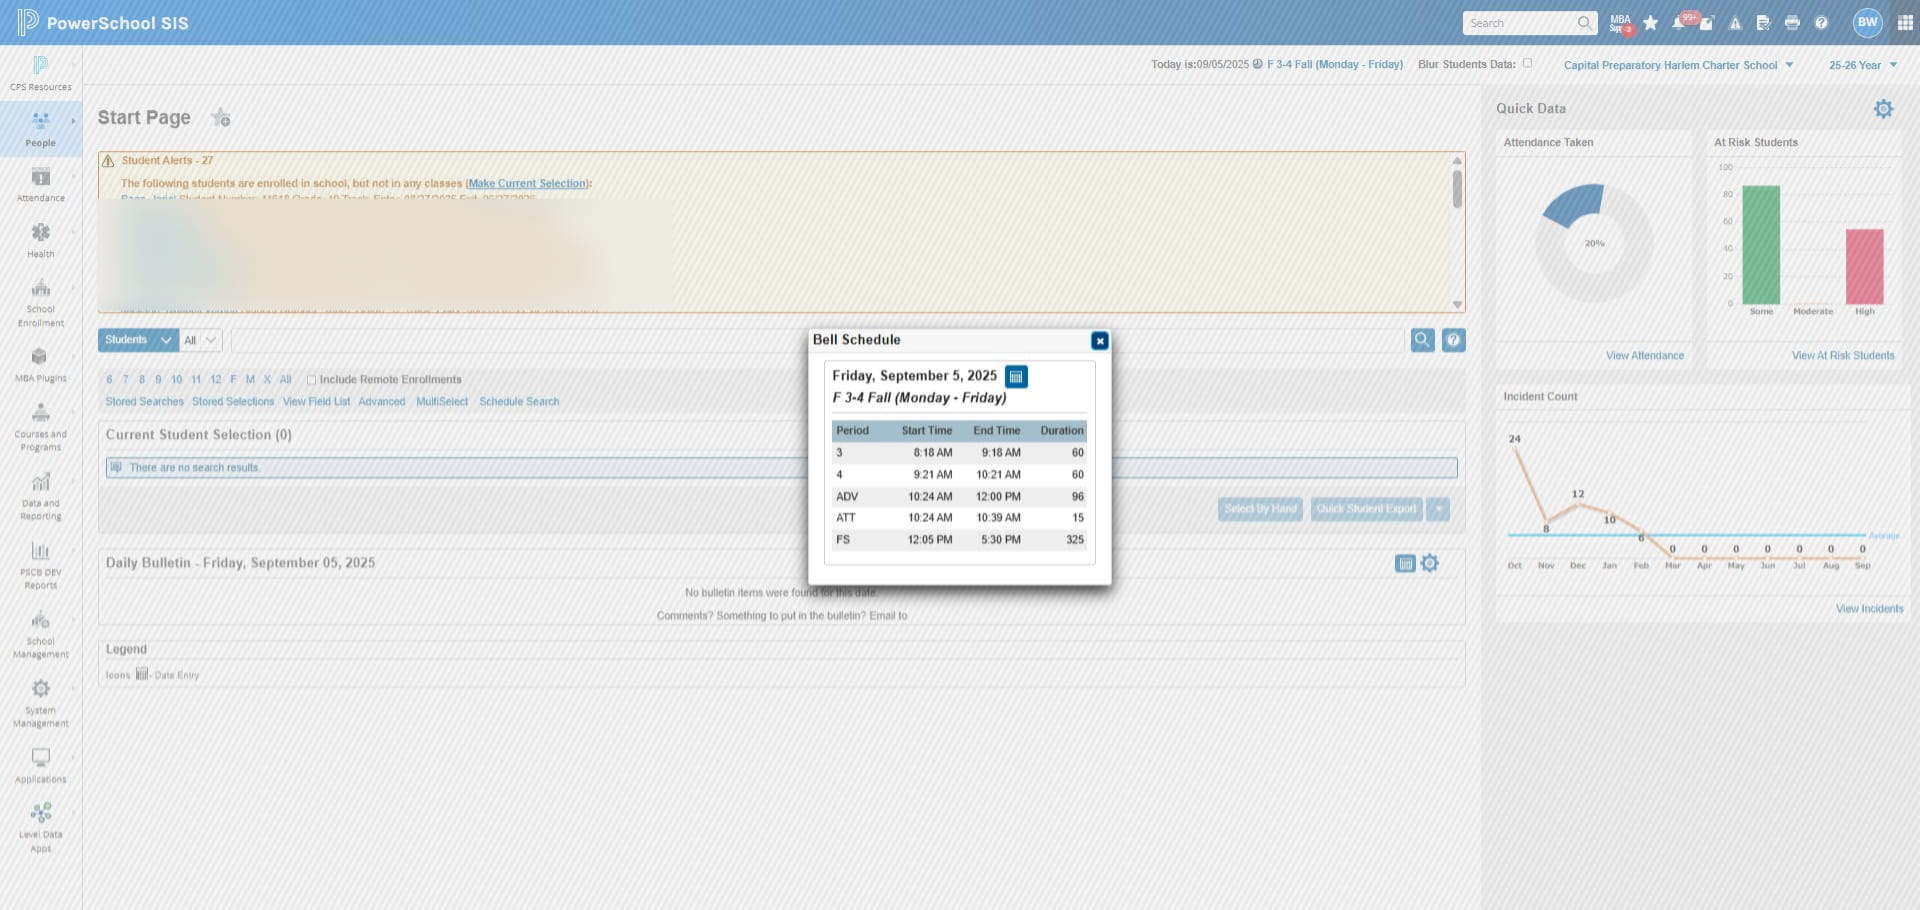
To find the first period of the day Click on the SCHEDULE next to where it says Today is XX/XX/XXXX
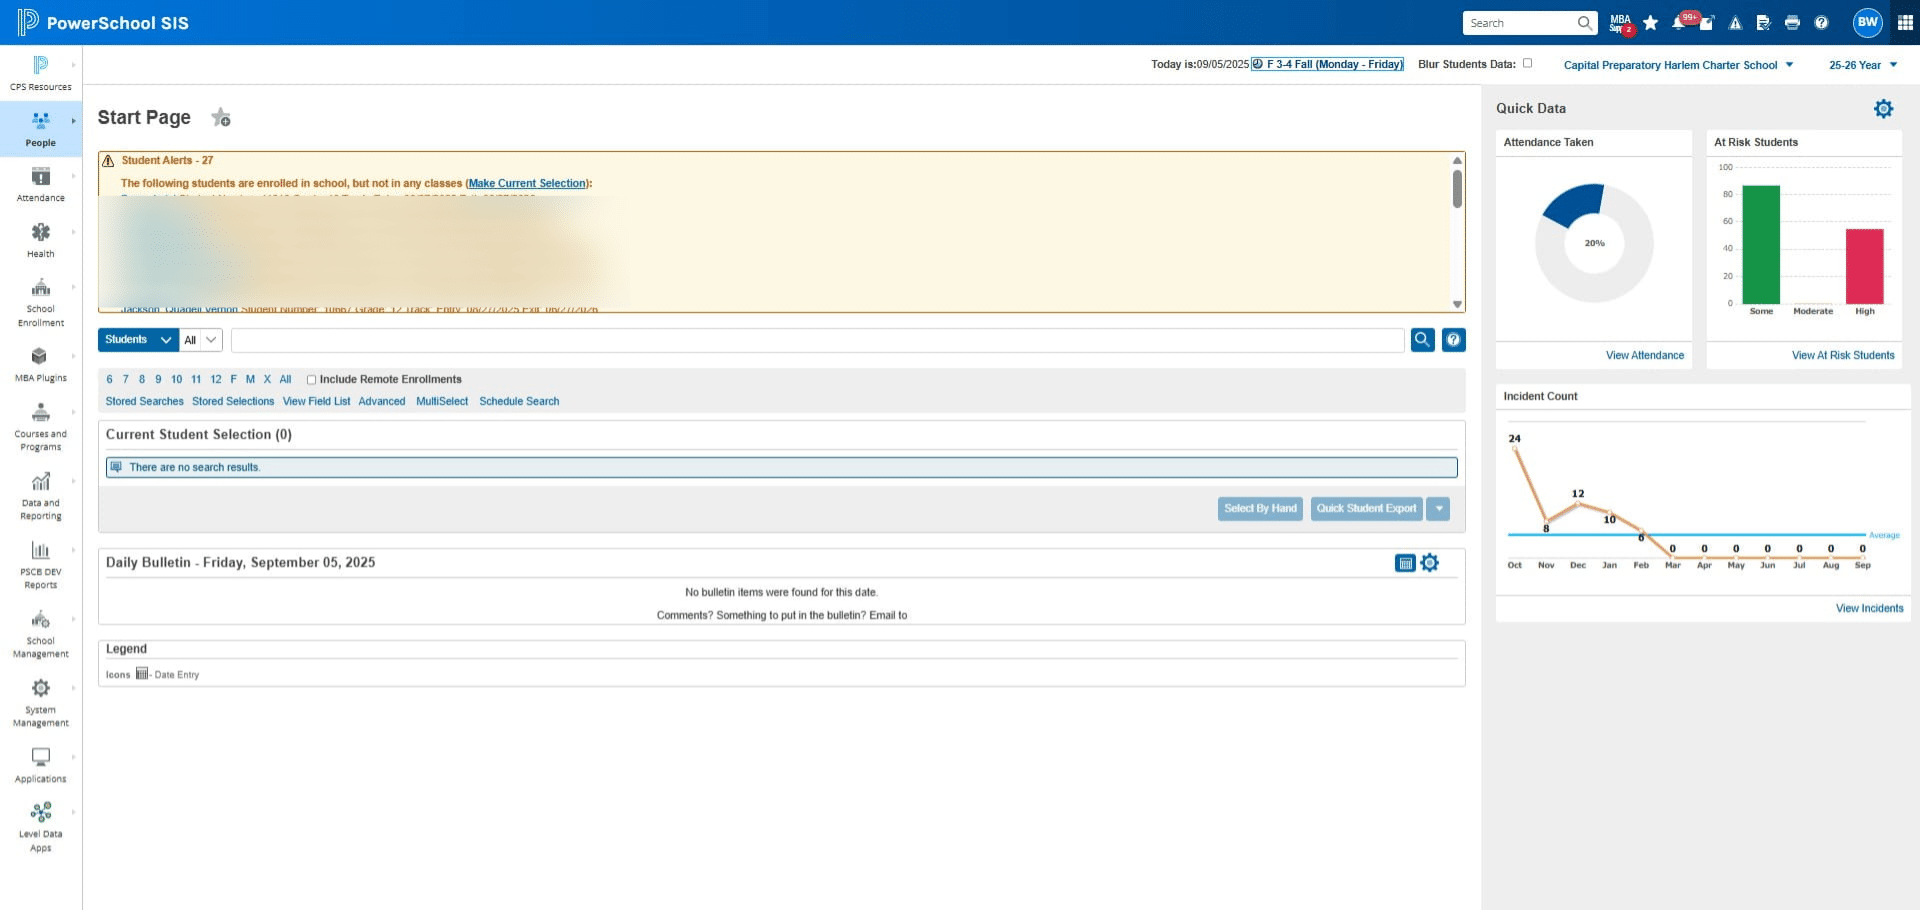
The name of the first period of the day is listed under PERIOD column. So in this example, the first period of the day is 3.
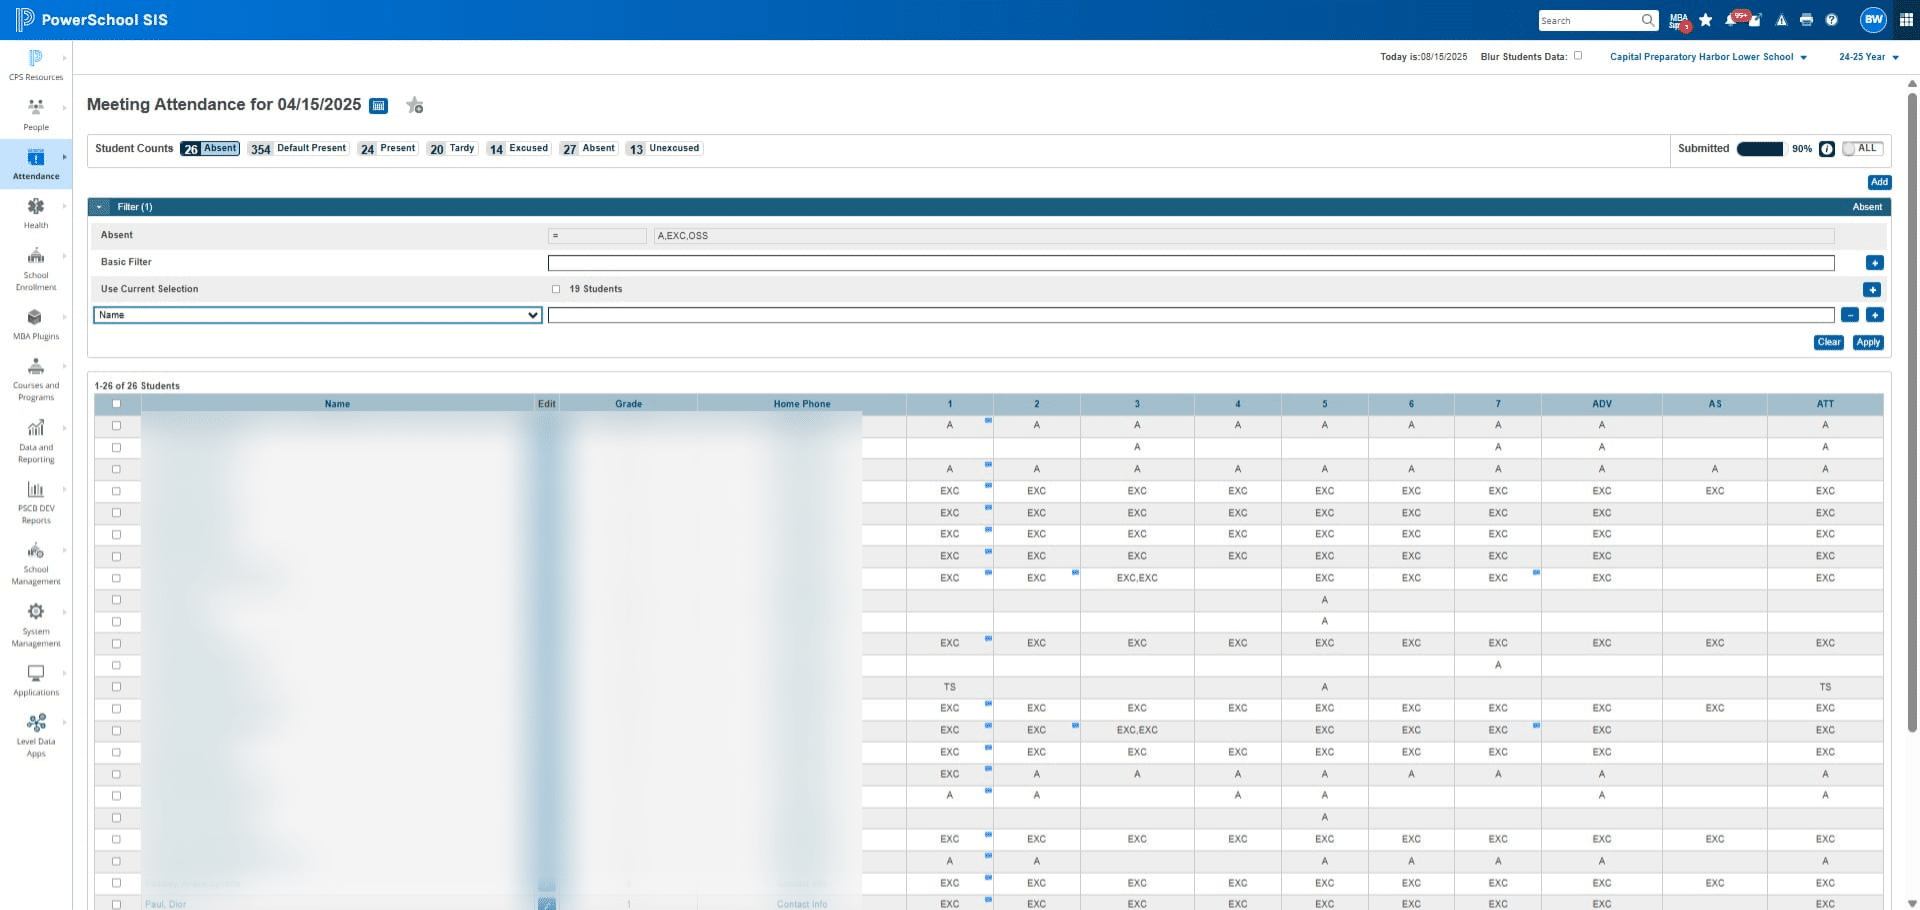
Click on the basic filter plus sign
Click on "Name" and select the first period of the day.
Per the example, you would select period 3. Select the CORRECT period based on your schools' schedule!
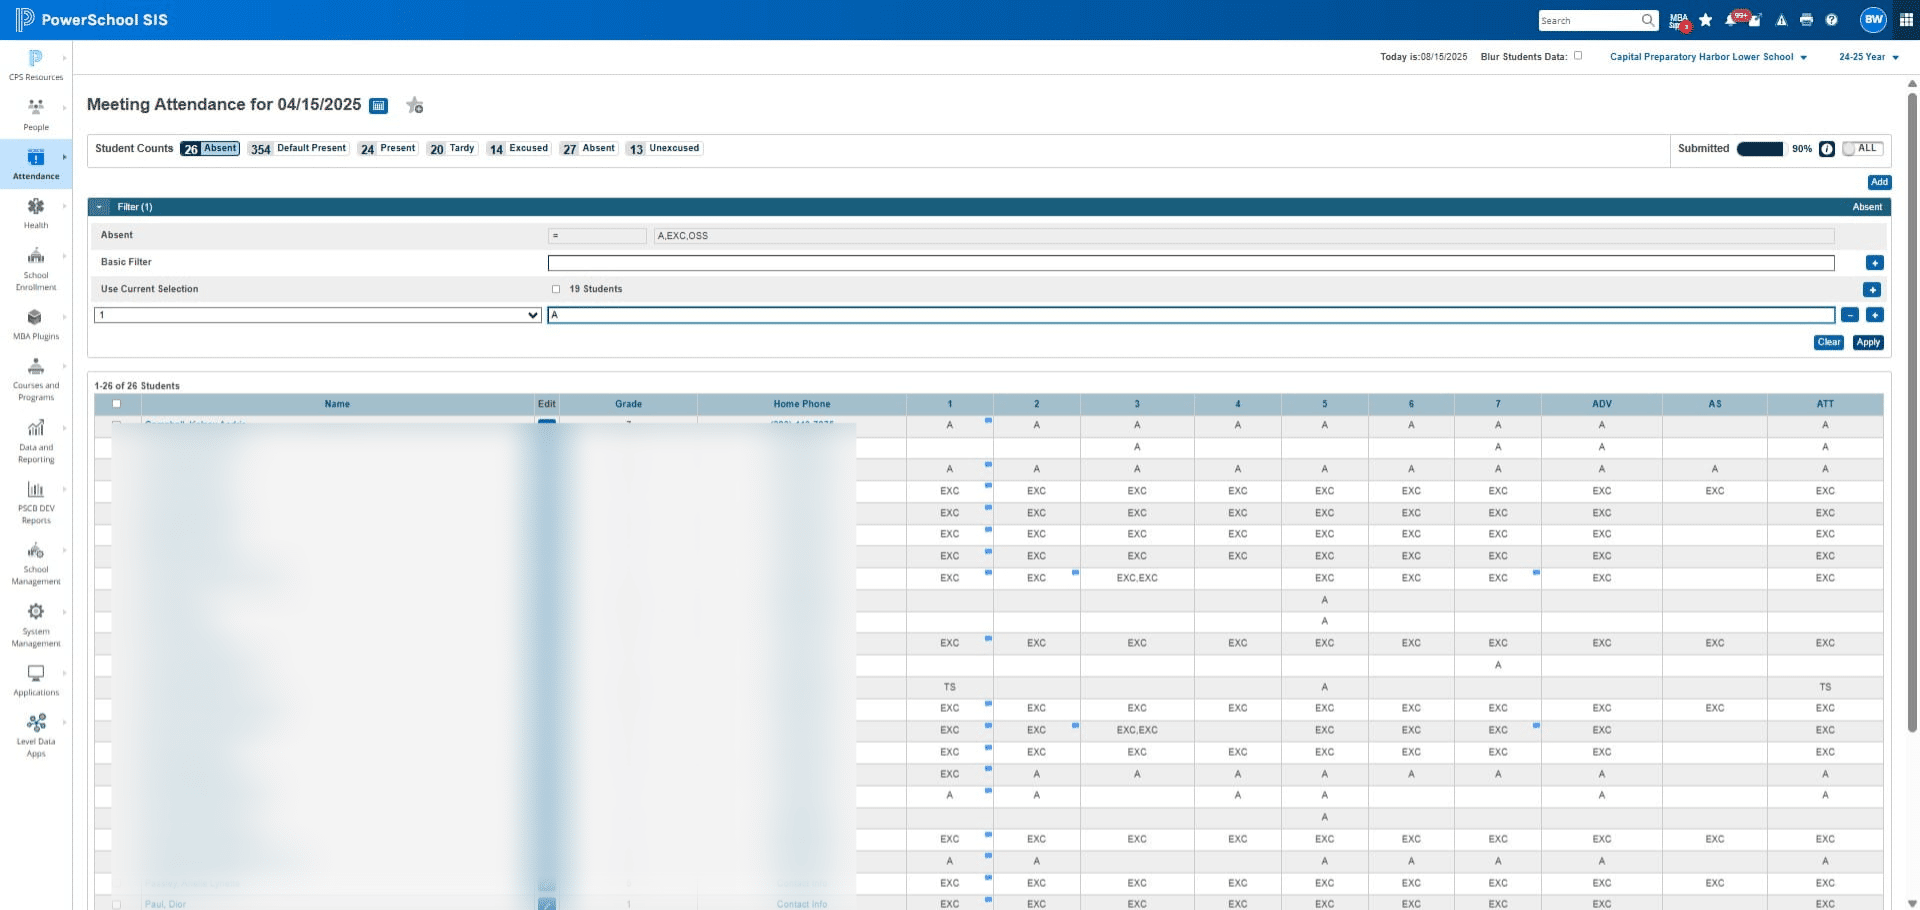
Click the blank space and type in "A"
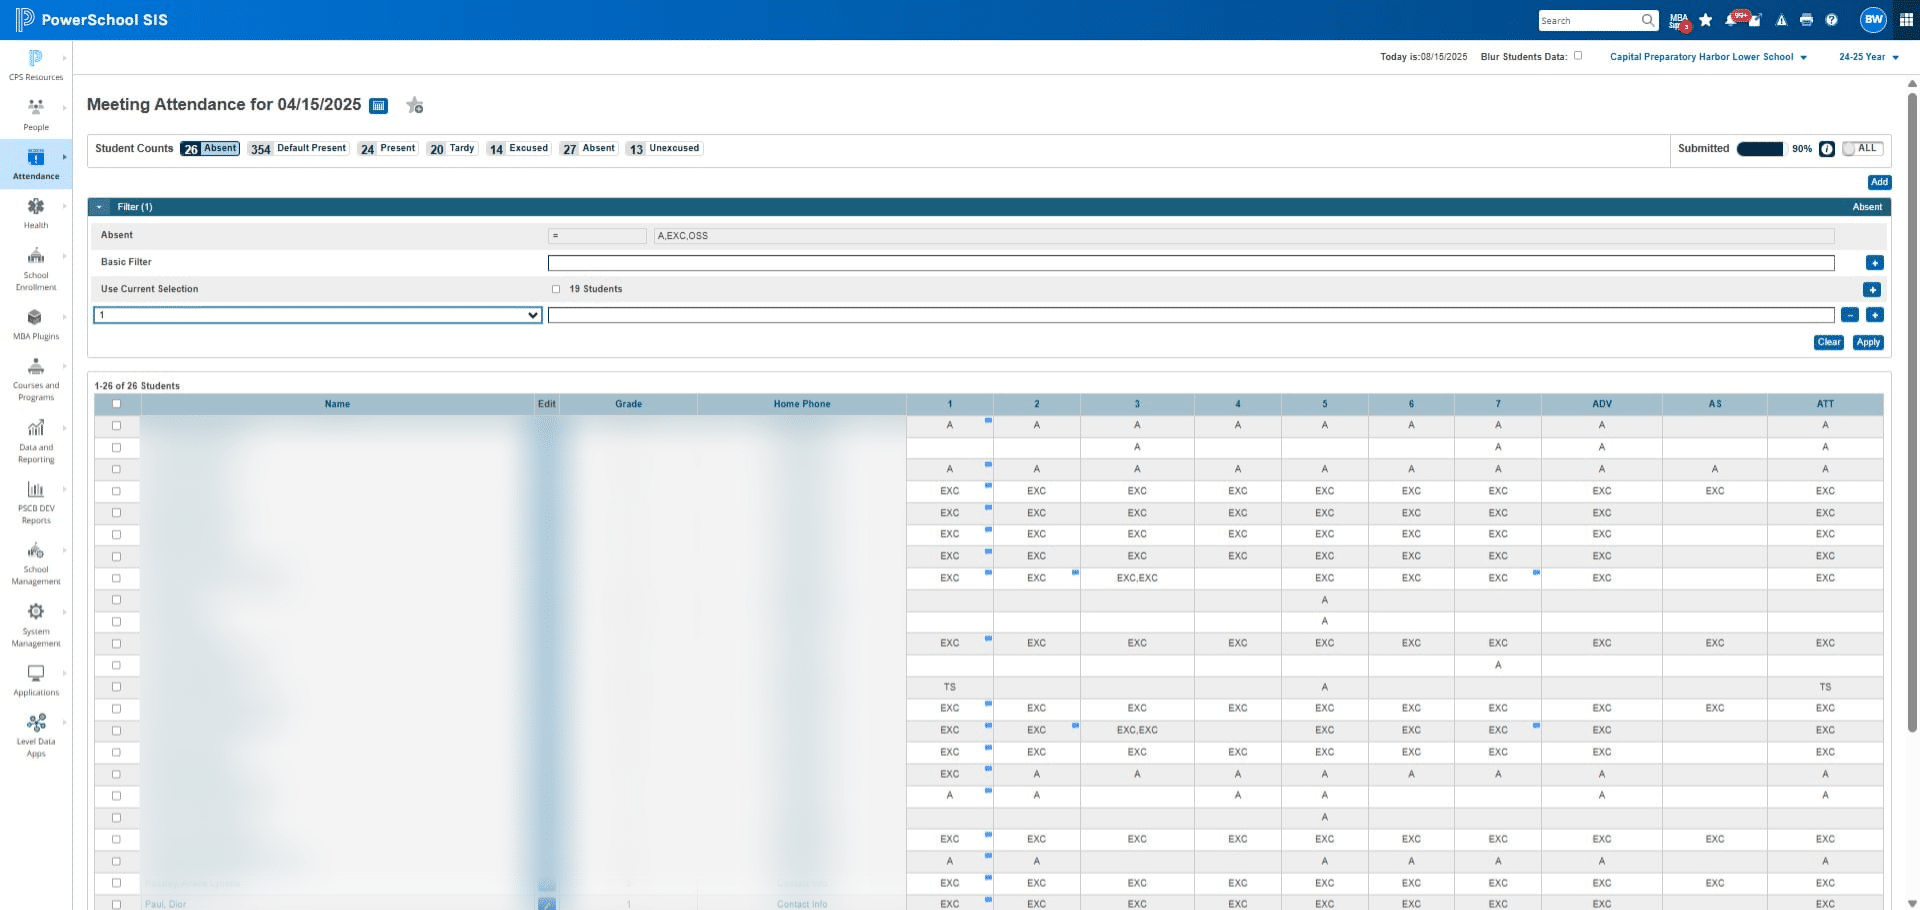
Click on "Apply"
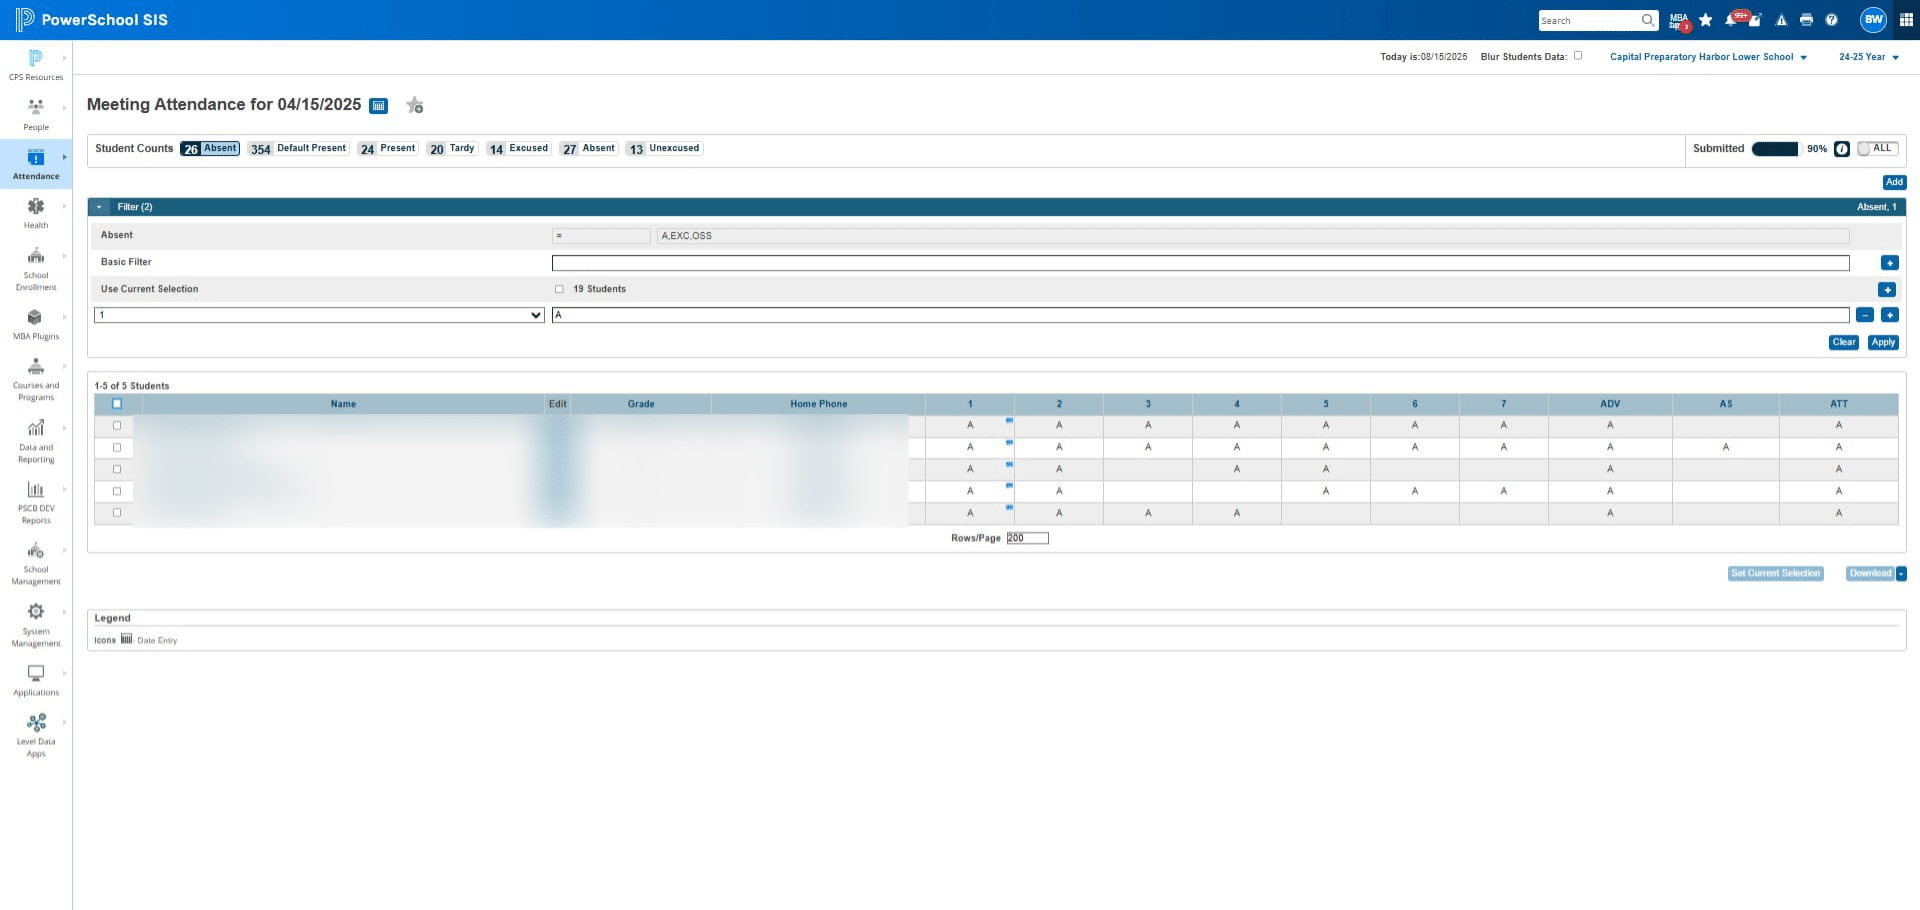
Select all students
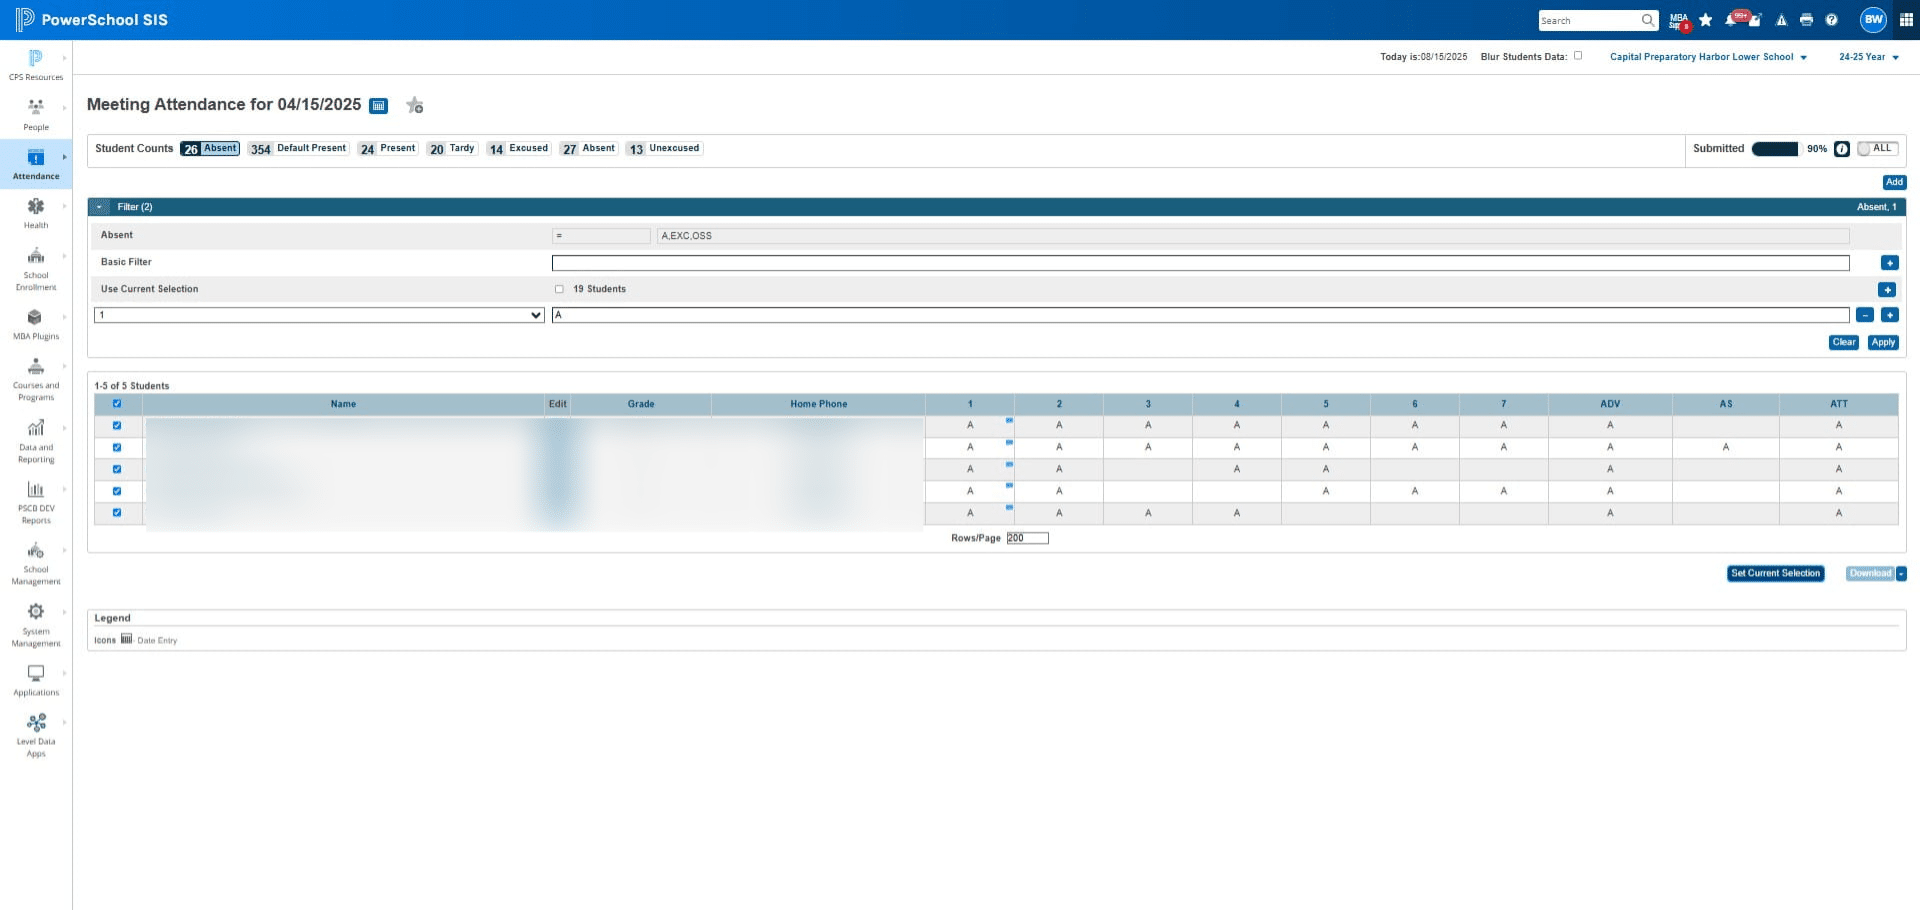
Click on "Set Current Selection"
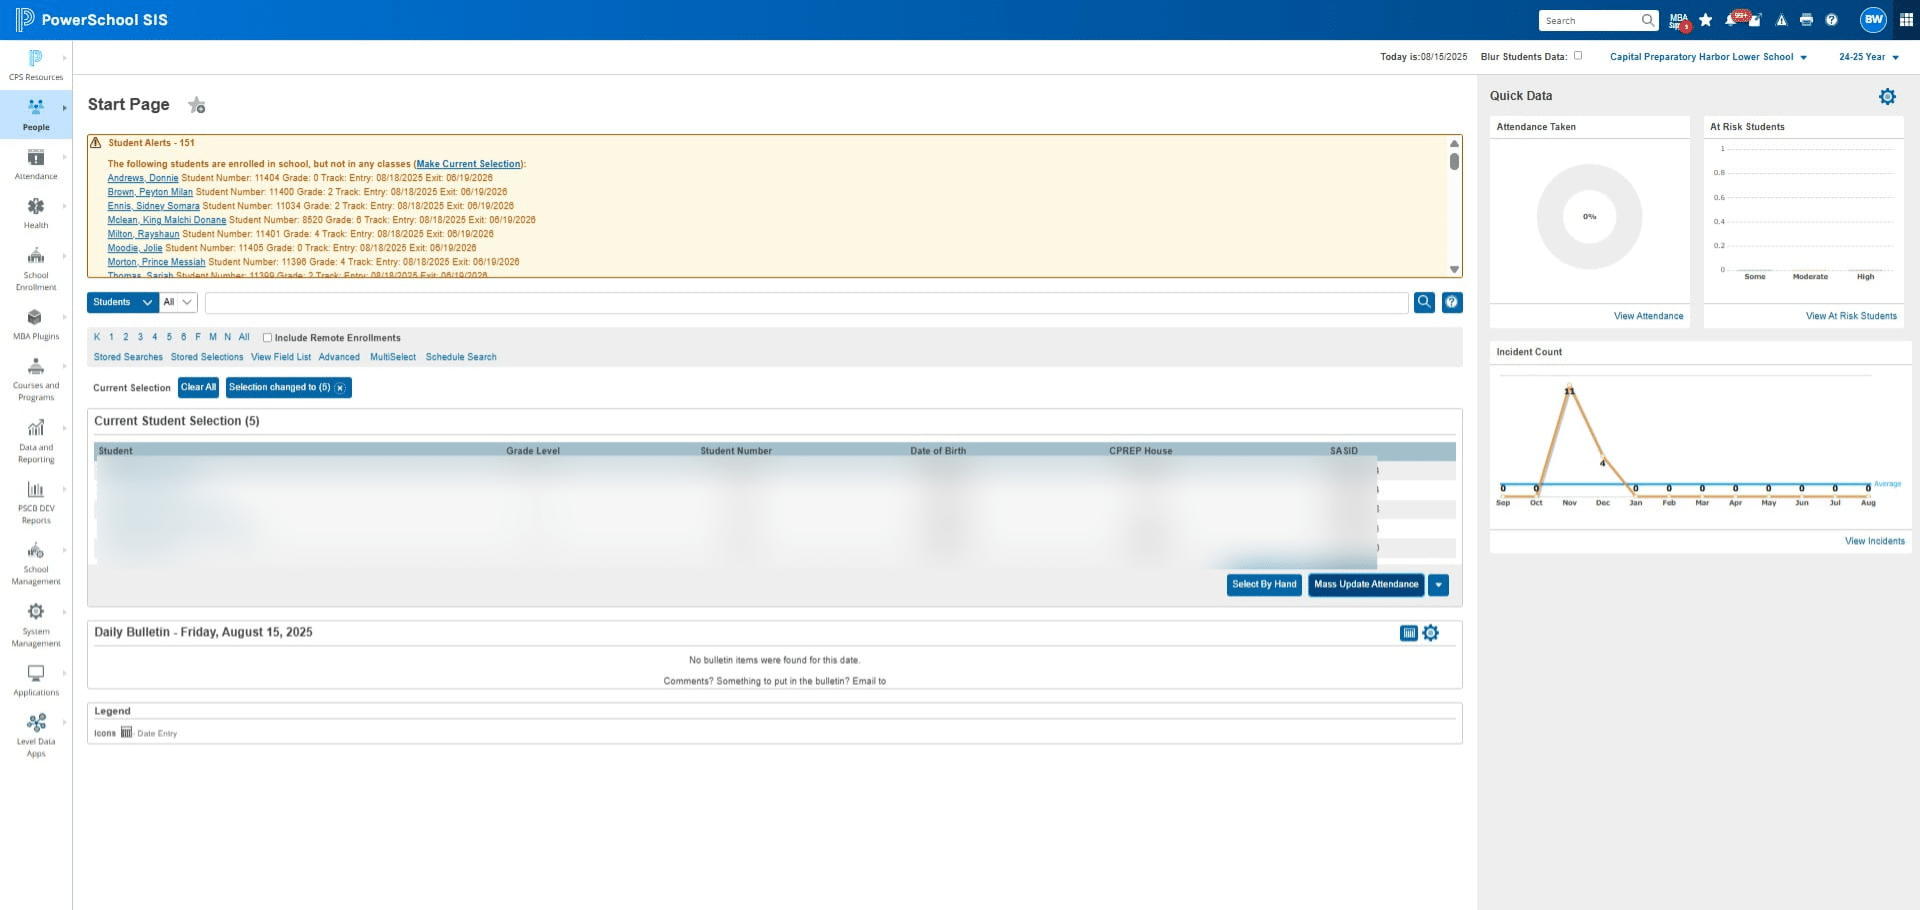
Click on "PowerSchool SIS"
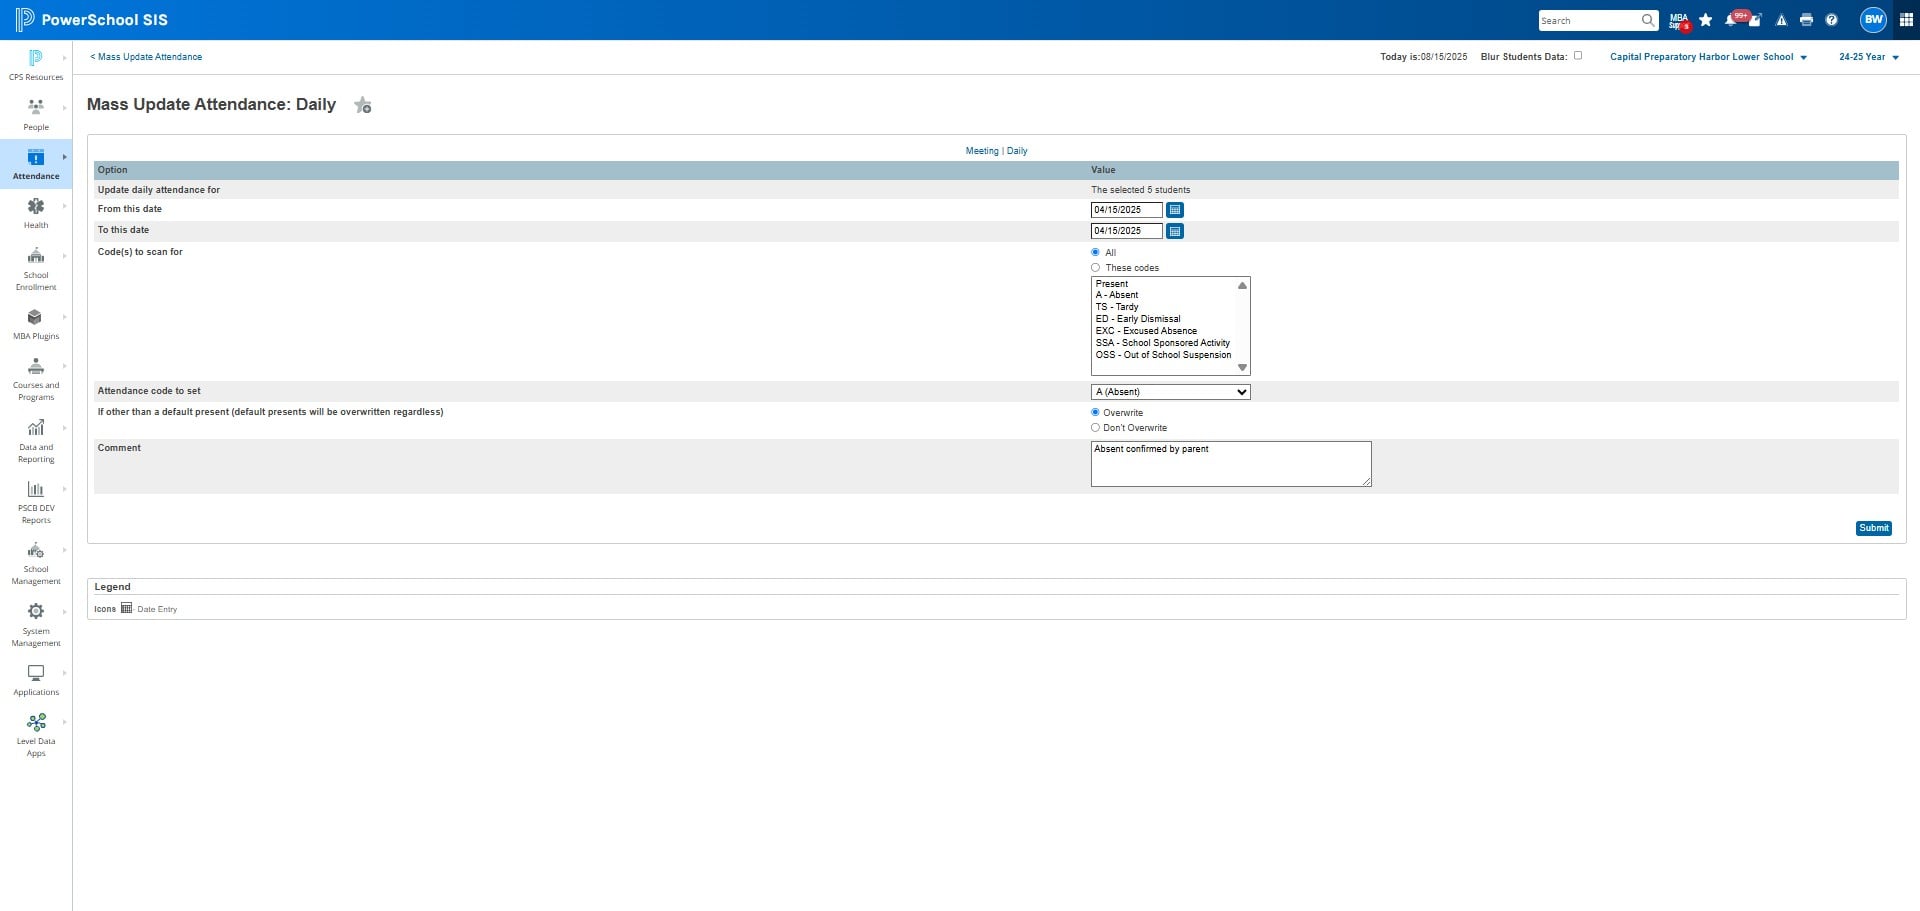
Click on "Mass Update Attendance"
Click on "Daily"
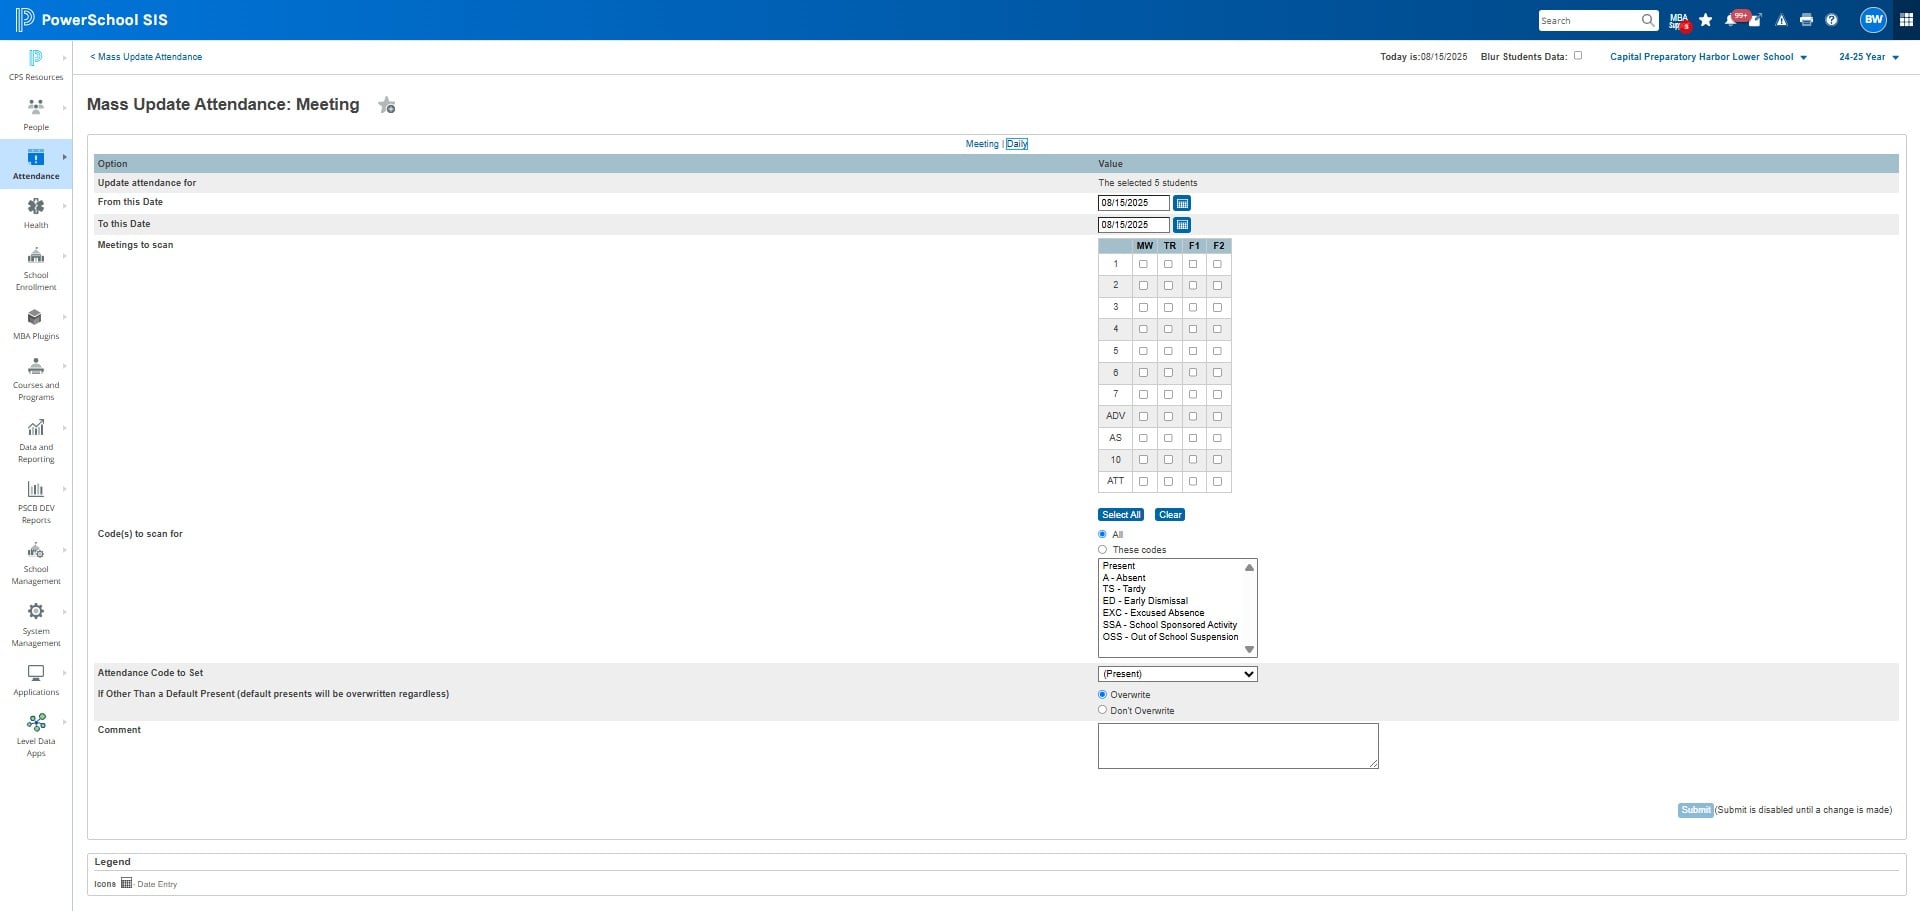
Code(s) to scan, you must select PRESENT, otherwise it will overwrite excused absences, OSS, Tardies, etc to ABSENT!
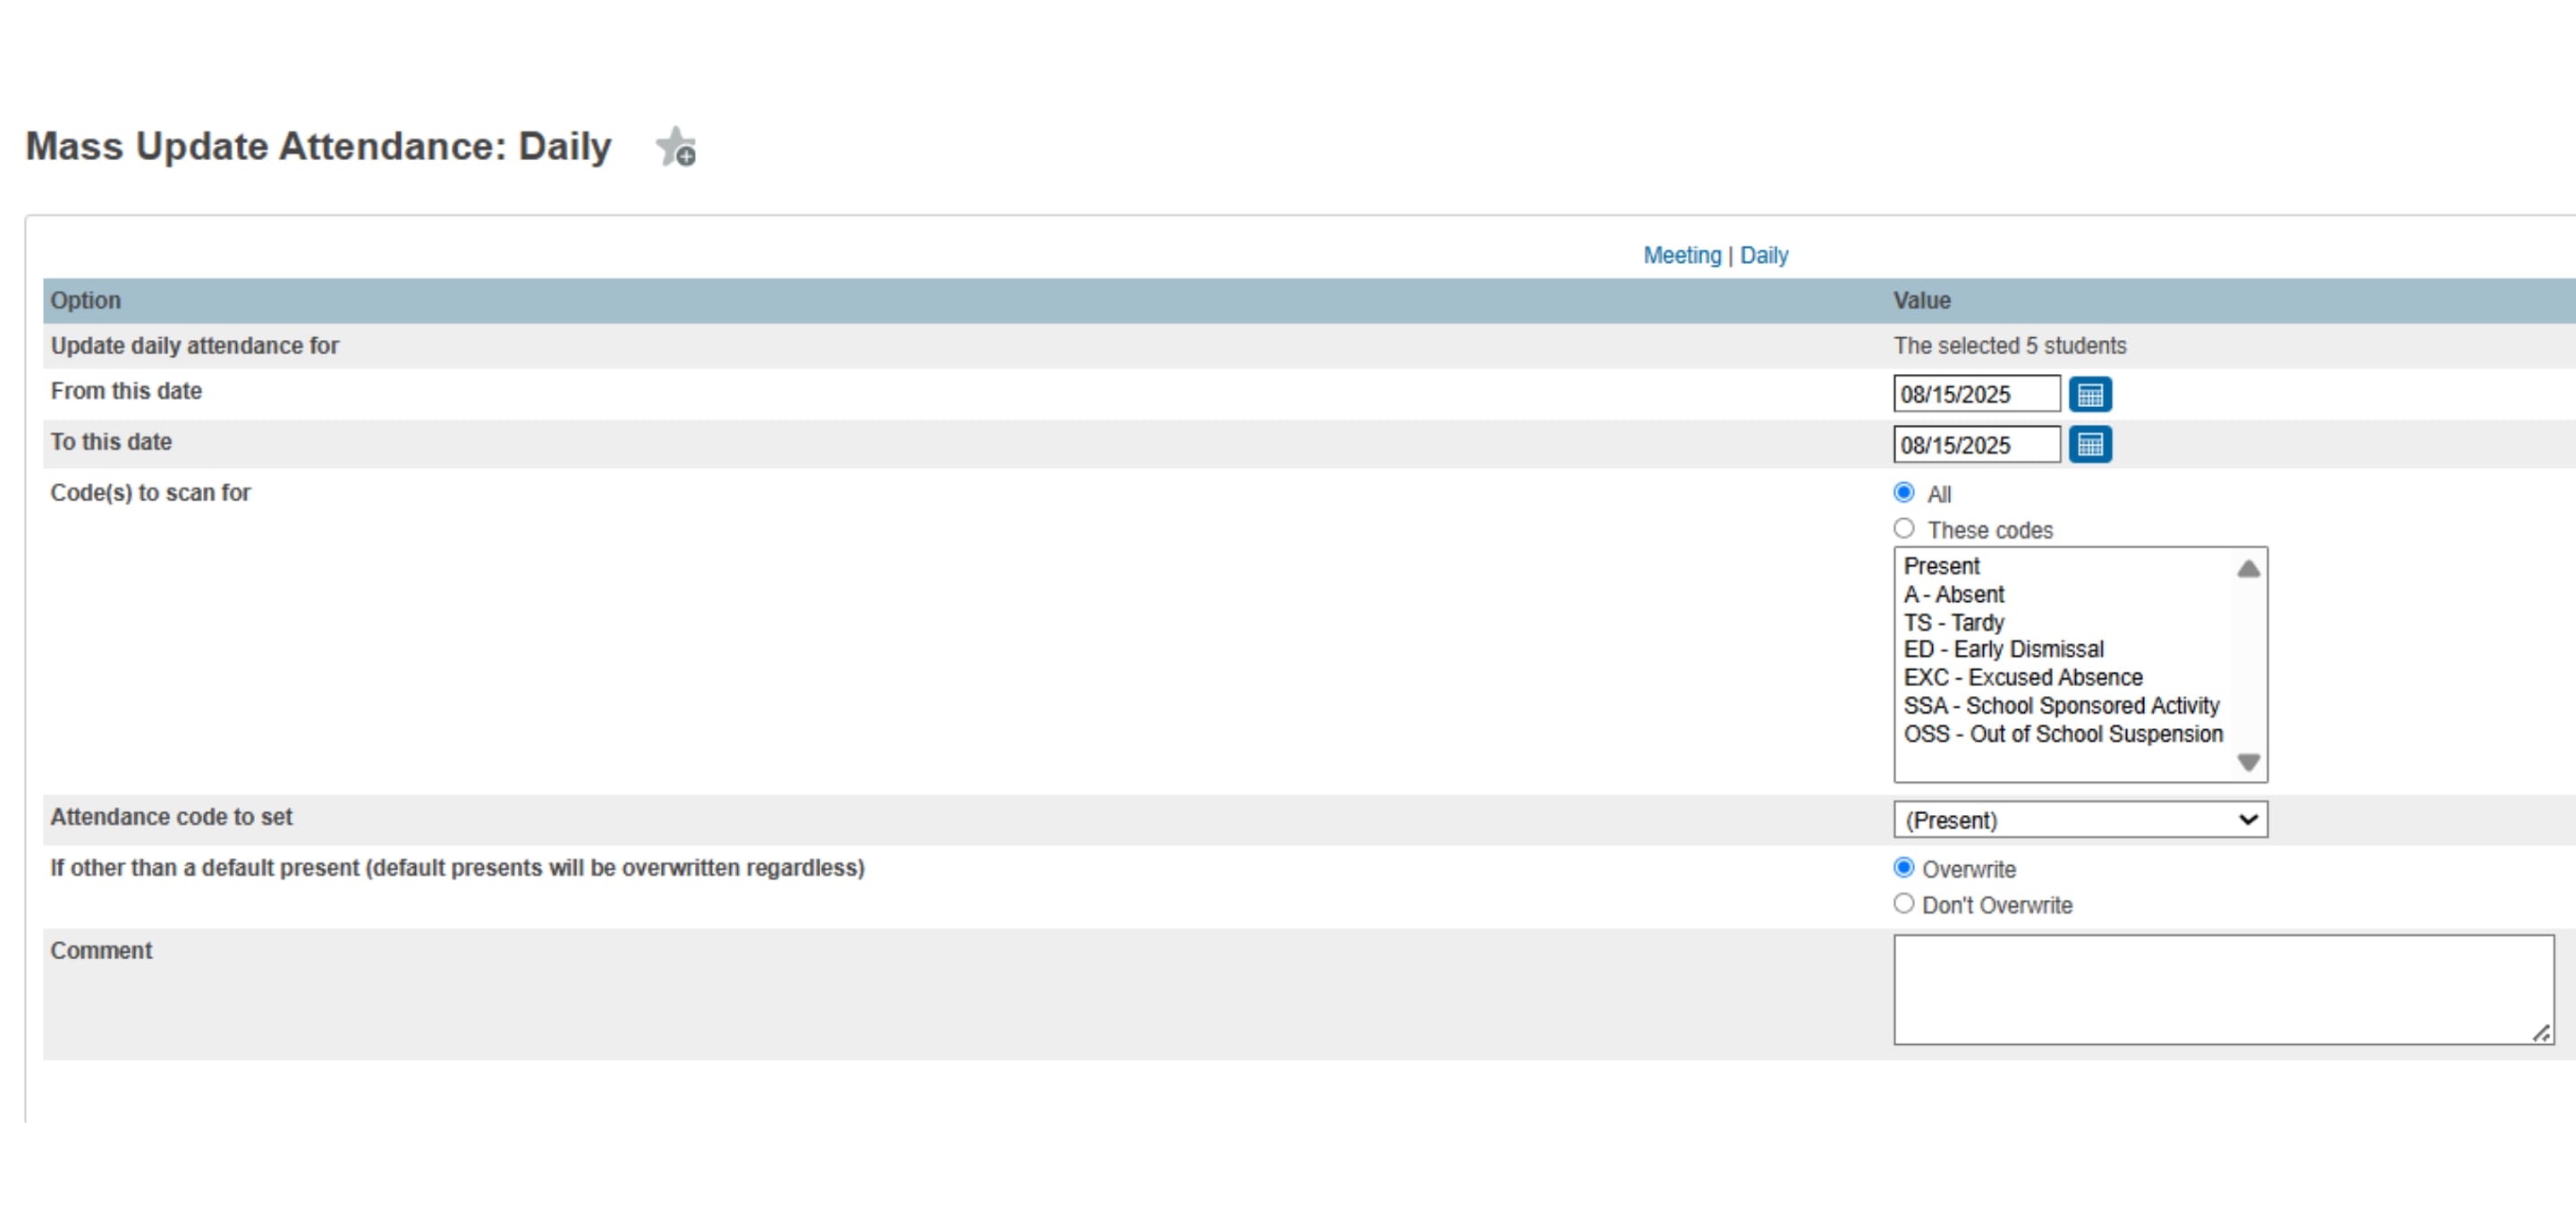
For Attendance Code to Set - Click on "(Present)" and change to (Absent)
Click on "Submit"
Update the list of present students in the ATT Period (every present student must be marked with a P).
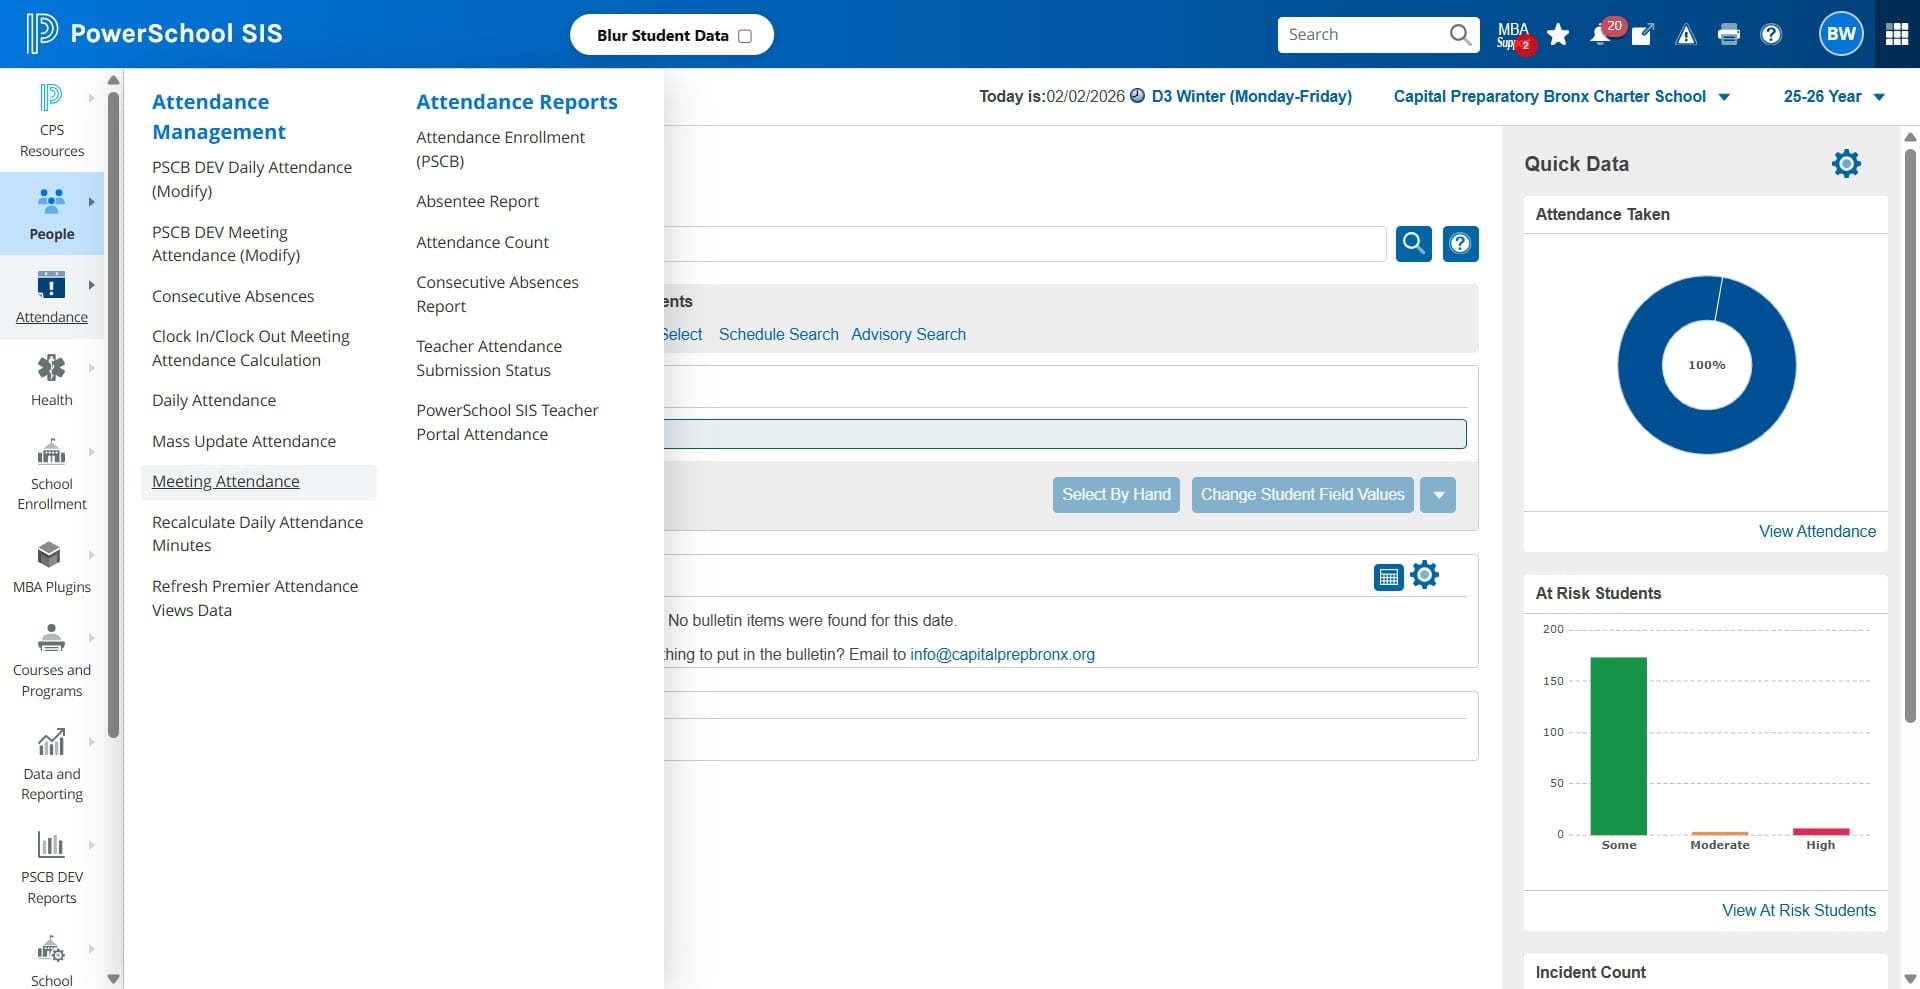
Click Attendance
Click on "Meeting Attendance"
Click on "Present"
Click here
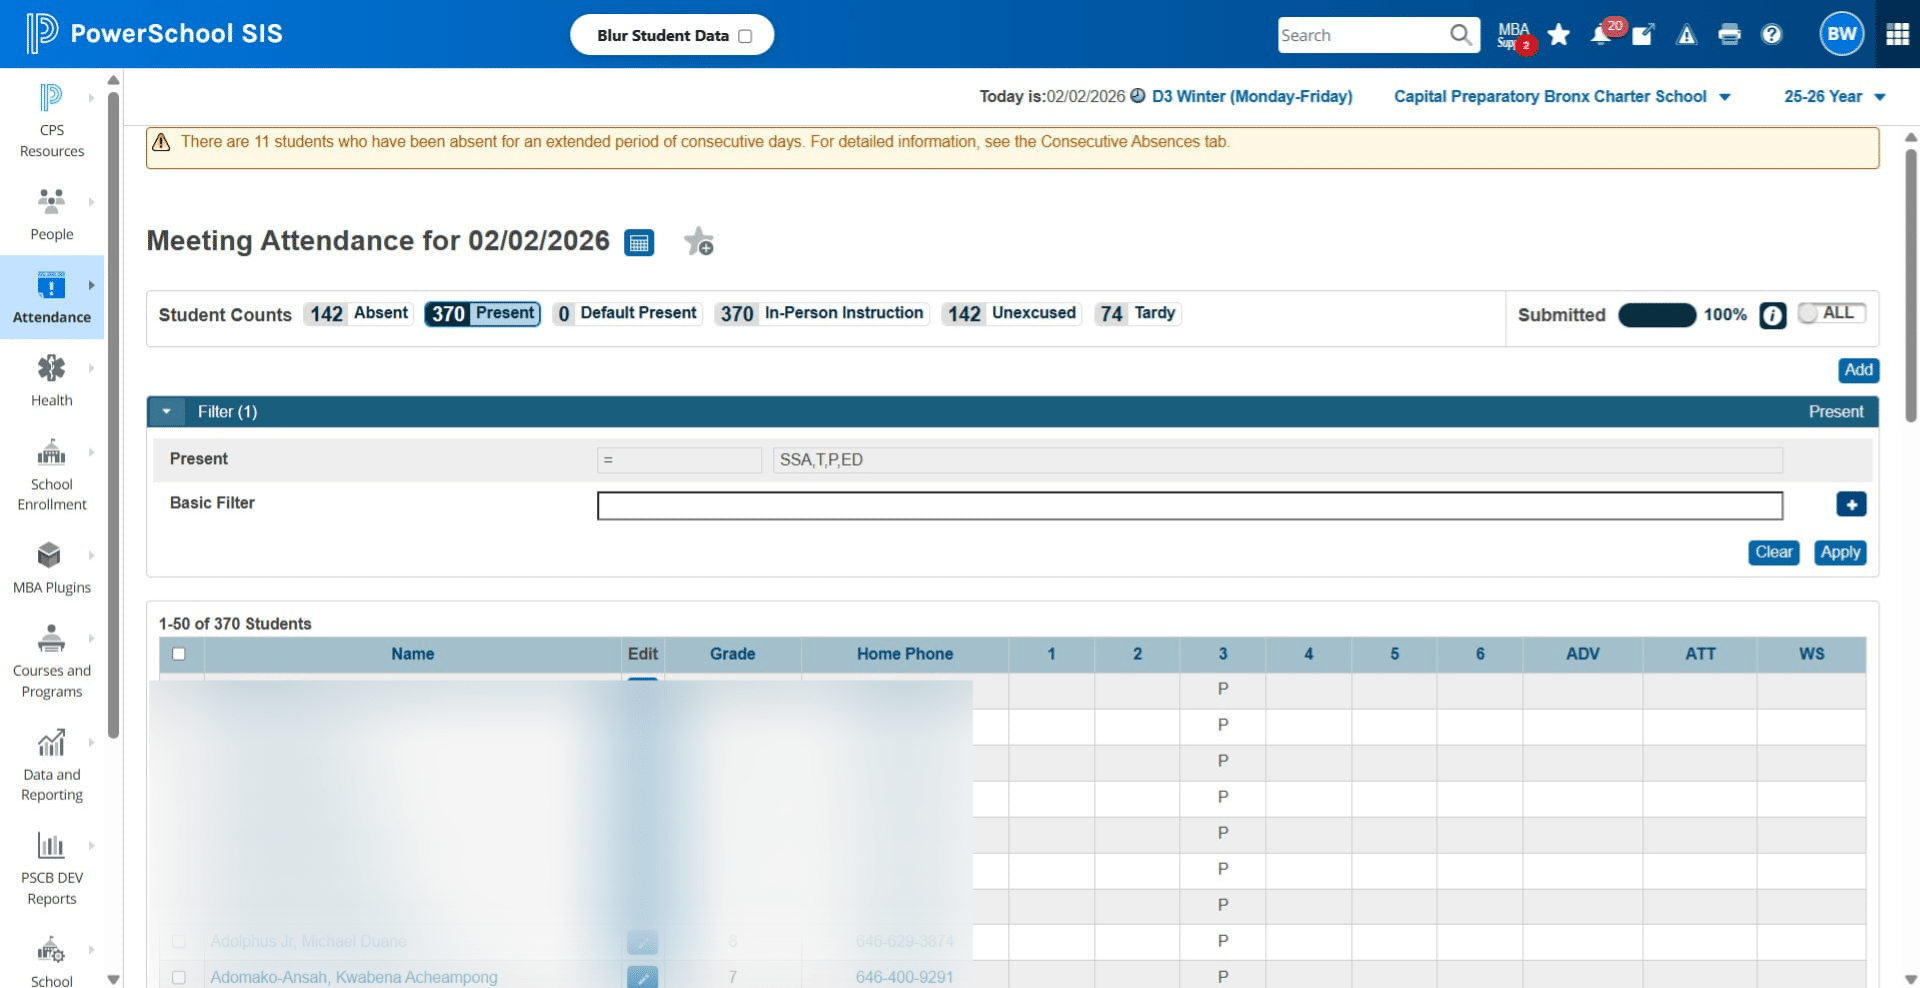
Click on "Name"
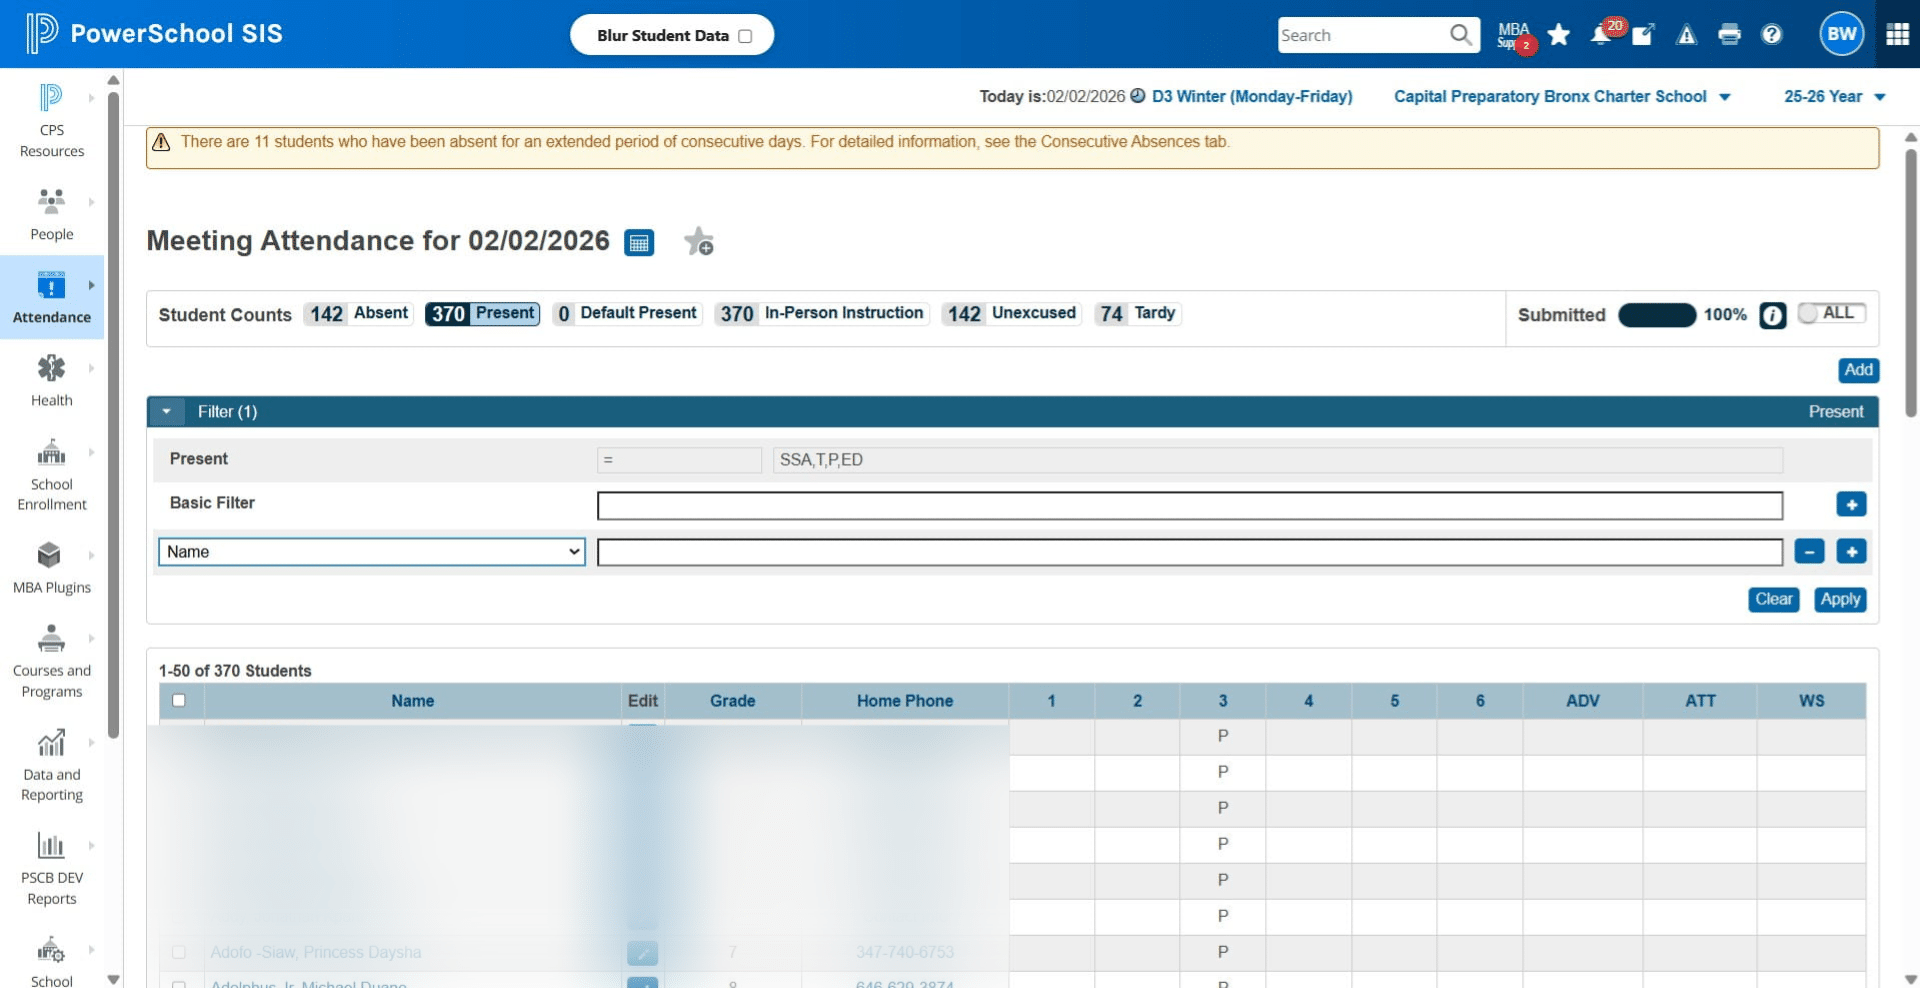
Click here. Type in P for Present
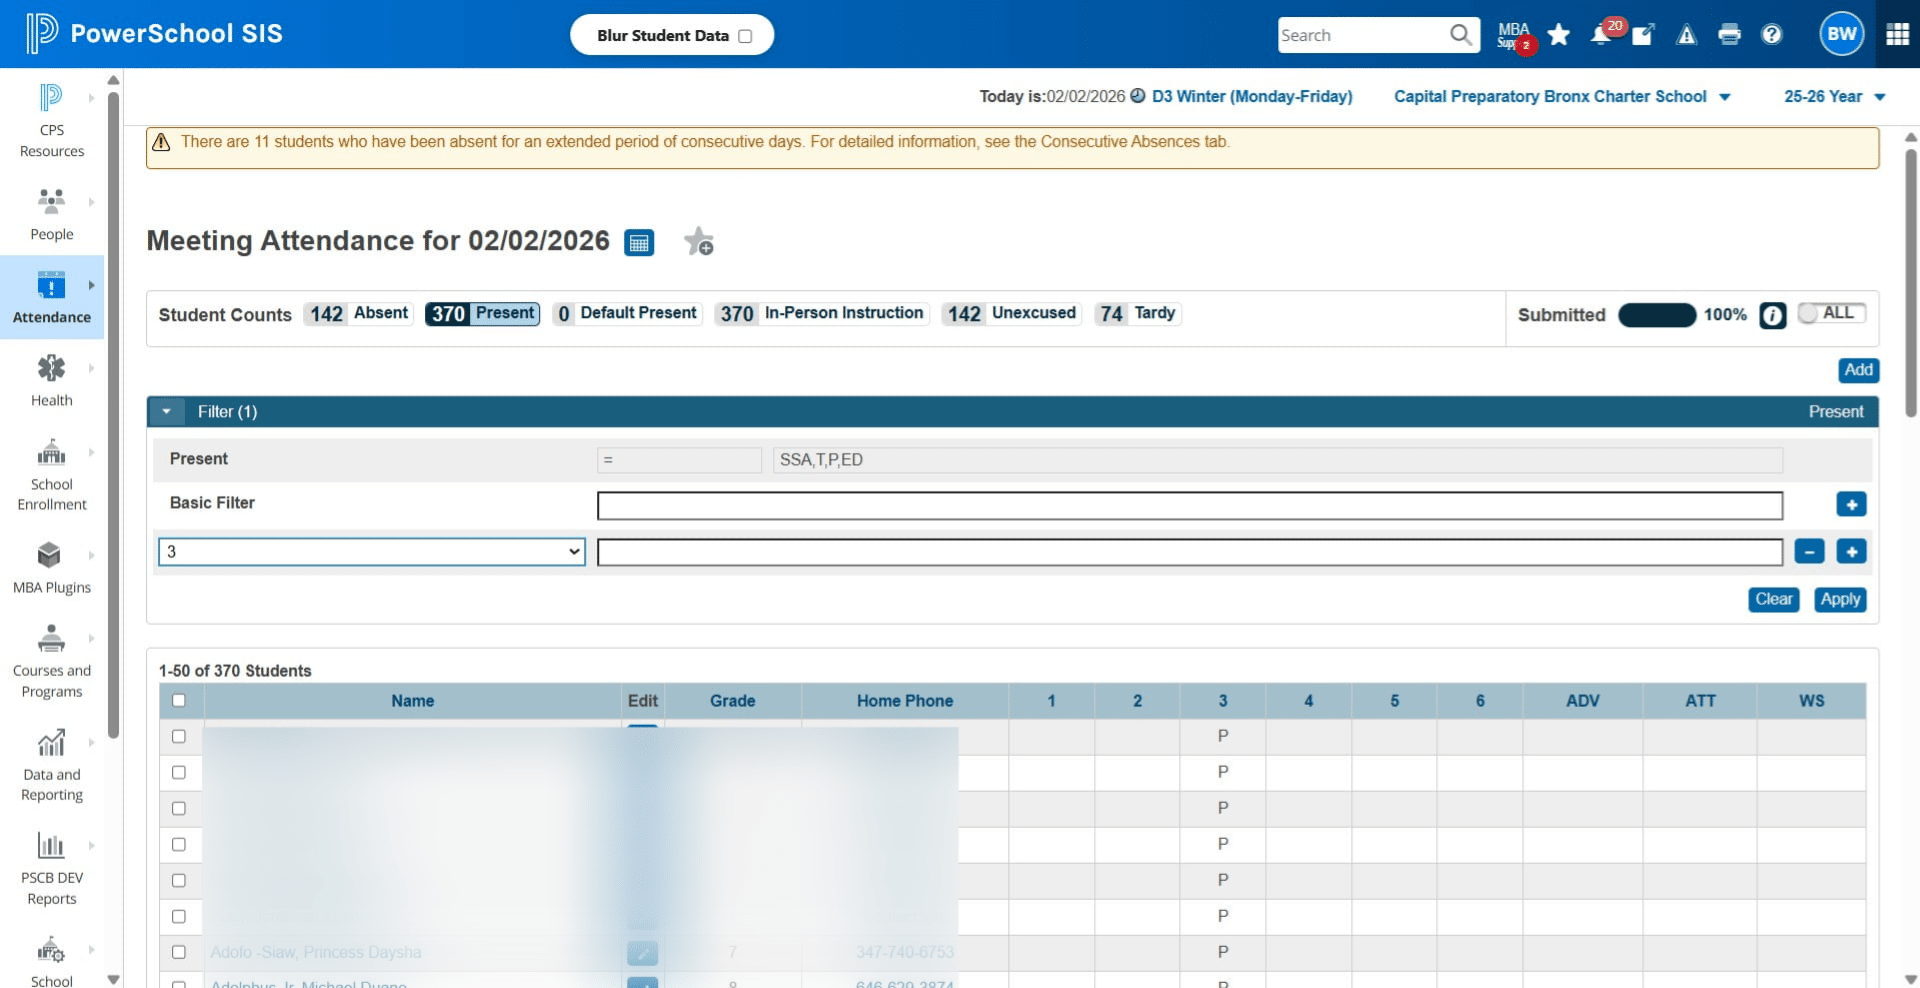
Click on "Apply"
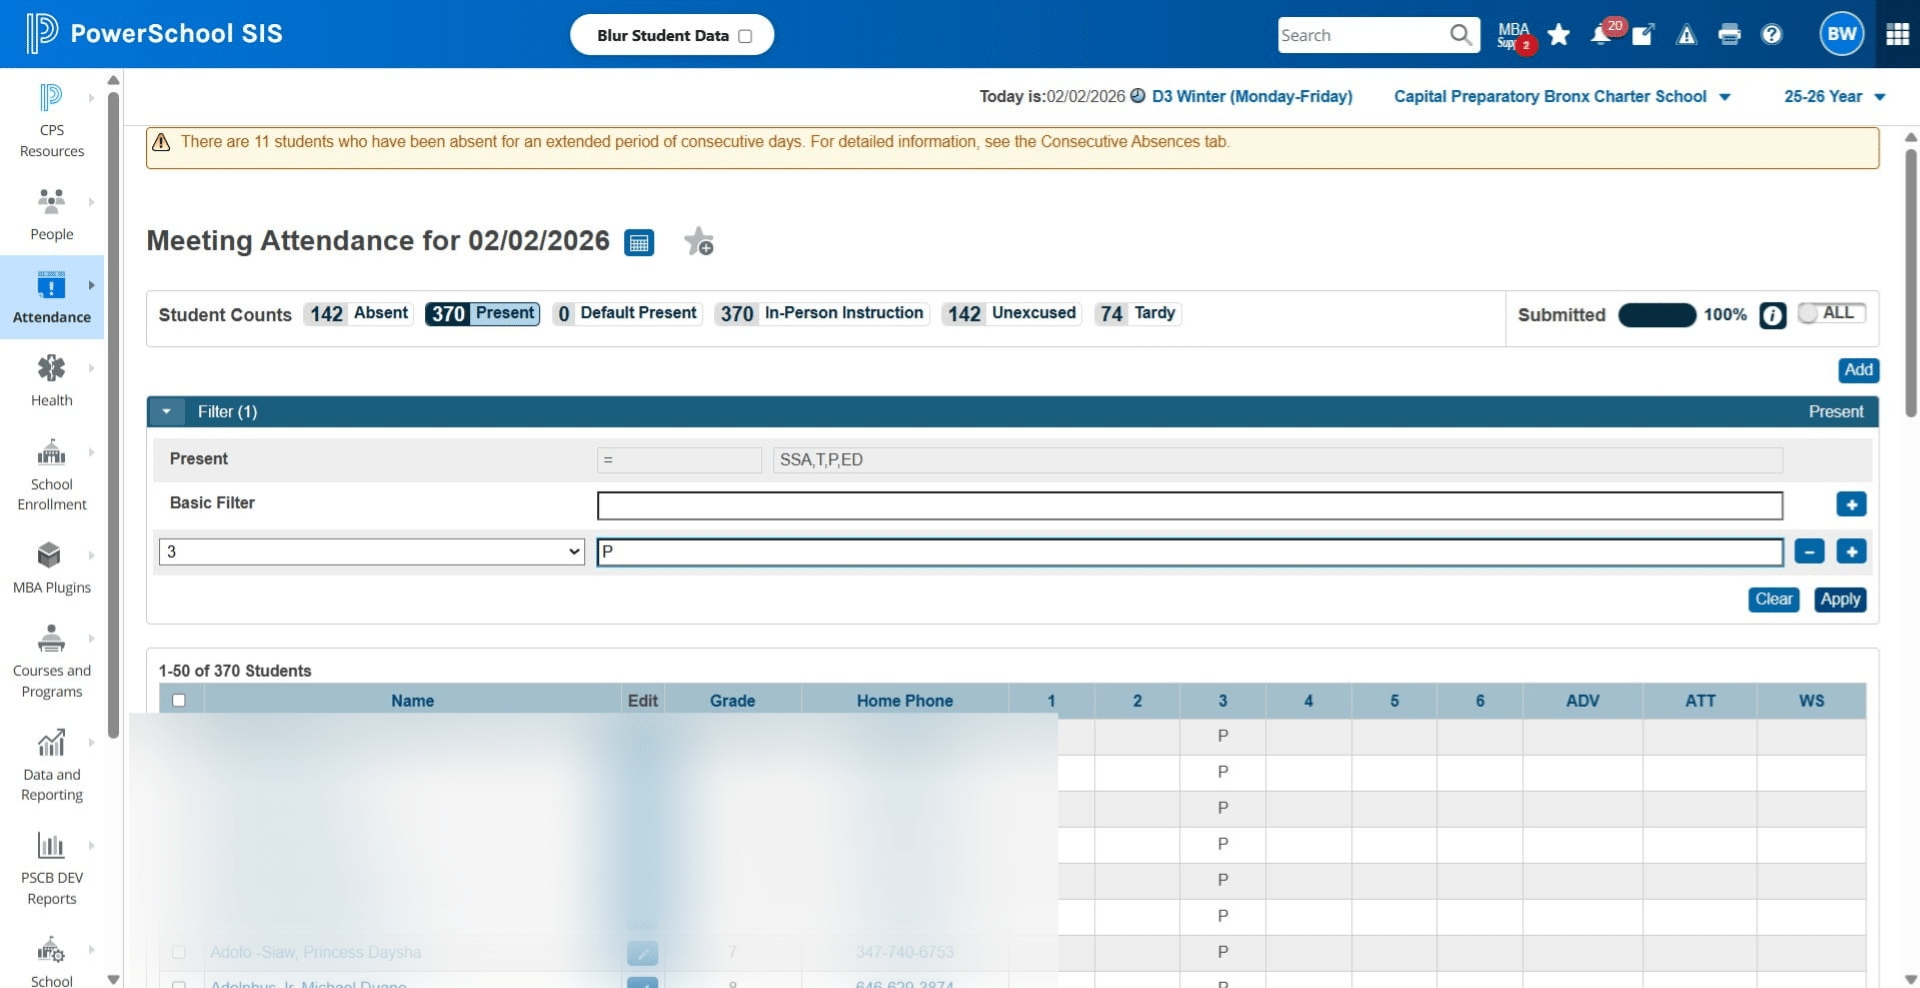
Click here, type in a number higher than the total students and press ENTER to apply
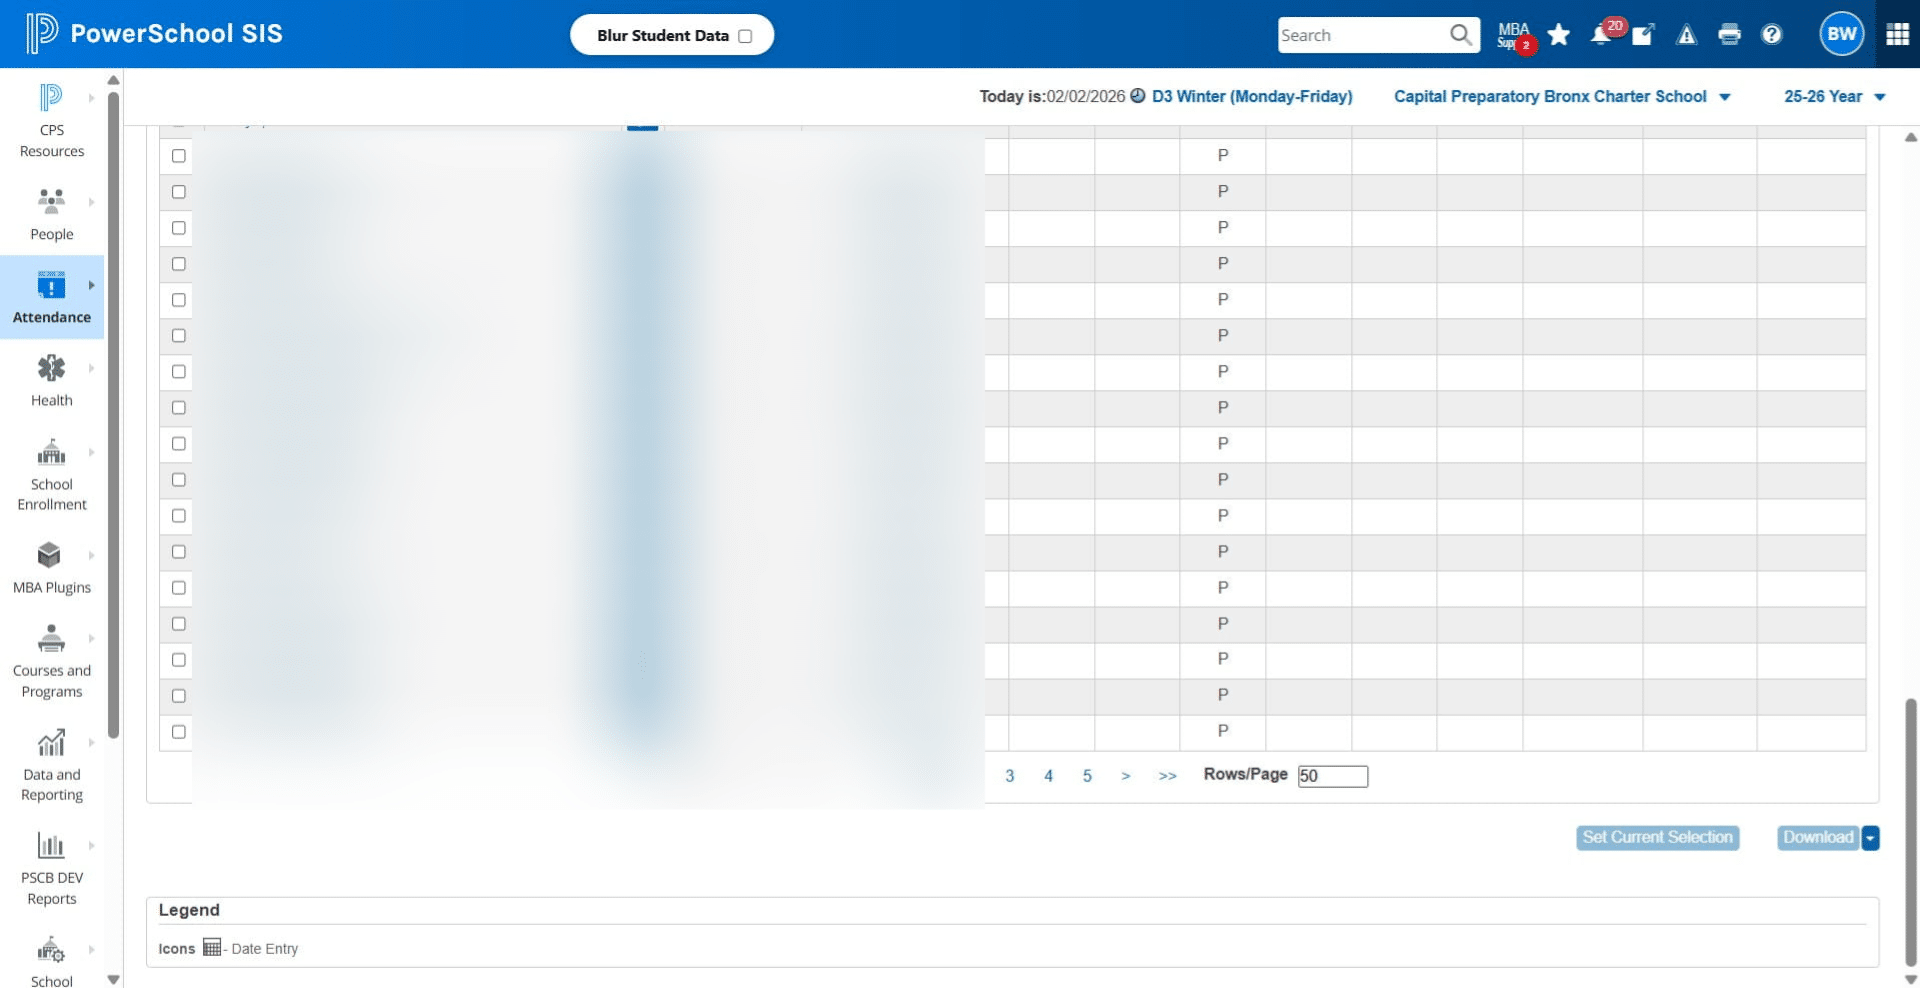
Click here
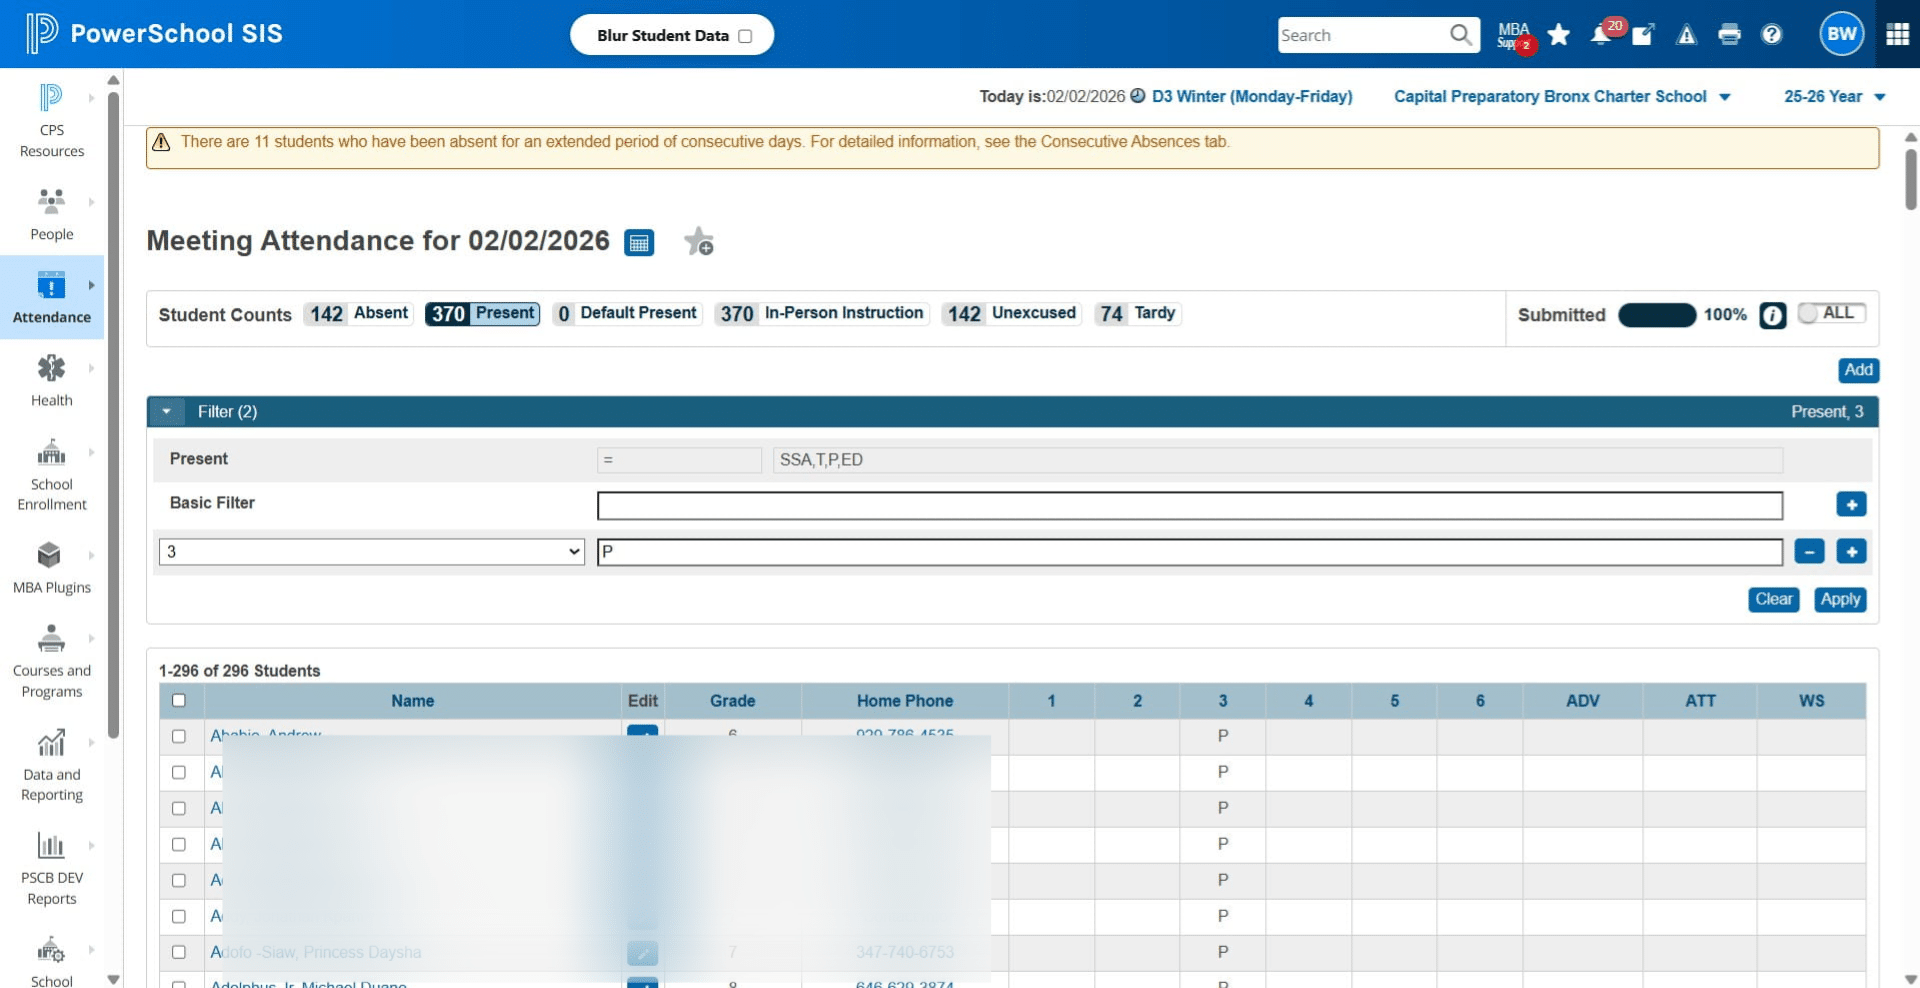
Scroll down and Click on "Set Current Selection"
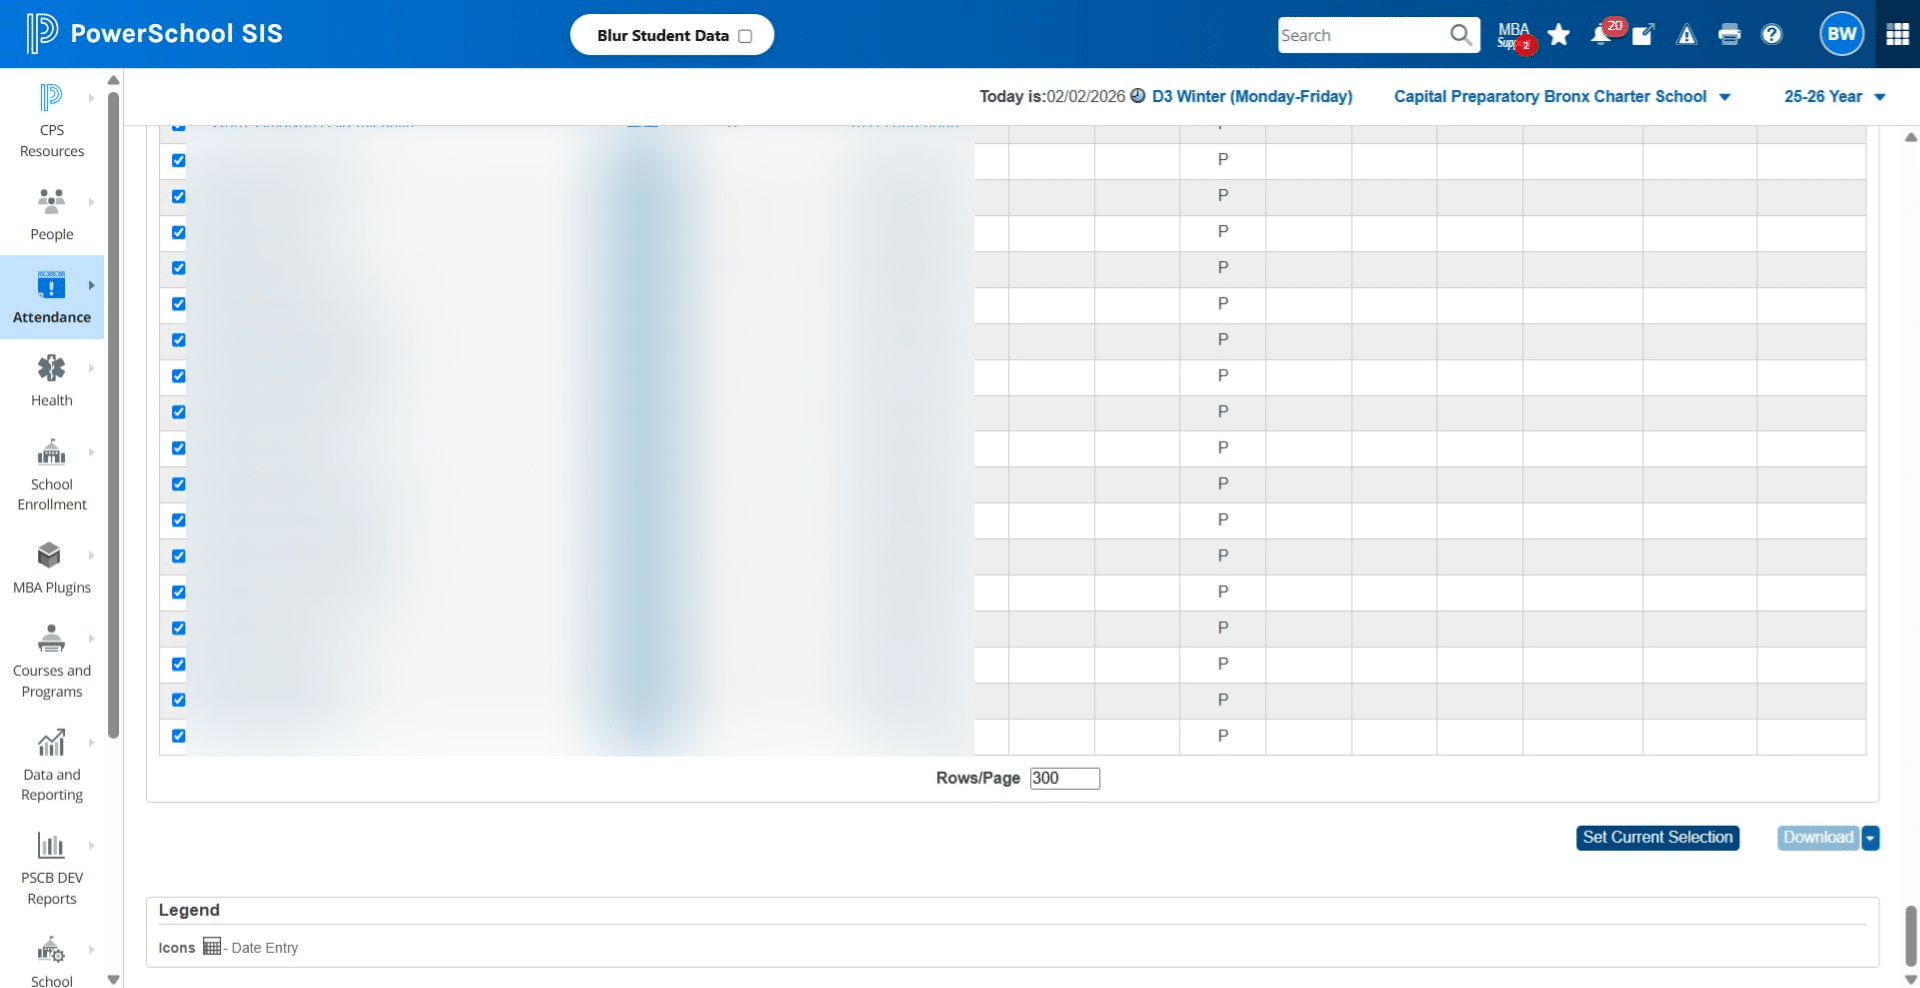
Click on "PowerSchool SIS"
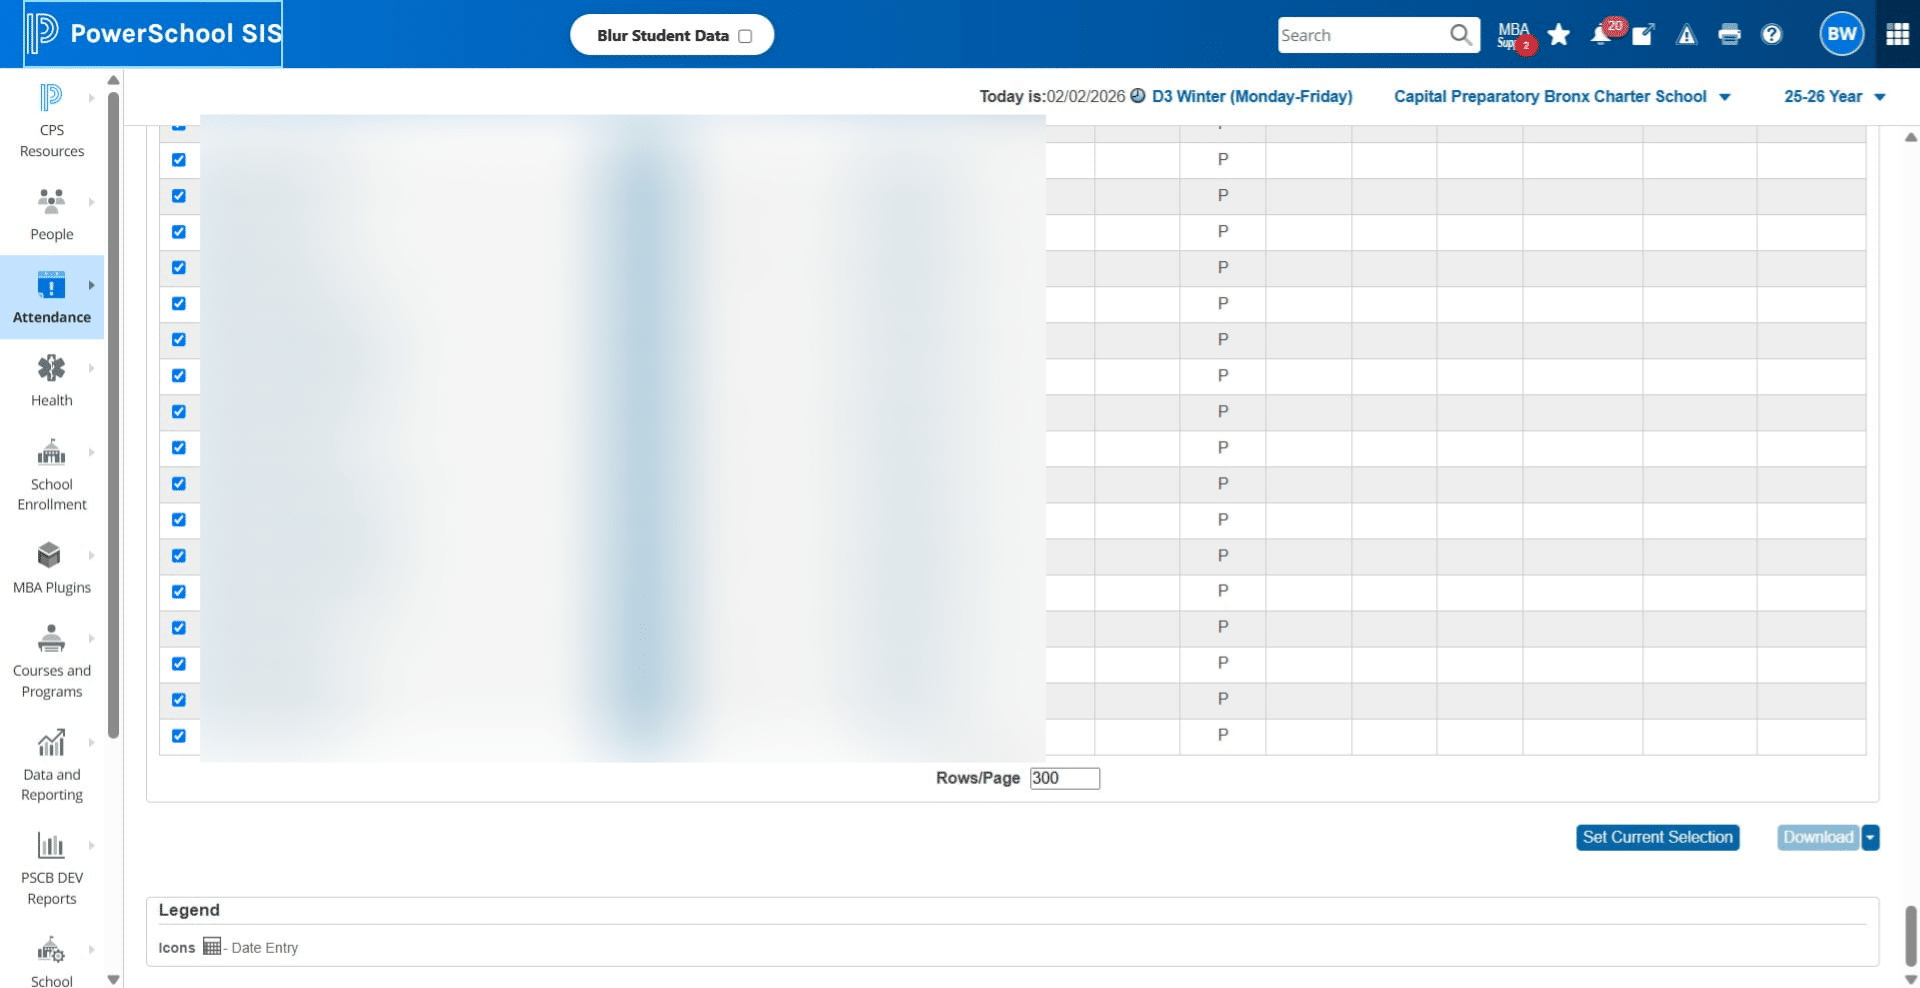
Click here. Make sure all present students are selected.
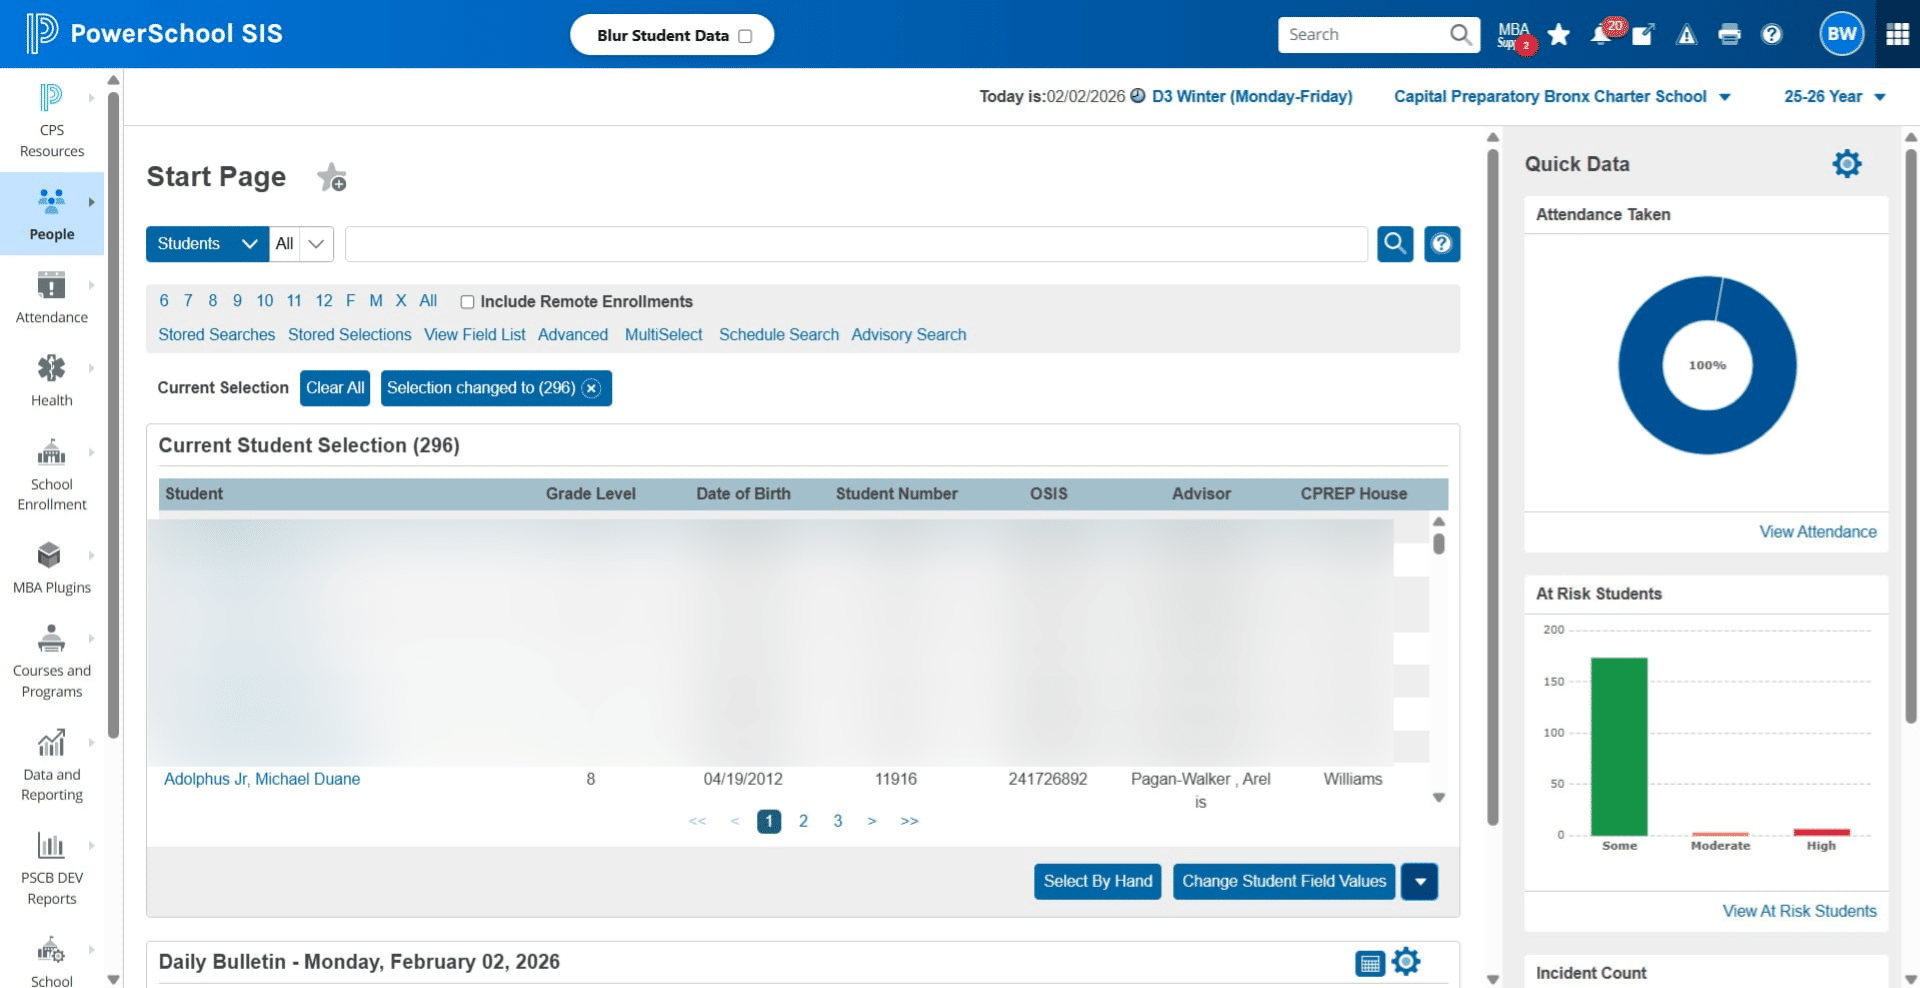
Click on "Mass Update Attendance"
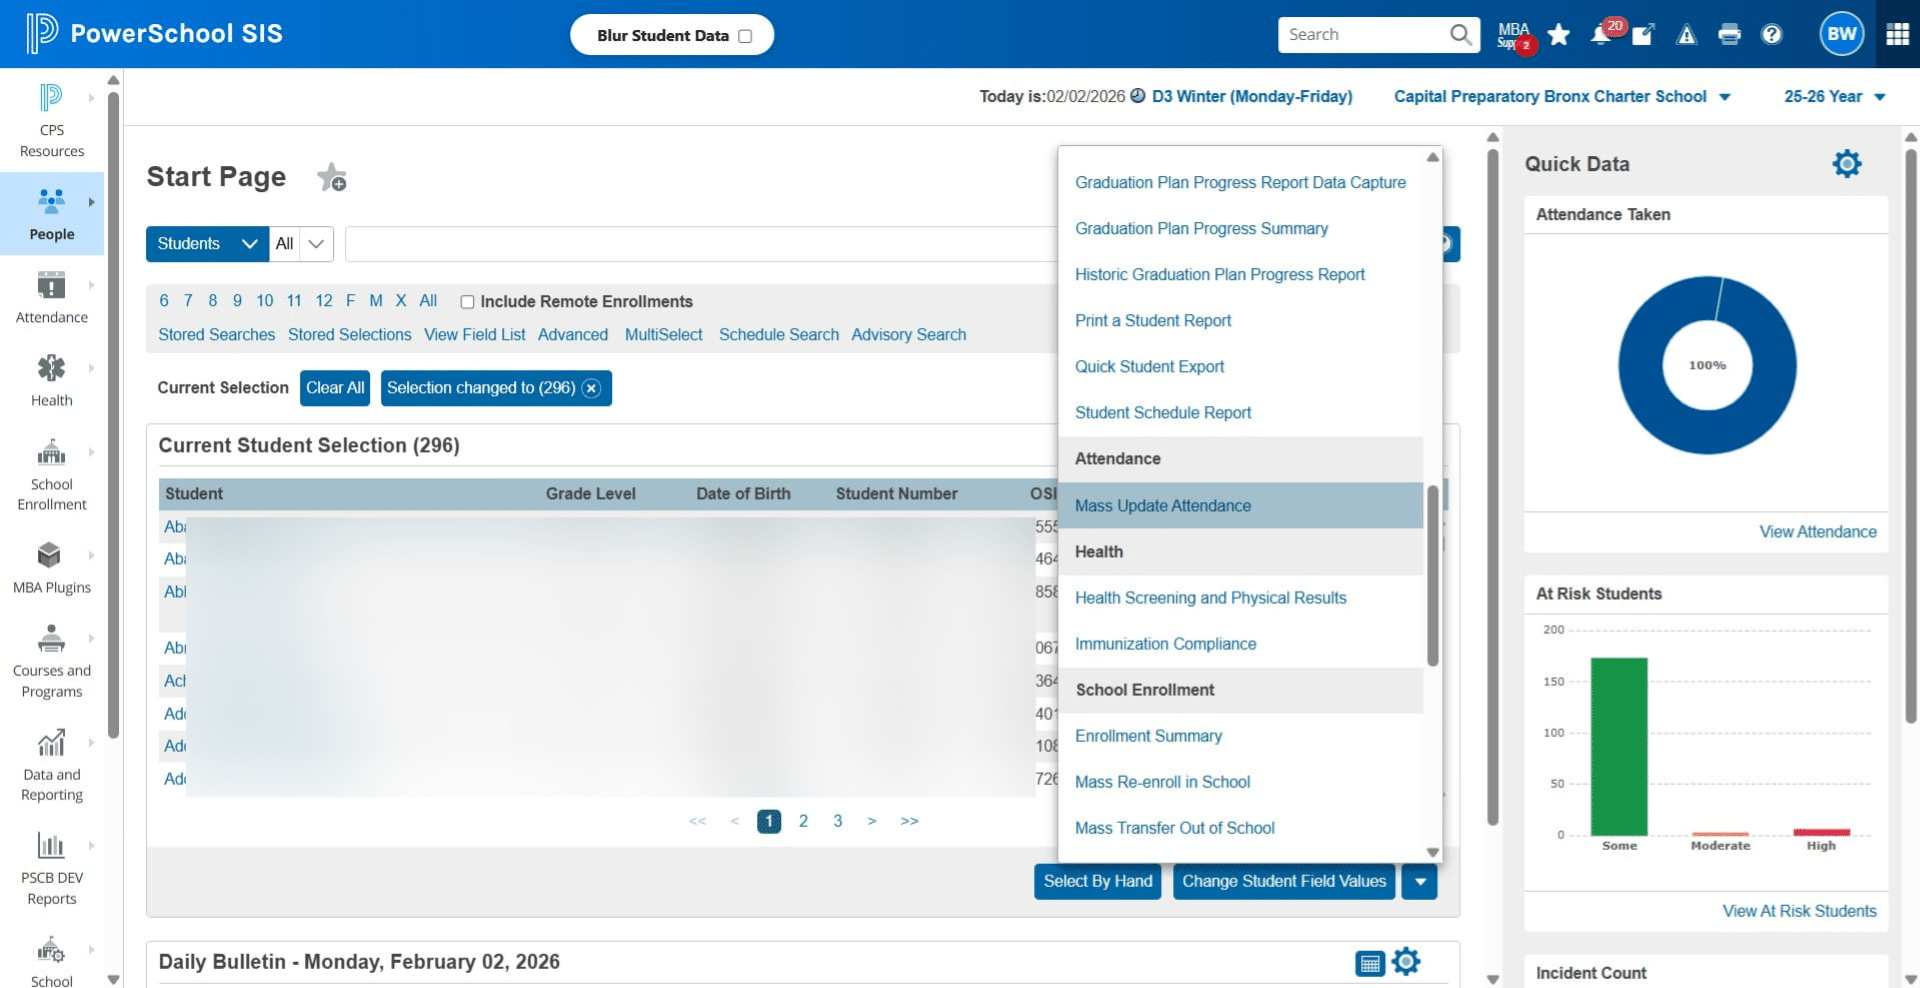
For Code(s) to scan for Click on "Present"
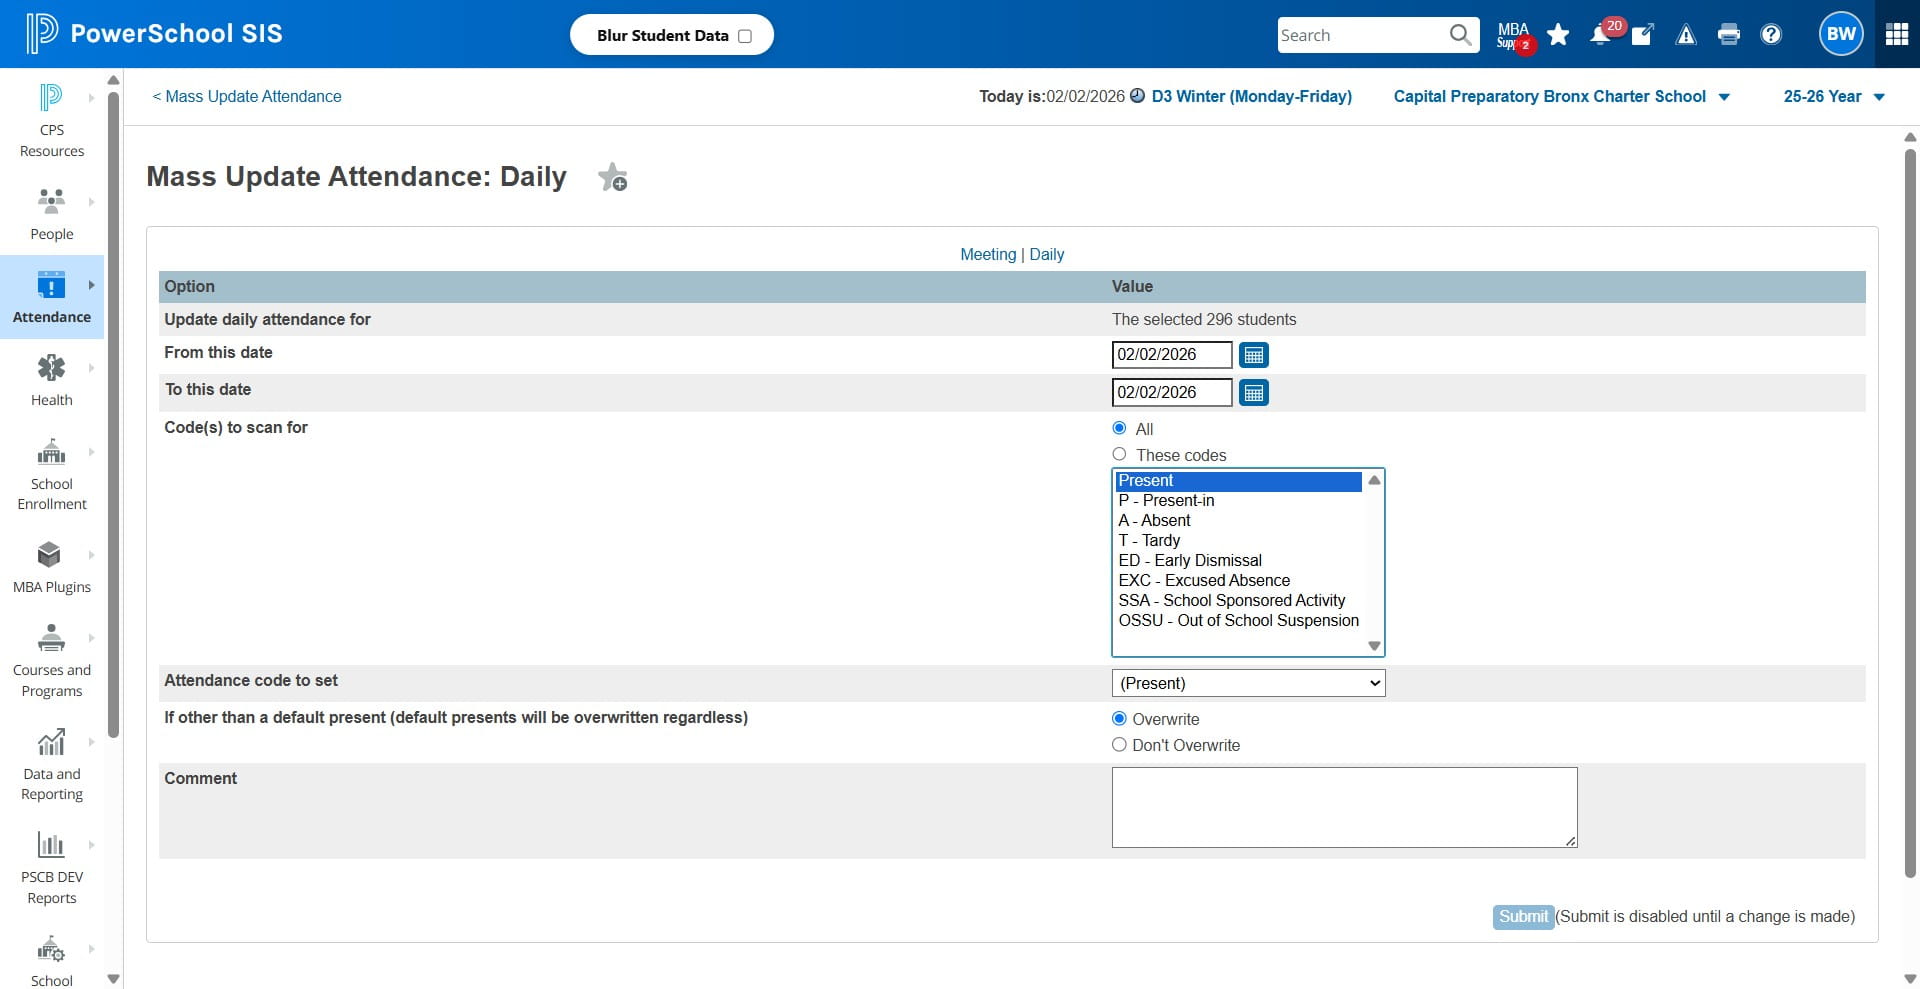
For attendance code to set Change (Present) to P (Present-In)
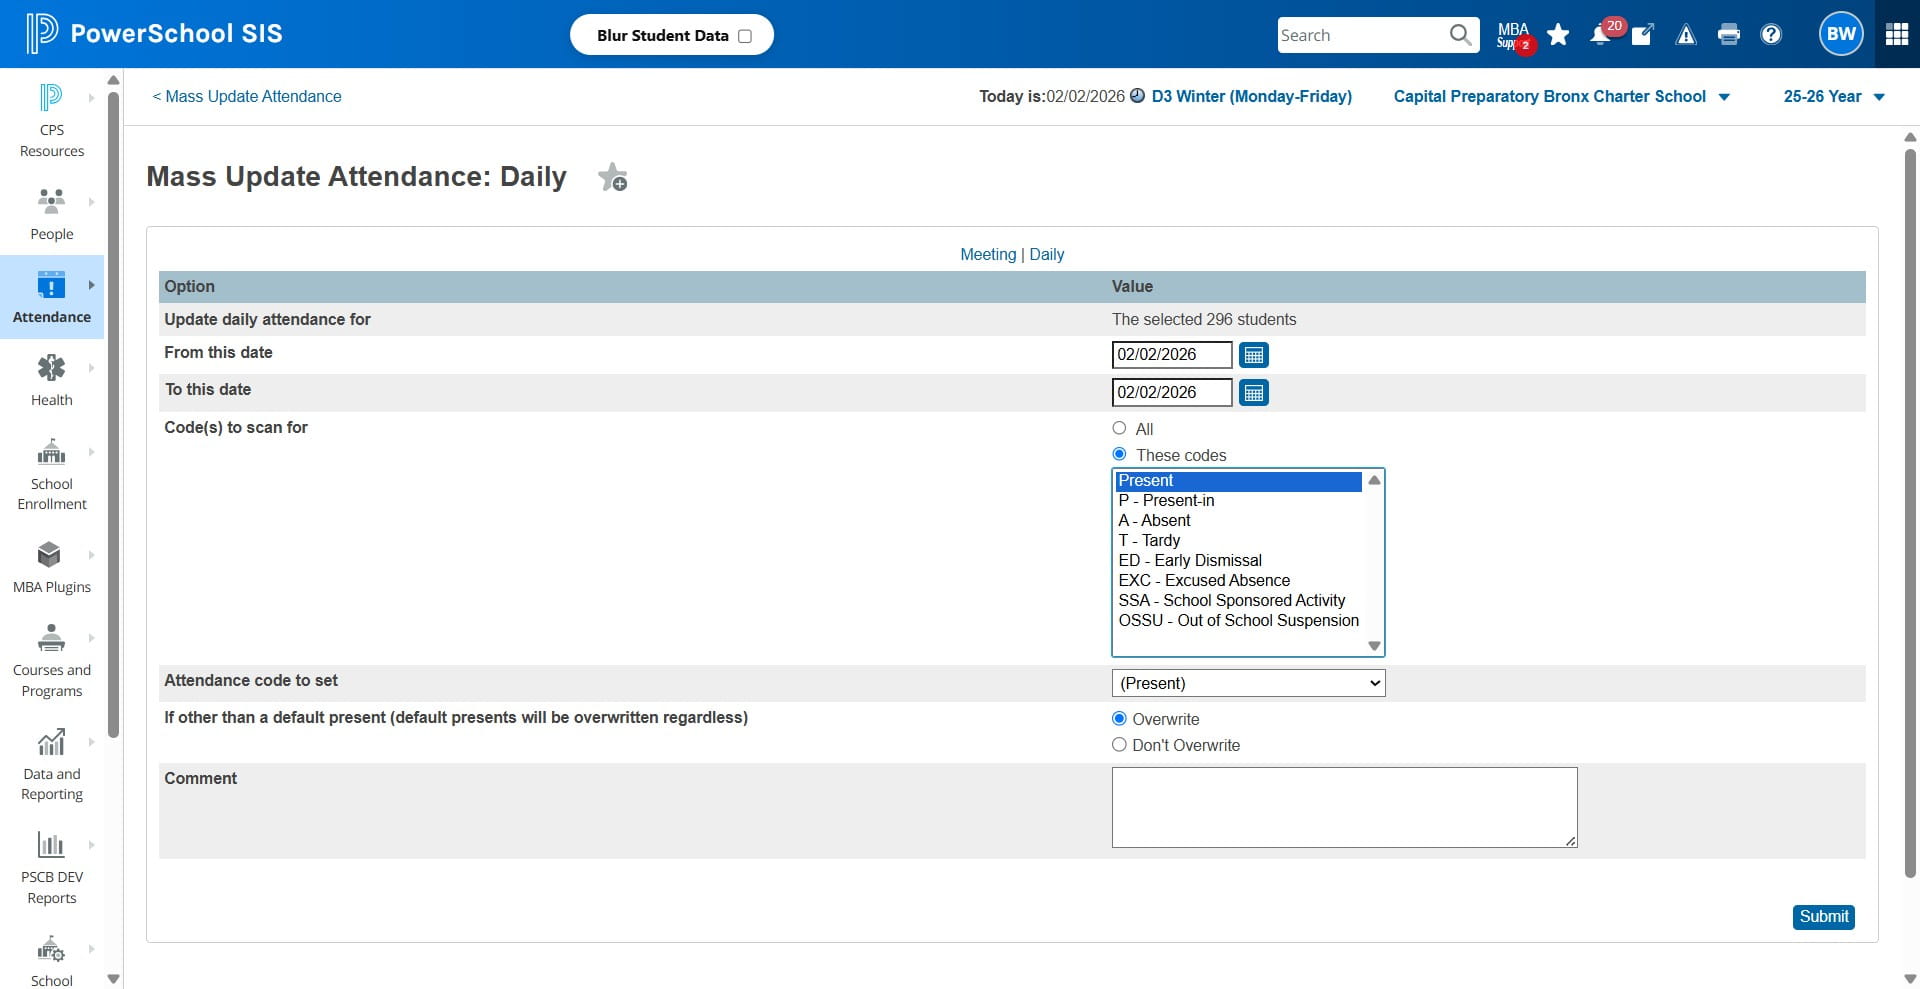
For attendance code to set Change (Present) to P (Present-In)
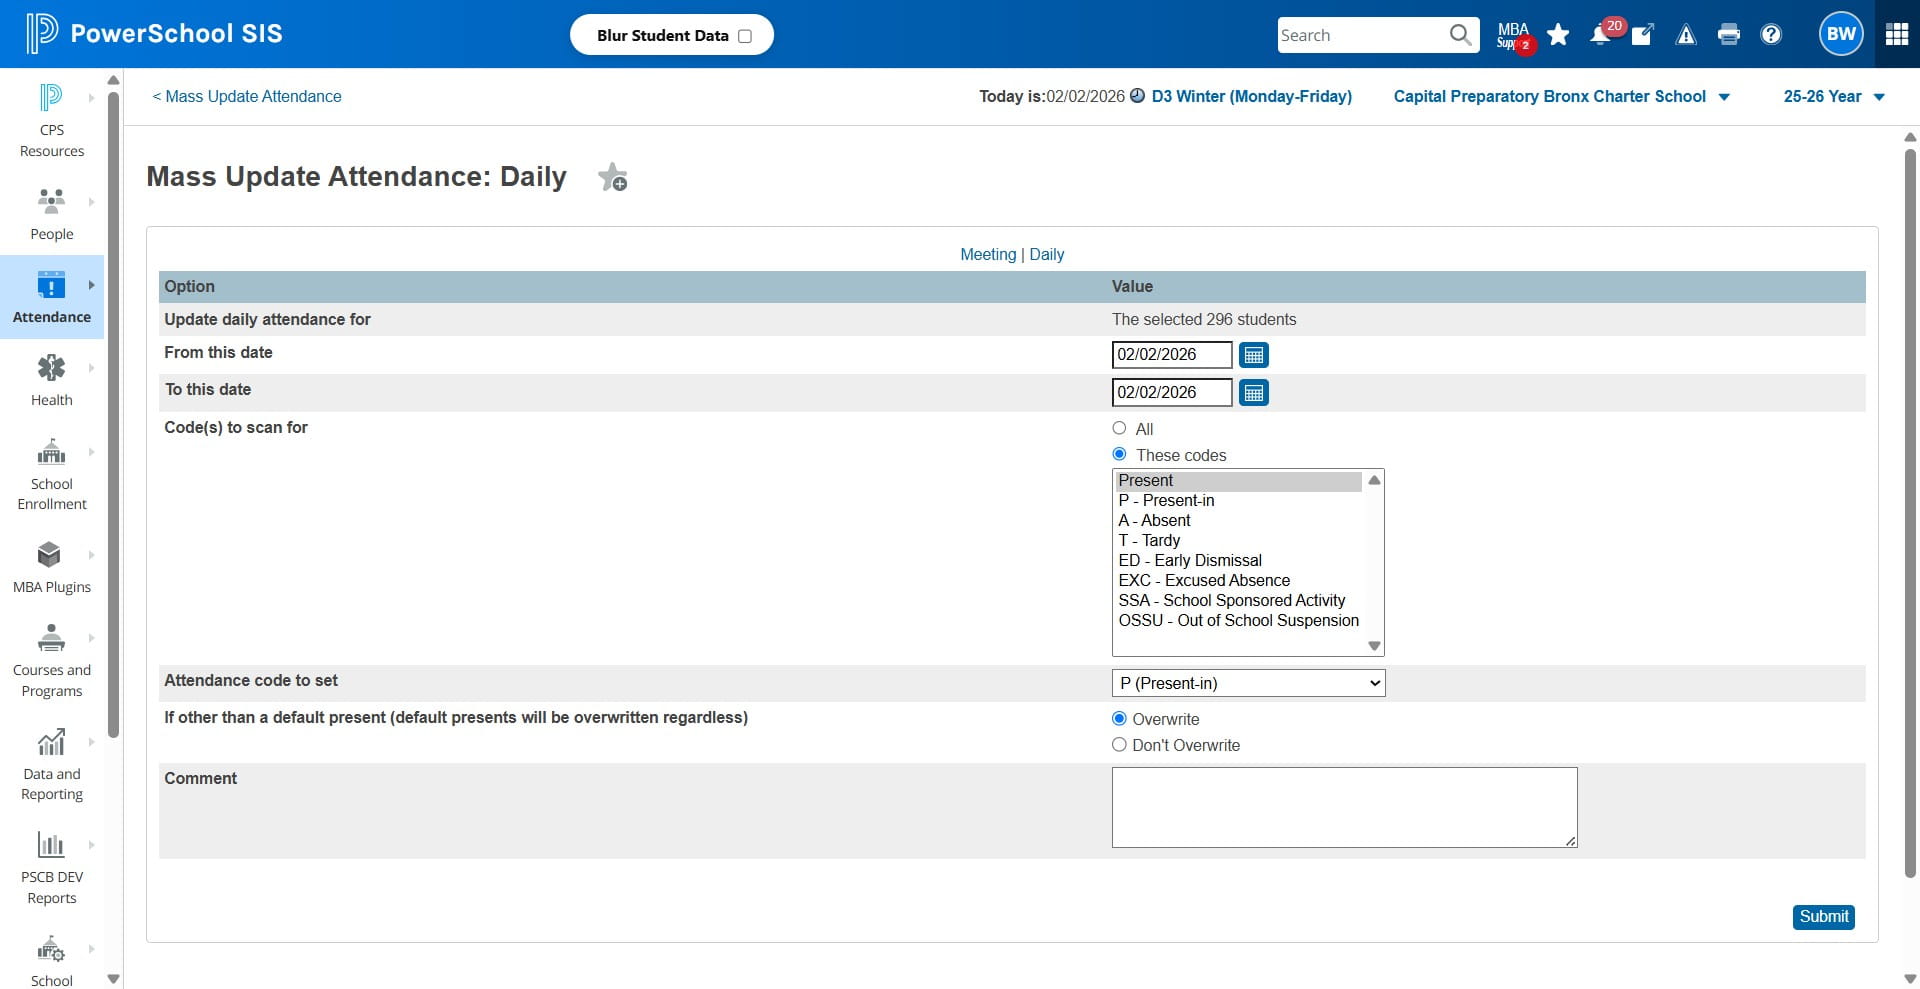
Click here
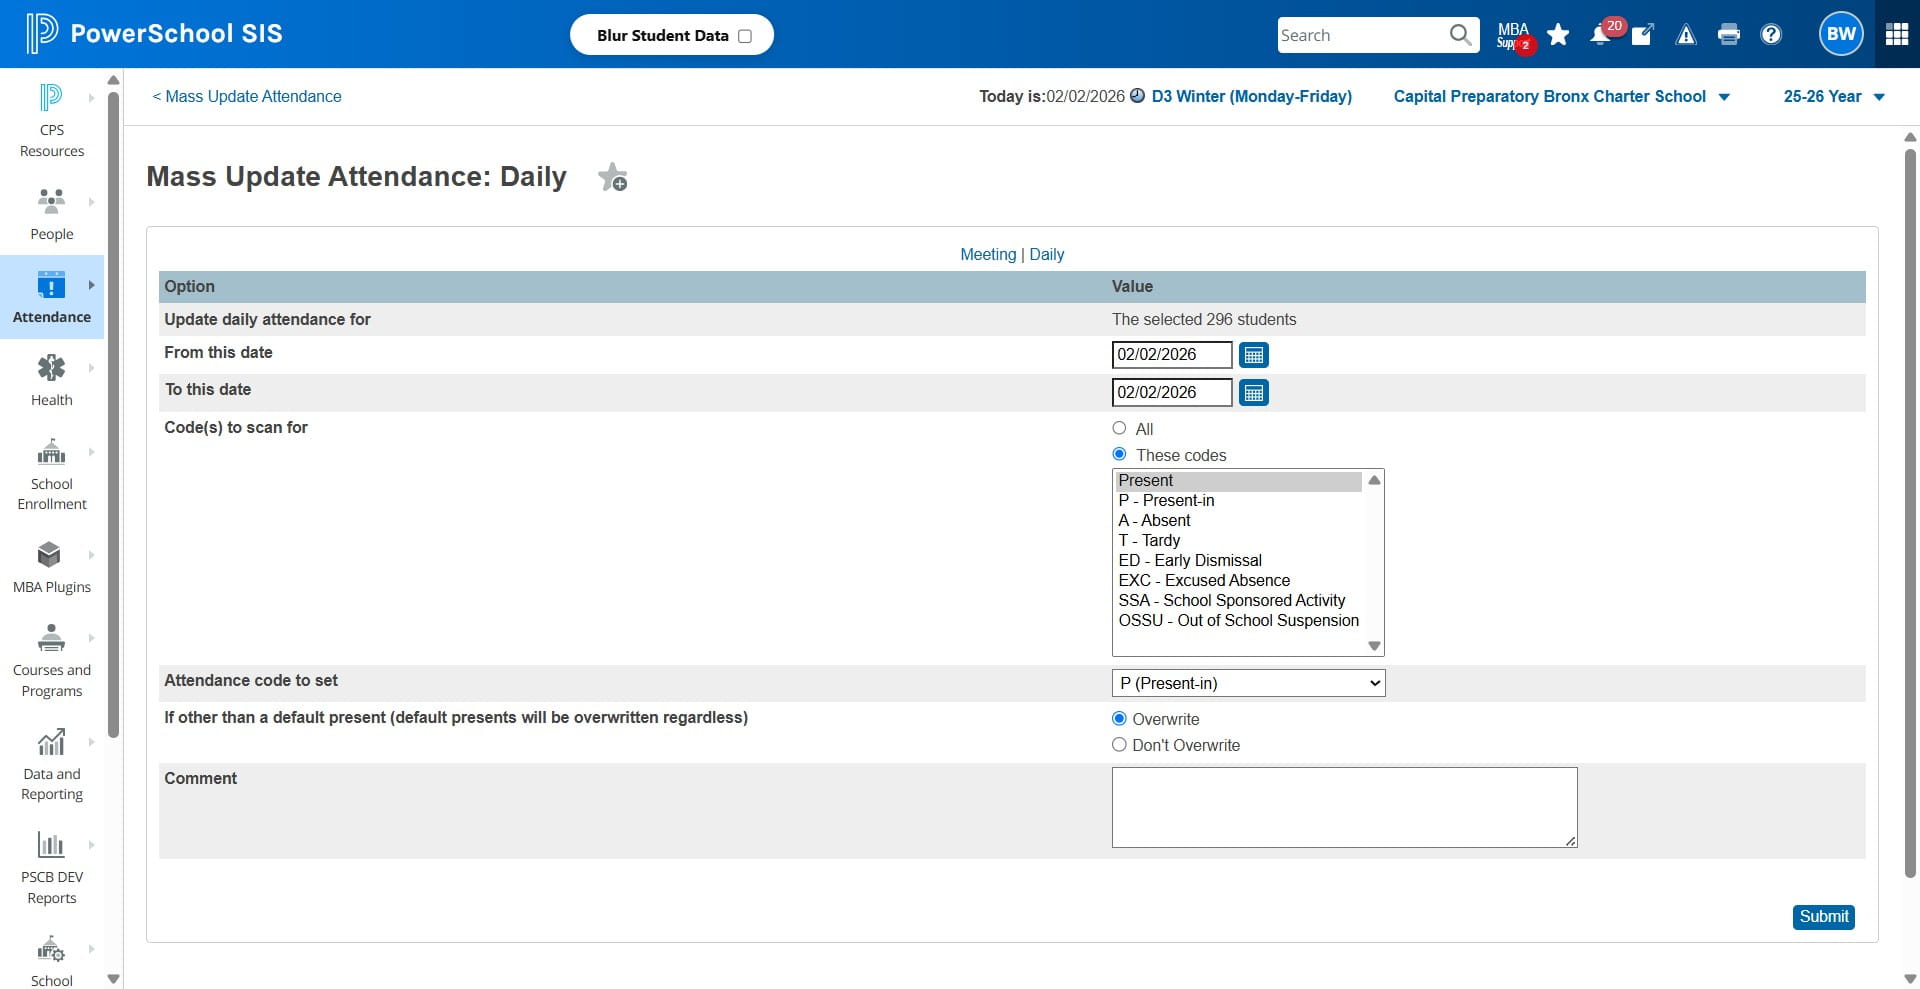
Confirm all tardy/absent students have a code in the ATT PERIOD
Click on "Meeting Attendance"
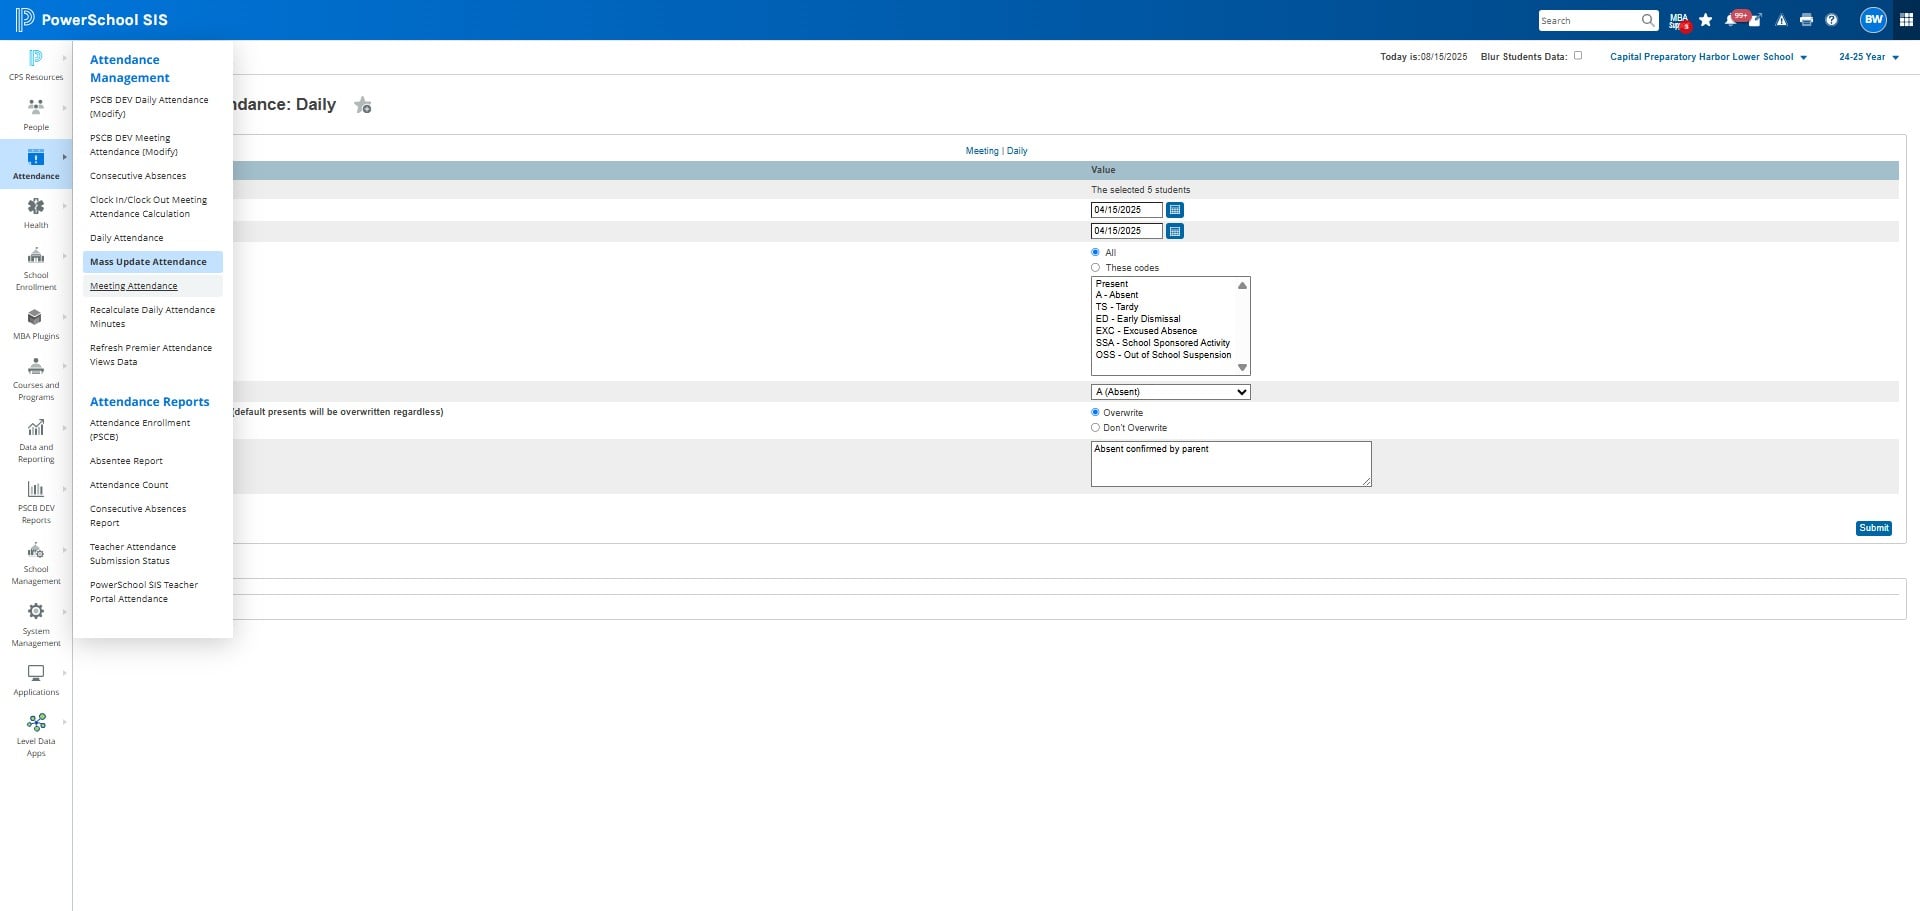
Check Absent Tab, Present Tab, and Tardy Tab. Ensure all students have a code set.
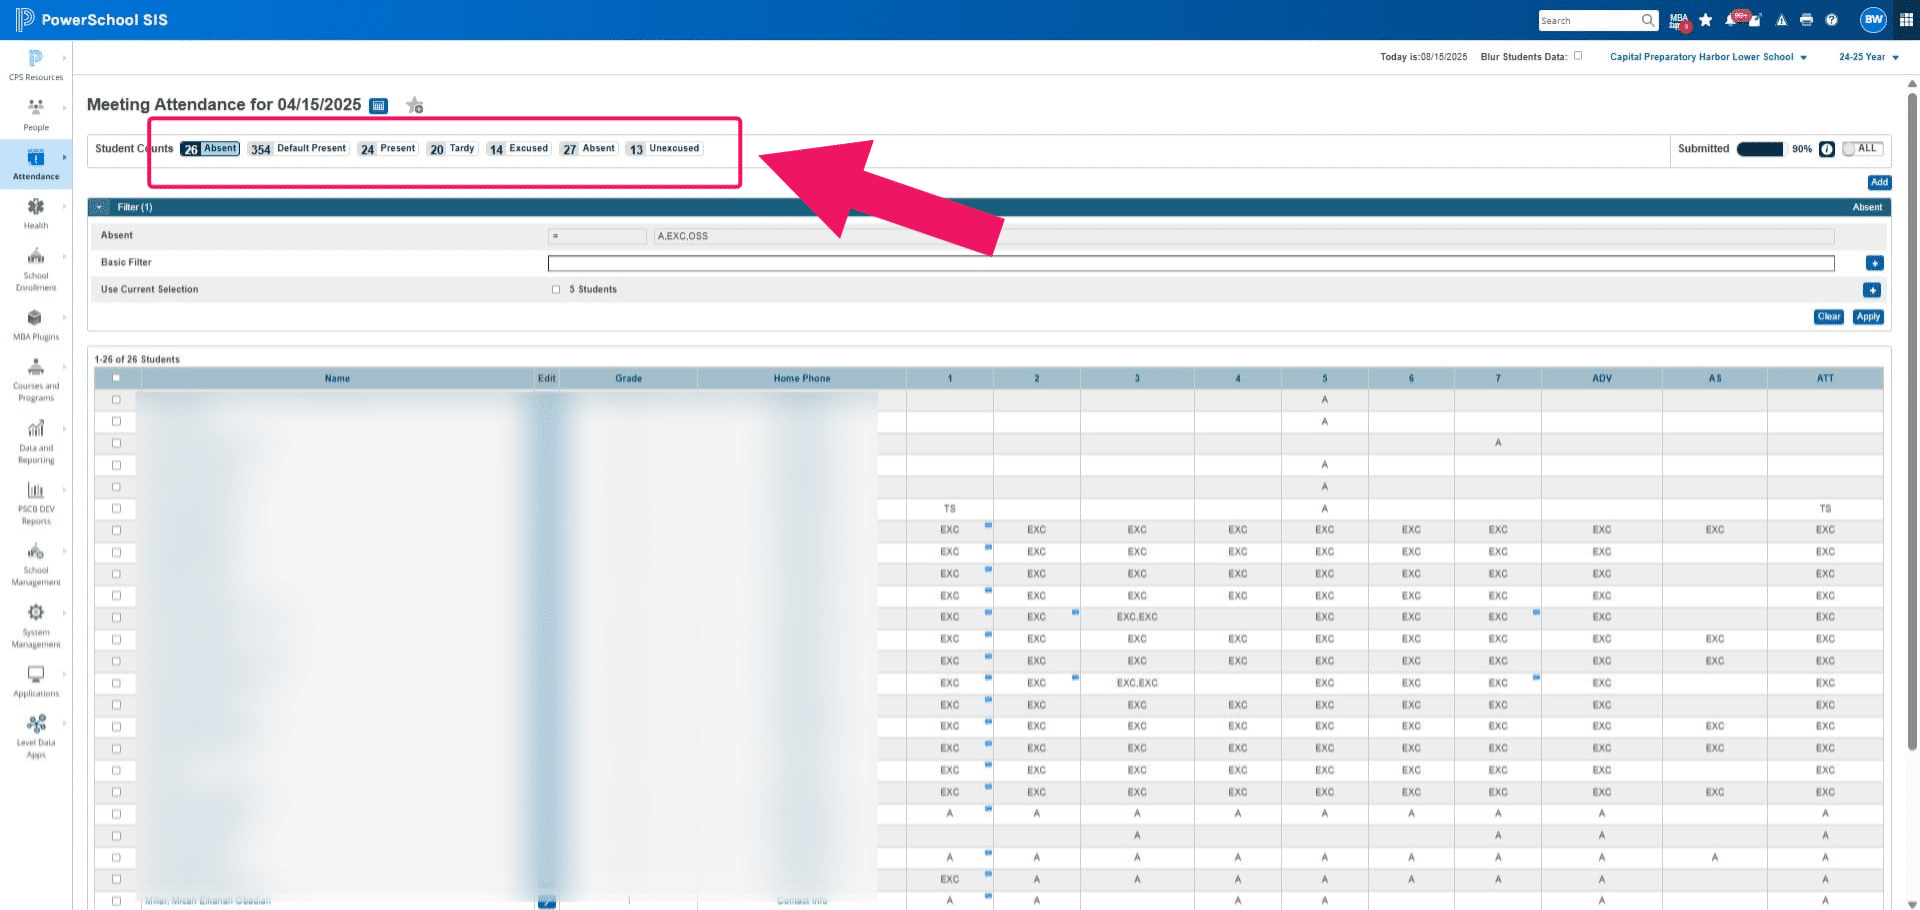
Click on "ATT" and review blanks. Students should only have a code for the following:
- Present will be <P>
- Absent <A>
- Excused Absence <EA> - some examples: doctors note, hospitalization
- Tardy <TS>
- Early Dismissal <ED>
- Out of School Suspension <OSS>
- School Sponsored Activity <SSA> - some examples: field trips, college visits, college classes being taken
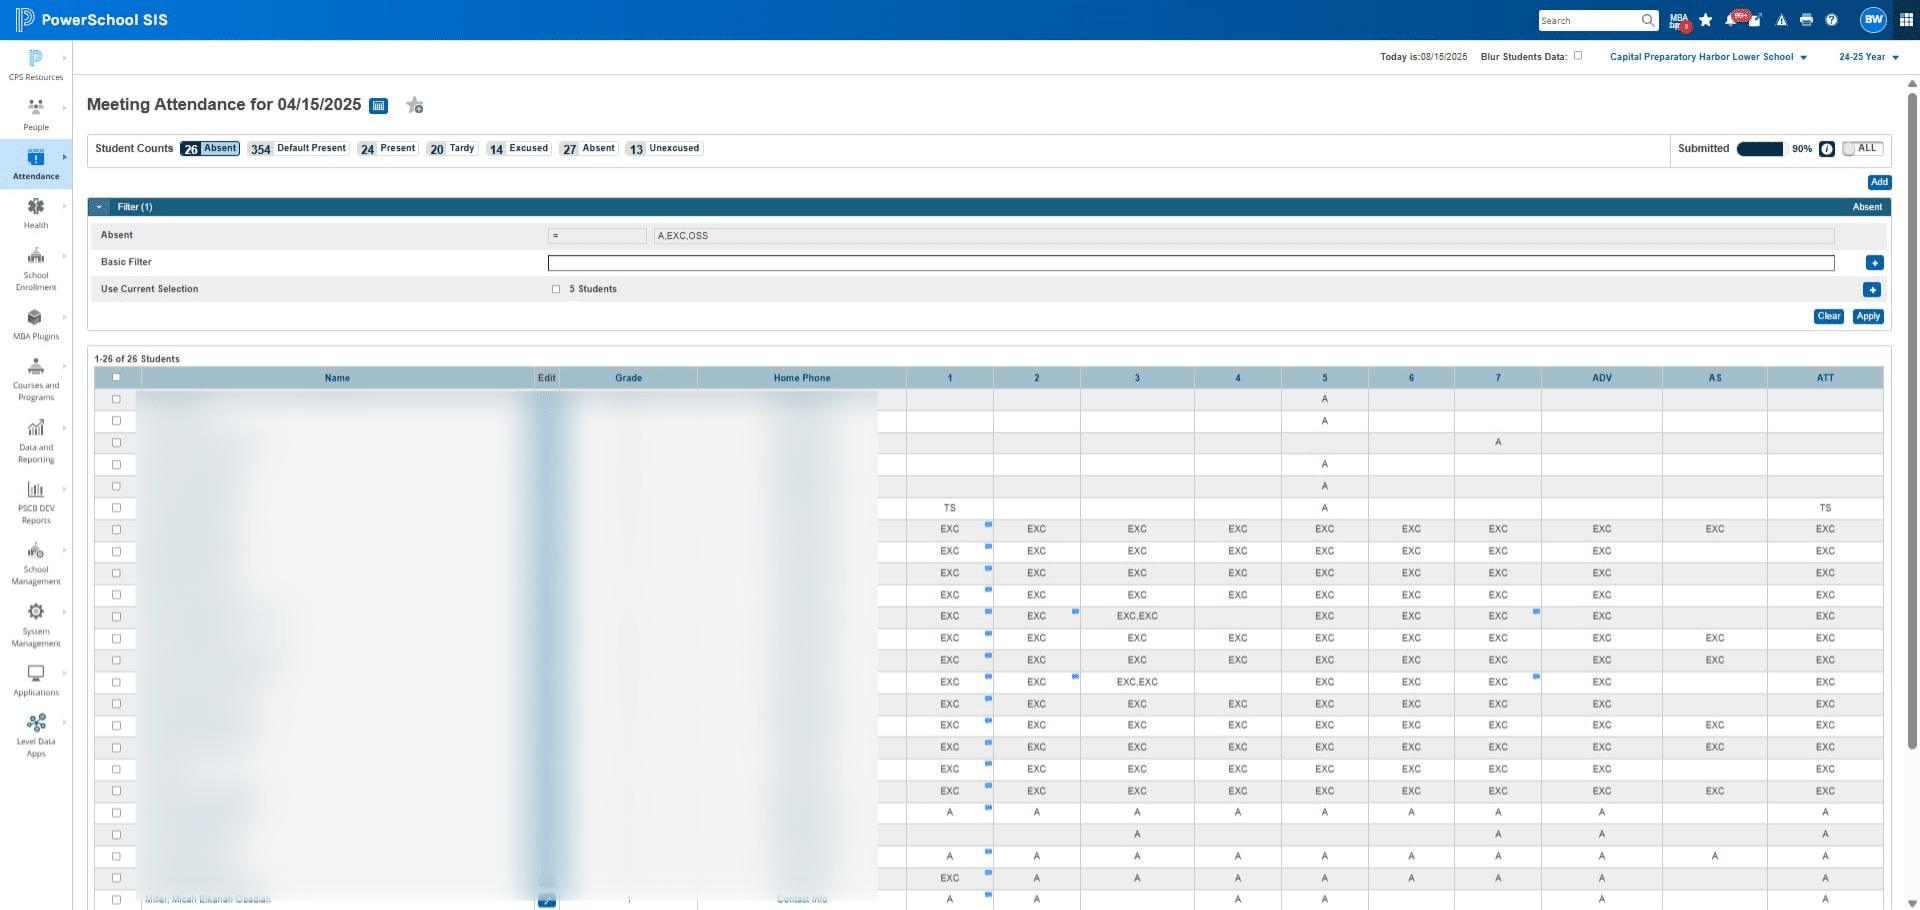
Pull Attendance Report for the Attendance Email Template
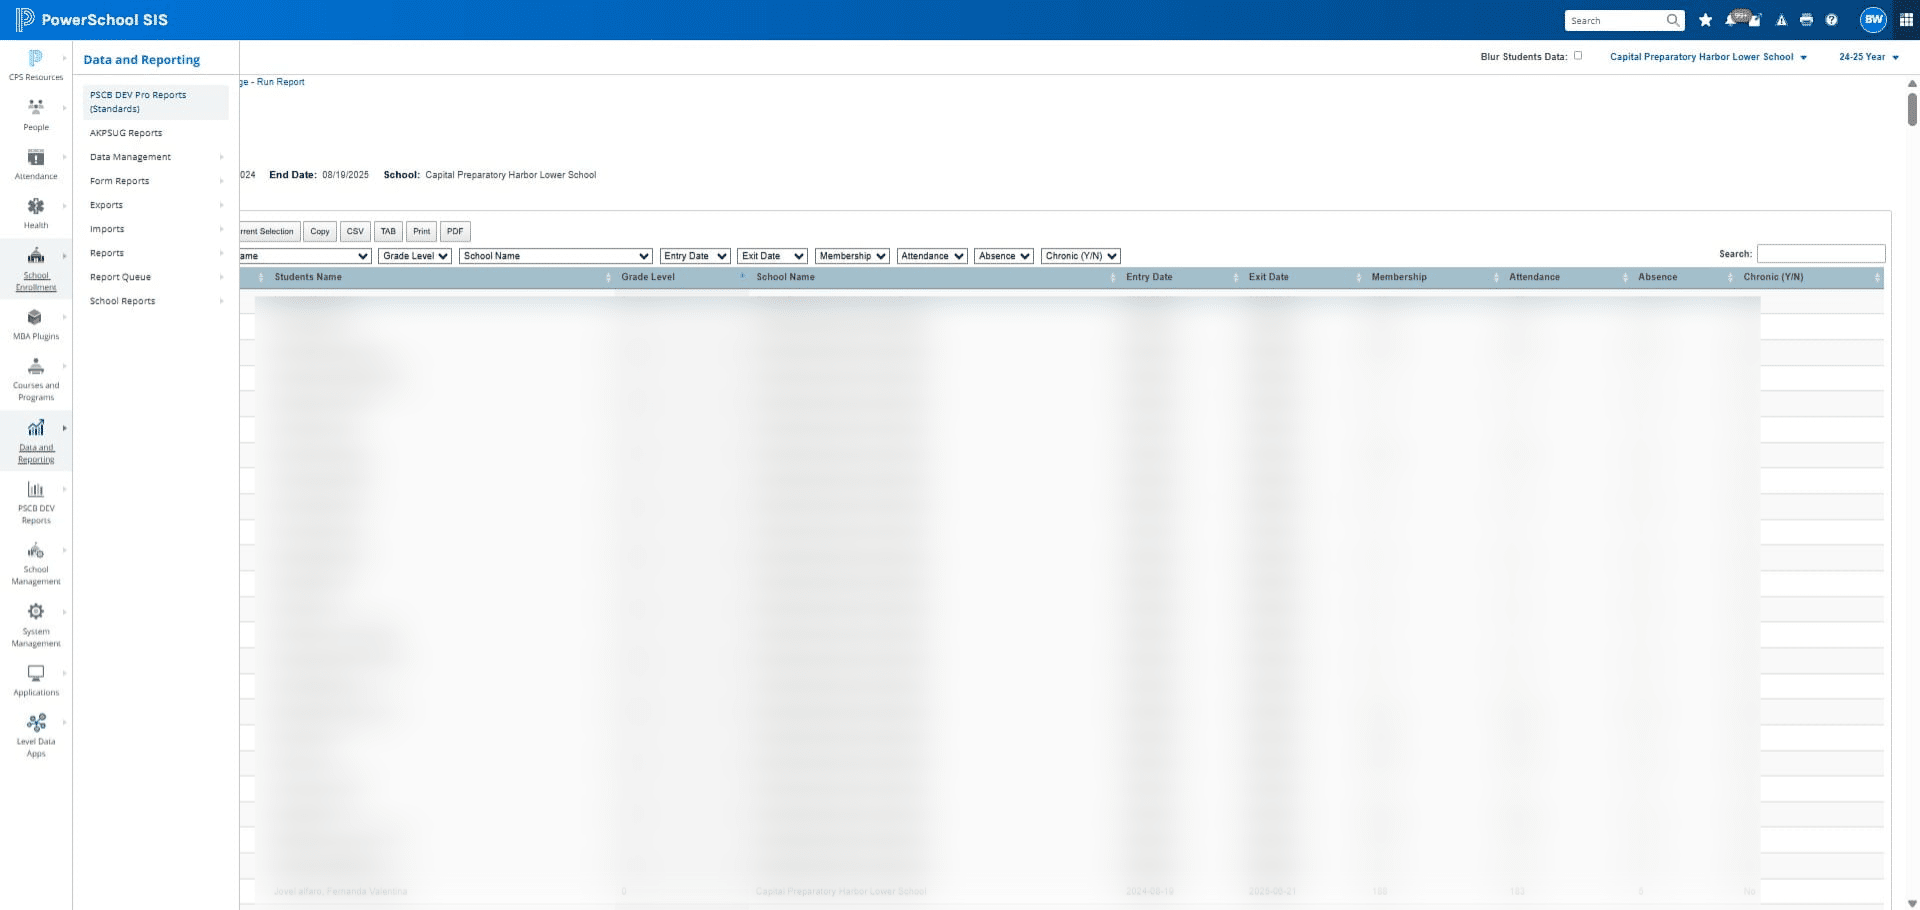
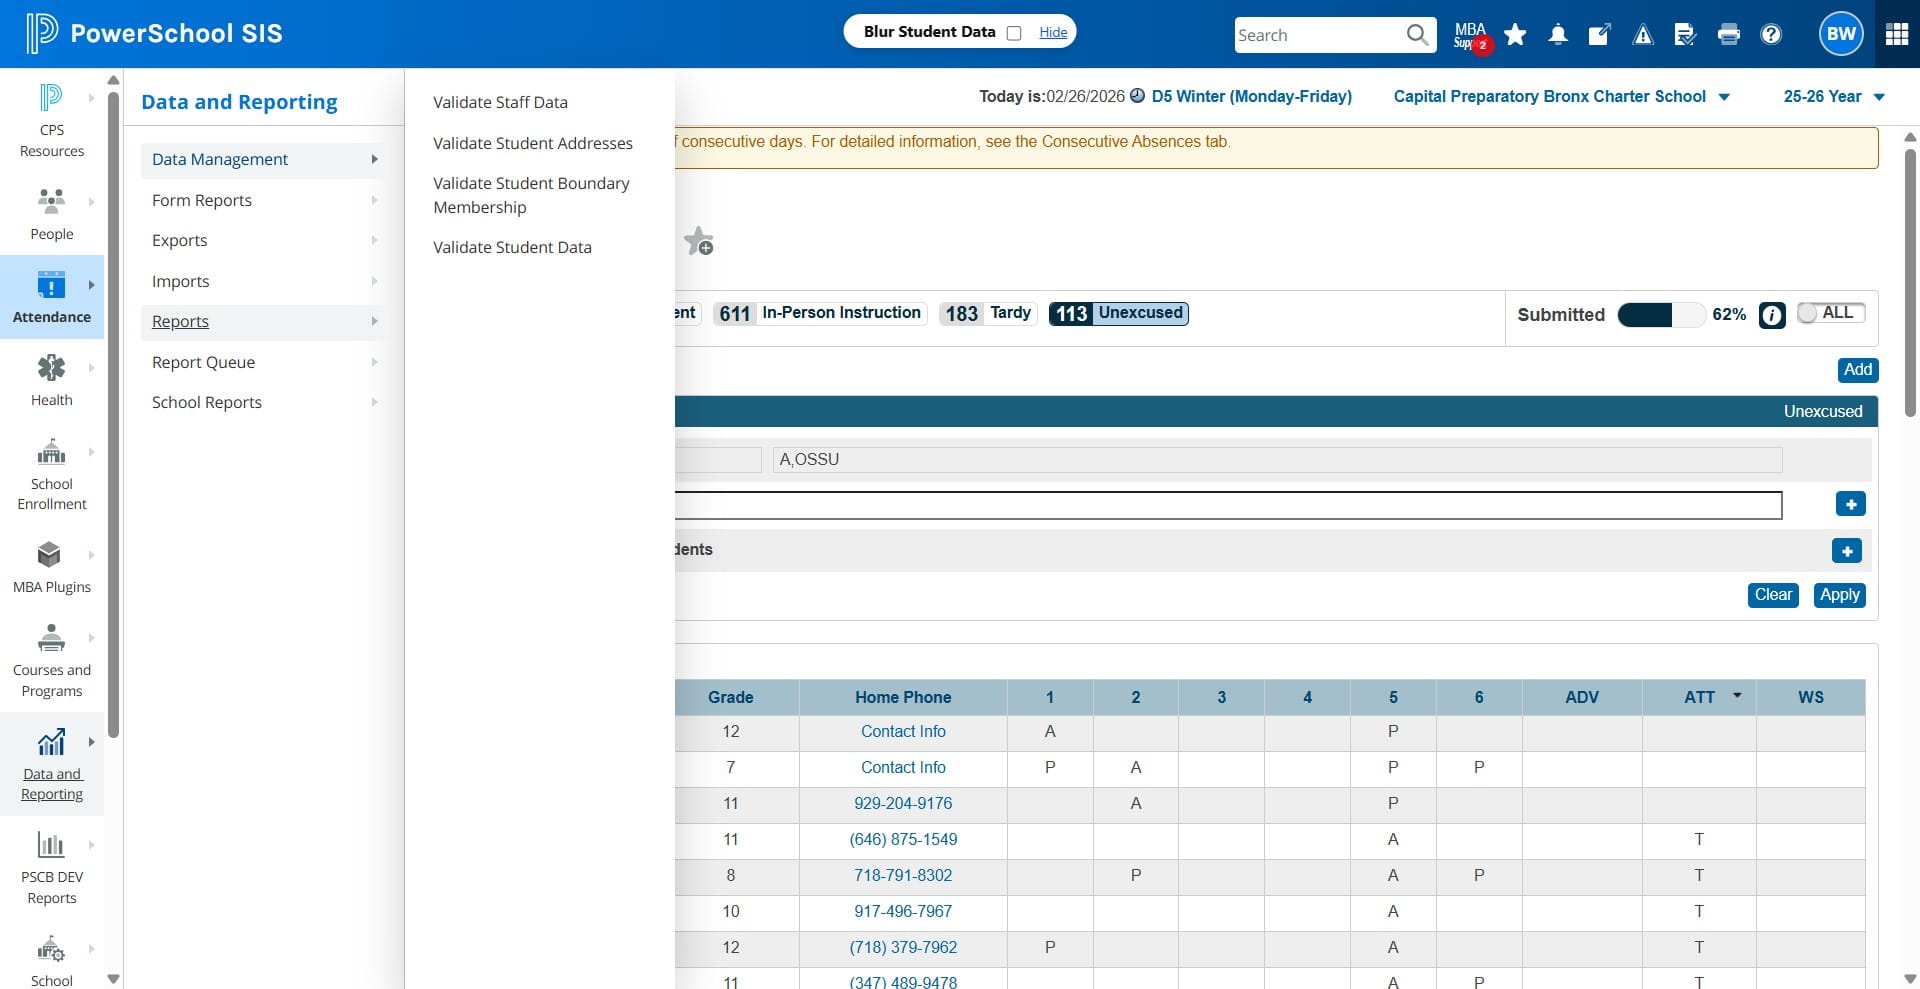
Click Data and Reporting
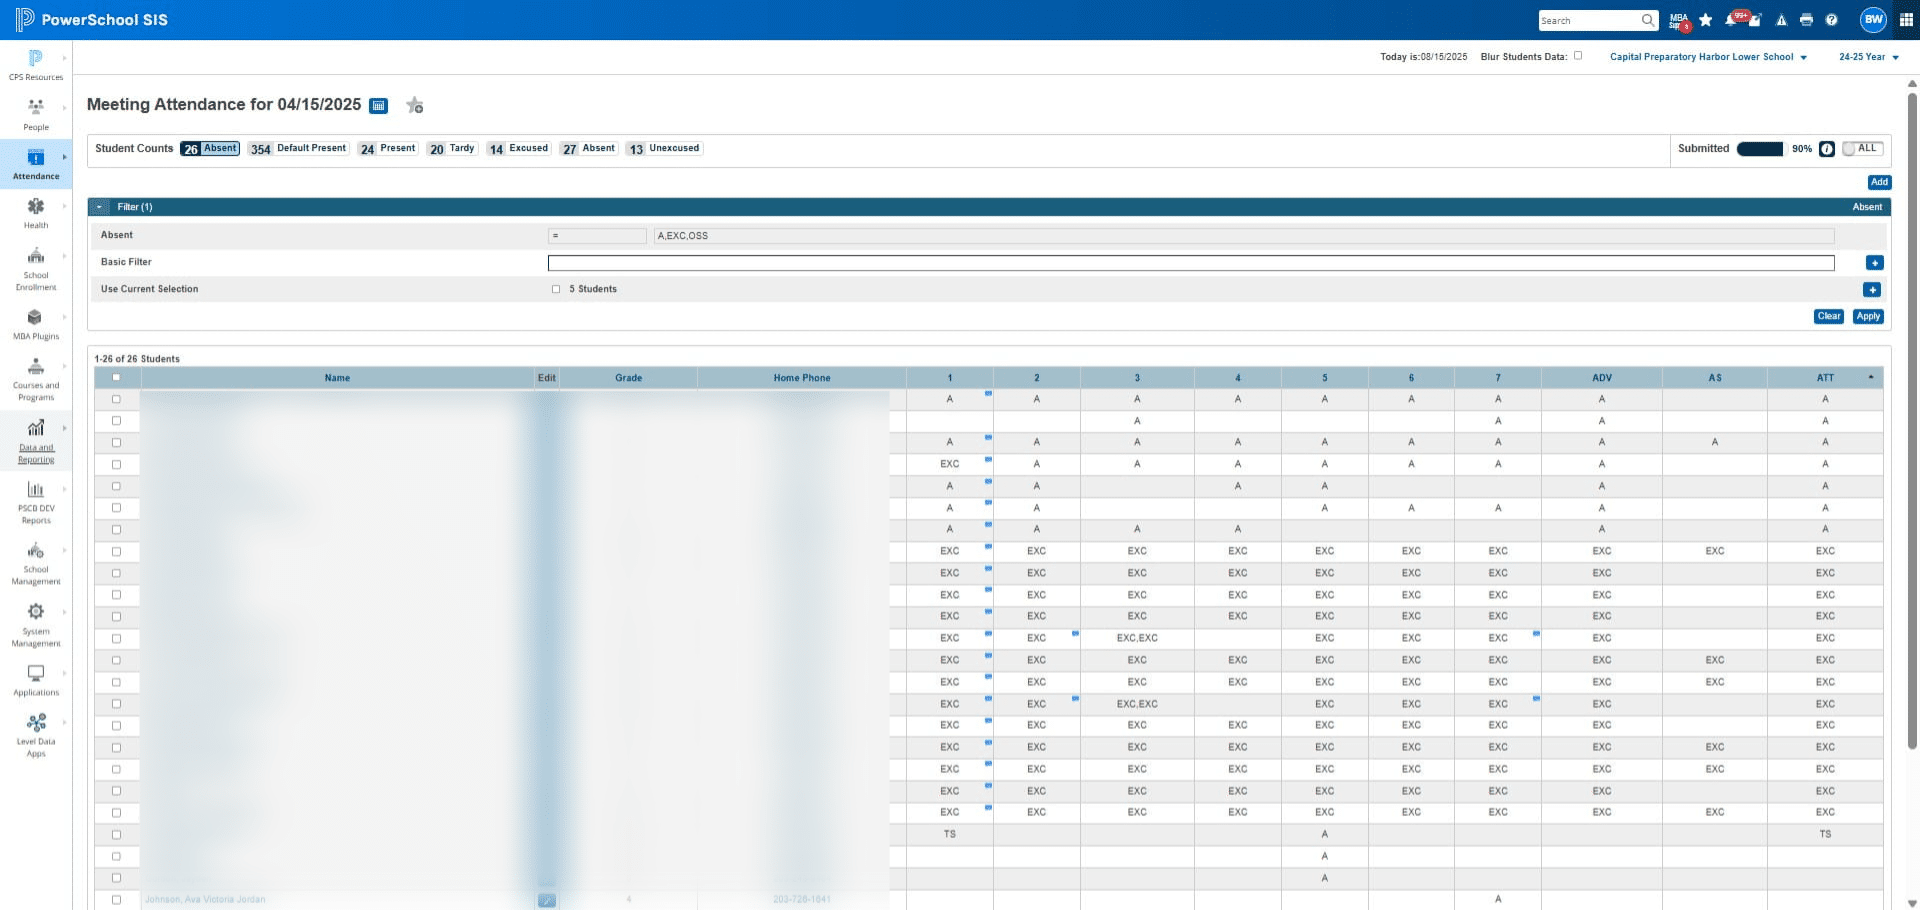
Click on "Reports"
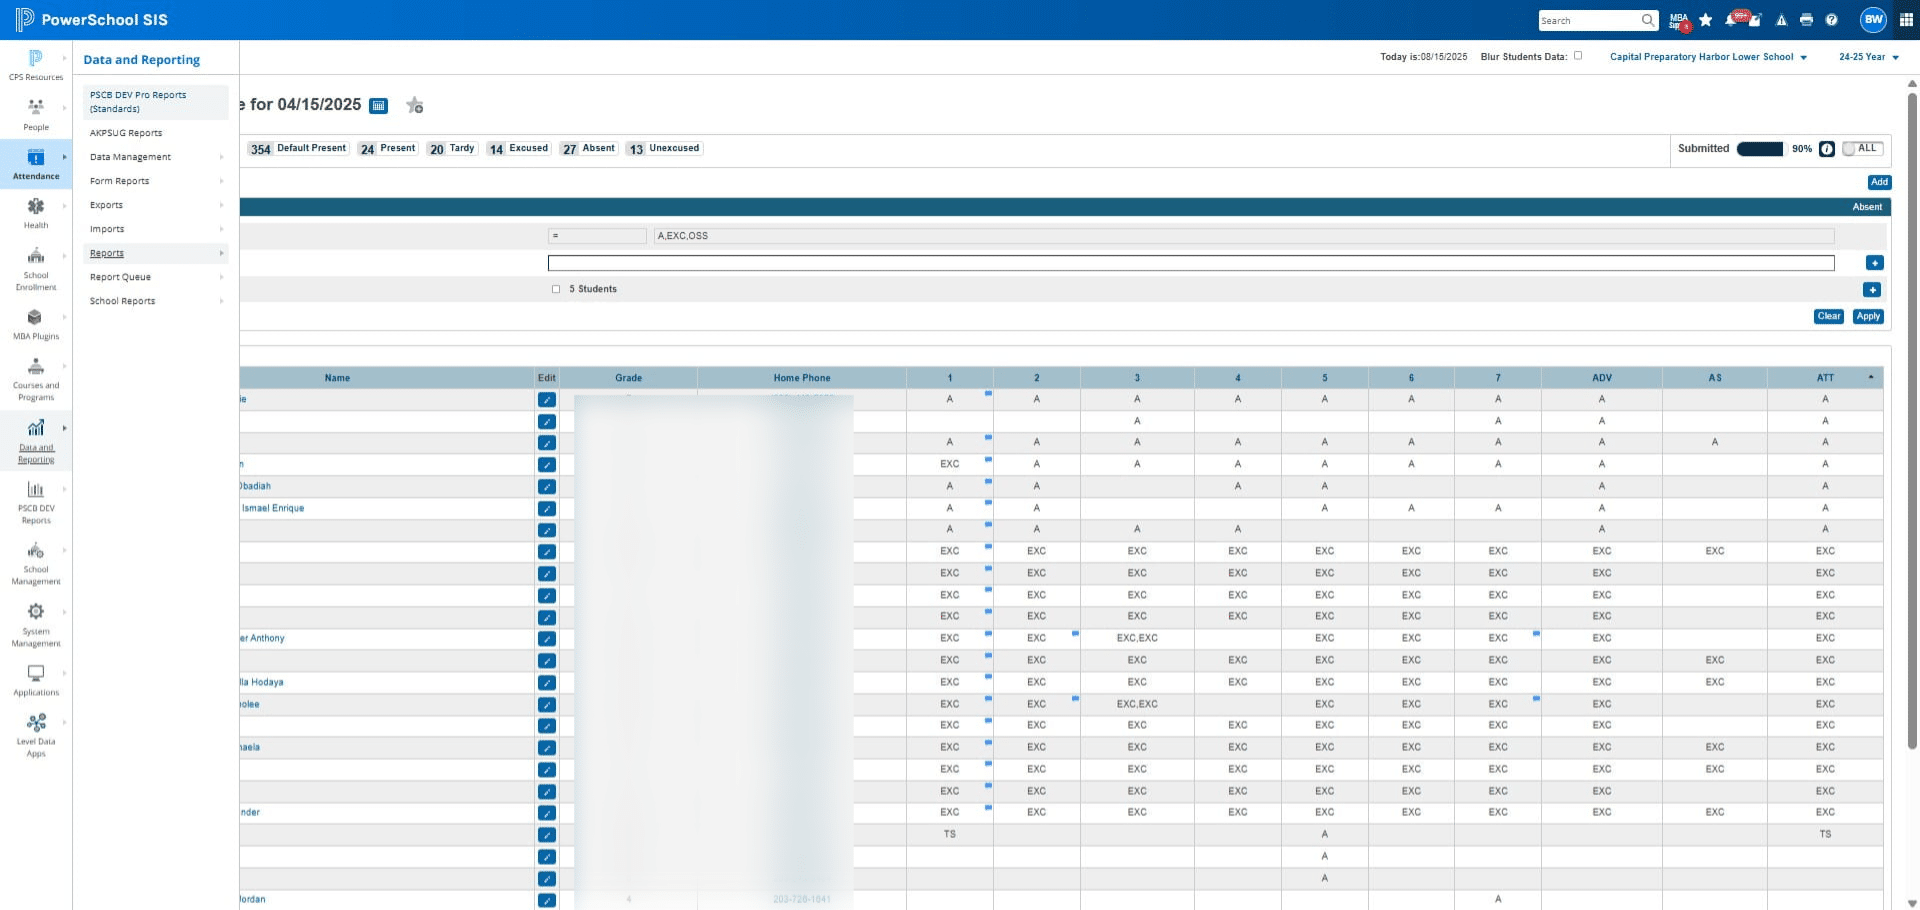
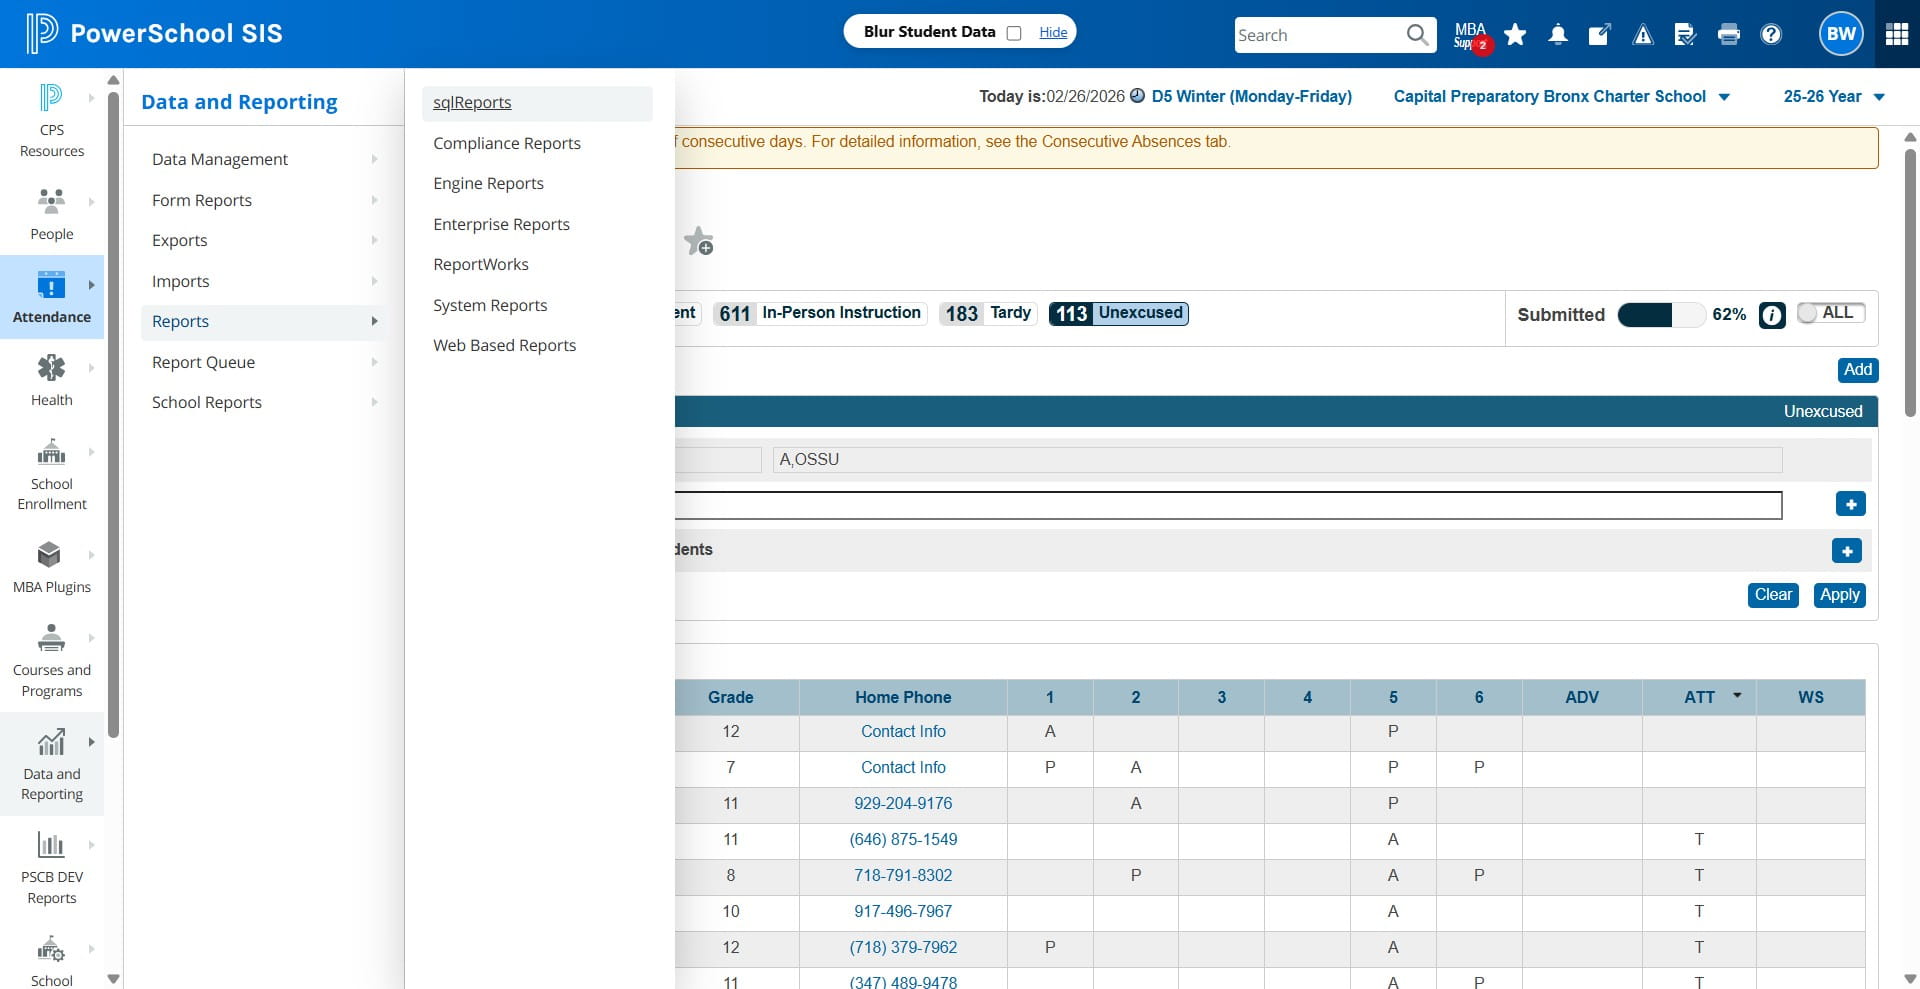
Click on "sqlReports"
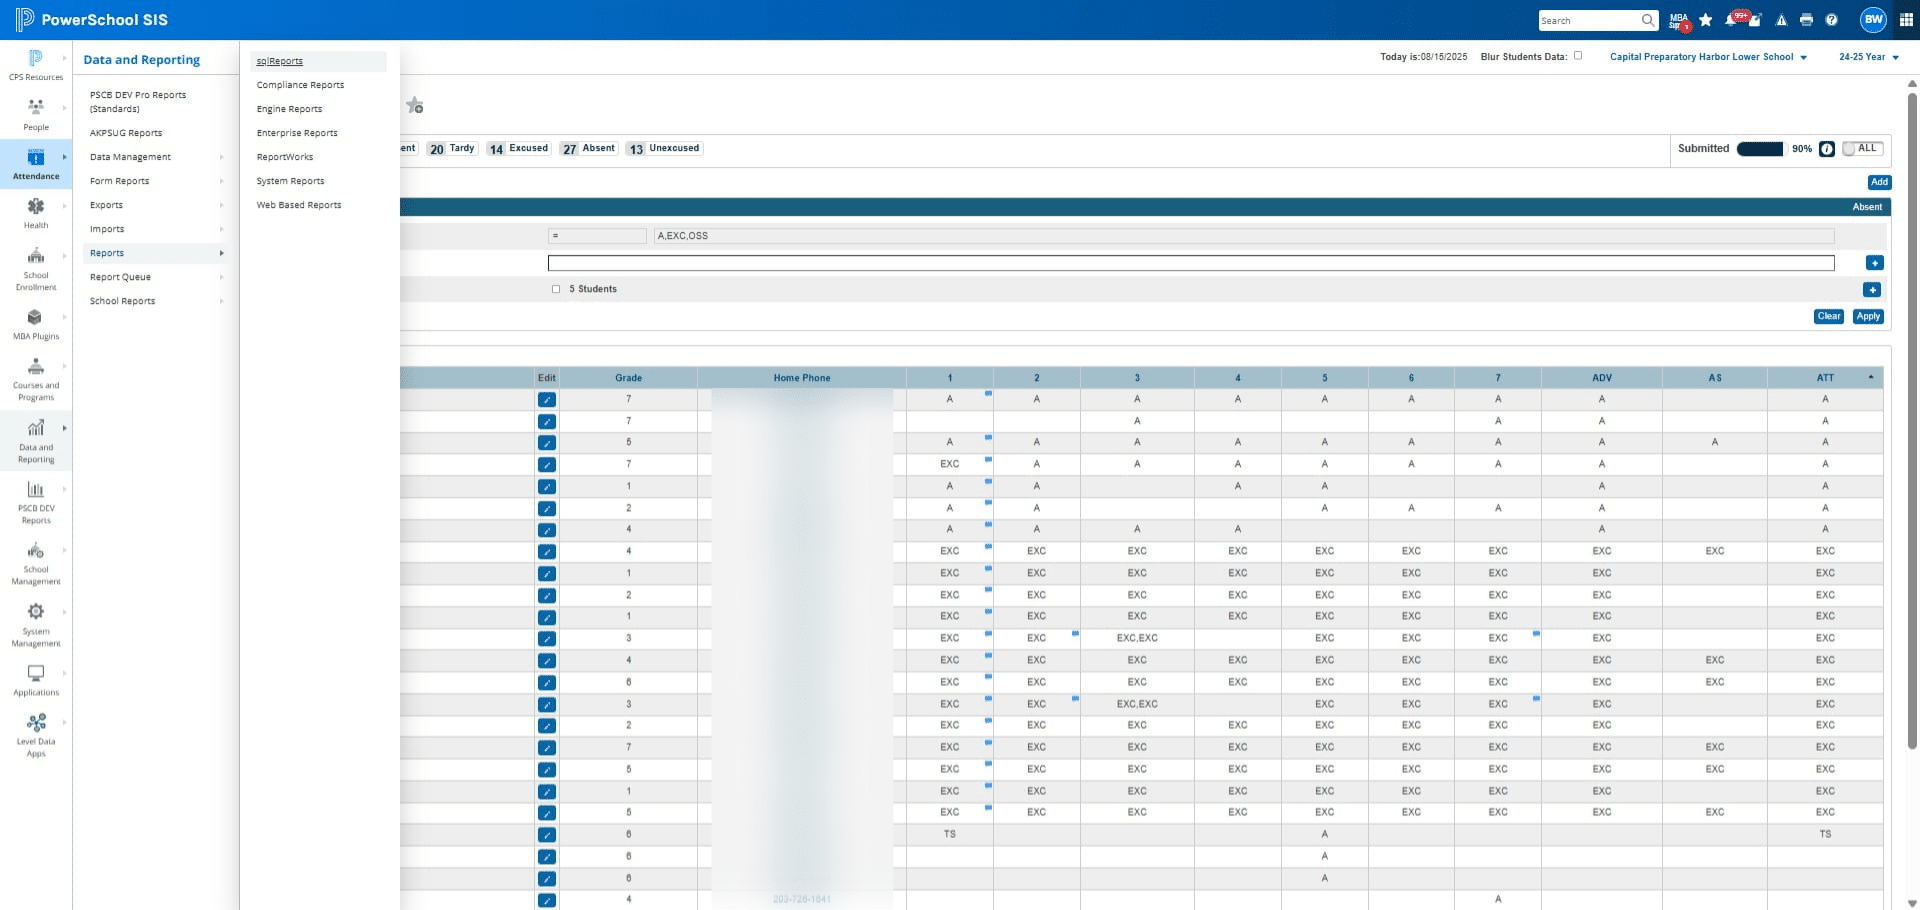
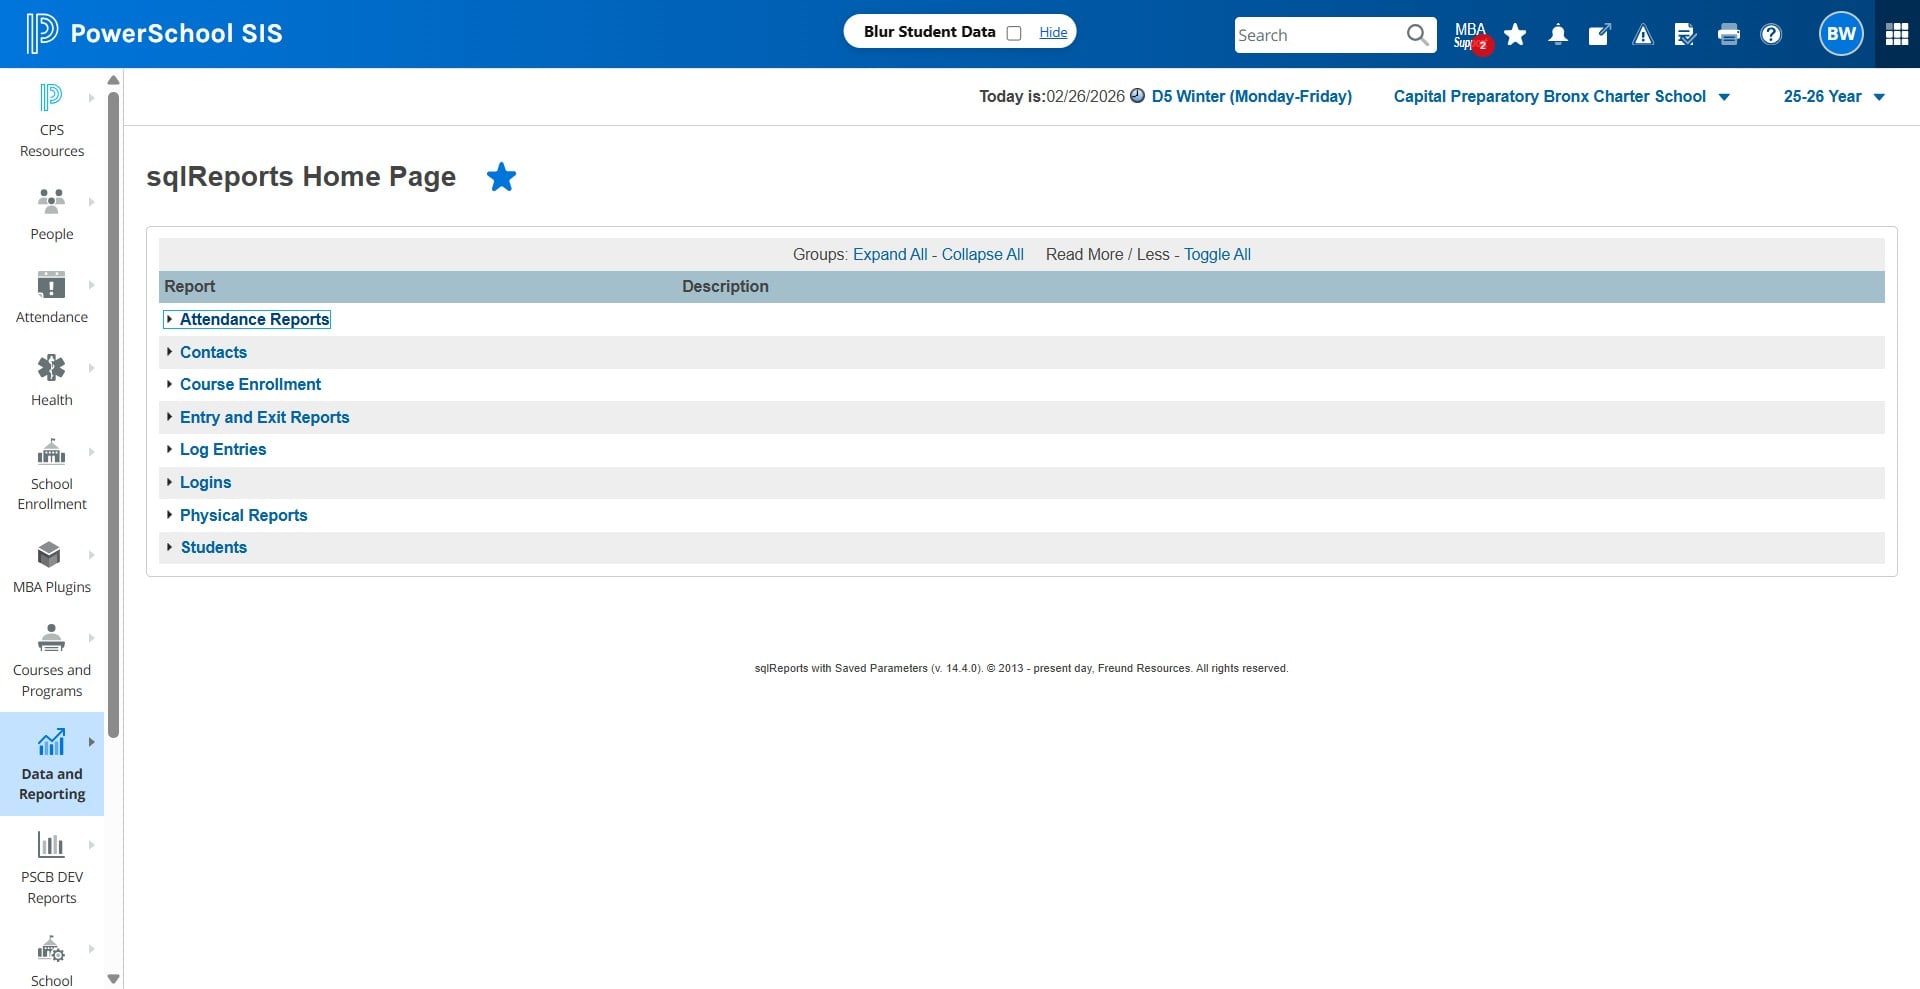
Click on Attendance Reports
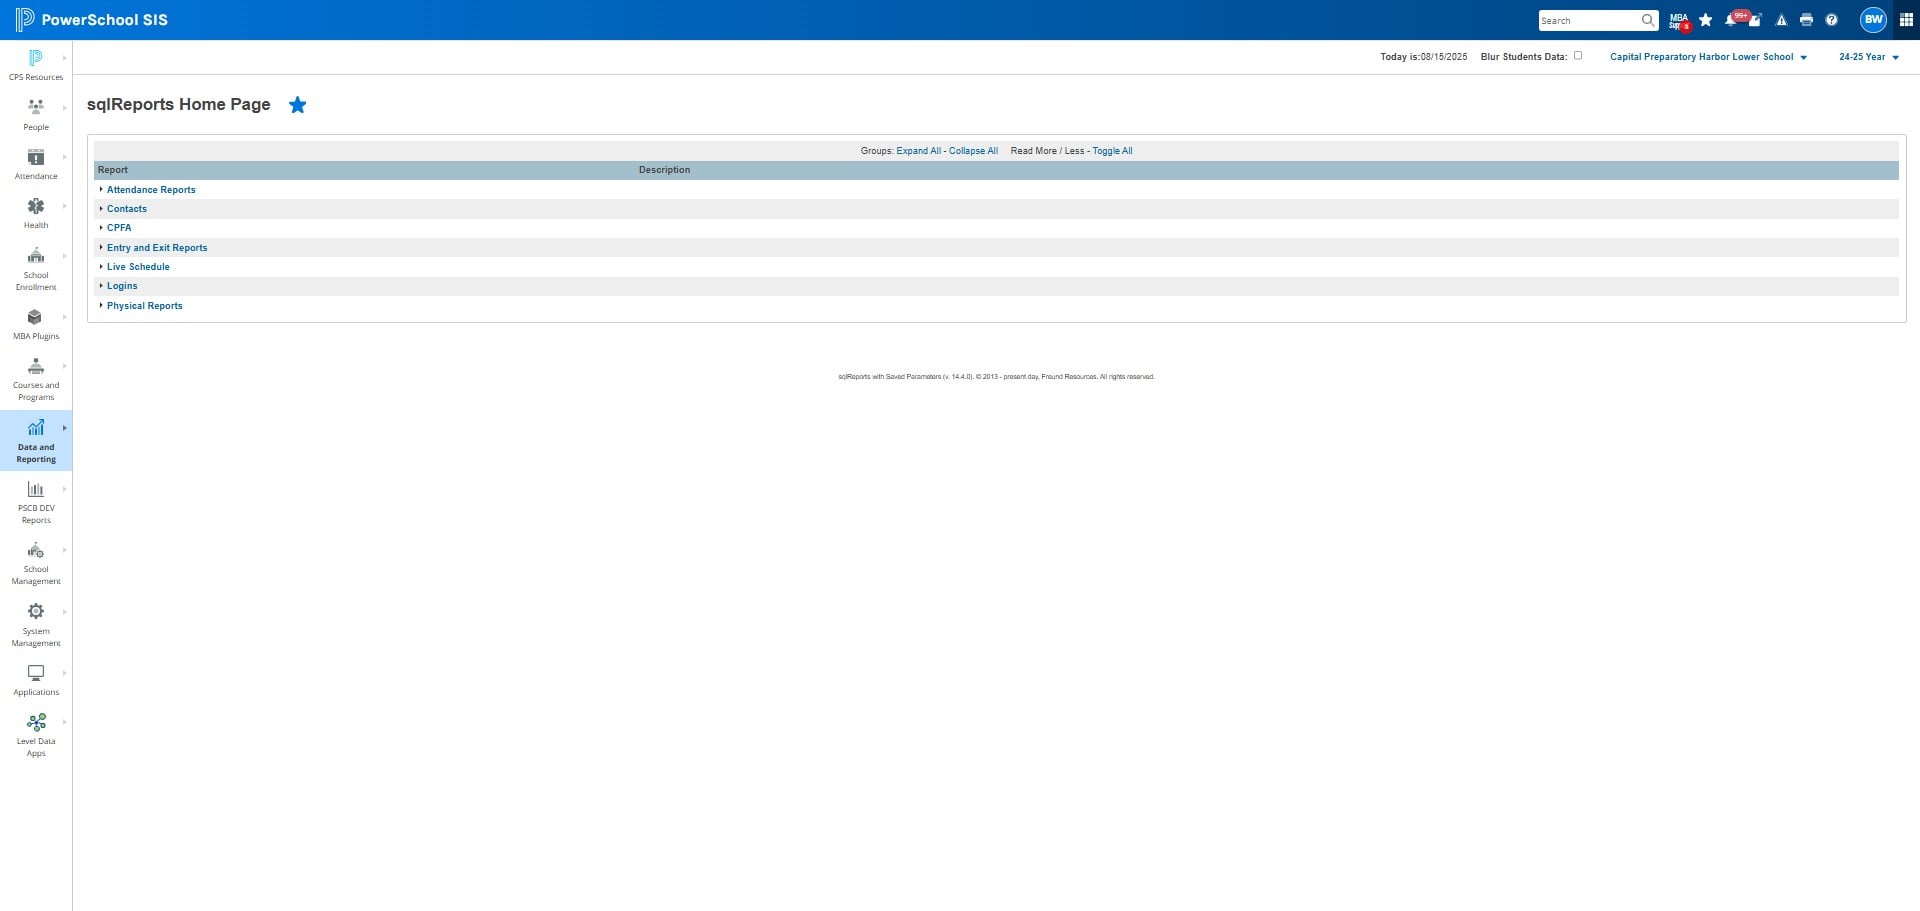
Click on the one that says "Daily Attendance Email"
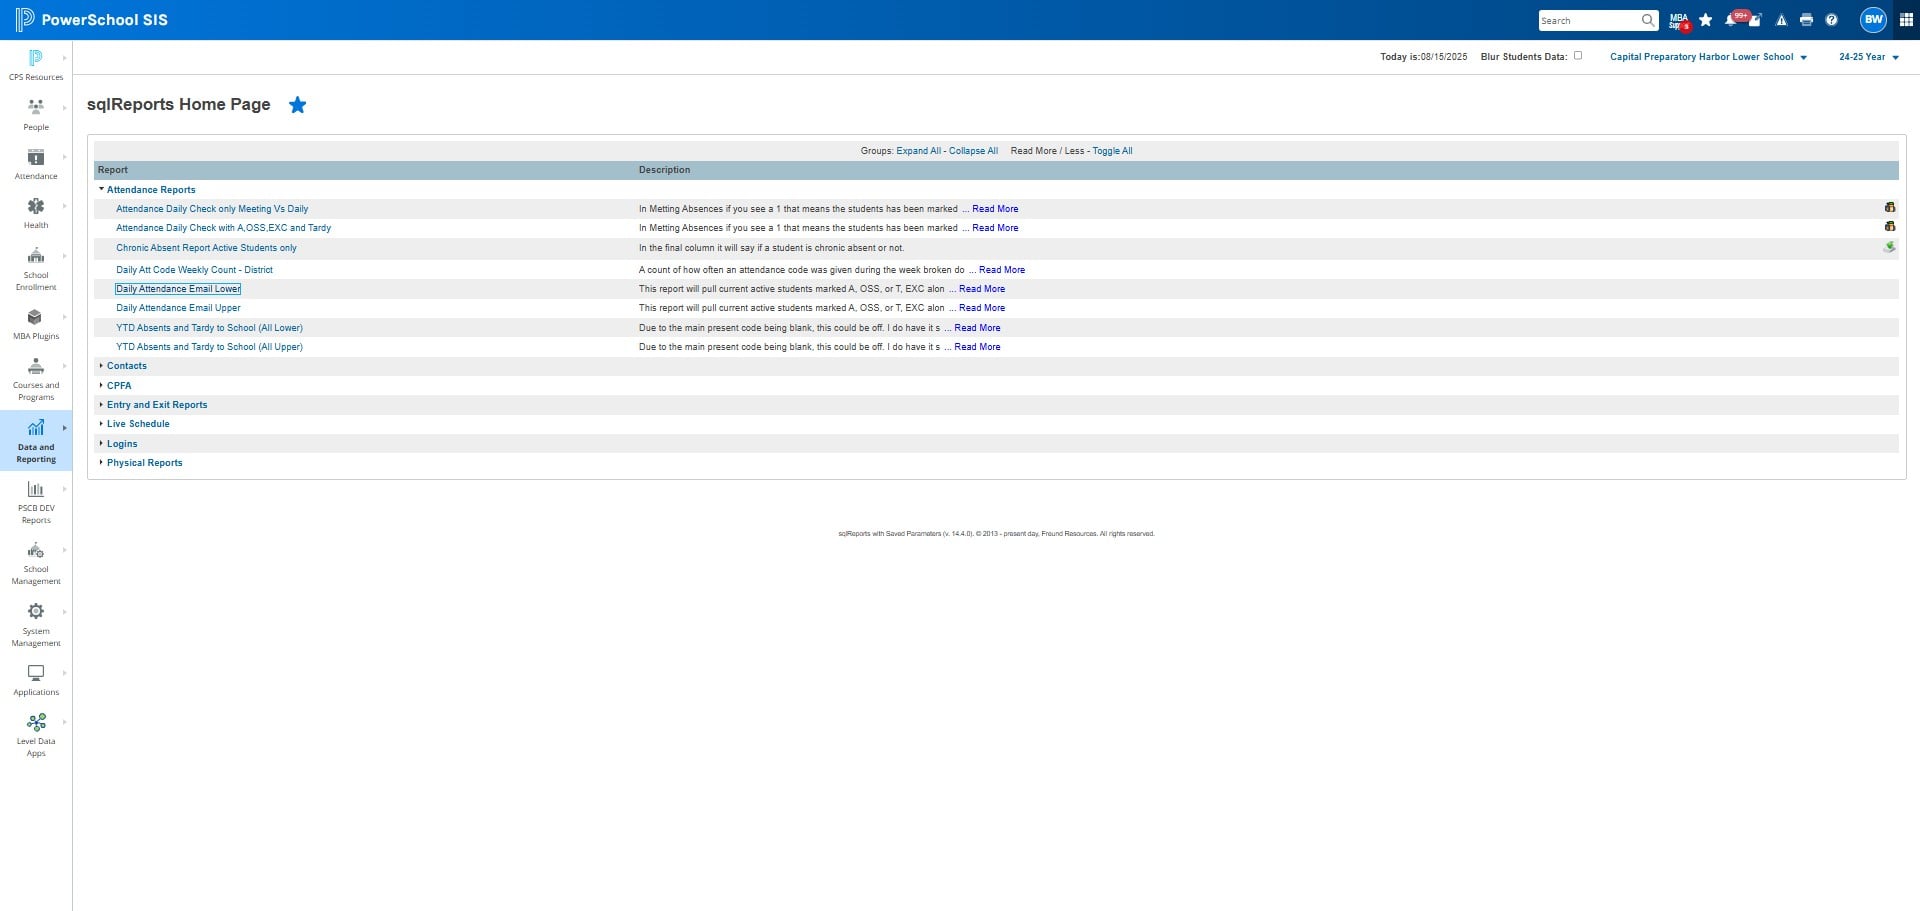
Update the date to the date you are doing attendance for.
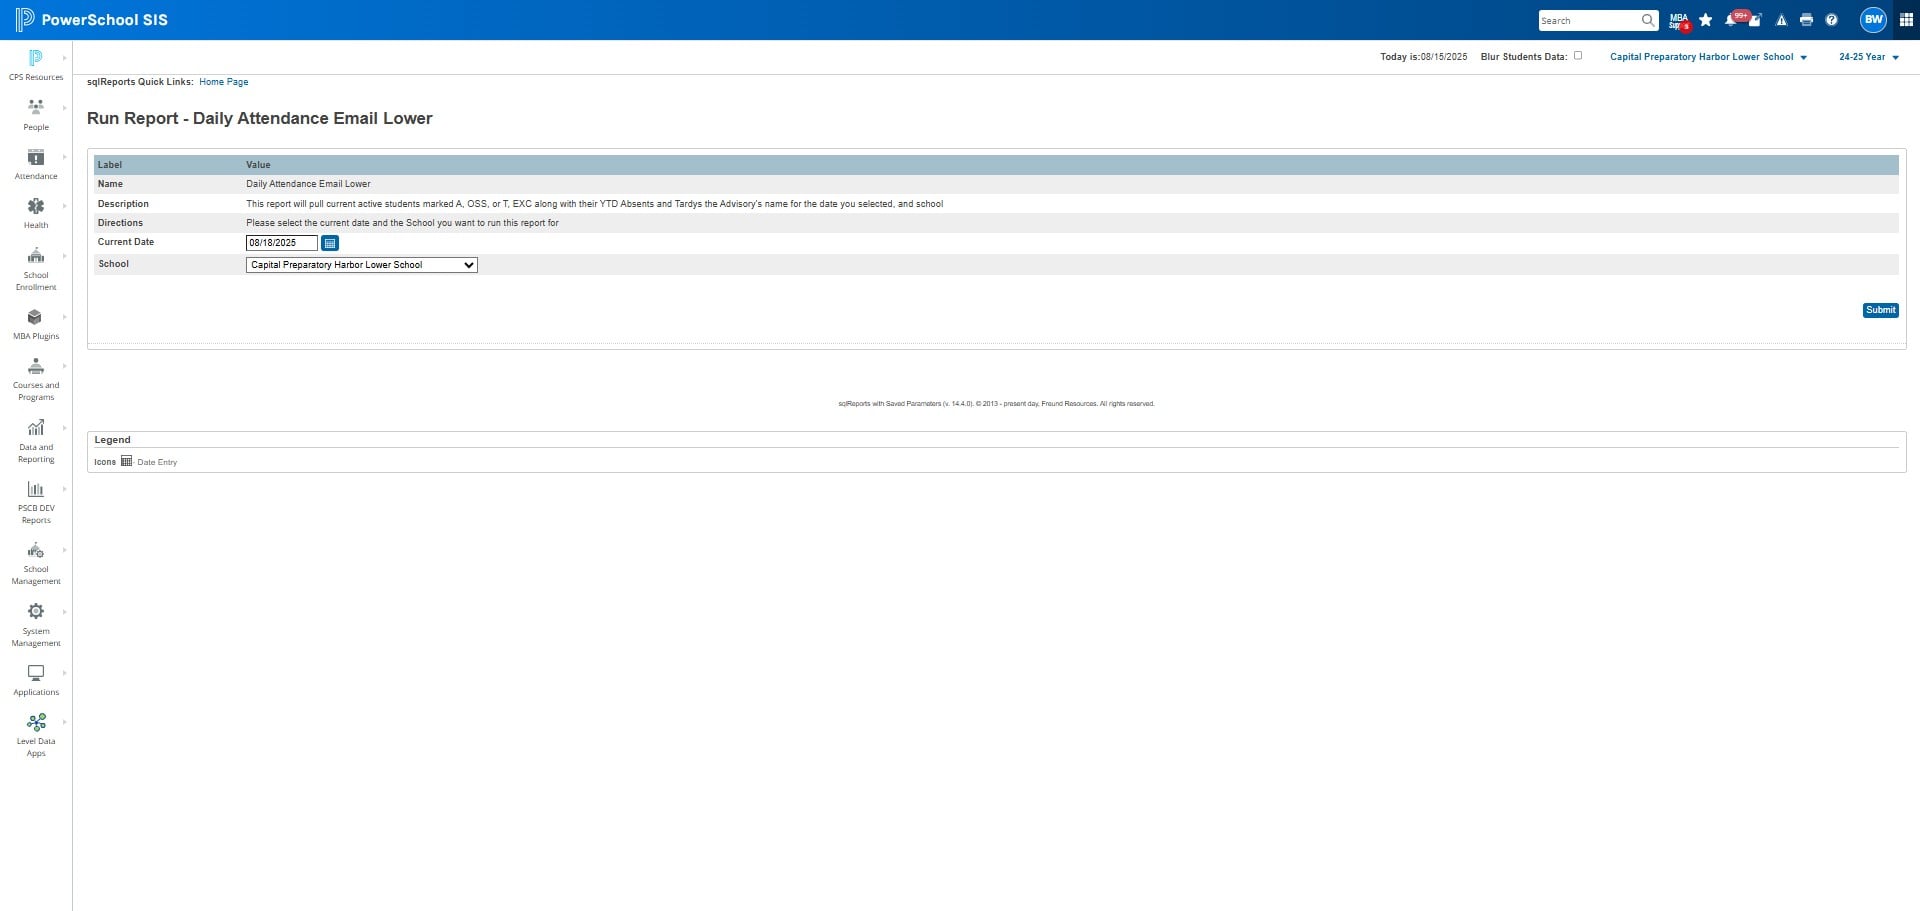
Select your schools' name from the drop down.
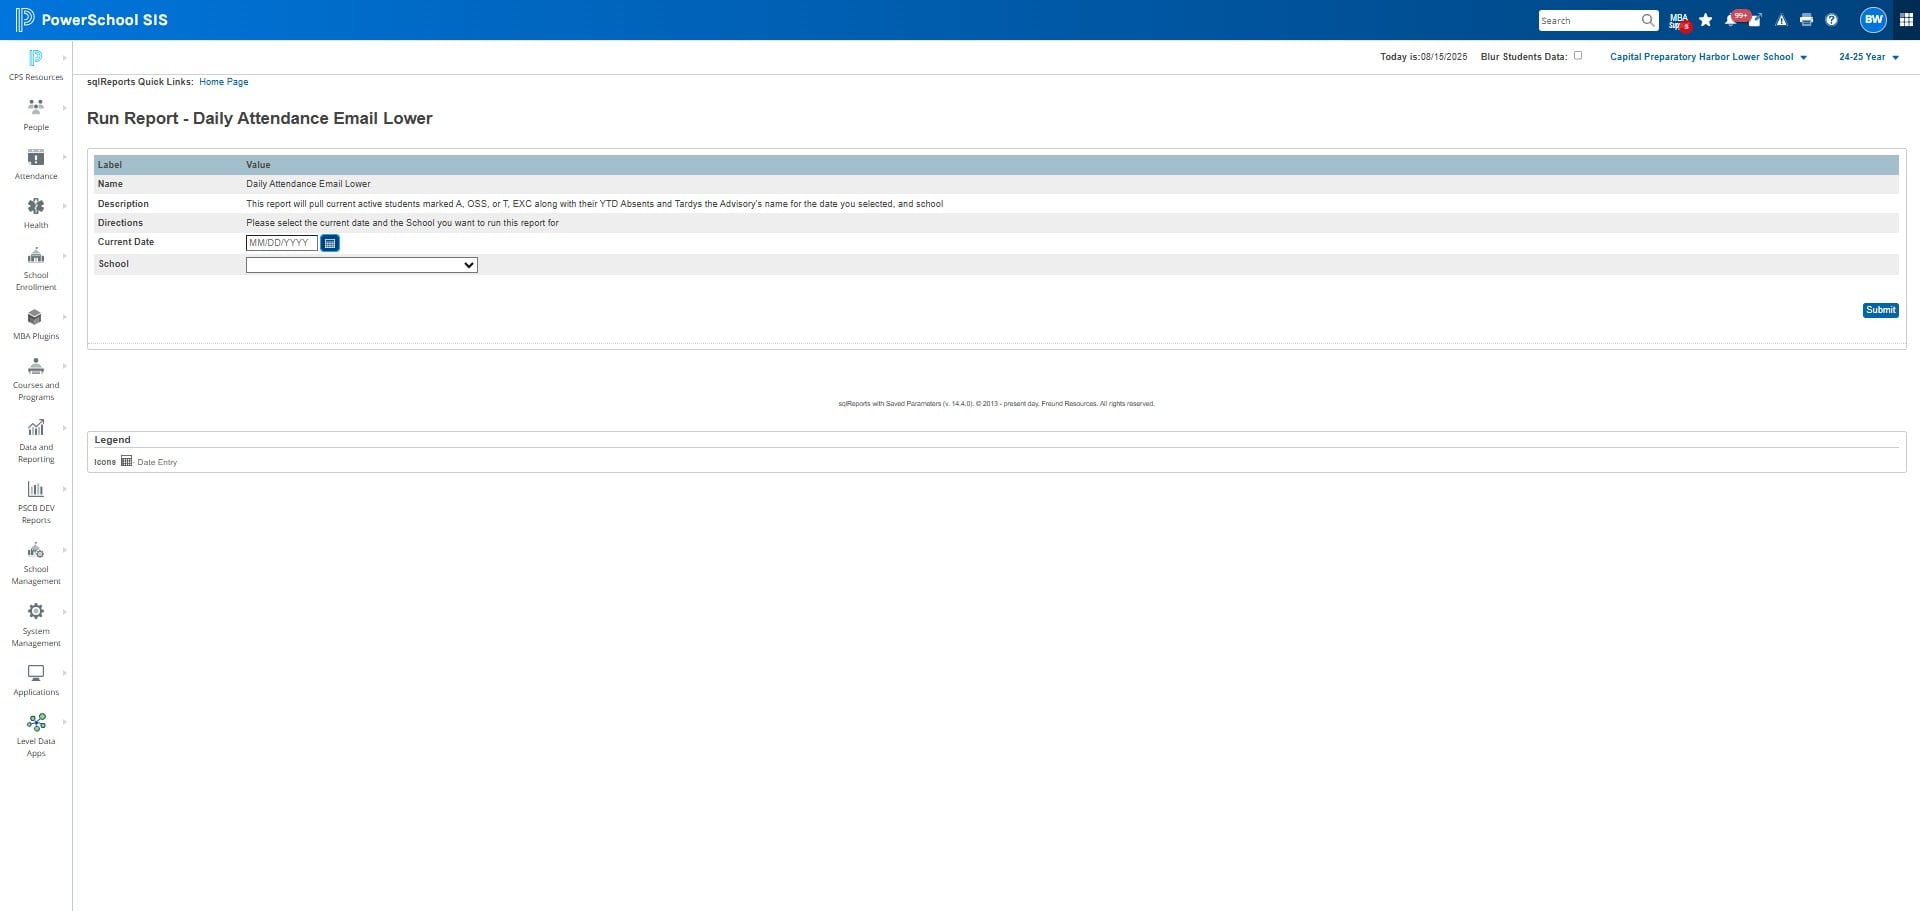
Click Submit
Click "Grade Level" to sort it by GRADE LEVEL then click Status to sort Absences/Tardies
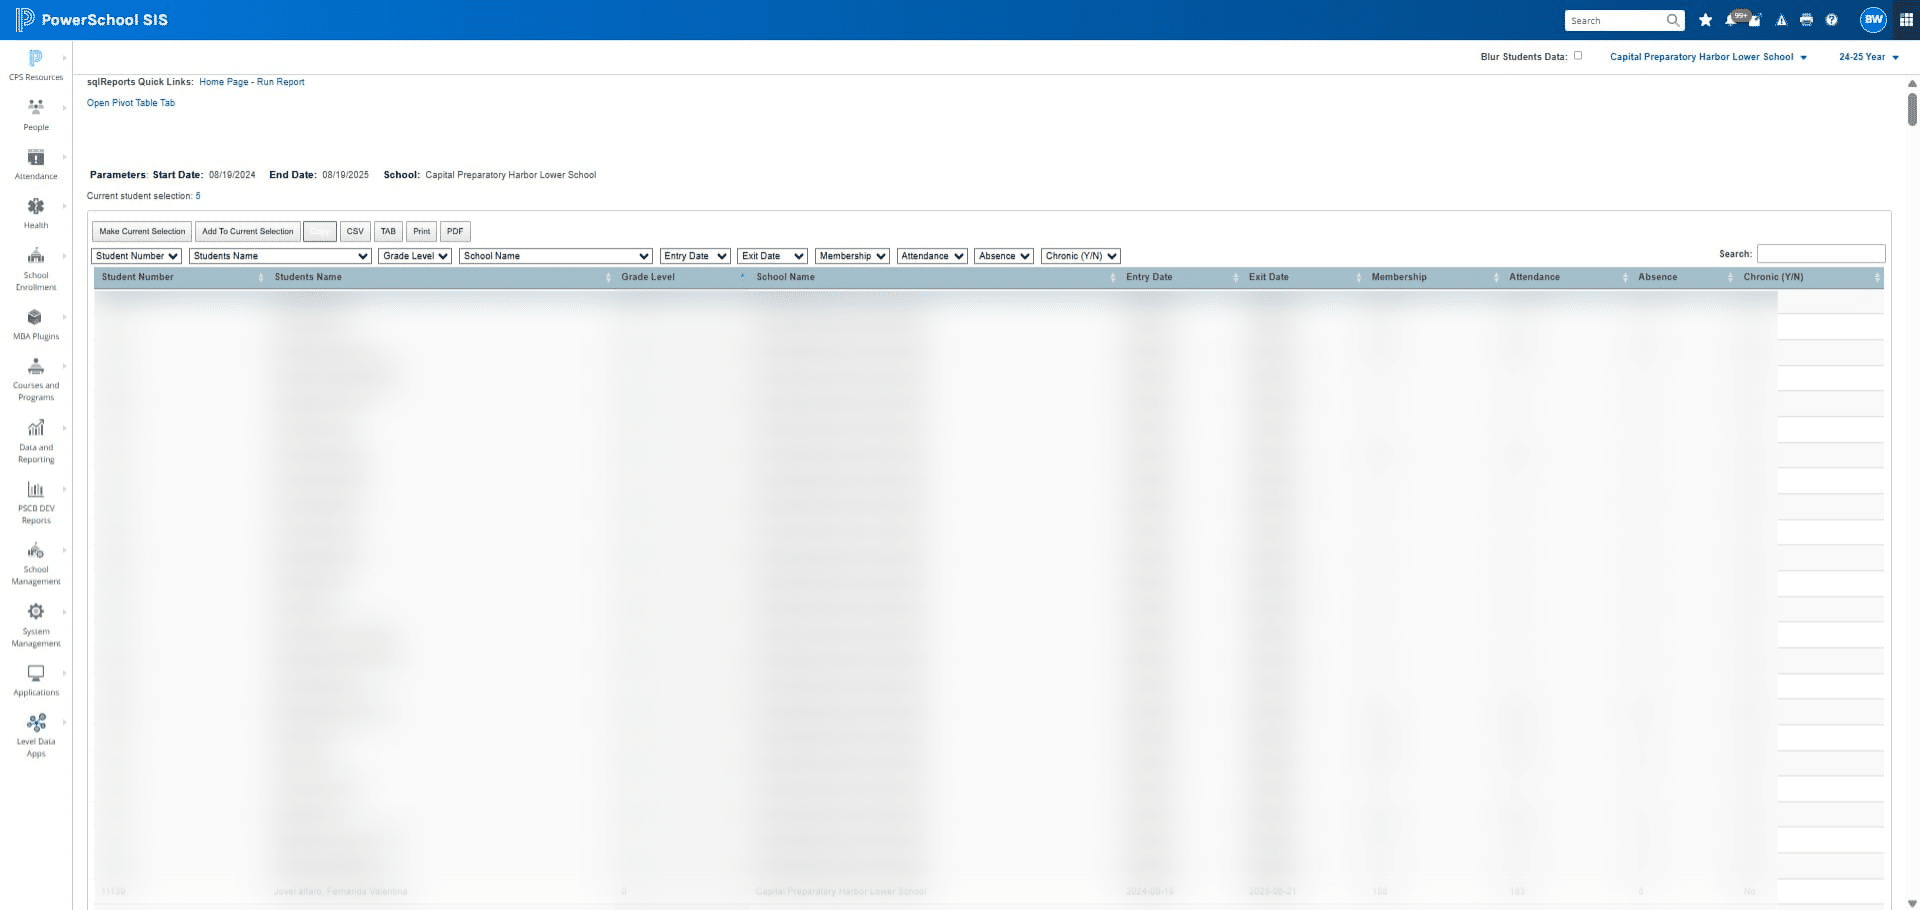
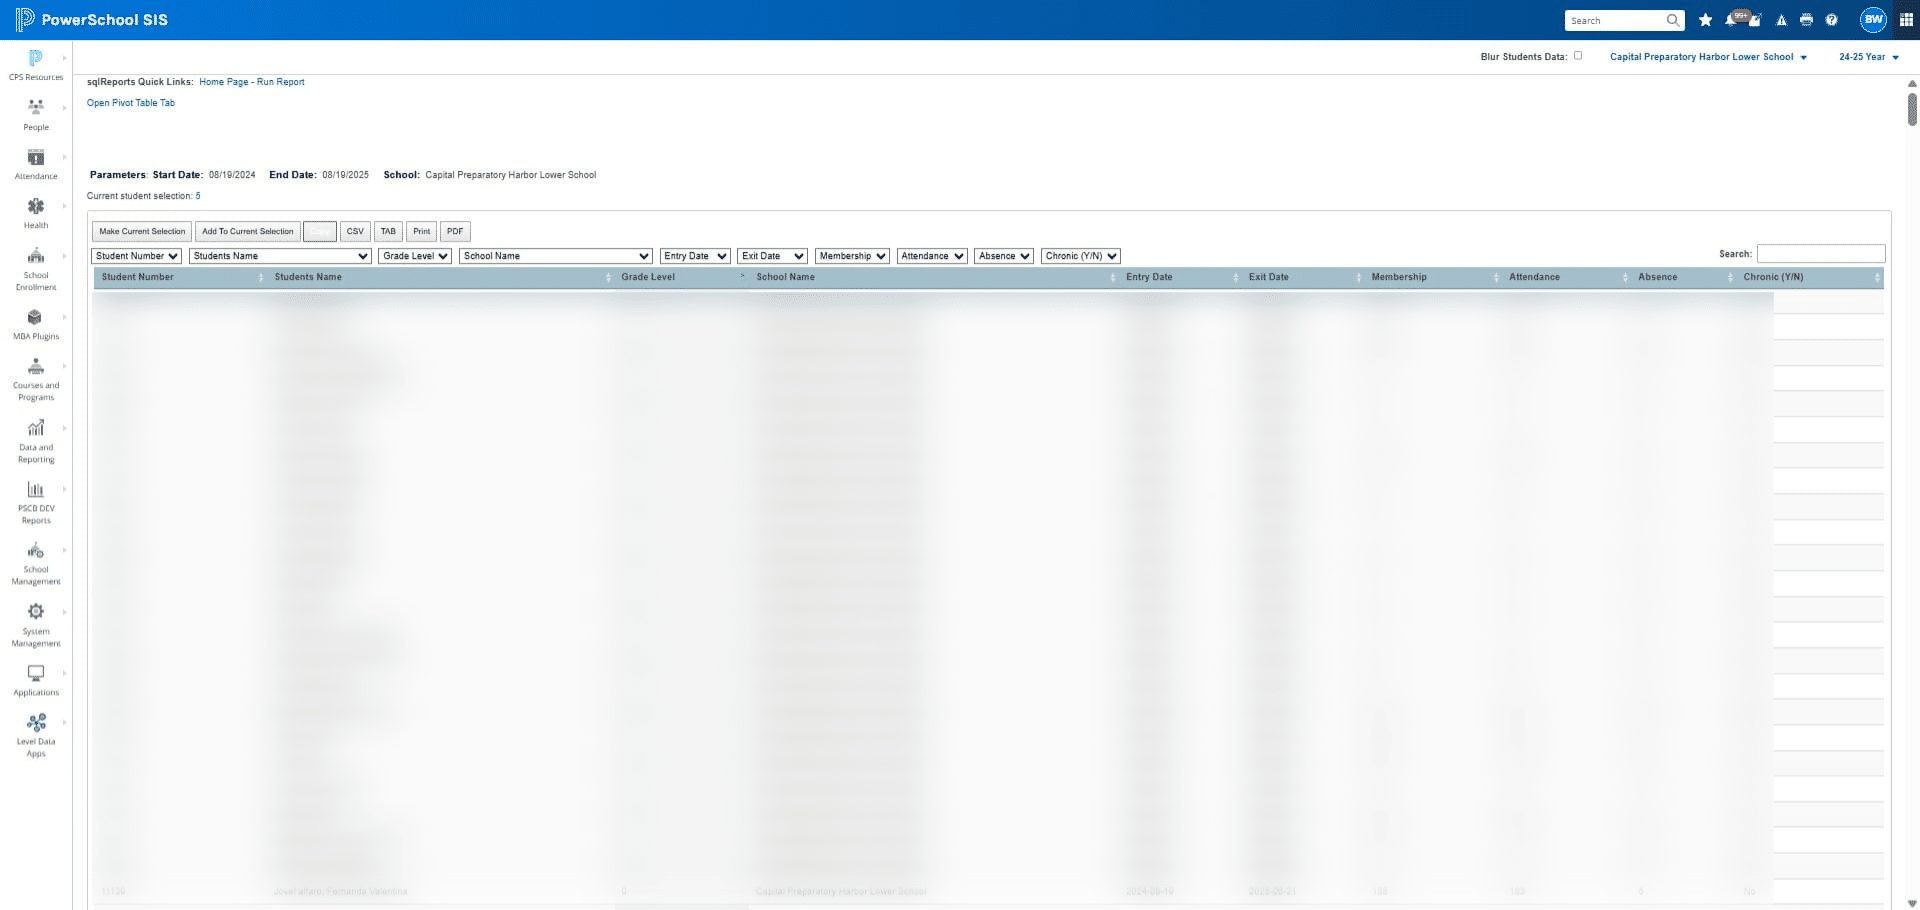
Click on "Copy"
Open up the 2025-2026 Attendance Email Template
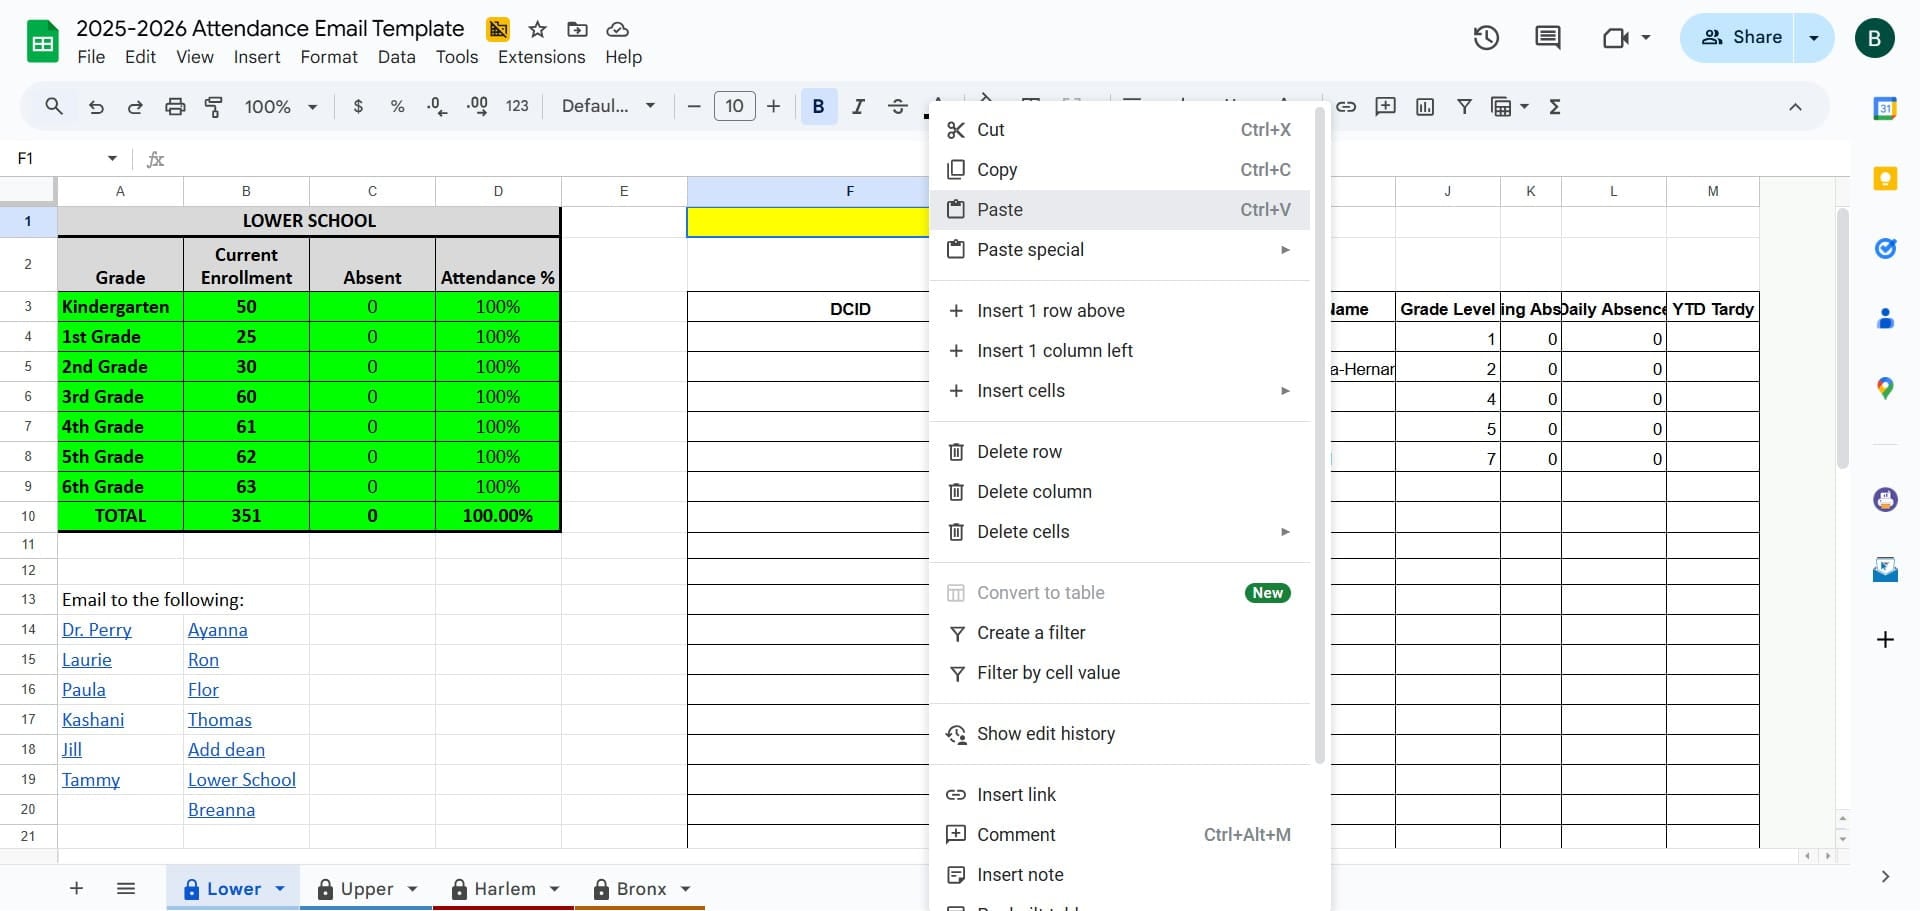
Click on Column F, row 1.
RIGHT CLICK AND PASTE
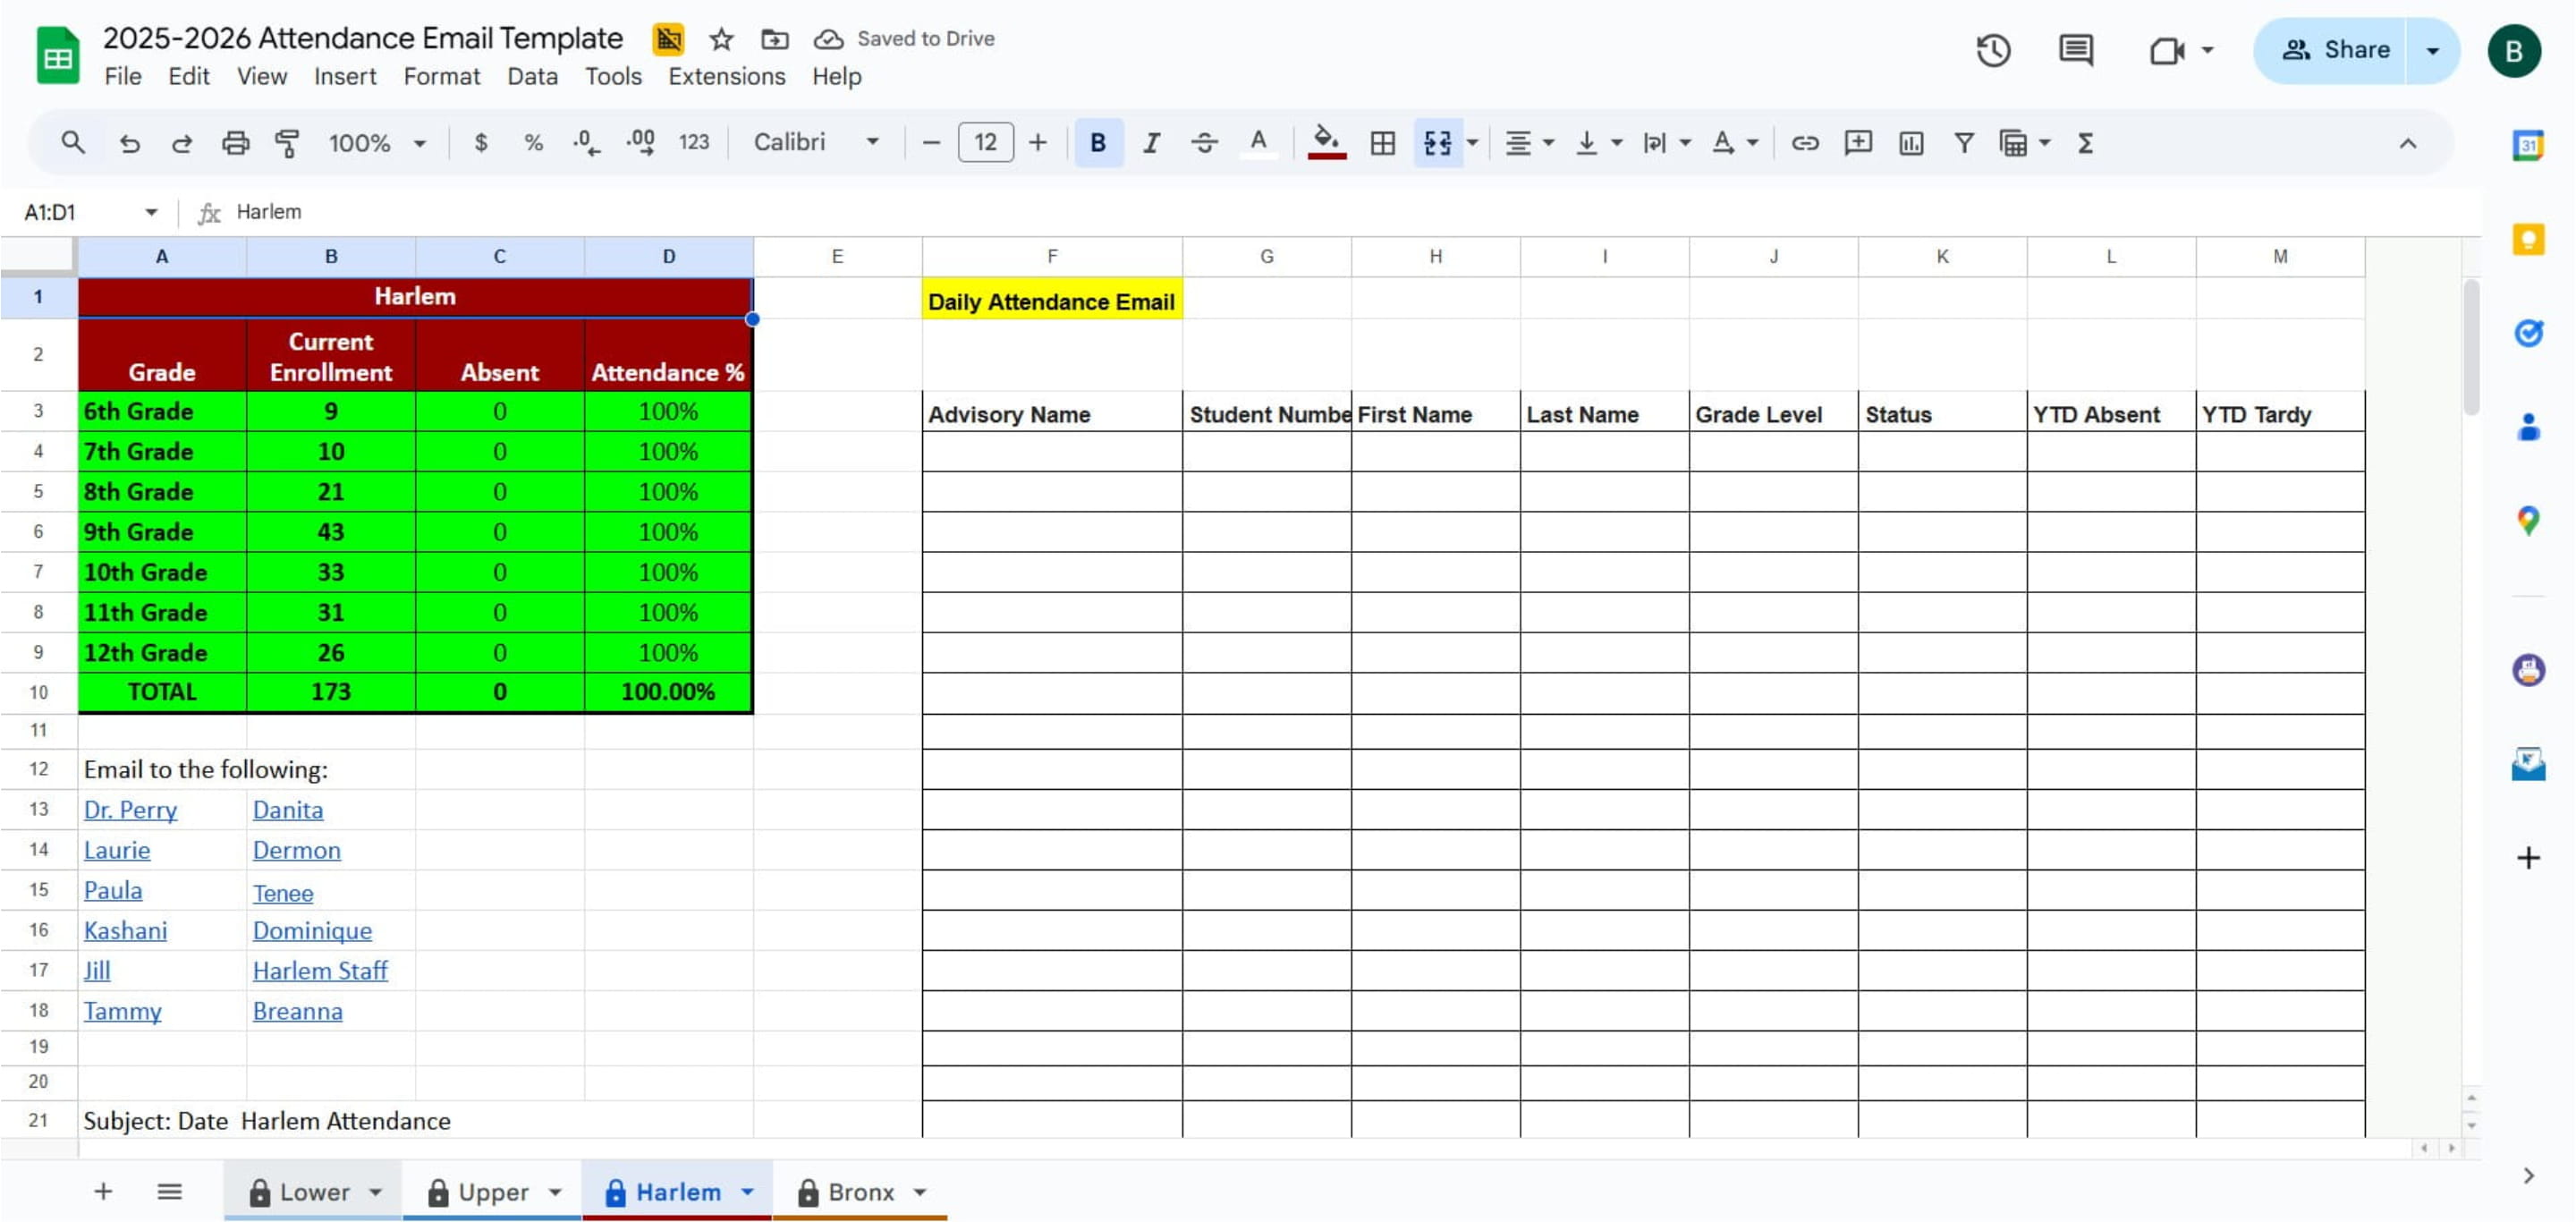
Click here
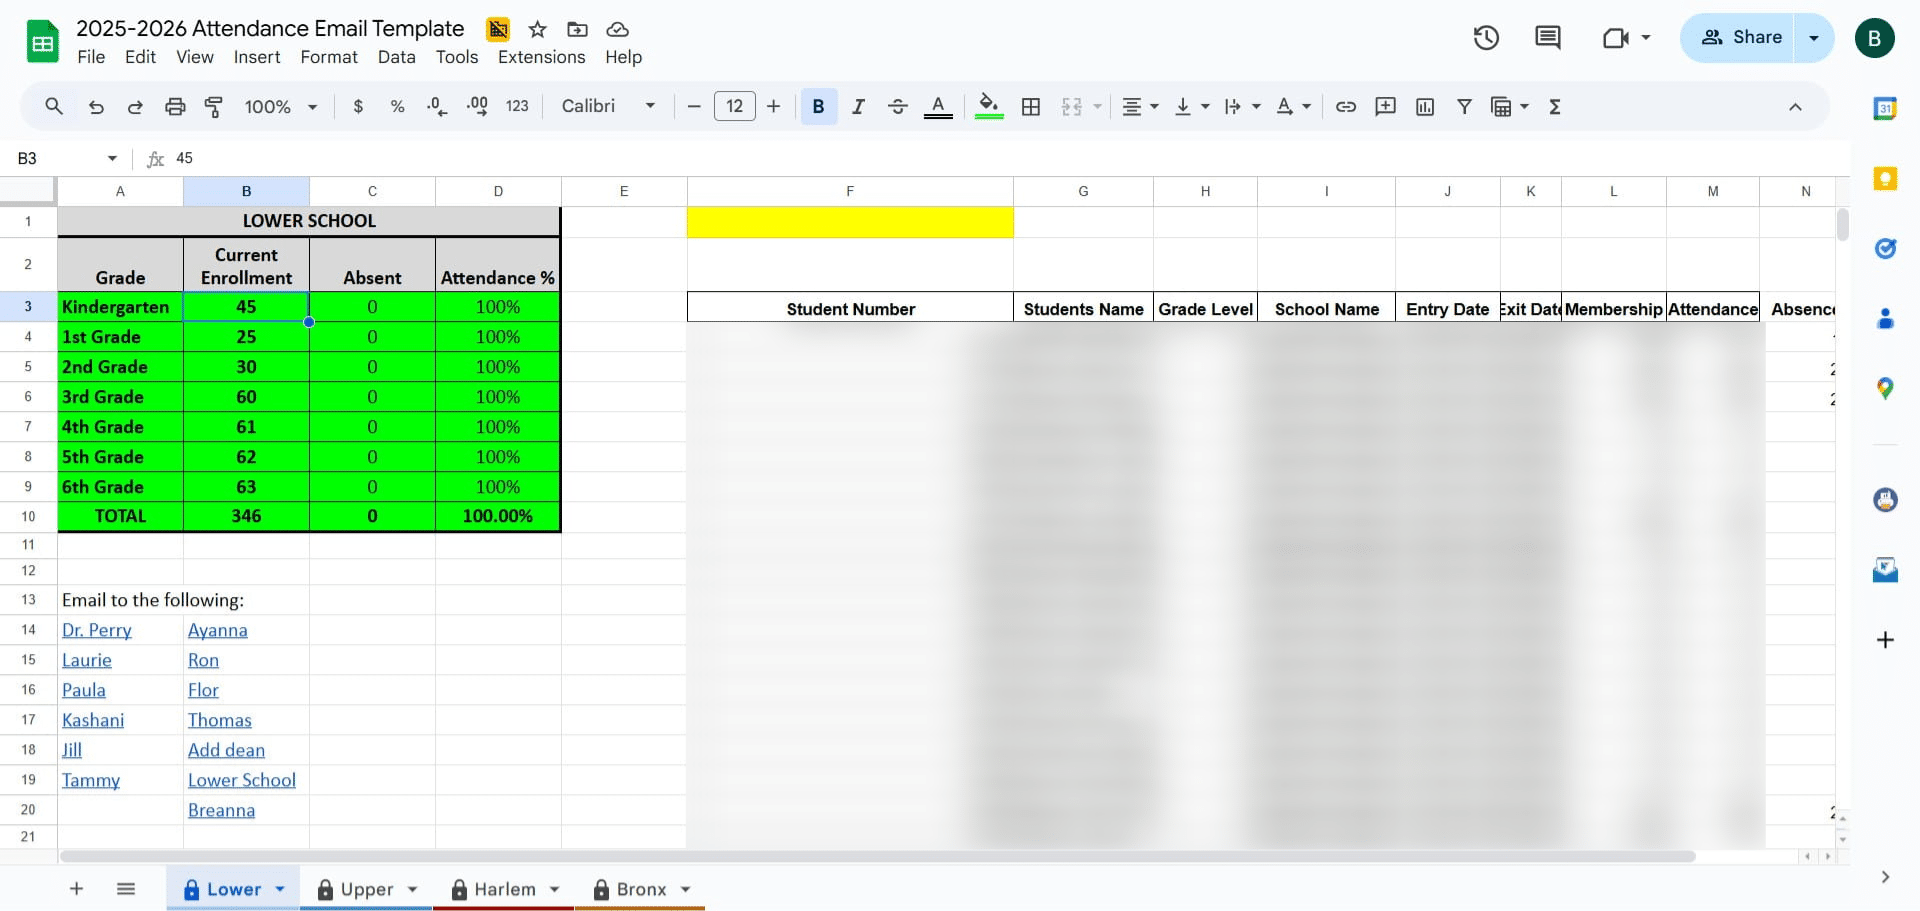
Update the CURRENT ENROLLMENT column with each grades' enrollment #s.
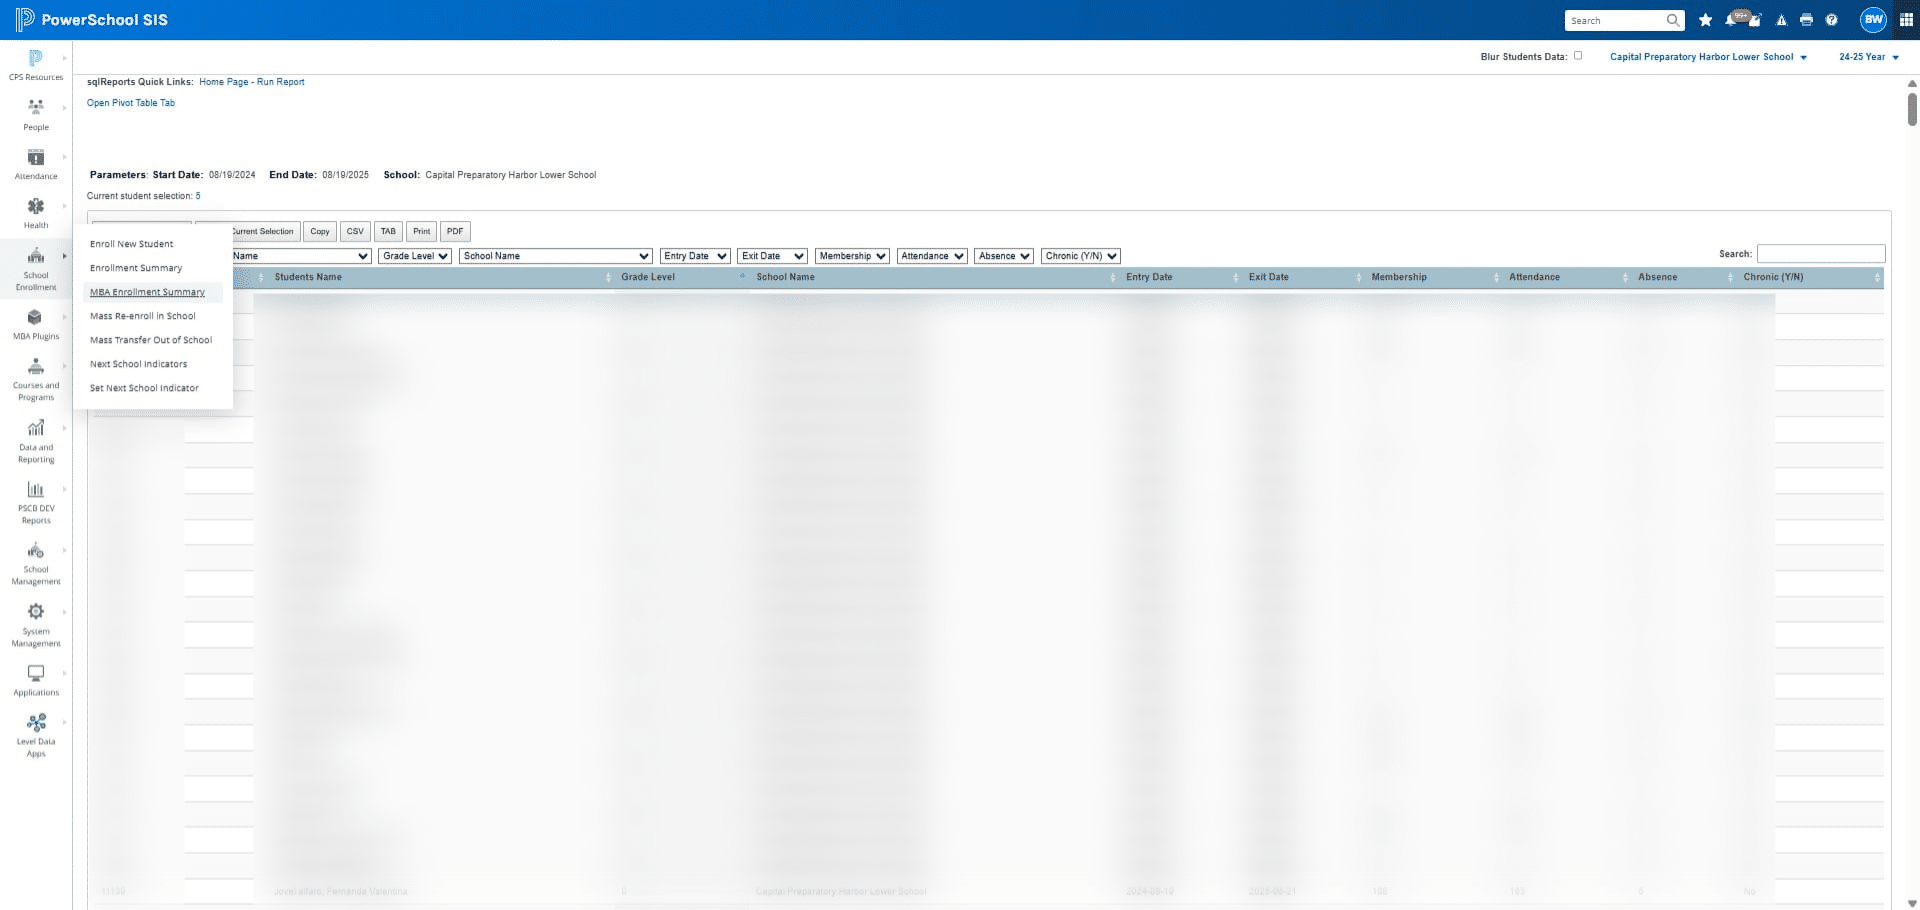
To get current numbers, go back to PowerSchool -> Click on "School Enrollment"
Click on "MBA Enrollment Summary"
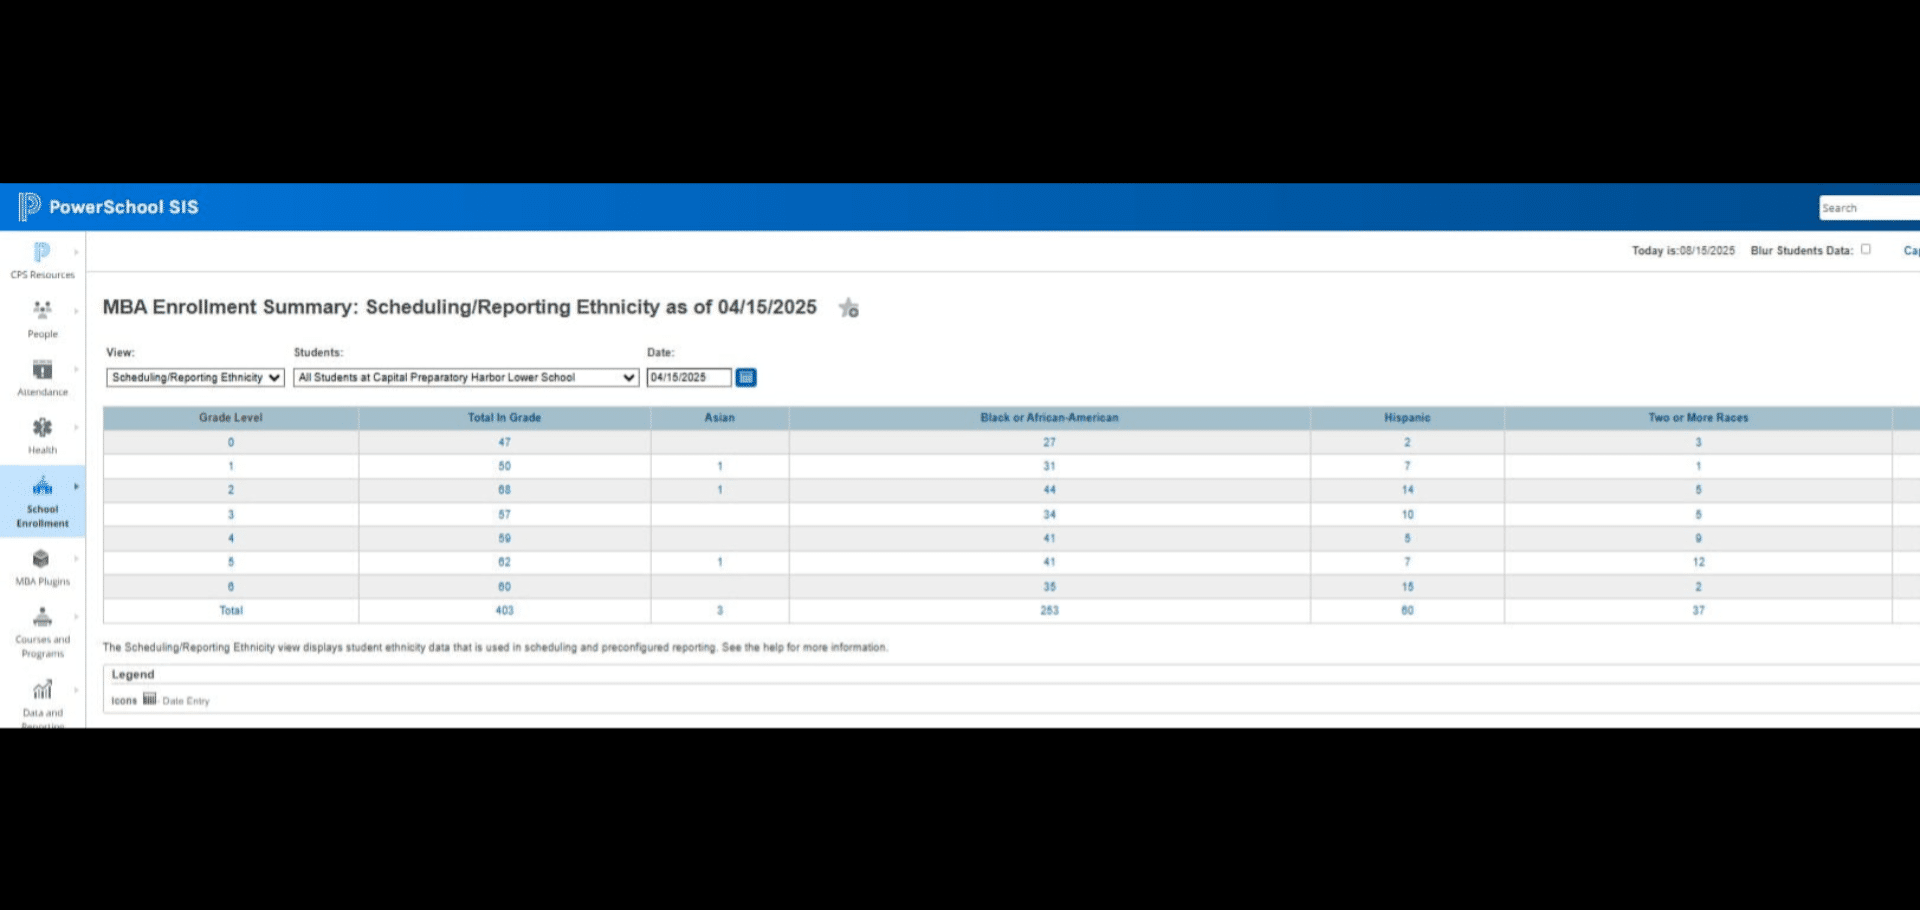
See "Total In Grade"
Update the numbers in Column B
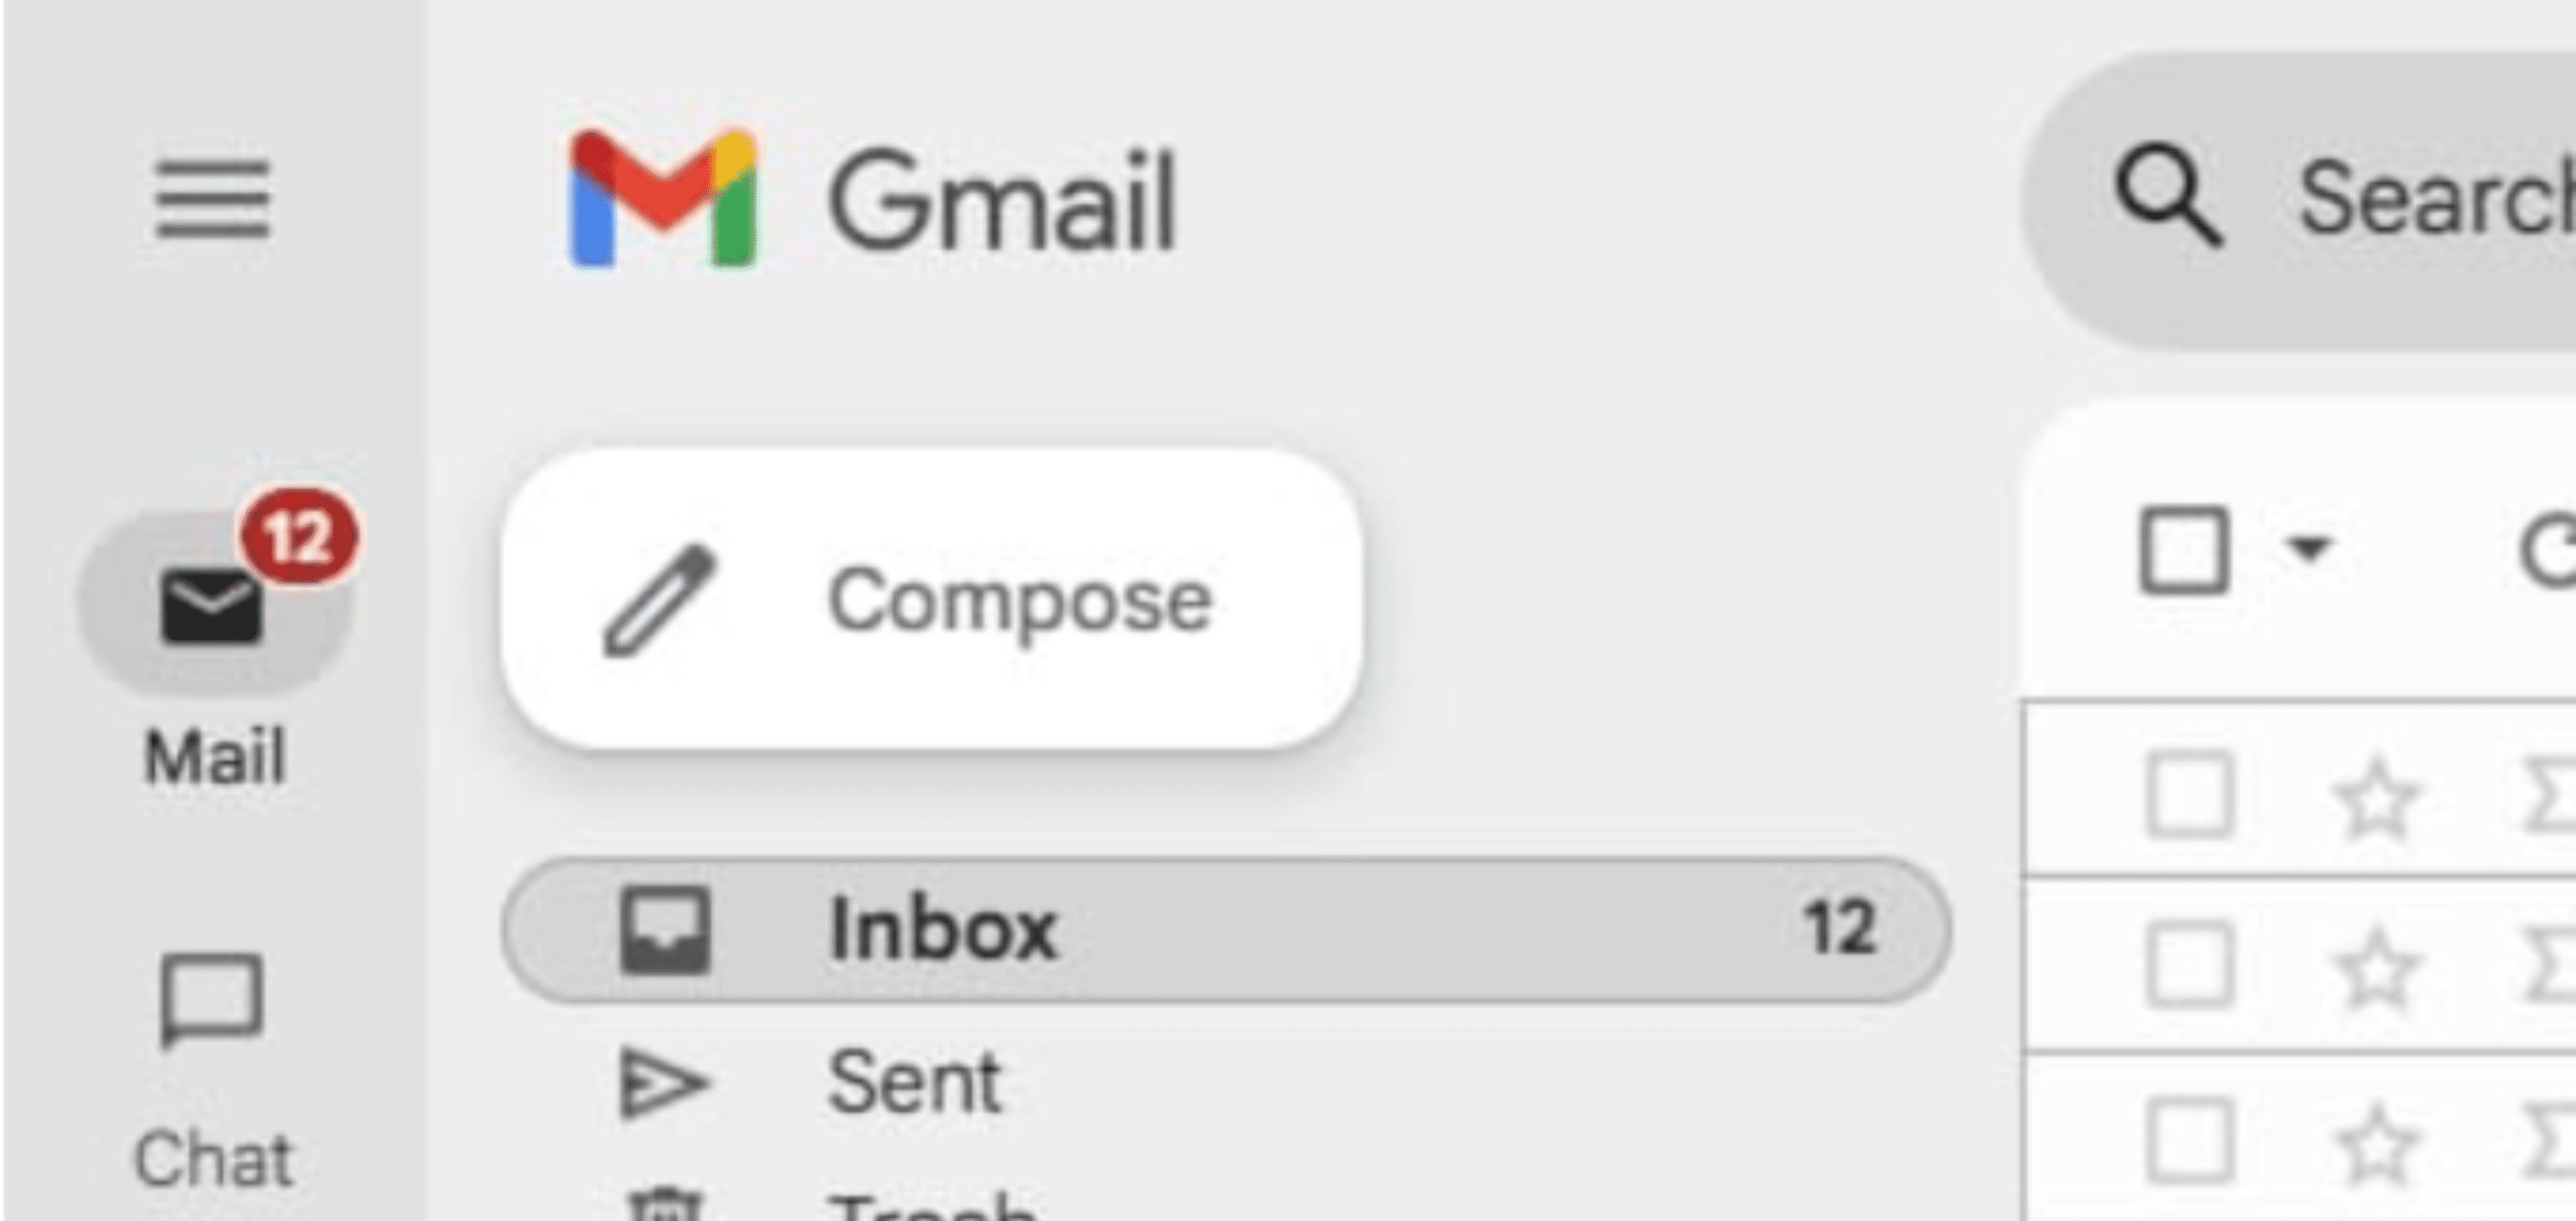
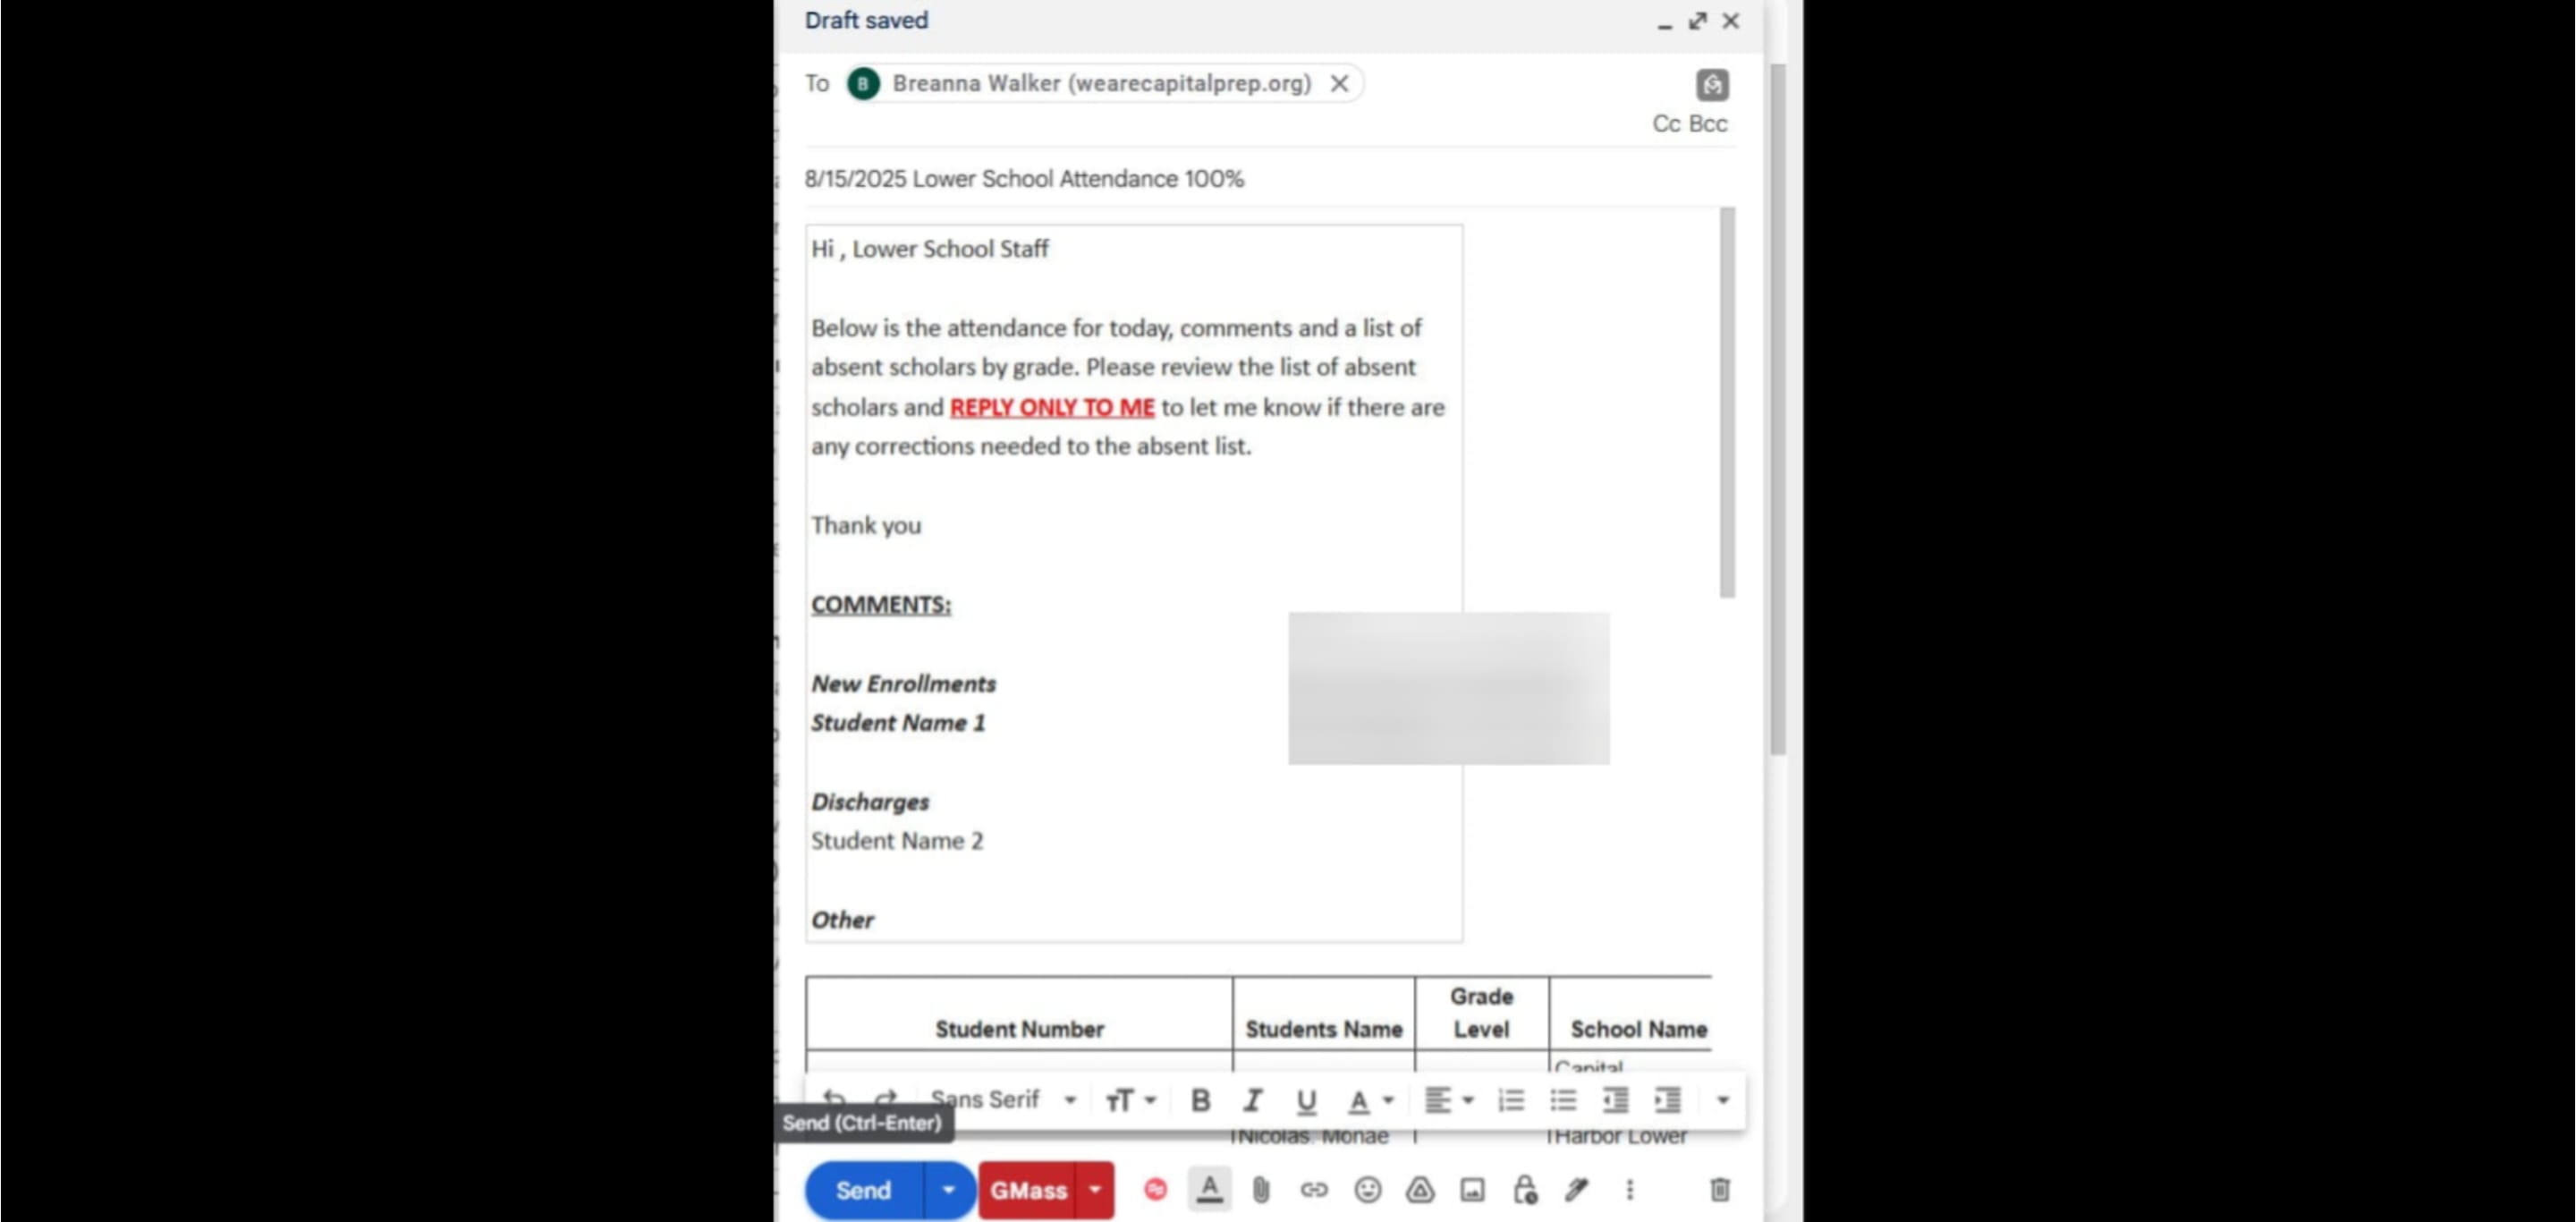
Open up GMAIL and compose your email
Click on "Compose"
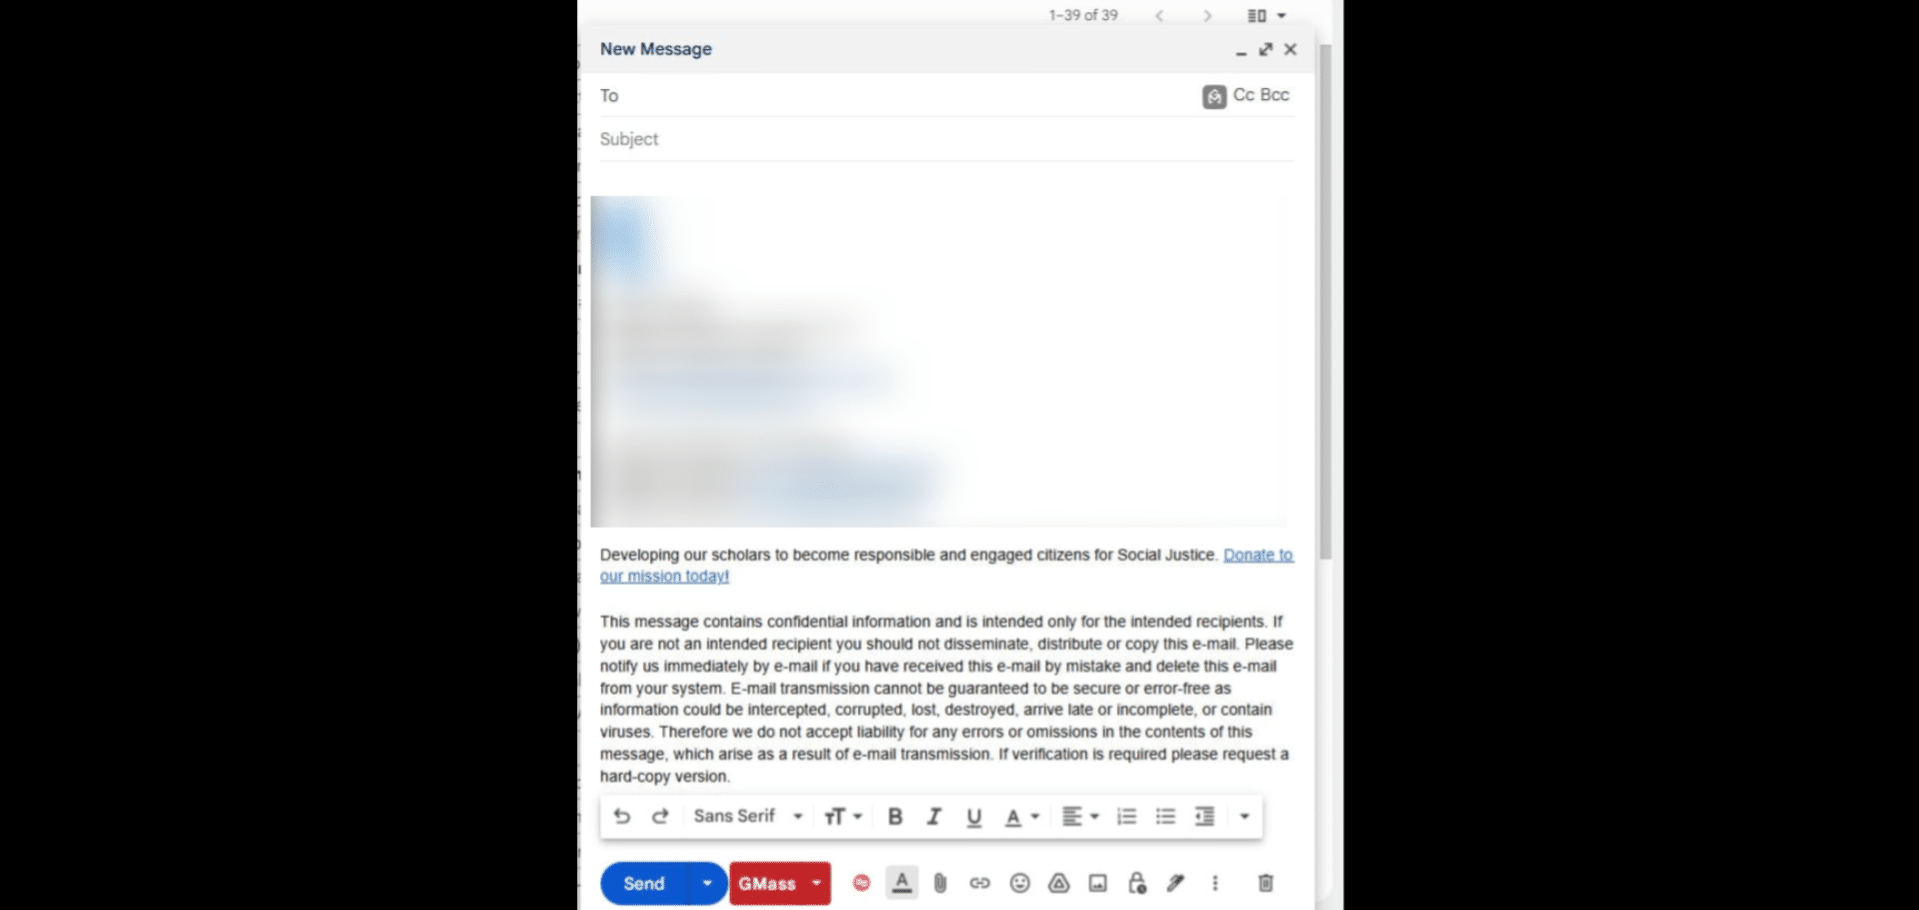
Click here
Go back to the Attendance Email Template and note the people you need to email
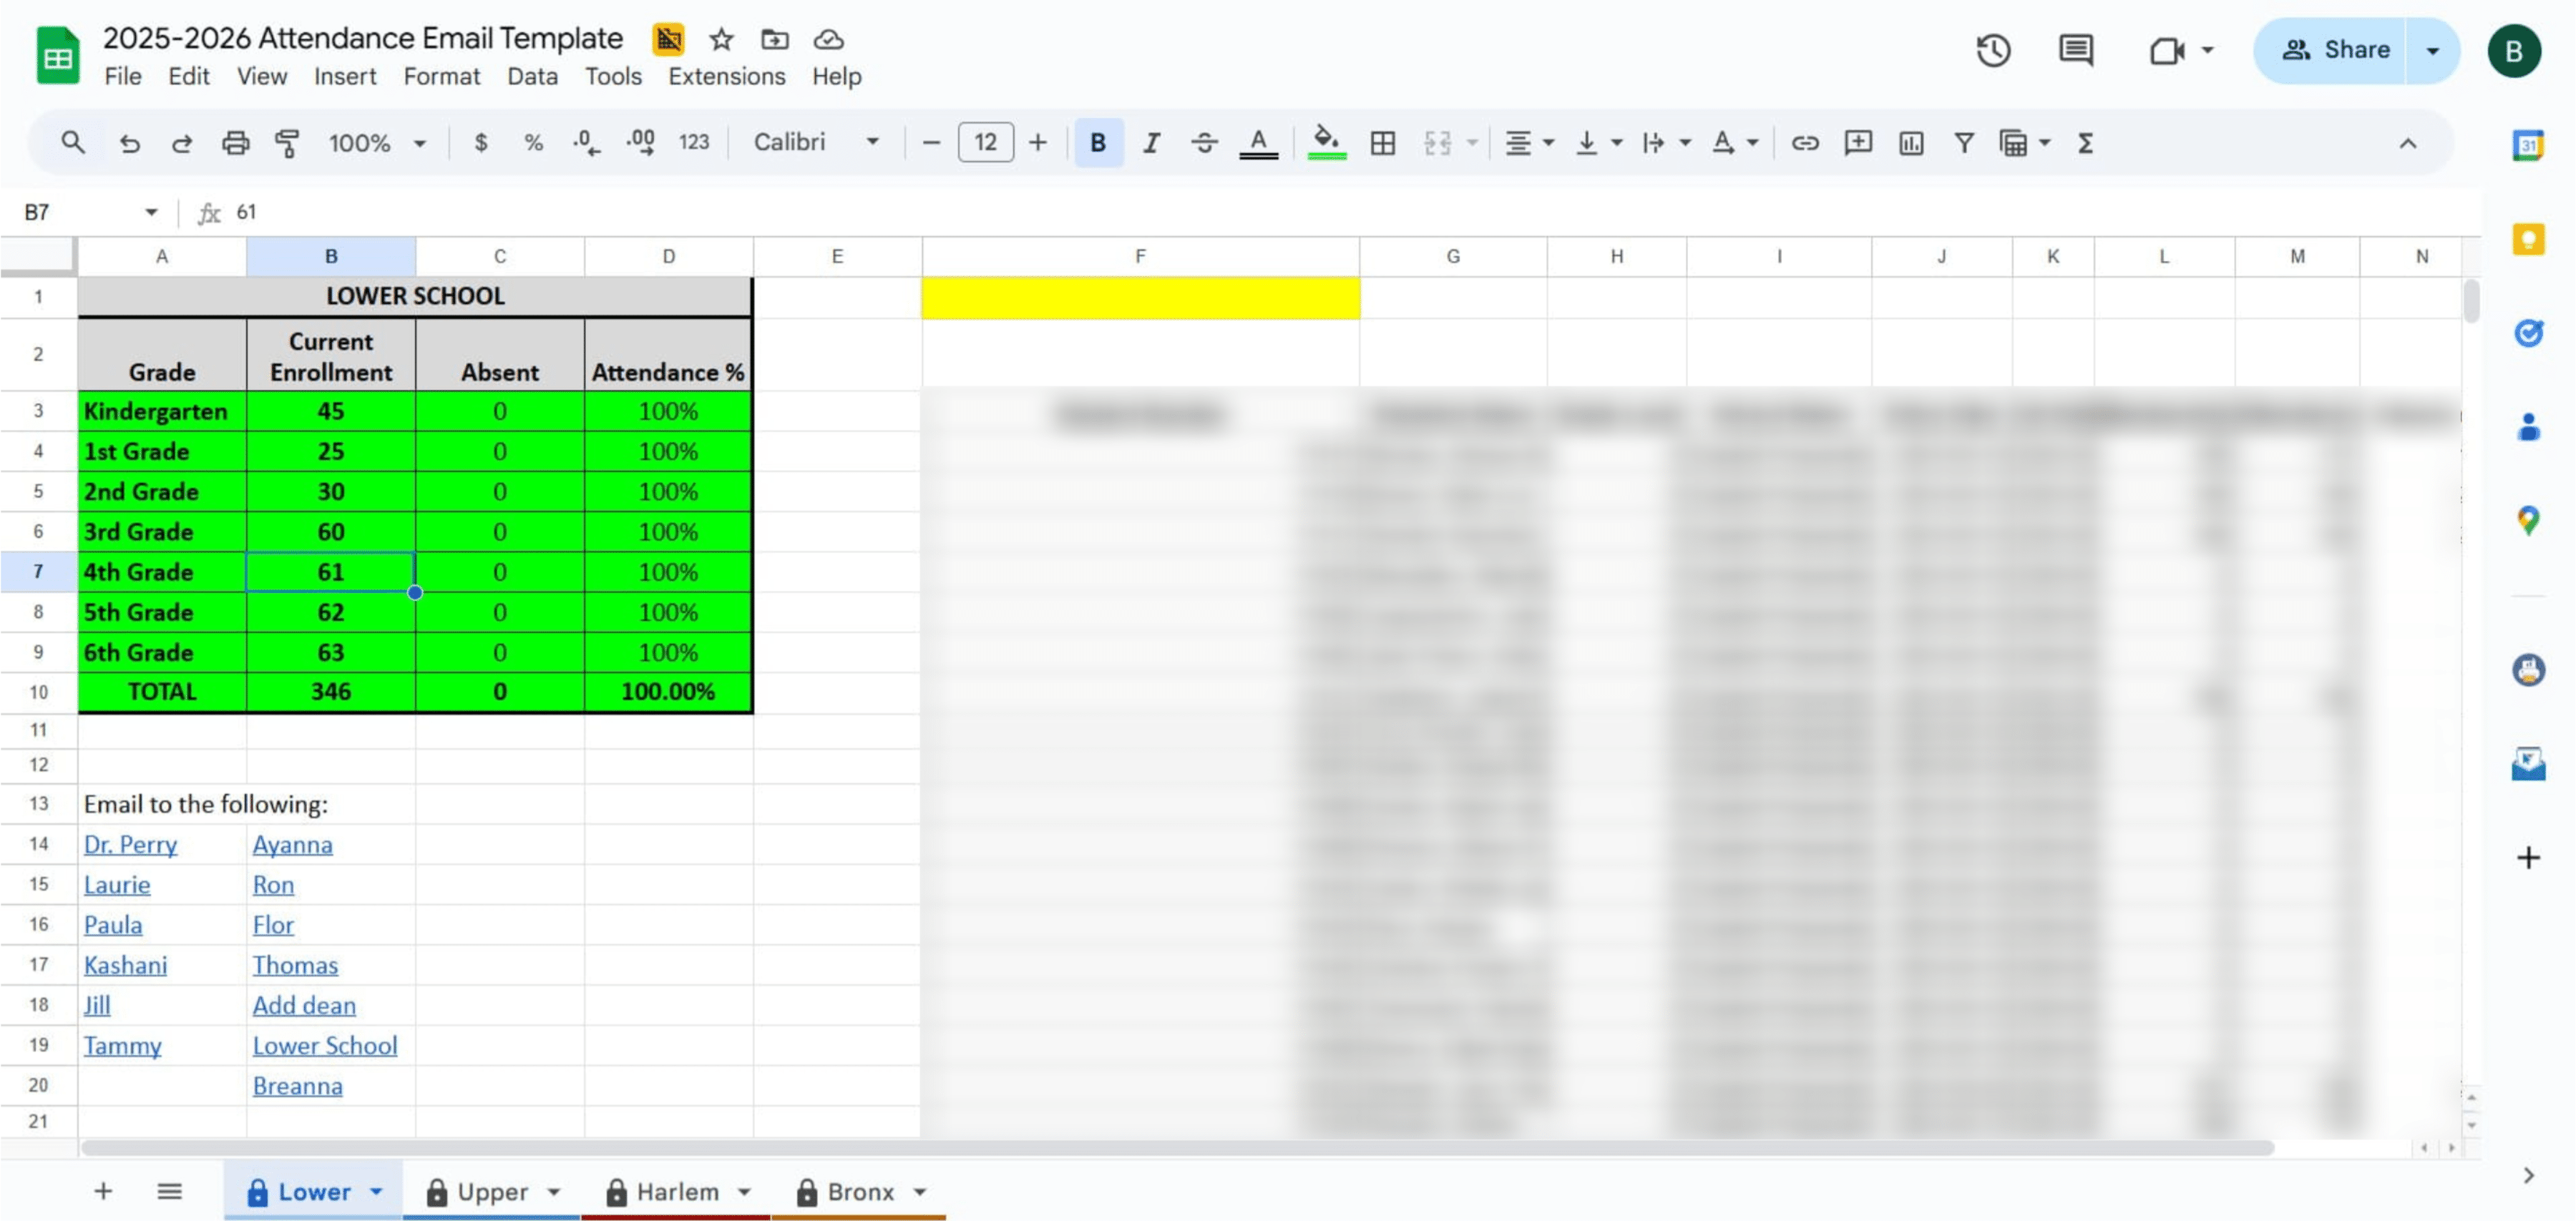
2026 New Email Introduction - use the new one!
New Tip!
Copy the Email Template Information
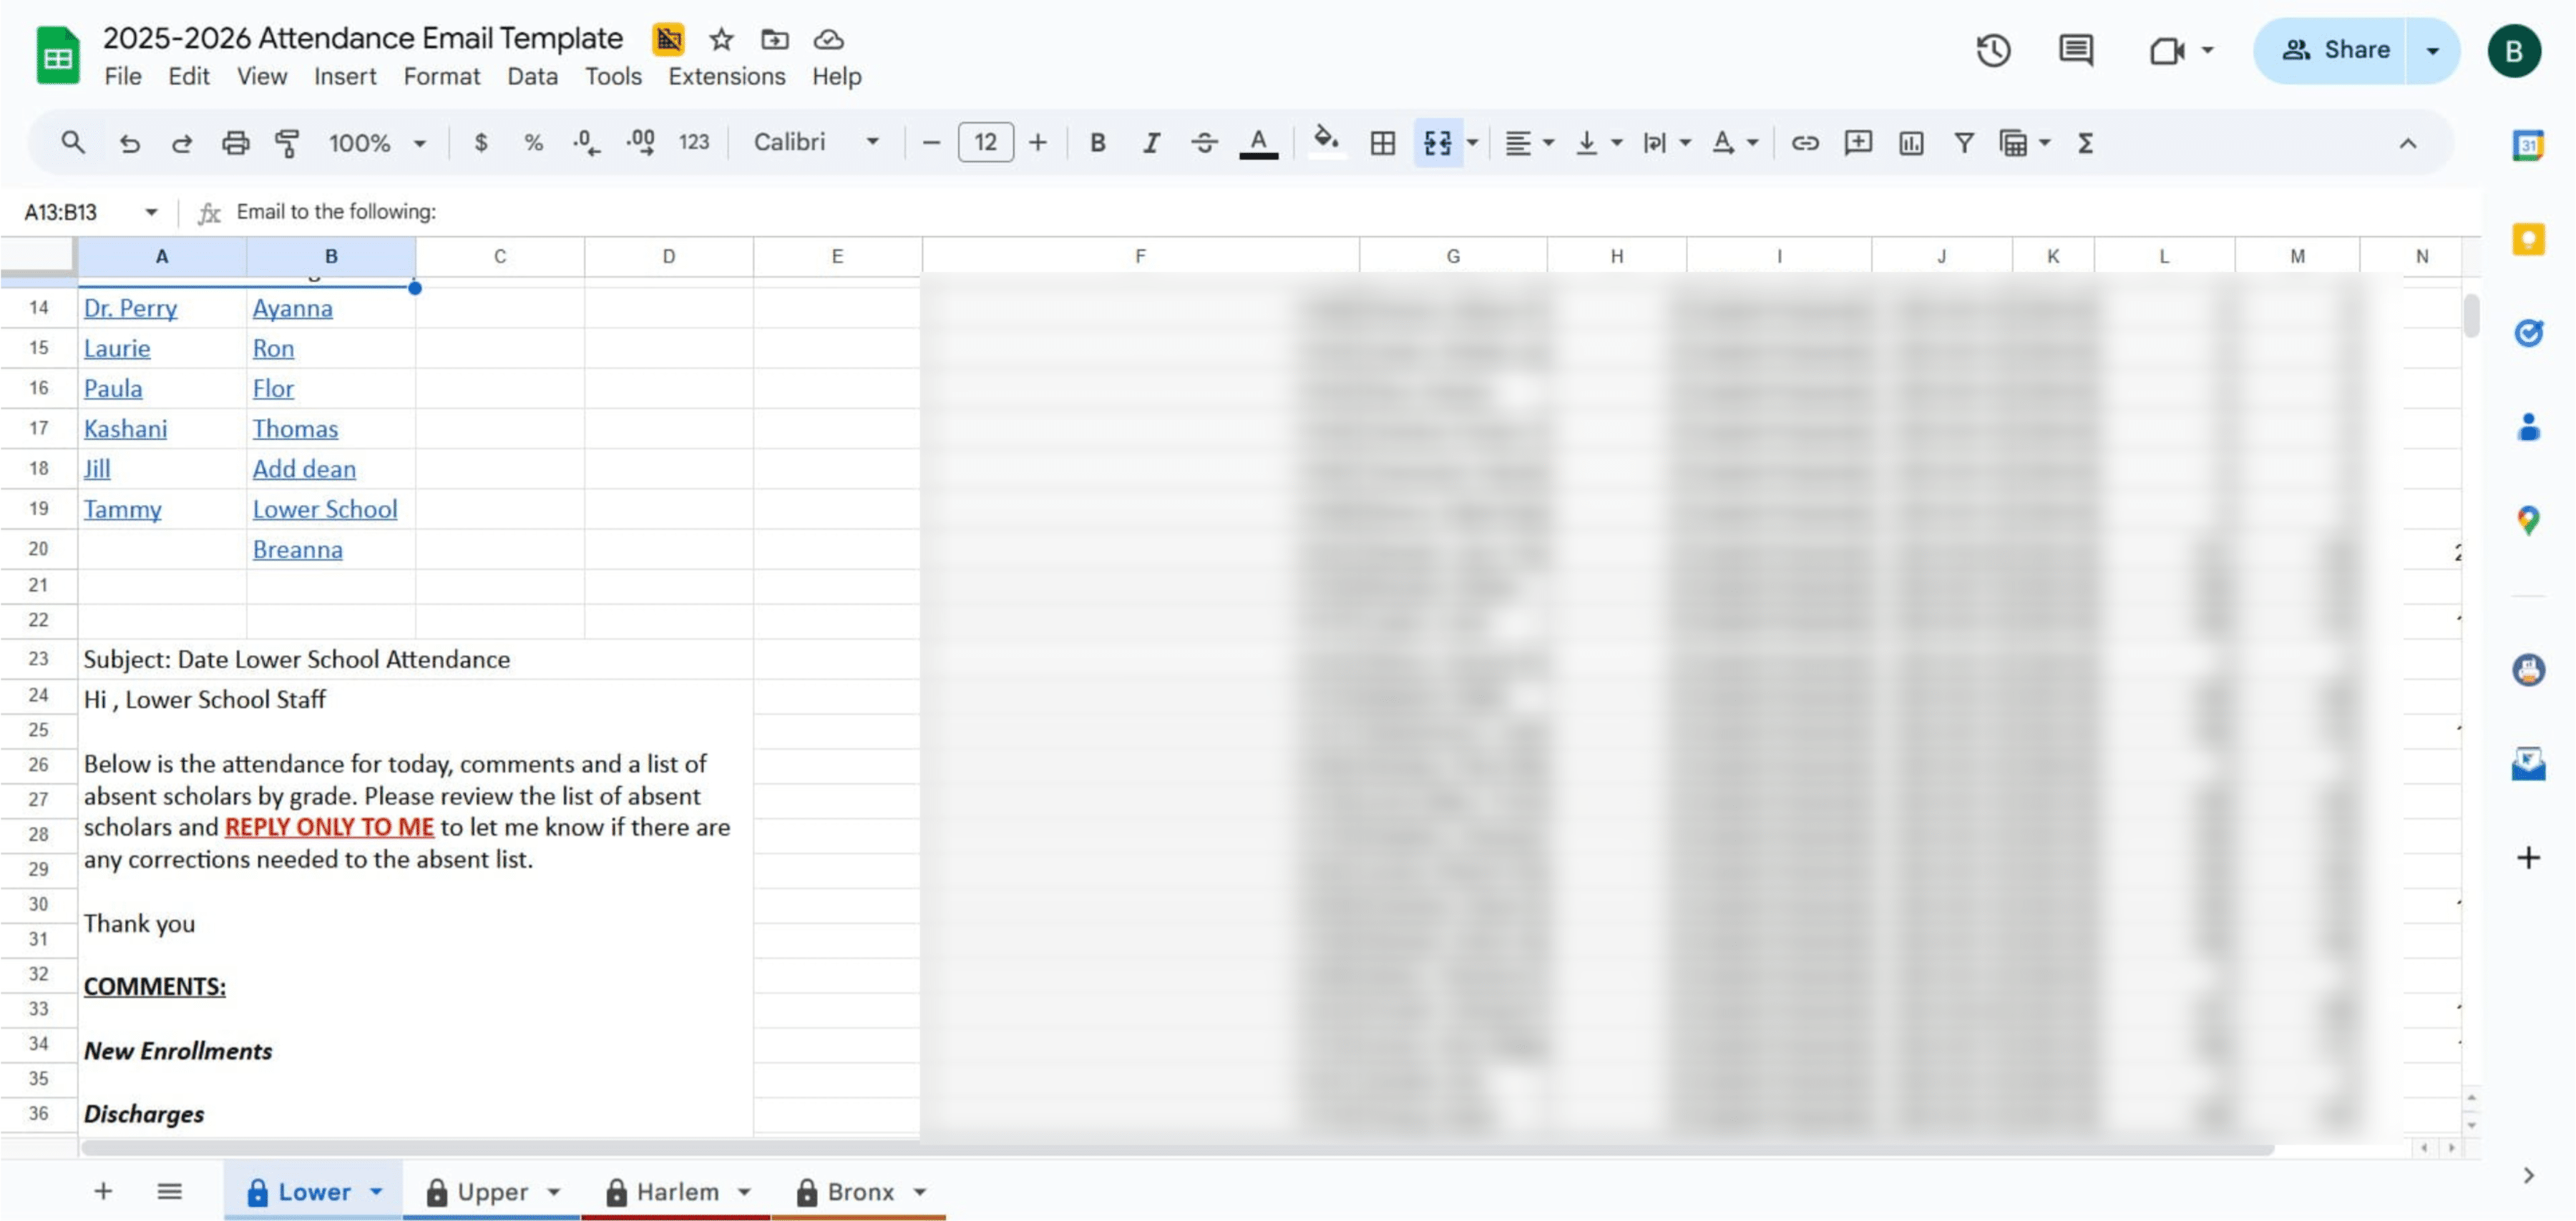
Copy the Enrollment / Attendance Chart
Copy the Data
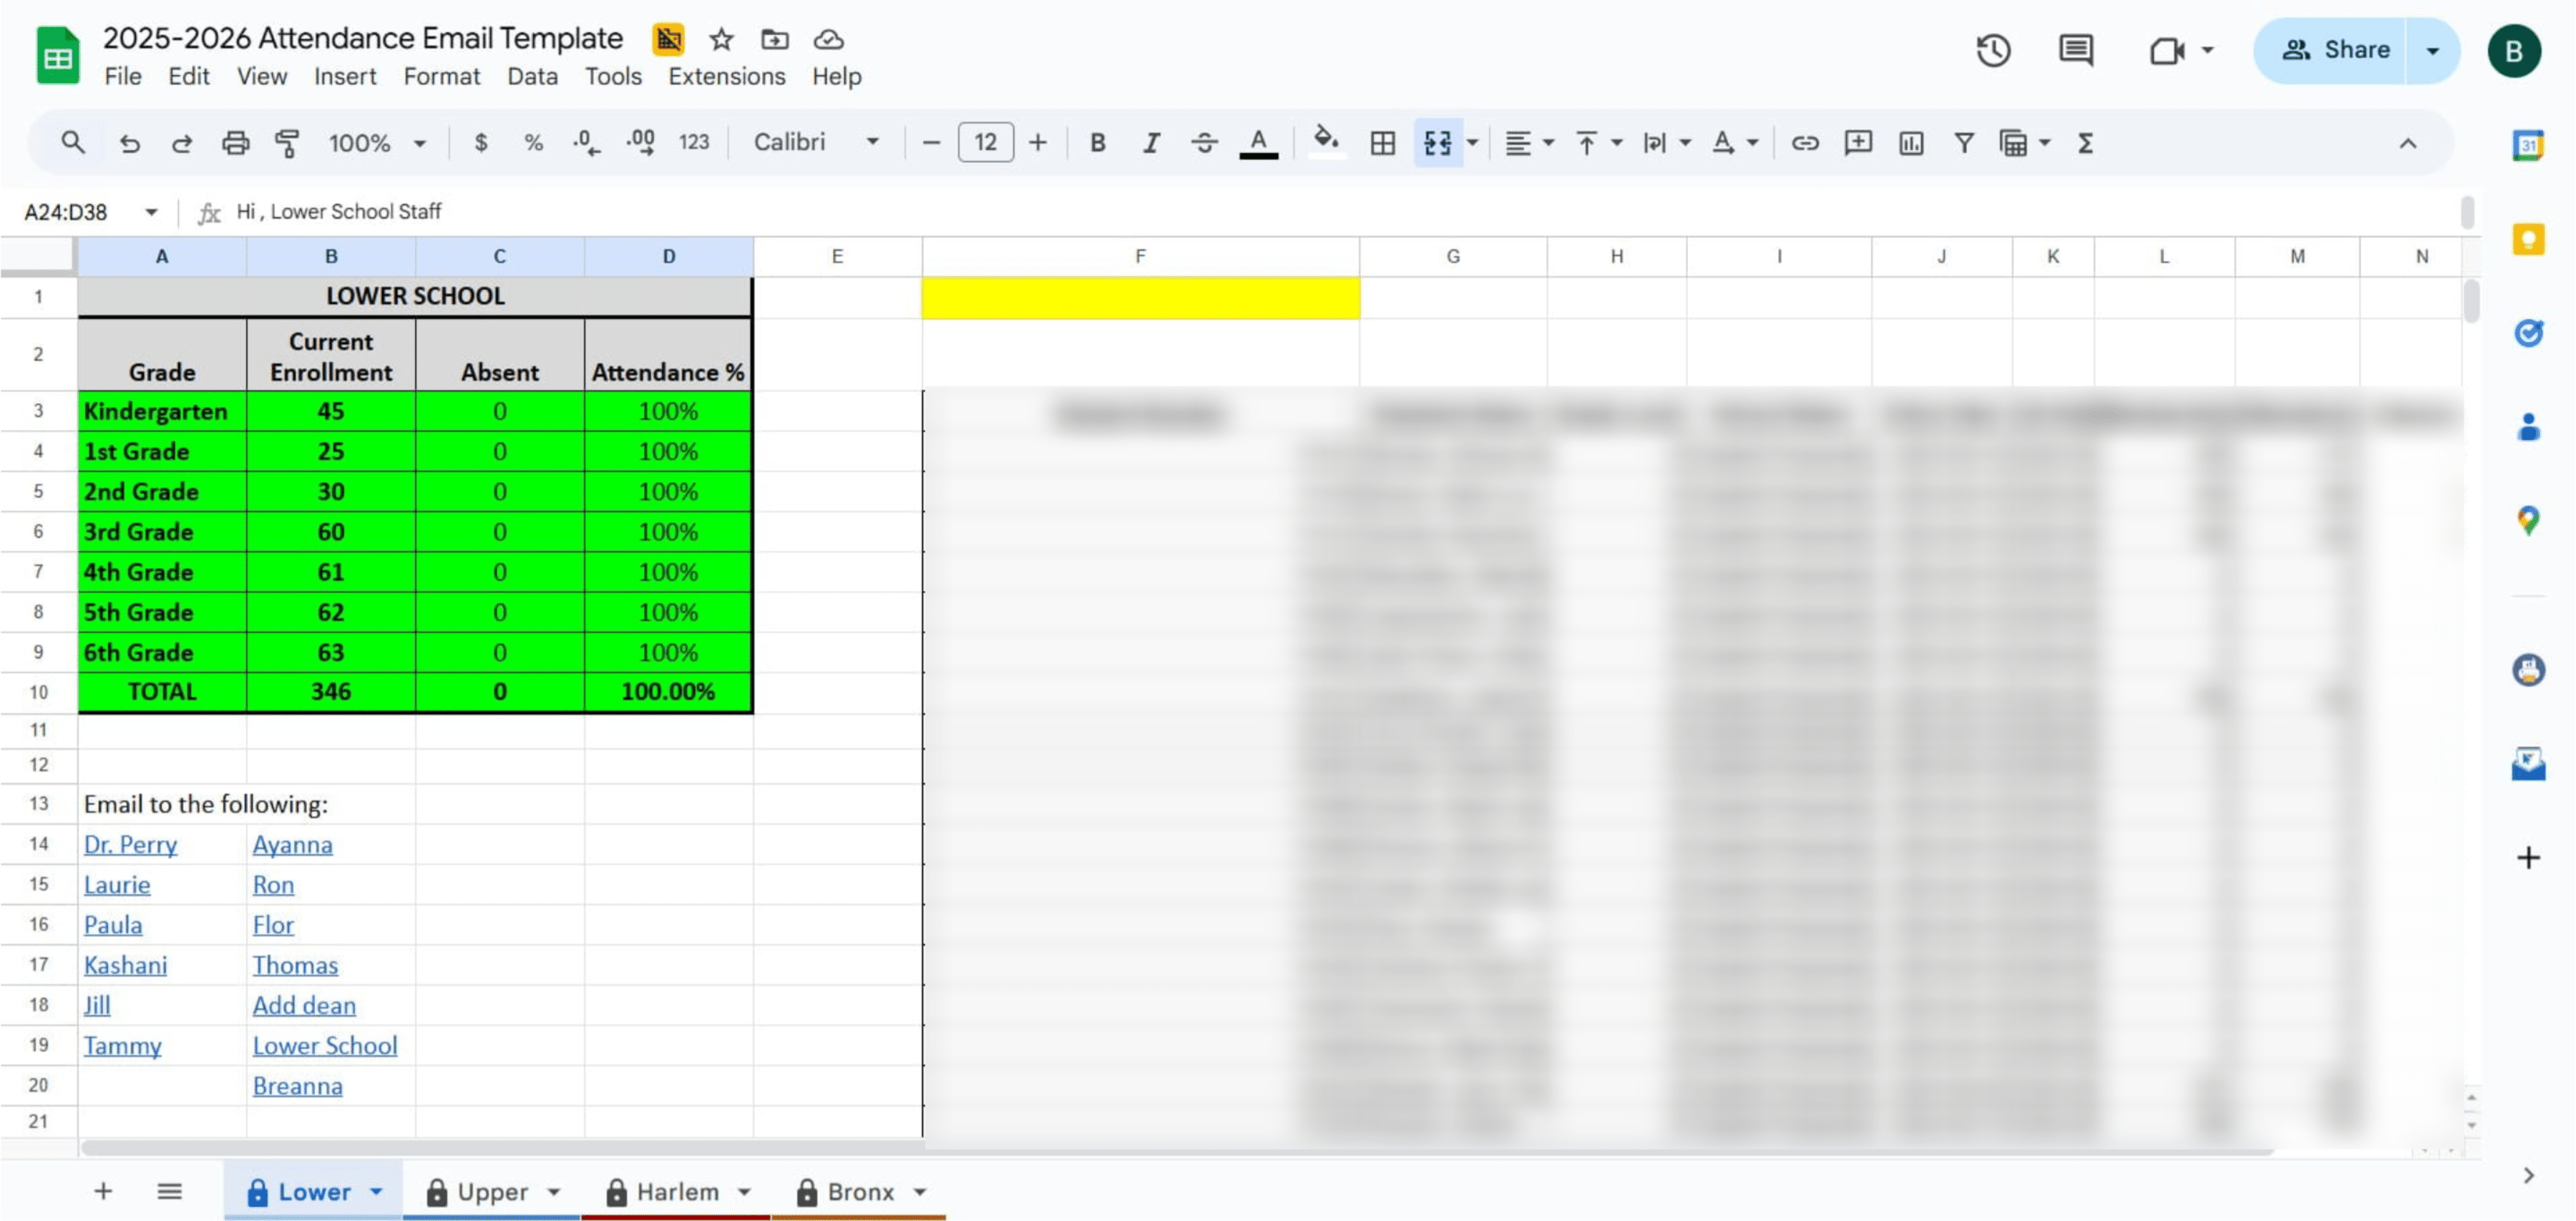
Click on "Send"
New Heading
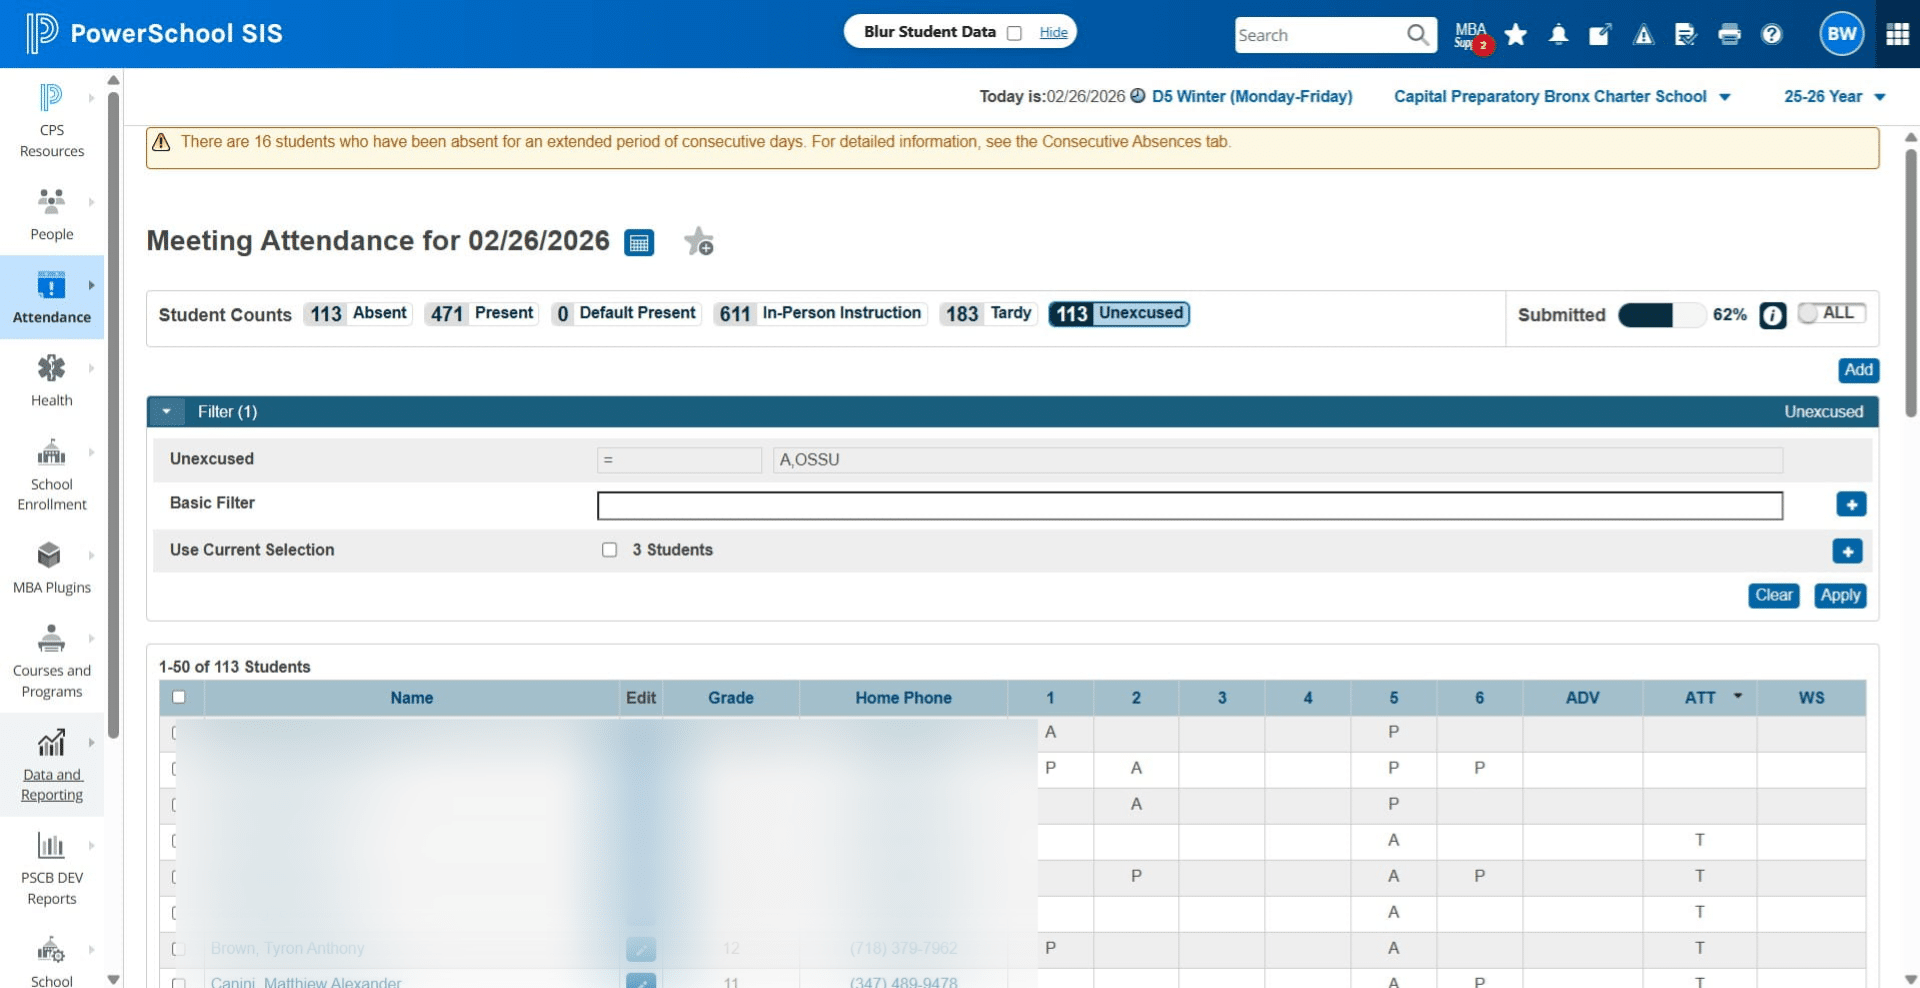
Navigate to the Meeting Attendance Report
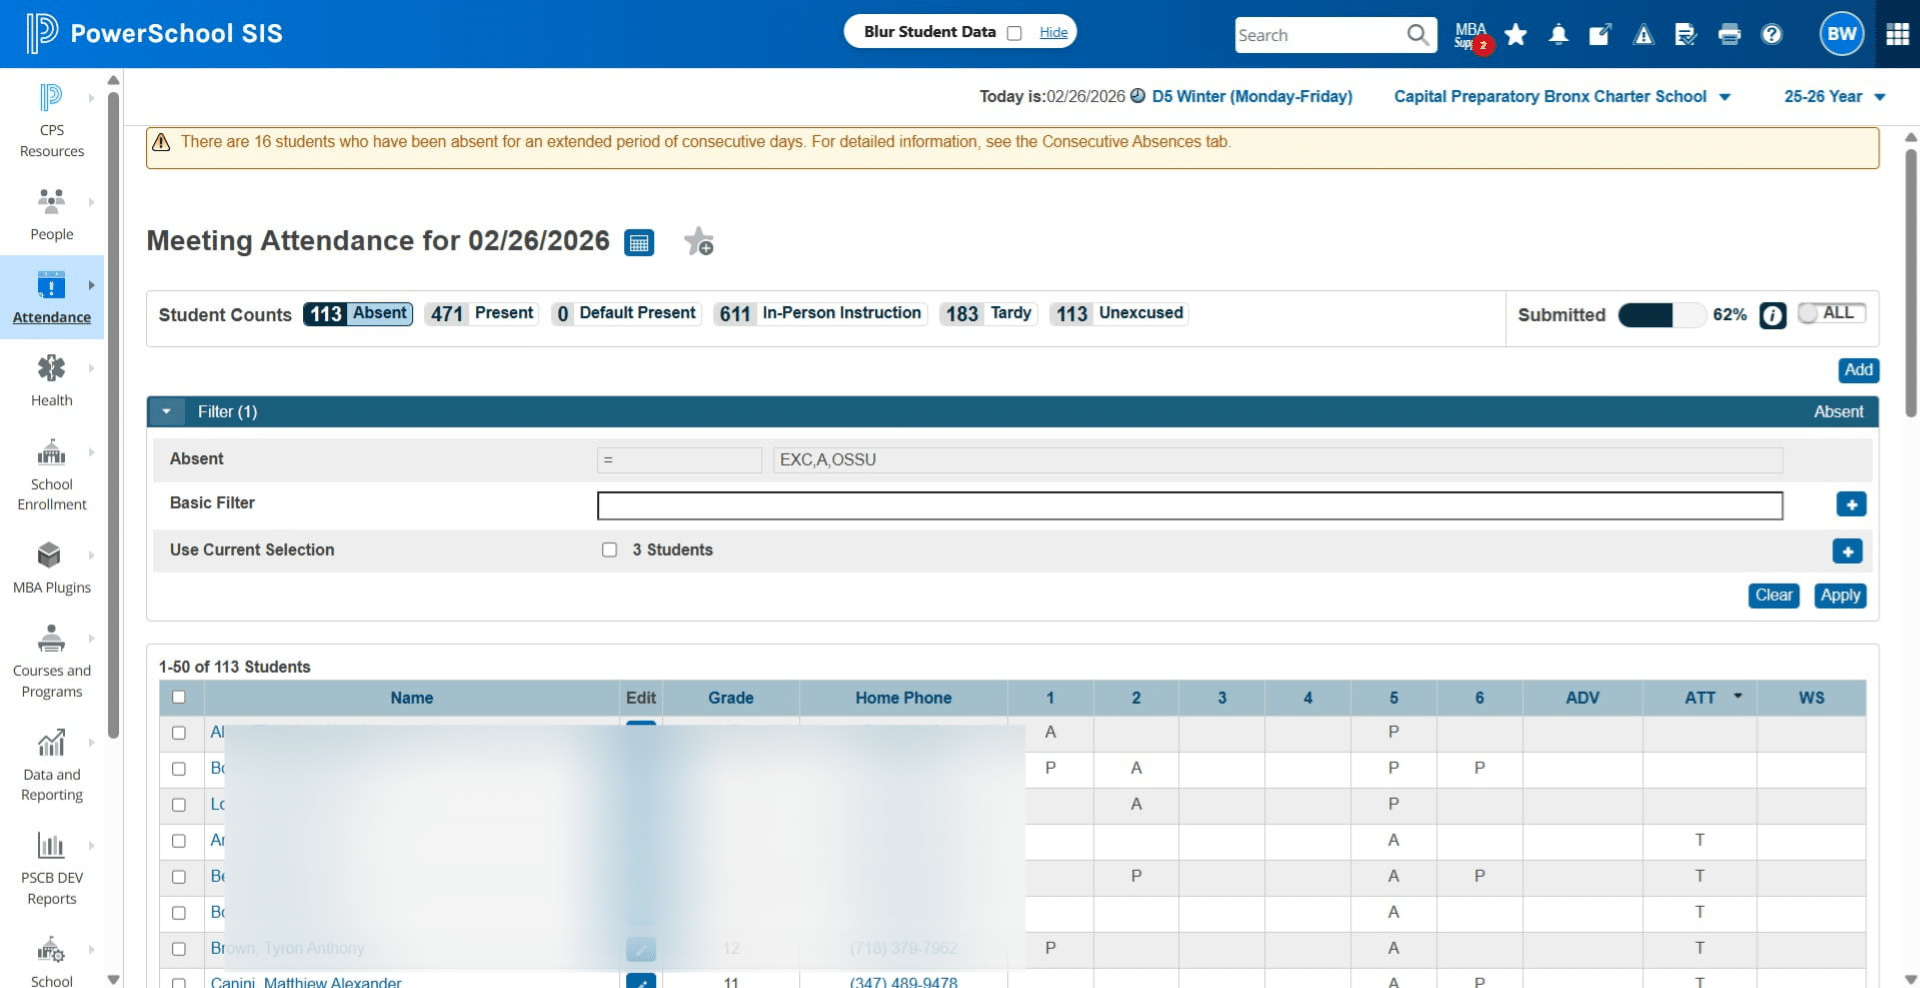
Click on "Meeting Attendance"
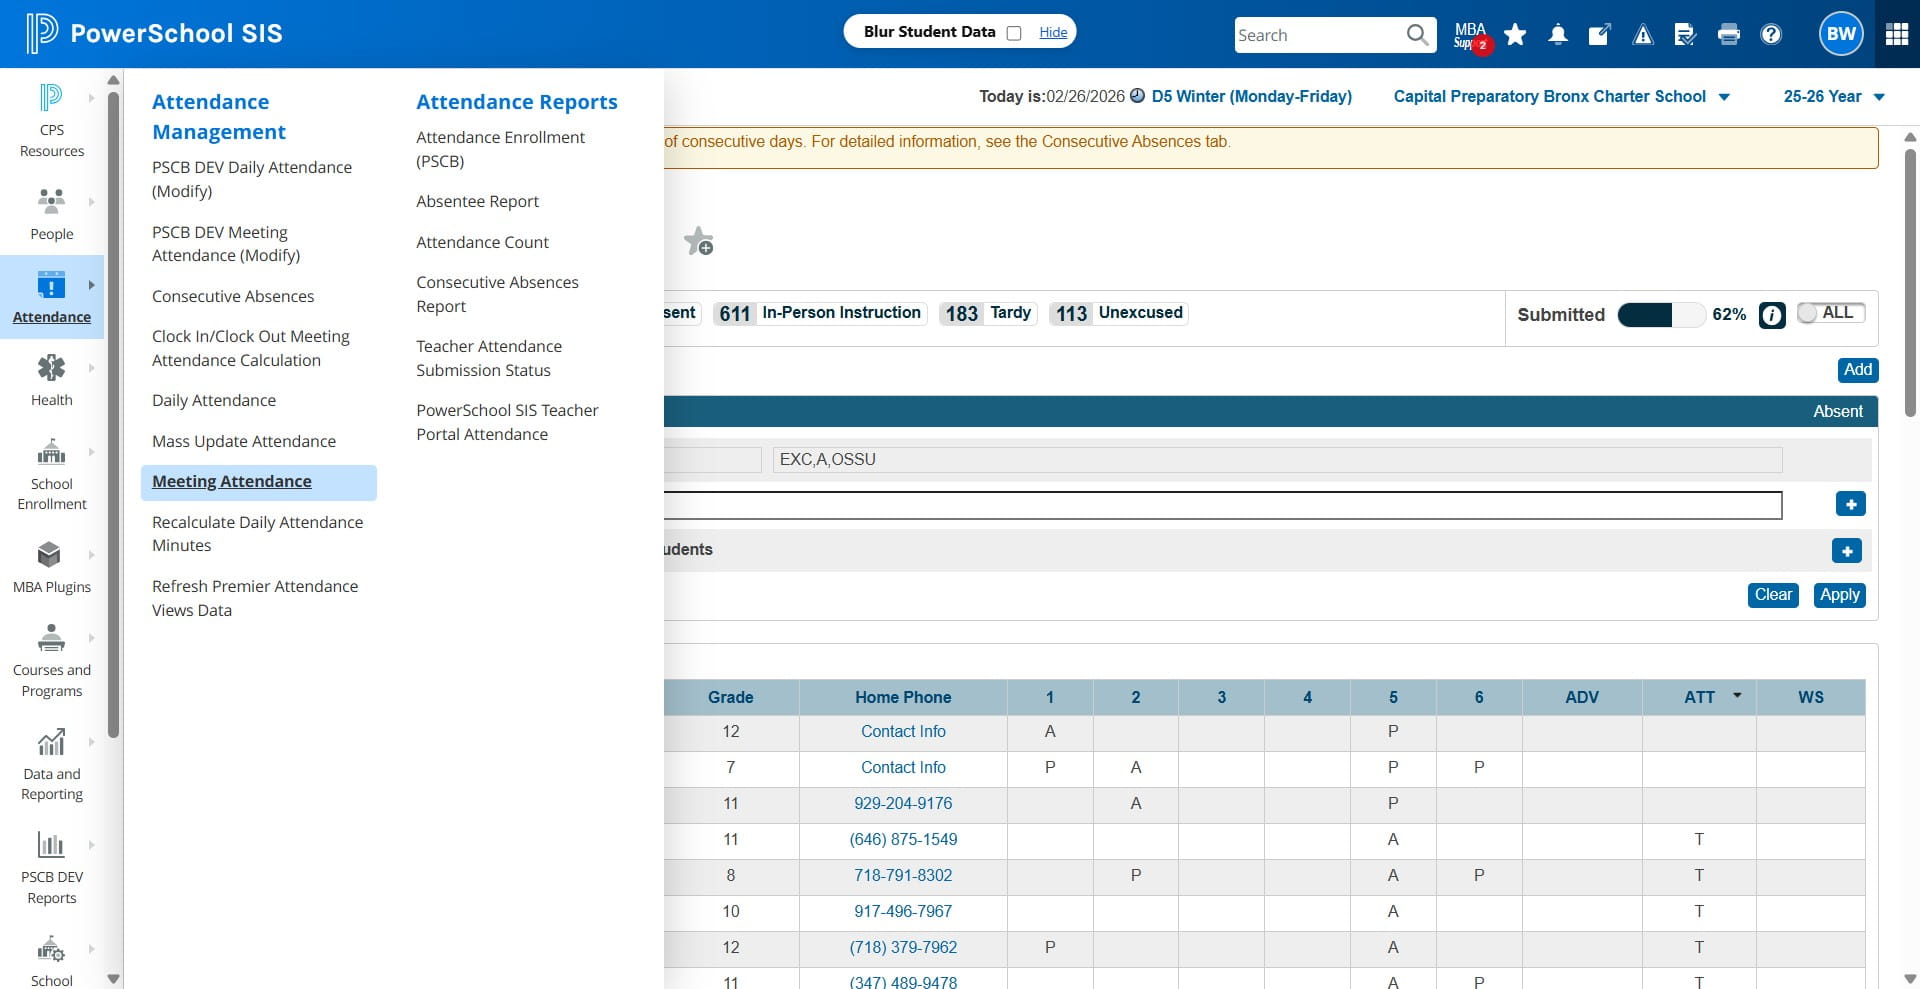
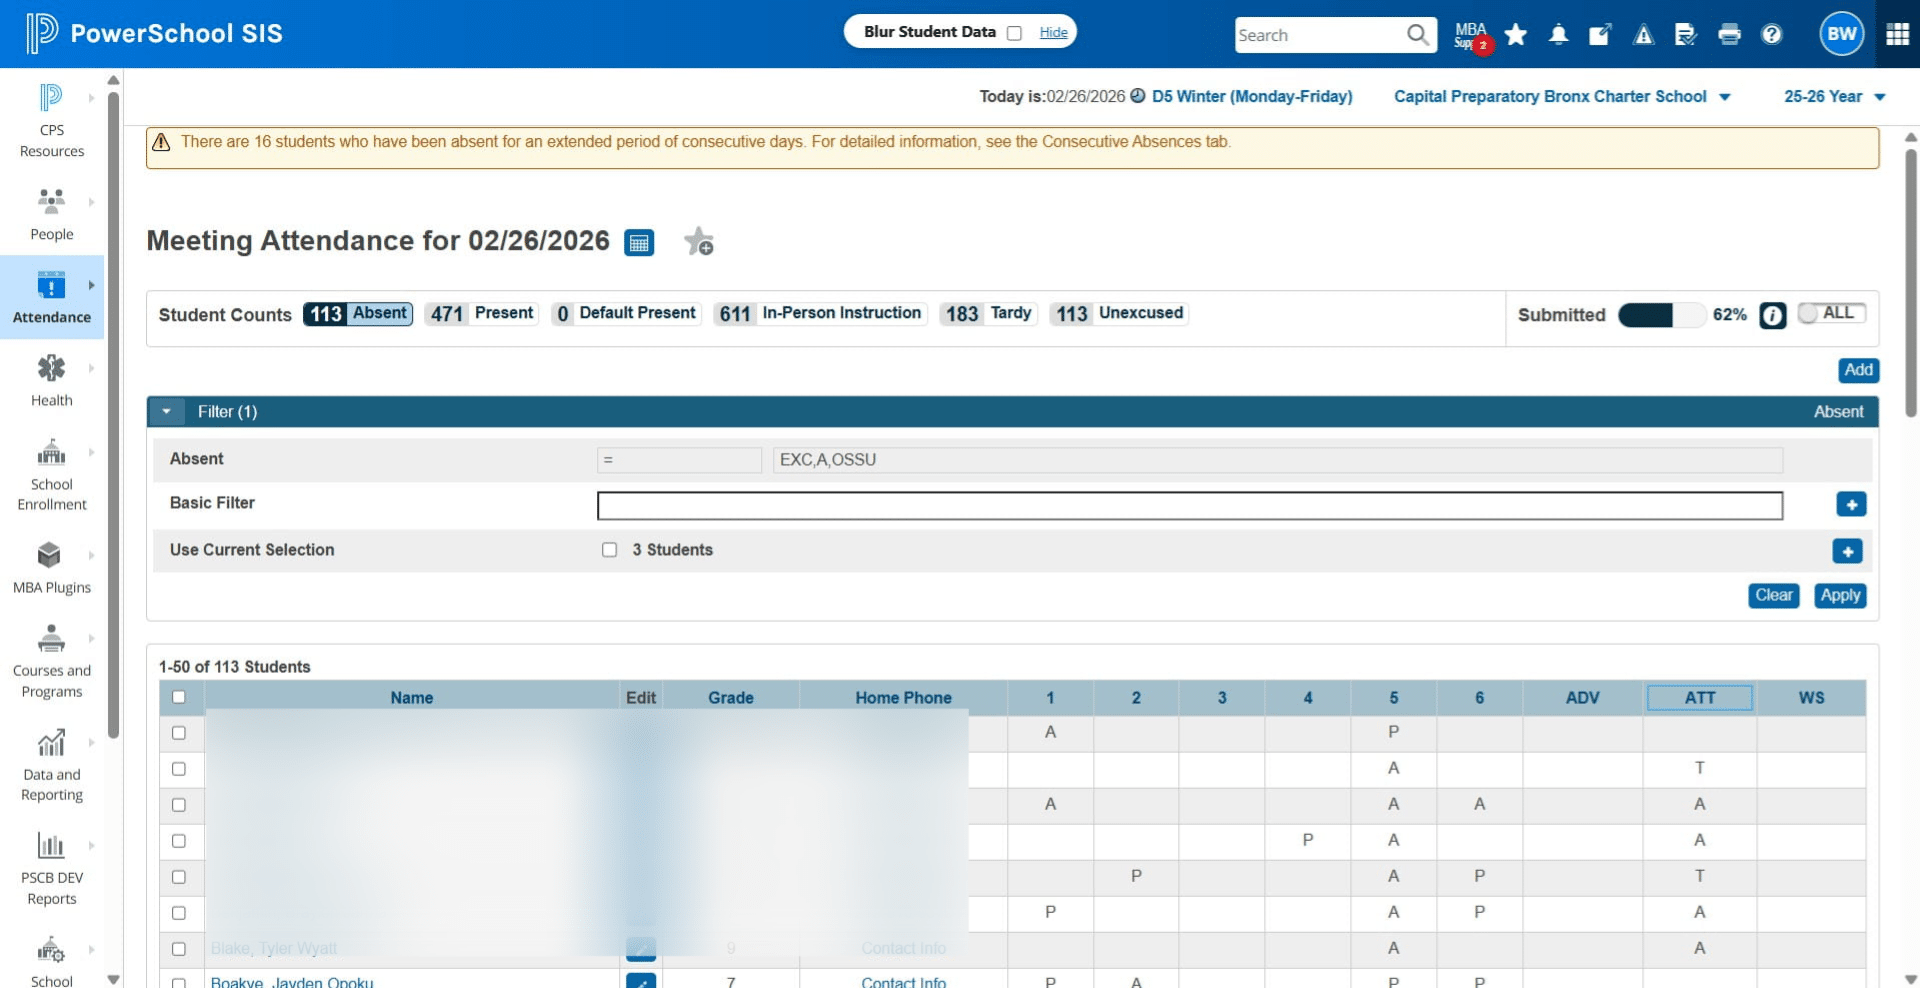
Review the ATT Column in EACH tab. Starting with the ABSENT Tab. Every student MUST have a P for Present, A for Absent, T for Tardy, EX for Excused Absent, OSS for Suspension, and SSA for School Activity in the ATT column. You can update individually by clicking the Pencil under the EDIT column or by selecting multiple students and doing a mass update.
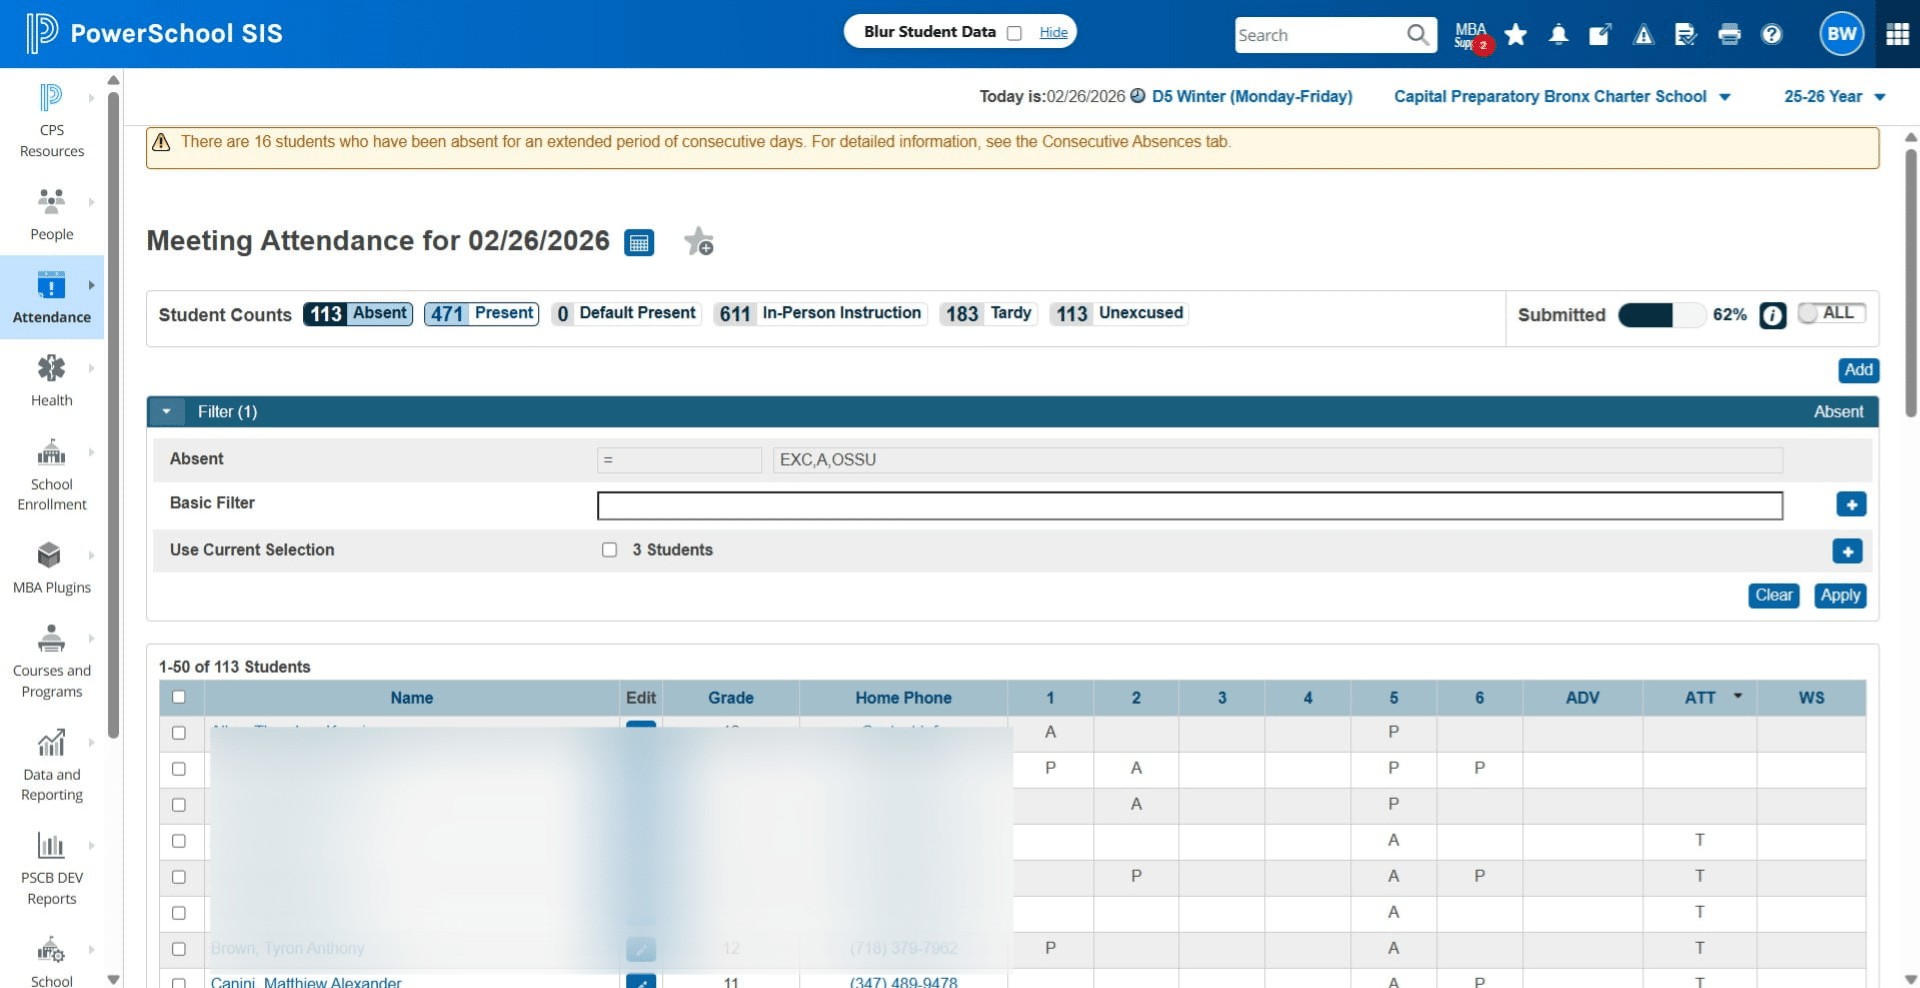
Click on "Present". Review the ATT Column. Every student MUST have a P for Present, A for Absent, T for Tardy, EX for Excused Absent, OSS for Suspension, and SSA for School Activity in the ATT column.
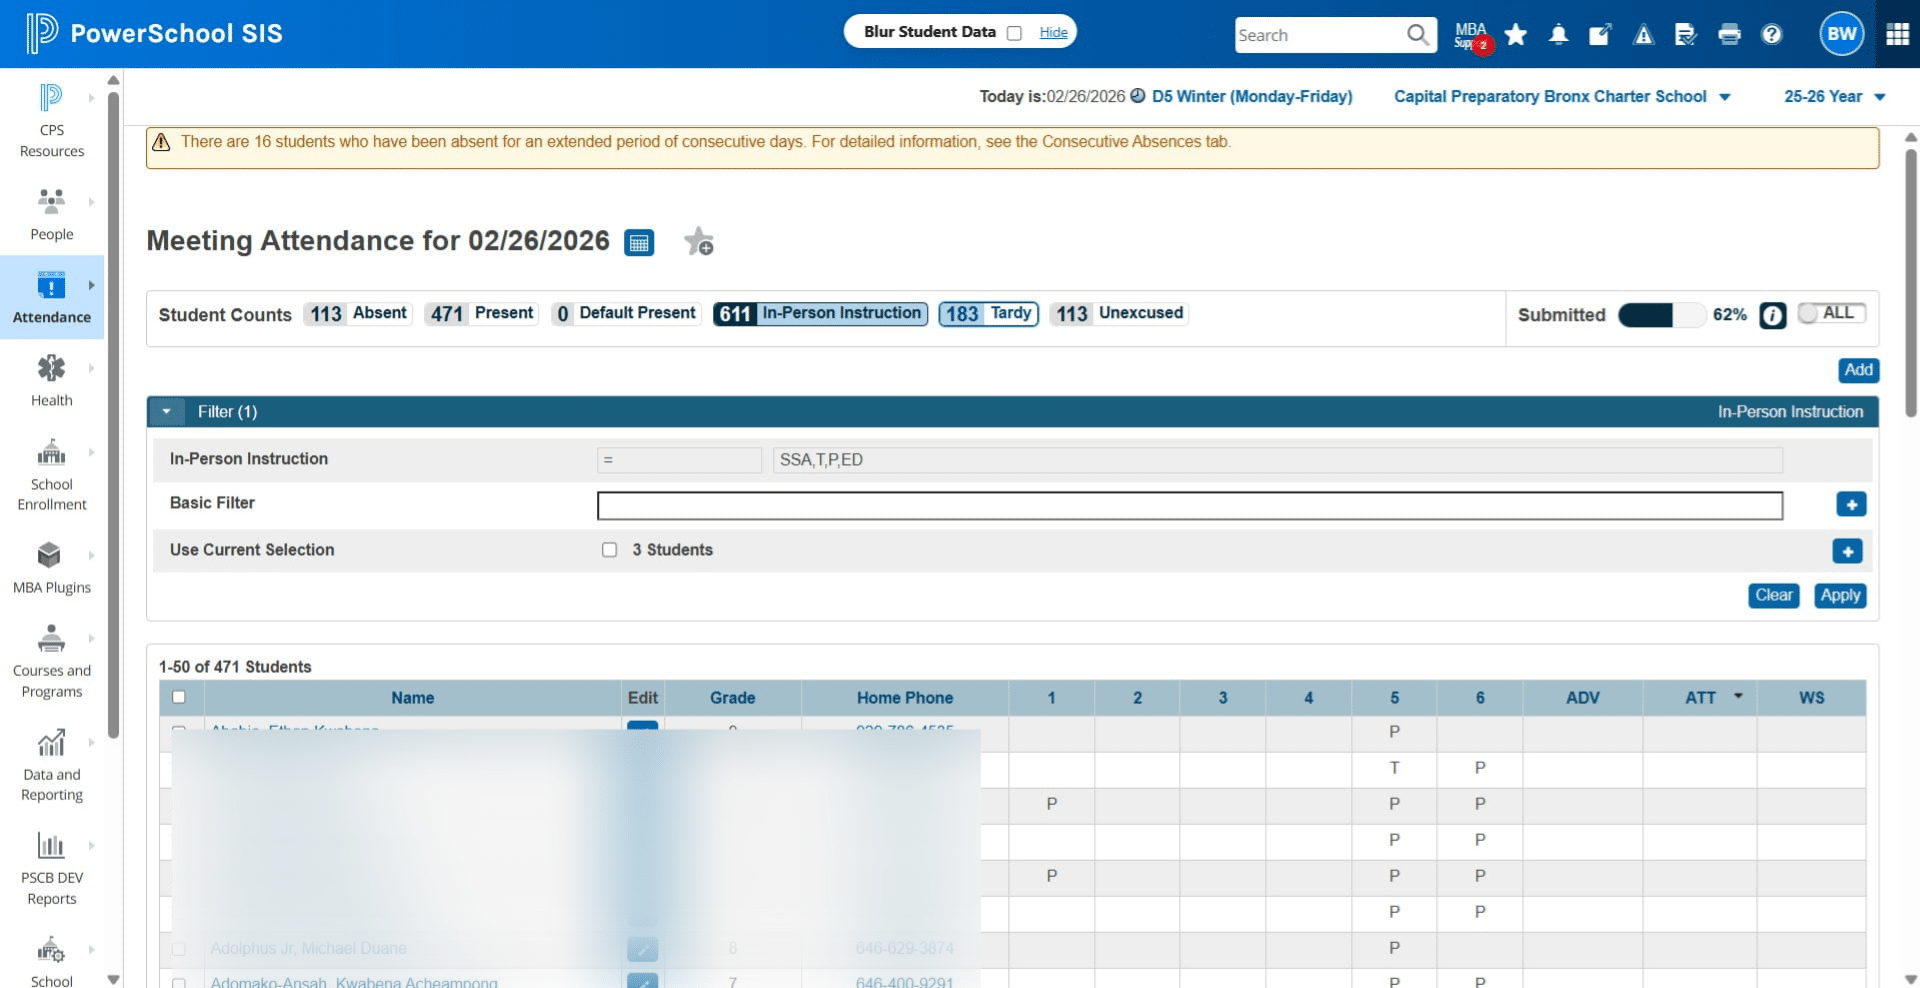
Click on "Tardy". Review the ATT Column. Every student MUST have a P for Present, A for Absent, T for Tardy, EX for Excused Absent, OSS for Suspension, and SSA for School Activity in the ATT column.
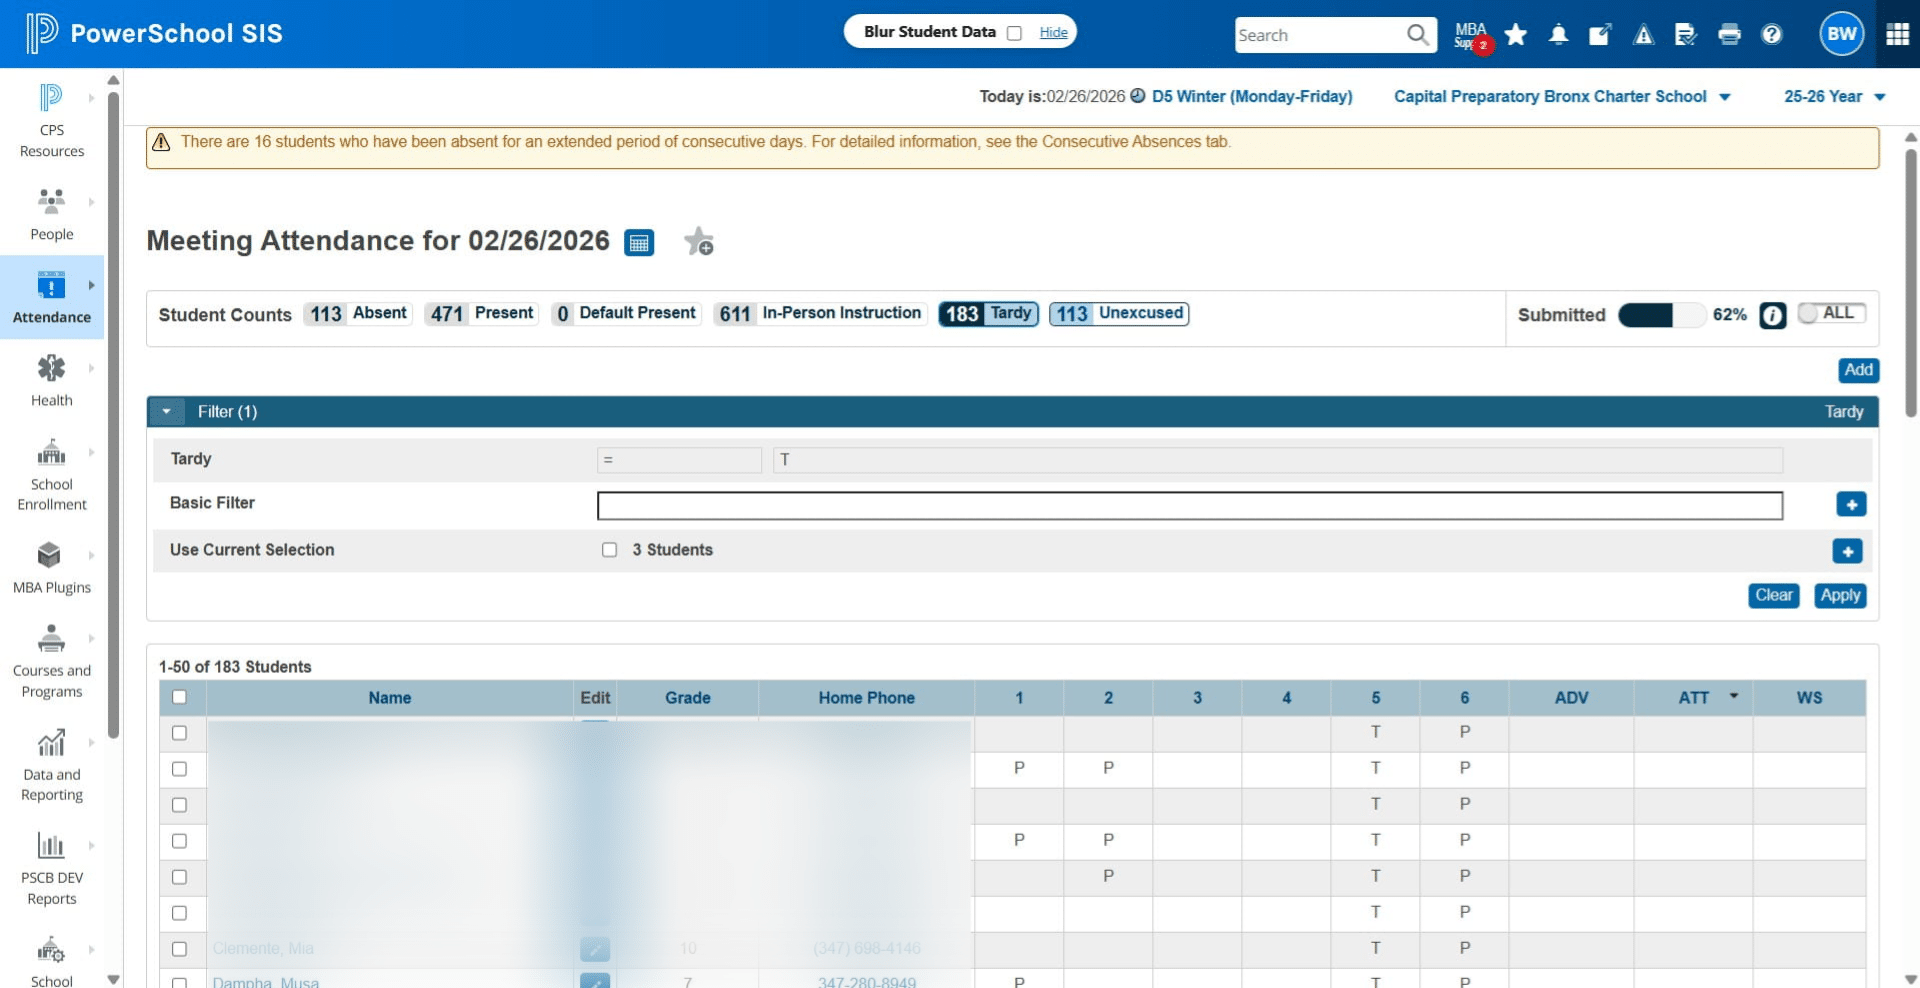
Click on "Unexcused". Review the ATT Column. Every student MUST have a P for Present, A for Absent, T for Tardy, EX for Excused Absent, OSS for Suspension, and SSA for School Activity in the ATT column.
New Heading
Click Data & Reporting -> Reports -> SQL Reports
Click on "Reports"
Click on "sqlReports"
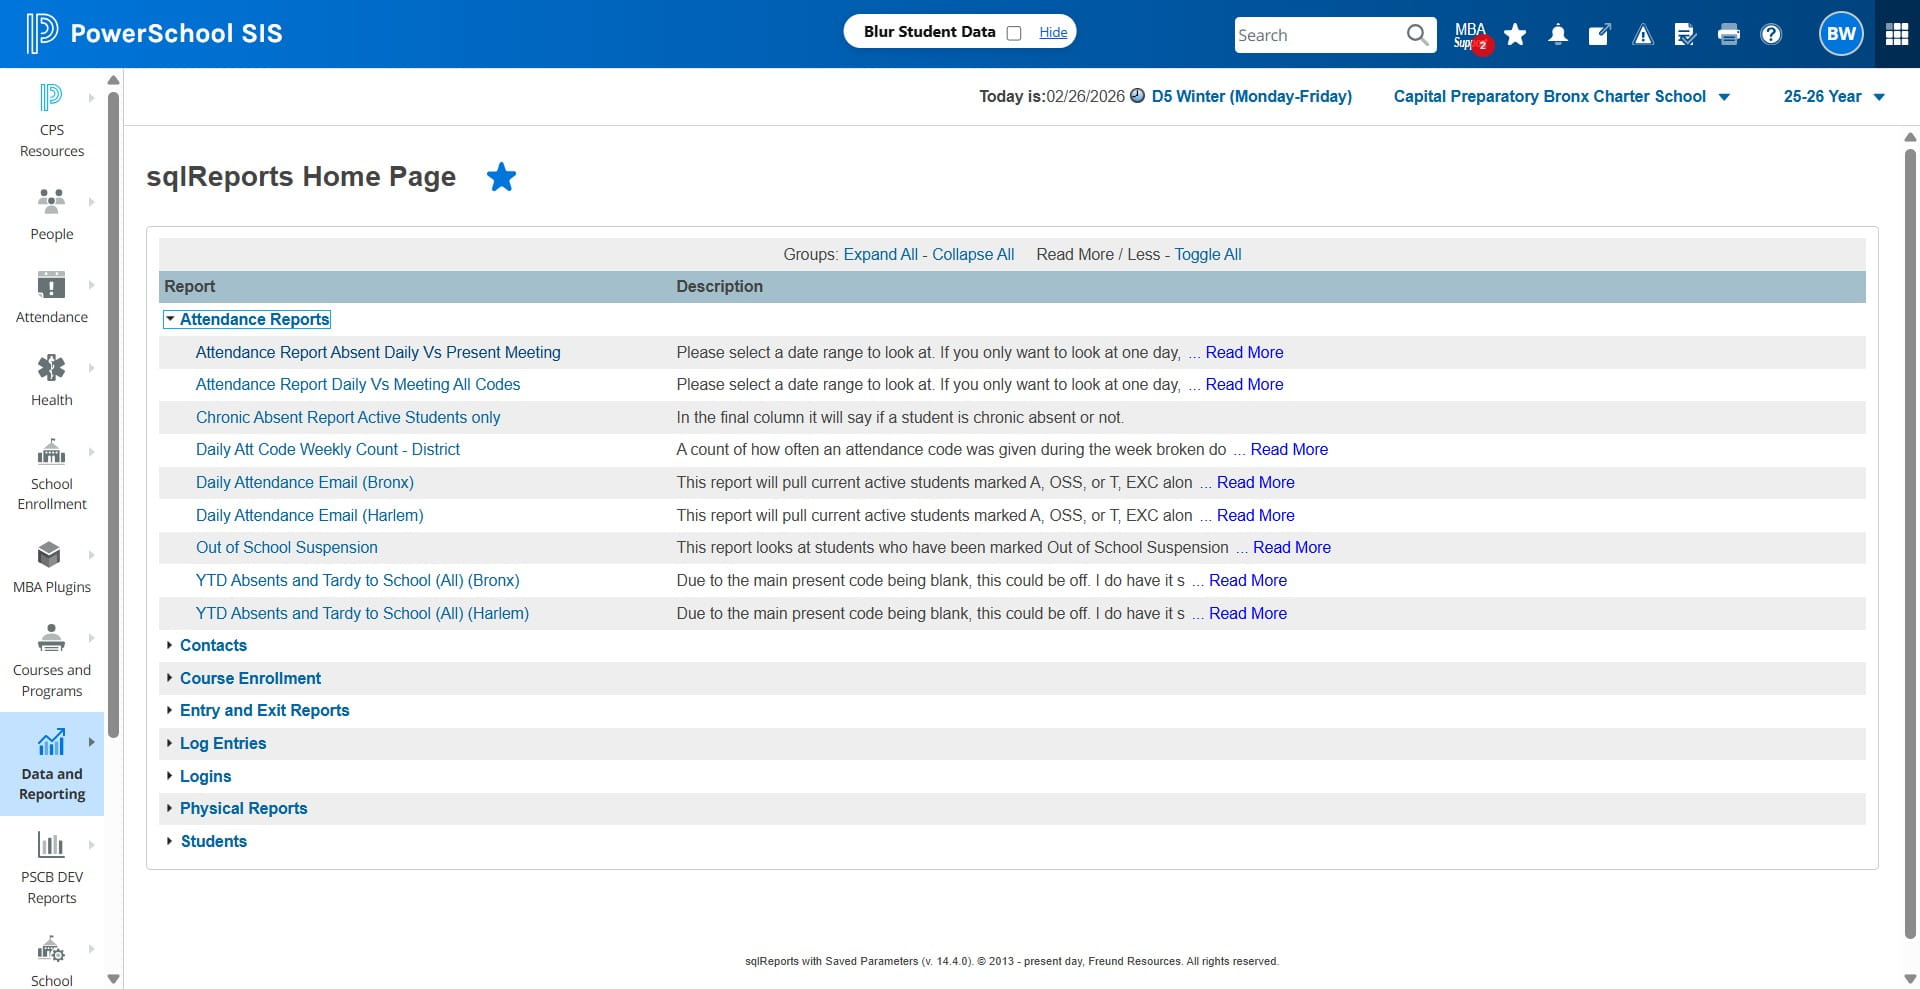
Click on Attendance Reports
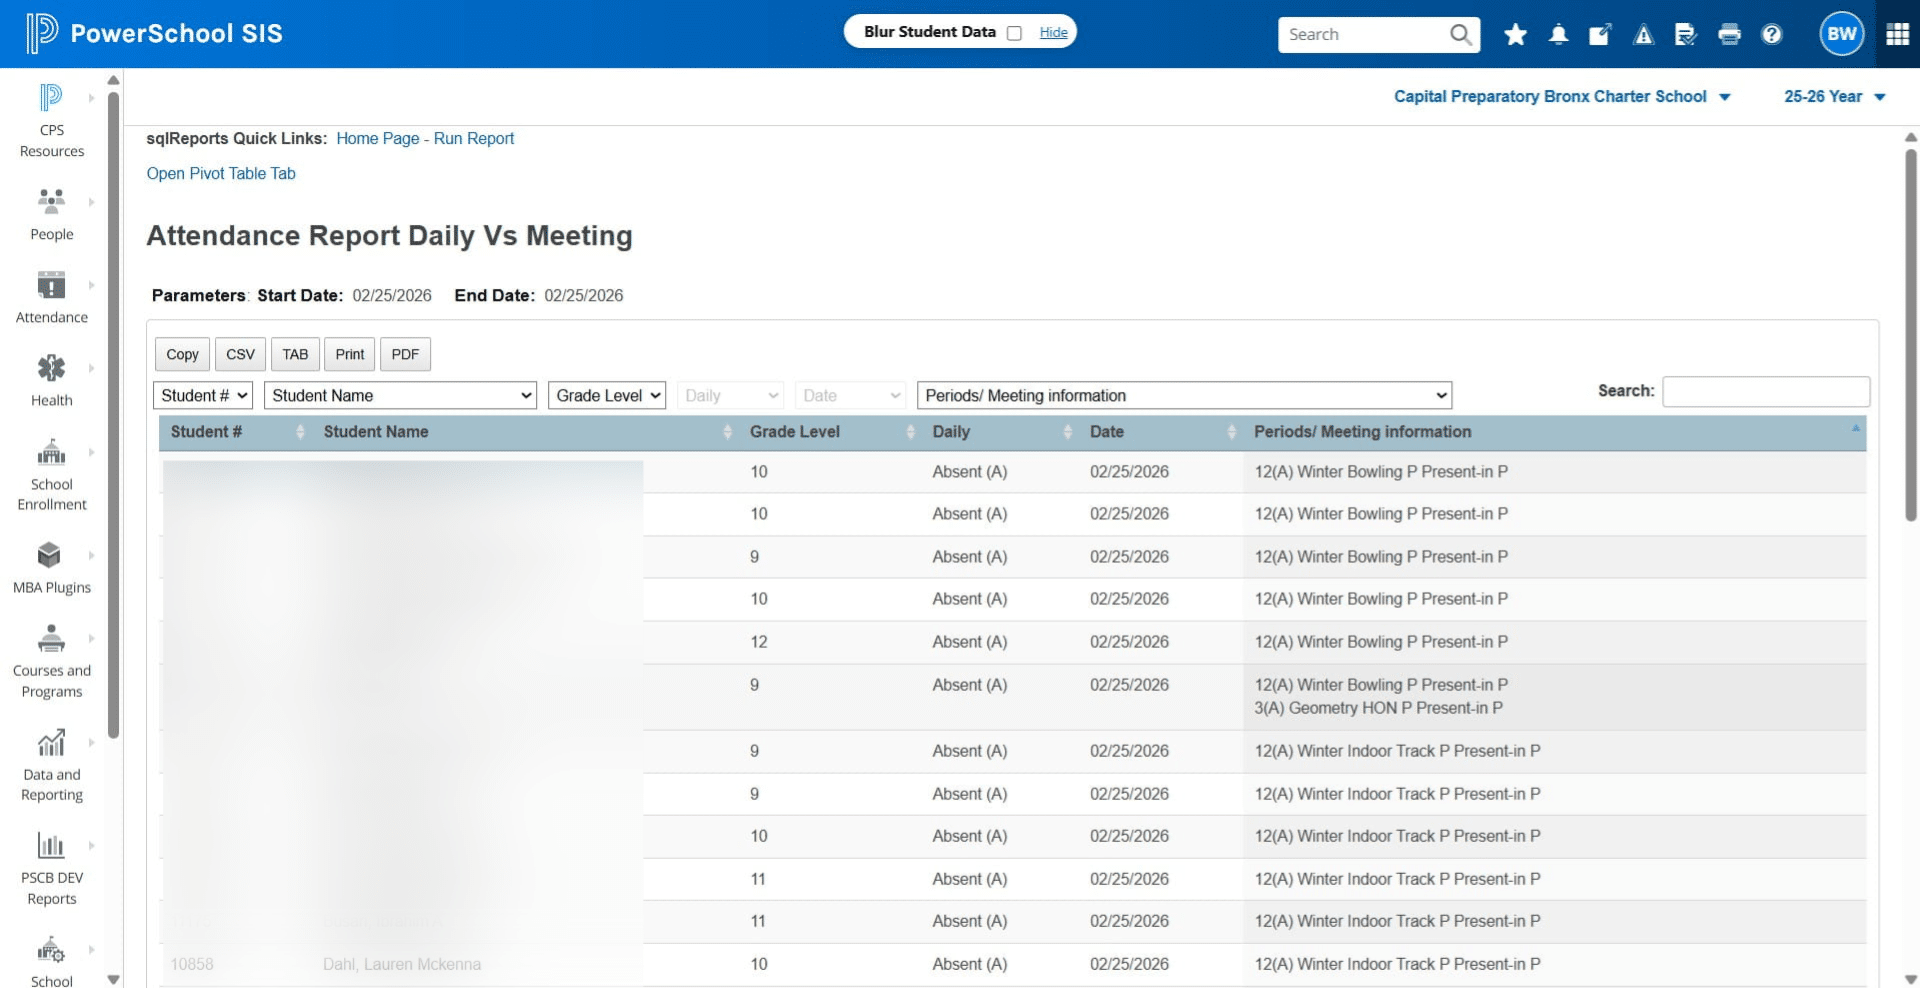
Click on "Attendance Report Absent Daily Vs Present Meeting"
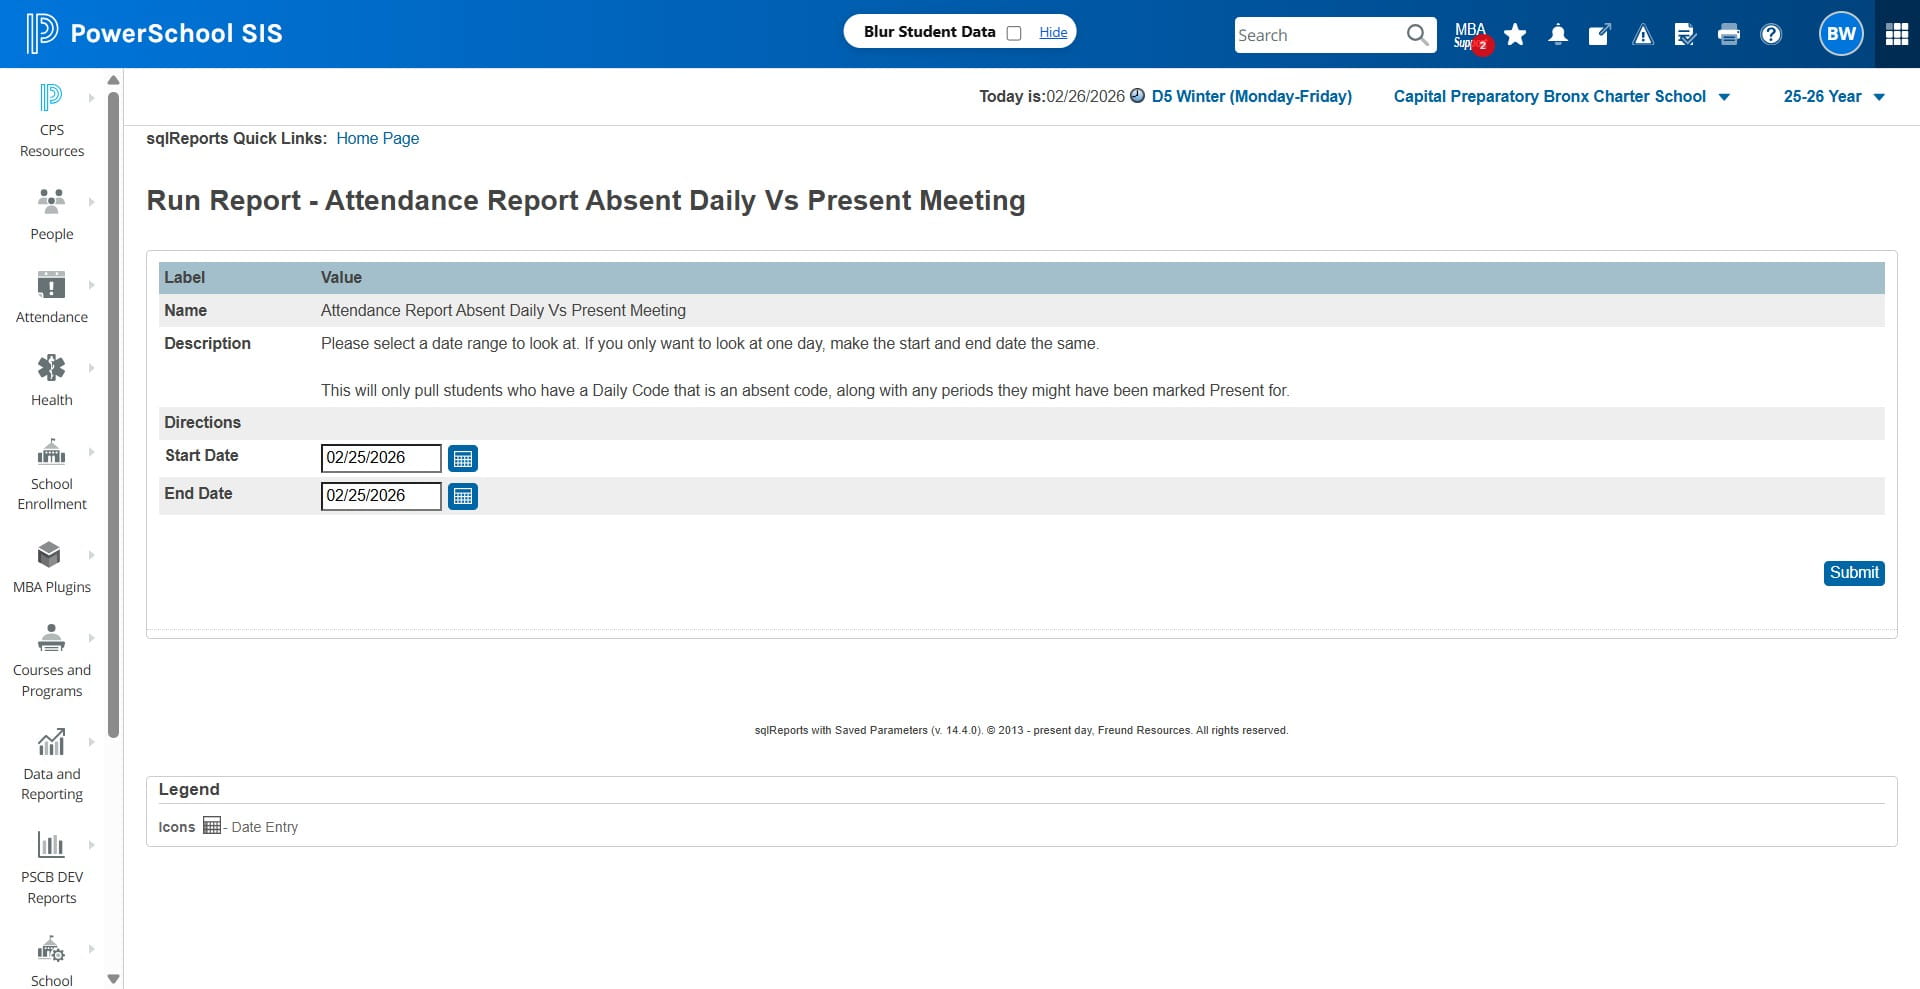
Enter the dates you need to review
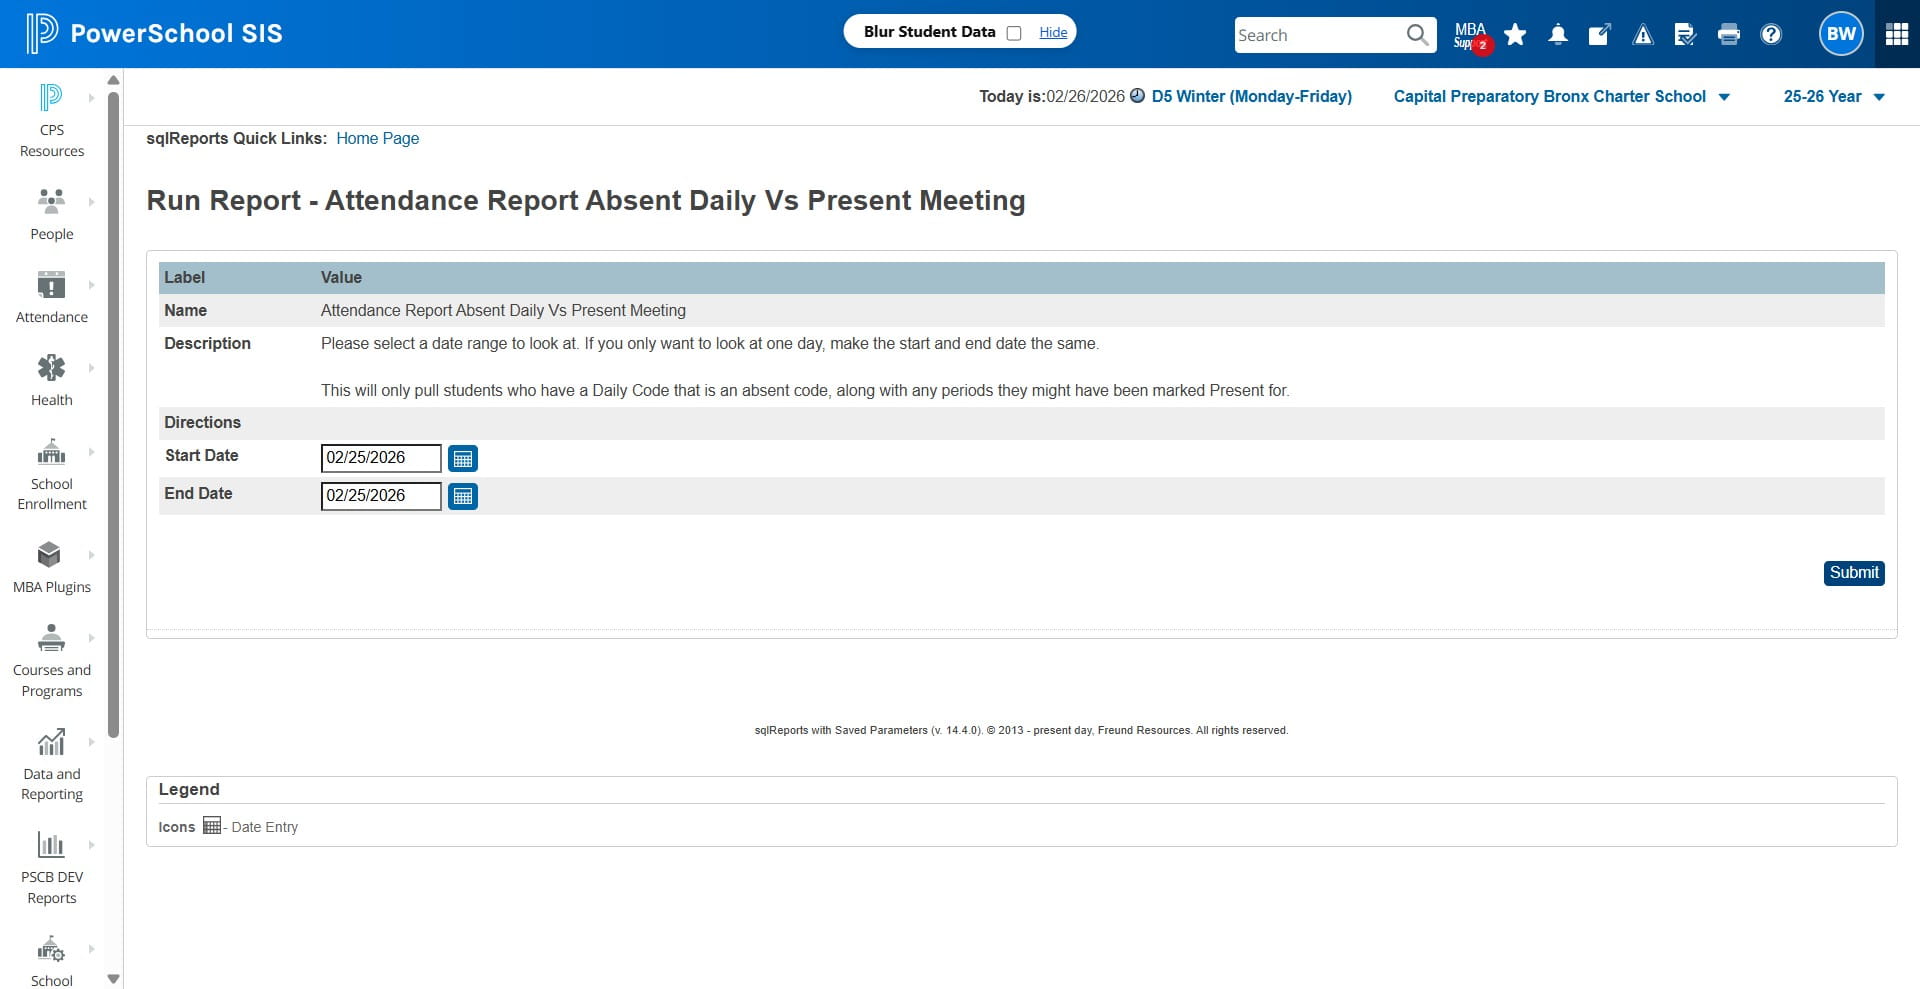
Click on "Submit"
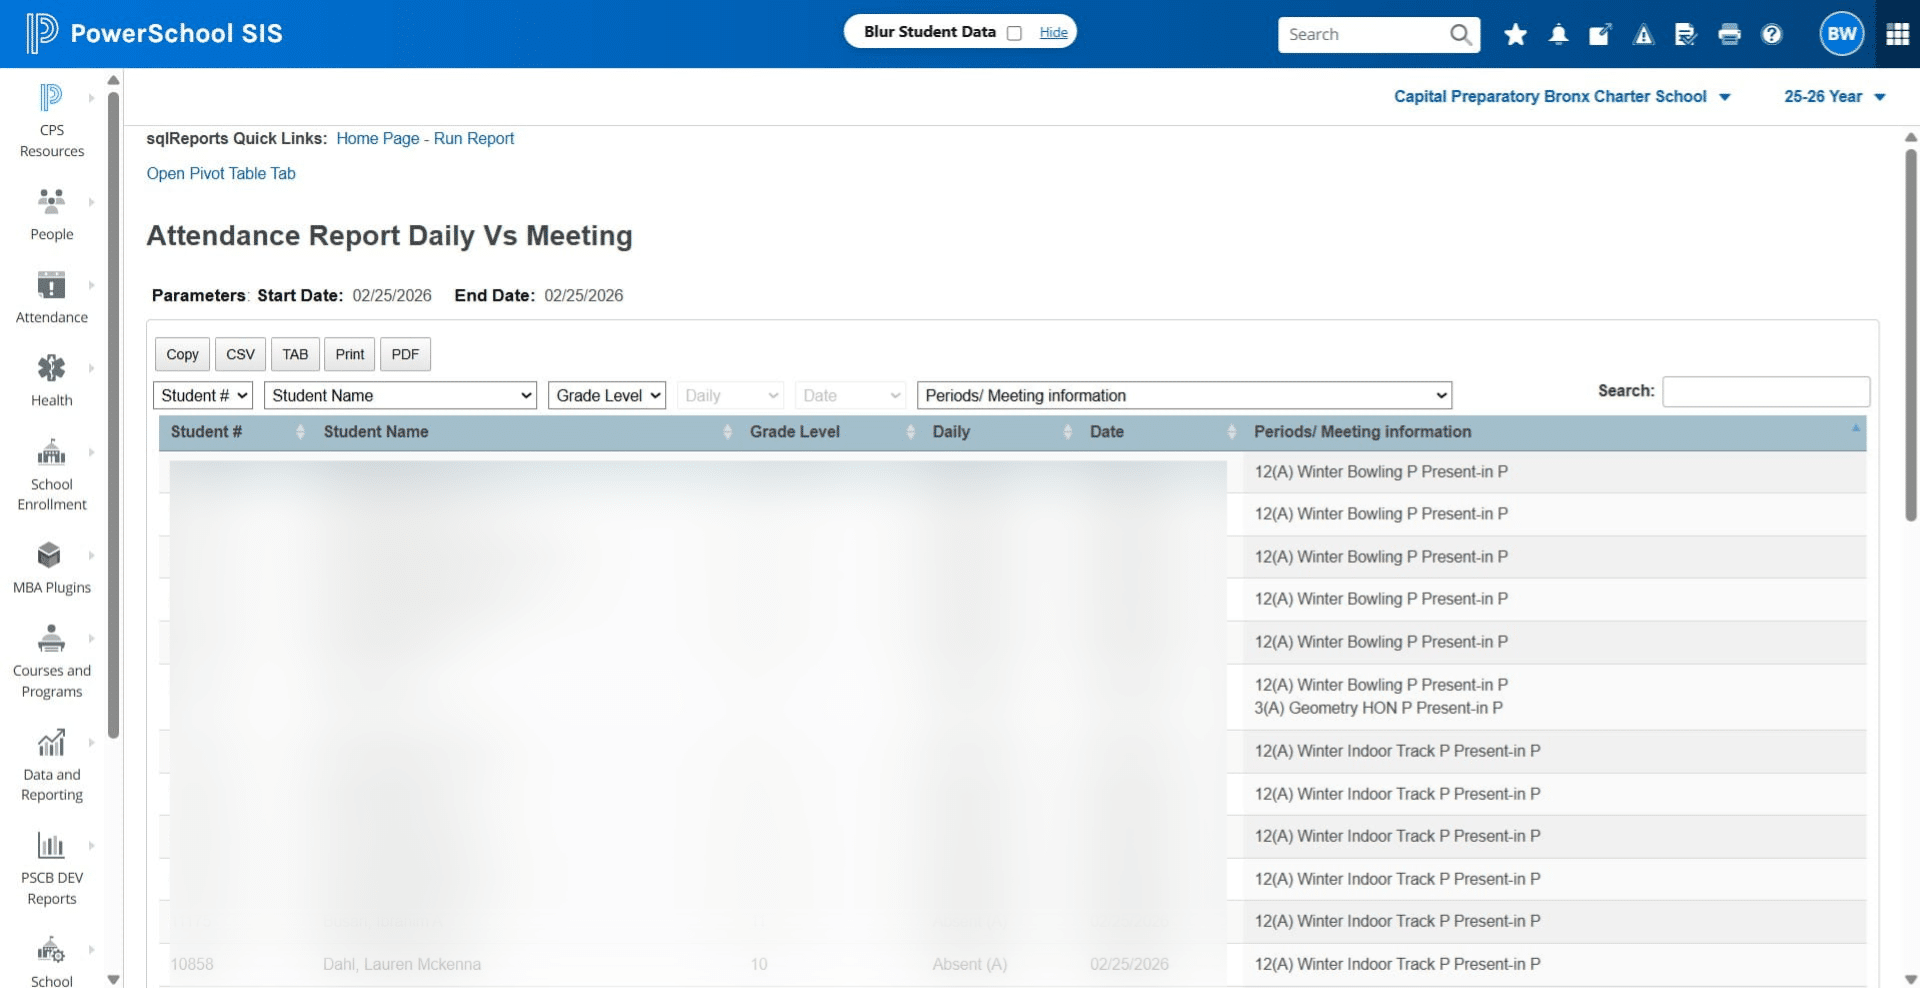
Click on "Periods/ Meeting information" to sort as needed. You can ignore SPORTS courses.
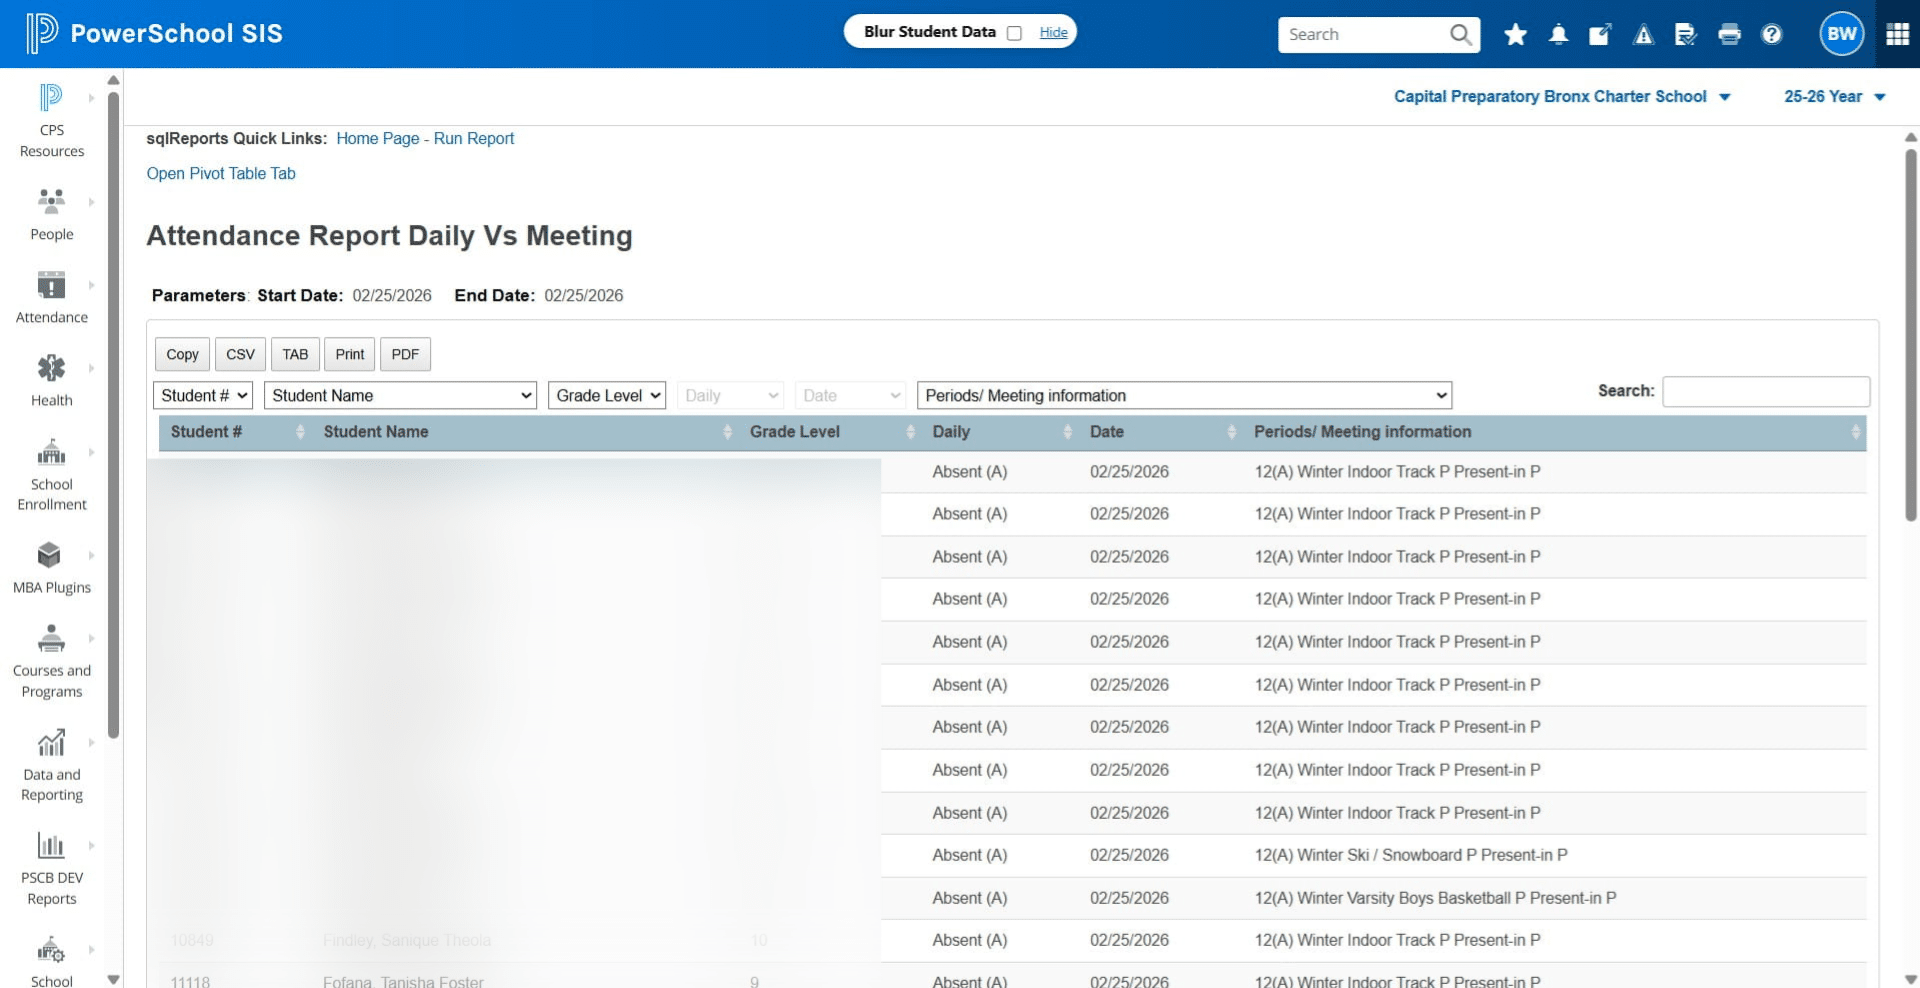
Review Periods/Meeting Information. If a student is marked Present in one or more courses, you need to flag this for your Building Admin and make the corrections for the student in ATT if needed. Recommendation: PRINT this list.
Done 🚀
Frequently Asked Questions
- What should I do if I don't know which period is the first period of the day for attendance?
If you are unsure about the first period of the day, especially if your school's schedule changes daily, you should contact your DOO (Director of Operations) for clarification before filtering attendance.
- Why is it important to filter for the first period when sending the morning attendance email?
Filtering for the first period is crucial because failing to do so will result in changing the attendance status for all students marked tardy or absent during any period, not just the first one. This can cause inaccuracies in the attendance records.
- When updating absent students, why is it important to select PRESENT before changing it to ABSENT?
When updating absent students, it's important to select PRESENT first. If you don't, it will overwrite any existing attendance codes such as excused absences, OSS, Tardies, etc., and change them all to ABSENT, which is likely not accurate.
- What does a blank code mean in the ATT Period review?
In the ATT Period review, a blank code for a student indicates that the student is present. Any other code signifies a different attendance status, such as A for Absent, EA for Excused Absence, TS for Tardy, ED for Early Dismissal, OSS for Out of School Suspension, and SSA for School Sponsored Activity.
- How do I get the current enrollment numbers for each grade to update the Attendance Email Template?
To get the current enrollment numbers for each grade, navigate to "School Enrollment" in PowerSchool and click on "MBA Enrollment Summary". The "Total In Grade" will provide the numbers you need to update in Column B of the Attendance Email Template.
- How do I make sure I’m filtering for the first period of the day (and why does it matter)?
Click the basic filter plus sign in Meeting Attendance, choose Name and select the first period of the day, then type the code to filter (e.g., T for tardy or A for absent) and click Apply. To find which period is first, click SCHEDULE next to “Today is XX/XX/XXXX” and read the PERIOD column. It’s critical to filter by the first period because failing to do so will change attendance status for every period a student was marked tardy or absent, not just the morning attendance you’re trying to report. If you don’t know which period you started with, contact your DOO.
- When doing a mass update to mark absent students, how do I avoid overwriting excused absences, suspensions, tardies, etc.?
When you run Mass Update Attendance for absent students, set the Code(s) to scan to PRESENT only — this ensures you only convert students currently marked present to Absent. If you scan all codes instead of just Present, you will overwrite other valid codes (EA, OSS, TS, etc.) and convert them to Absent. Then set the Attendance Code to Set to (Present) -> (Absent) and click Submit.
- Some students aren’t showing up in my filtered list or aren’t selected for mass update — what should I check?
First increase the number of rows to 200 so you include all students (not just Page 1). After filtering, click the top checkbox to select all and then click Set Current Selection. Make sure you selected the correct period in the filter. If students still don’t appear or have blank ATT values, check the Meeting Attendance tabs (Absent, Present, Tardy, Unexcused) and either select multiple students for a mass update or edit individually using the pencil icon under Edit.
- How do I mark students who signed in using the Tardy Sign-In Sheet?
Go to Attendance -> Meeting Attendance -> Tardy -> Add. Click the box, search for the student’s name, then change their status from (Present) to T (Tardy) and click Save. This must be done individually per student (per the guide) for those who physically signed the tardy sheet.
- How do I verify the ATT column is correct before pulling the daily attendance report and emailing?
Review Meeting Attendance tabs (Absent, Present, Tardy, Unexcused) and inspect the ATT column for every student. Valid ATT codes should be: P (Present), A (Absent), EA (Excused Absence), TS (Tardy), ED (Early Dismissal), OSS (Out of School Suspension), SSA (School Sponsored Activity). Also run the Attendance Report ‘Absent Daily Vs Present Meeting’ (Data & Reporting -> Reports -> sqlReports -> Attendance Reports) to find students marked Present in one or more courses — flag these for your Building Admin and correct ATT as needed. The guide recommends printing this list for review.