

Send Weekly Attendance Notifications
Open up the following links:
Parentsquare.com PowerSchool Your schools attendance tracker
Open Attendance Tracker
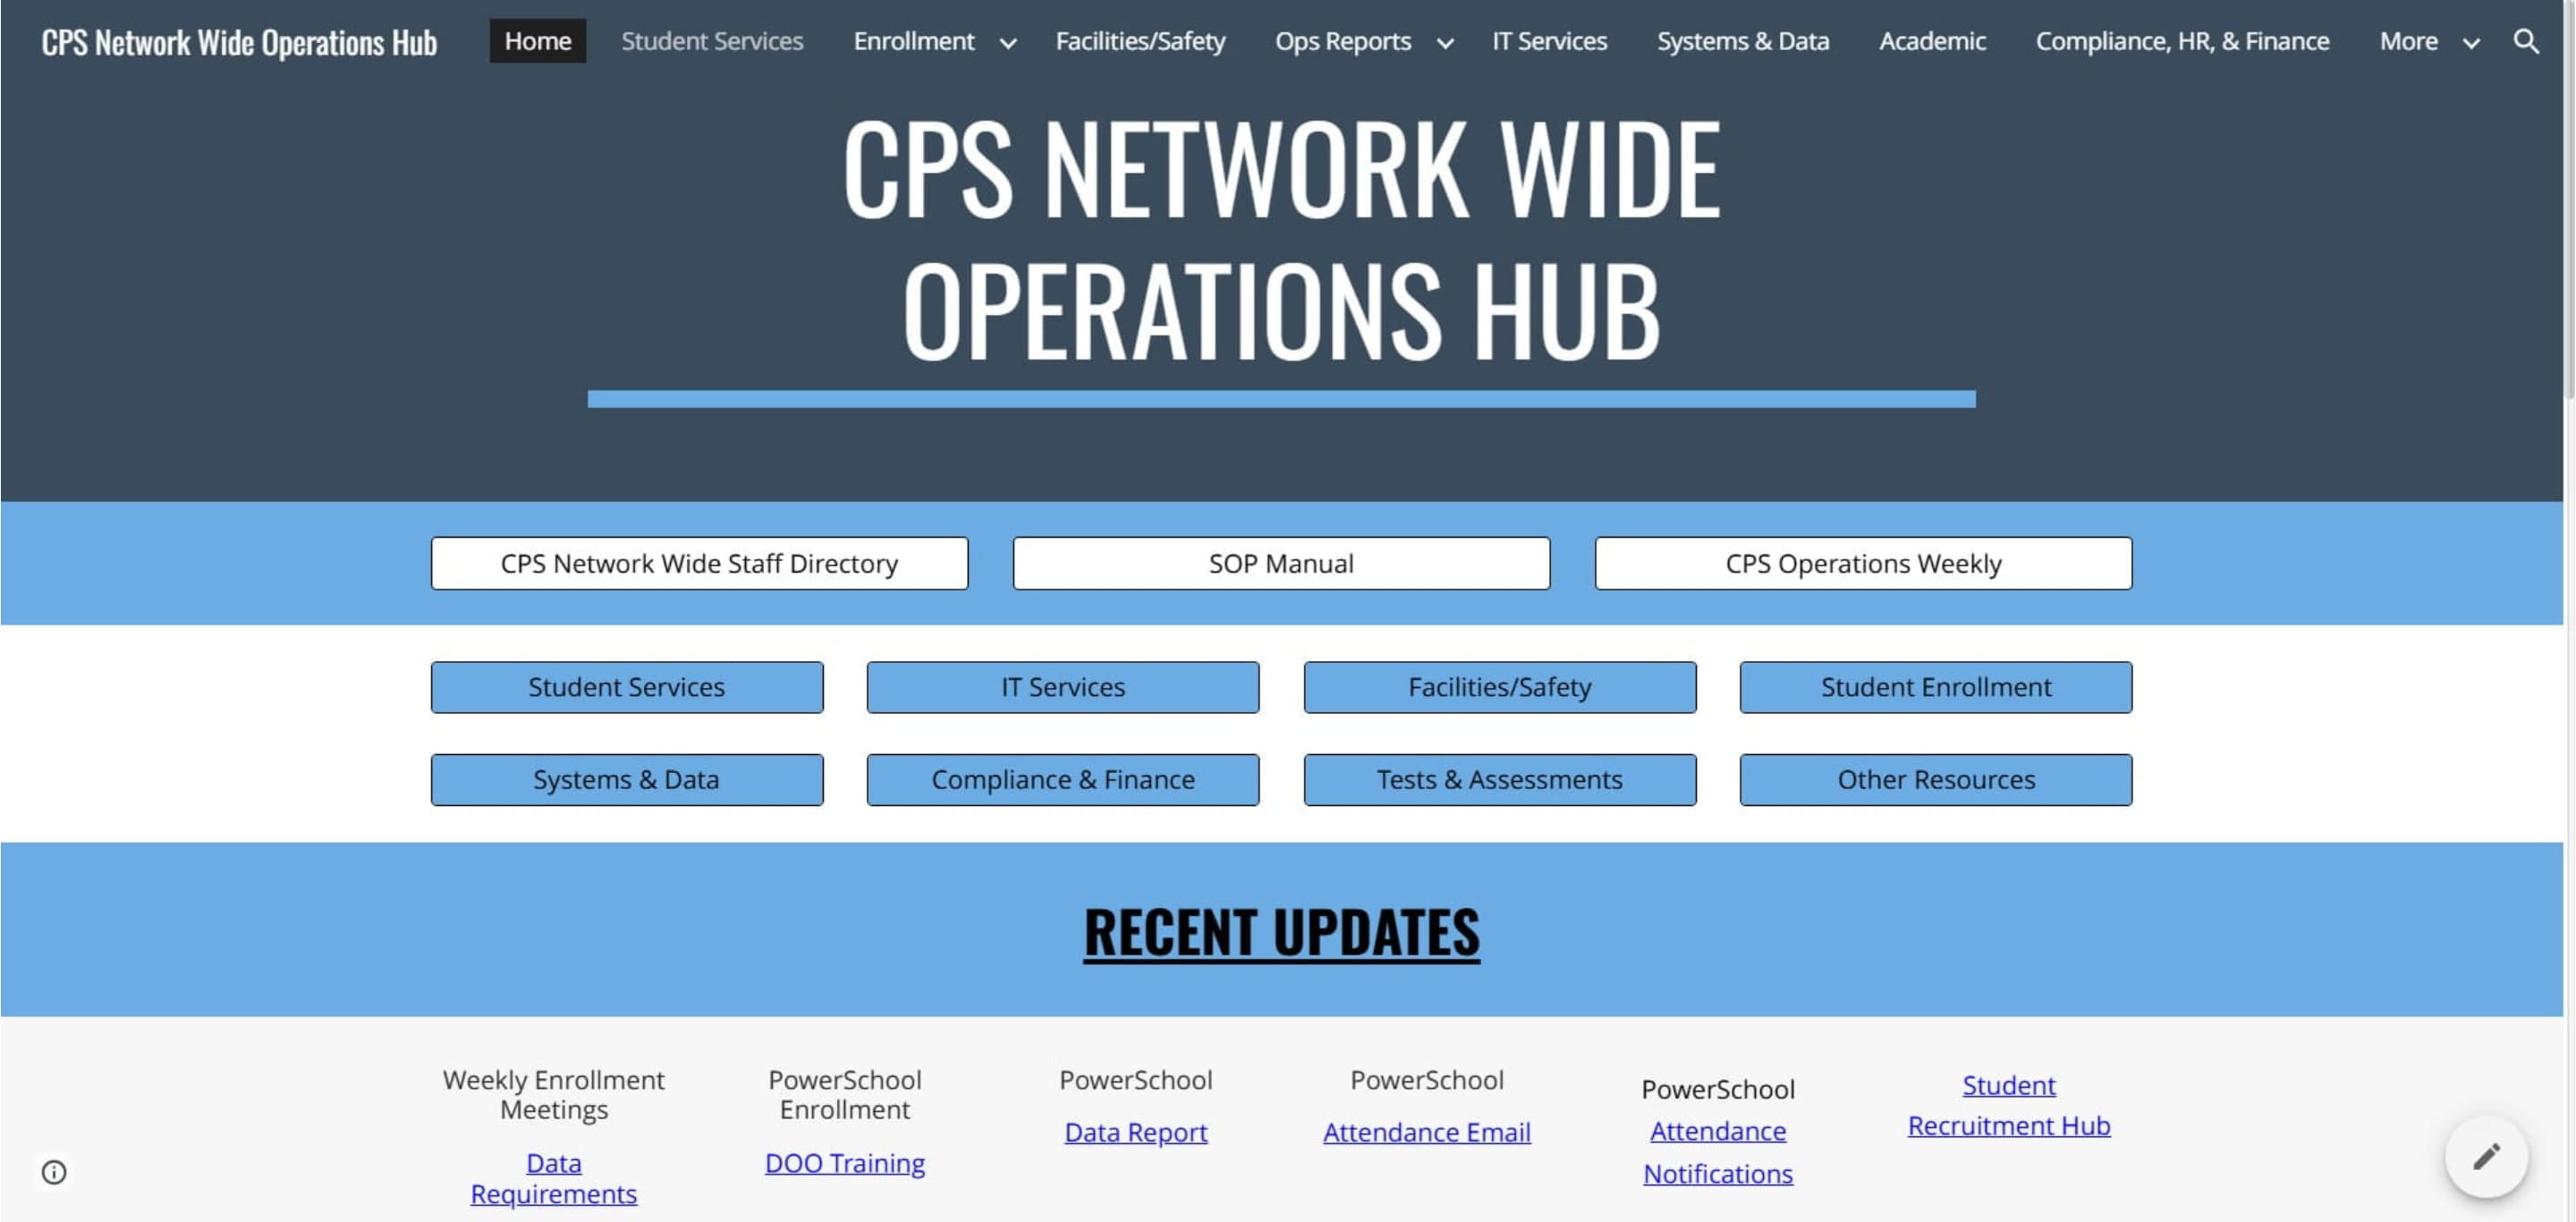
Click on "Student Services"
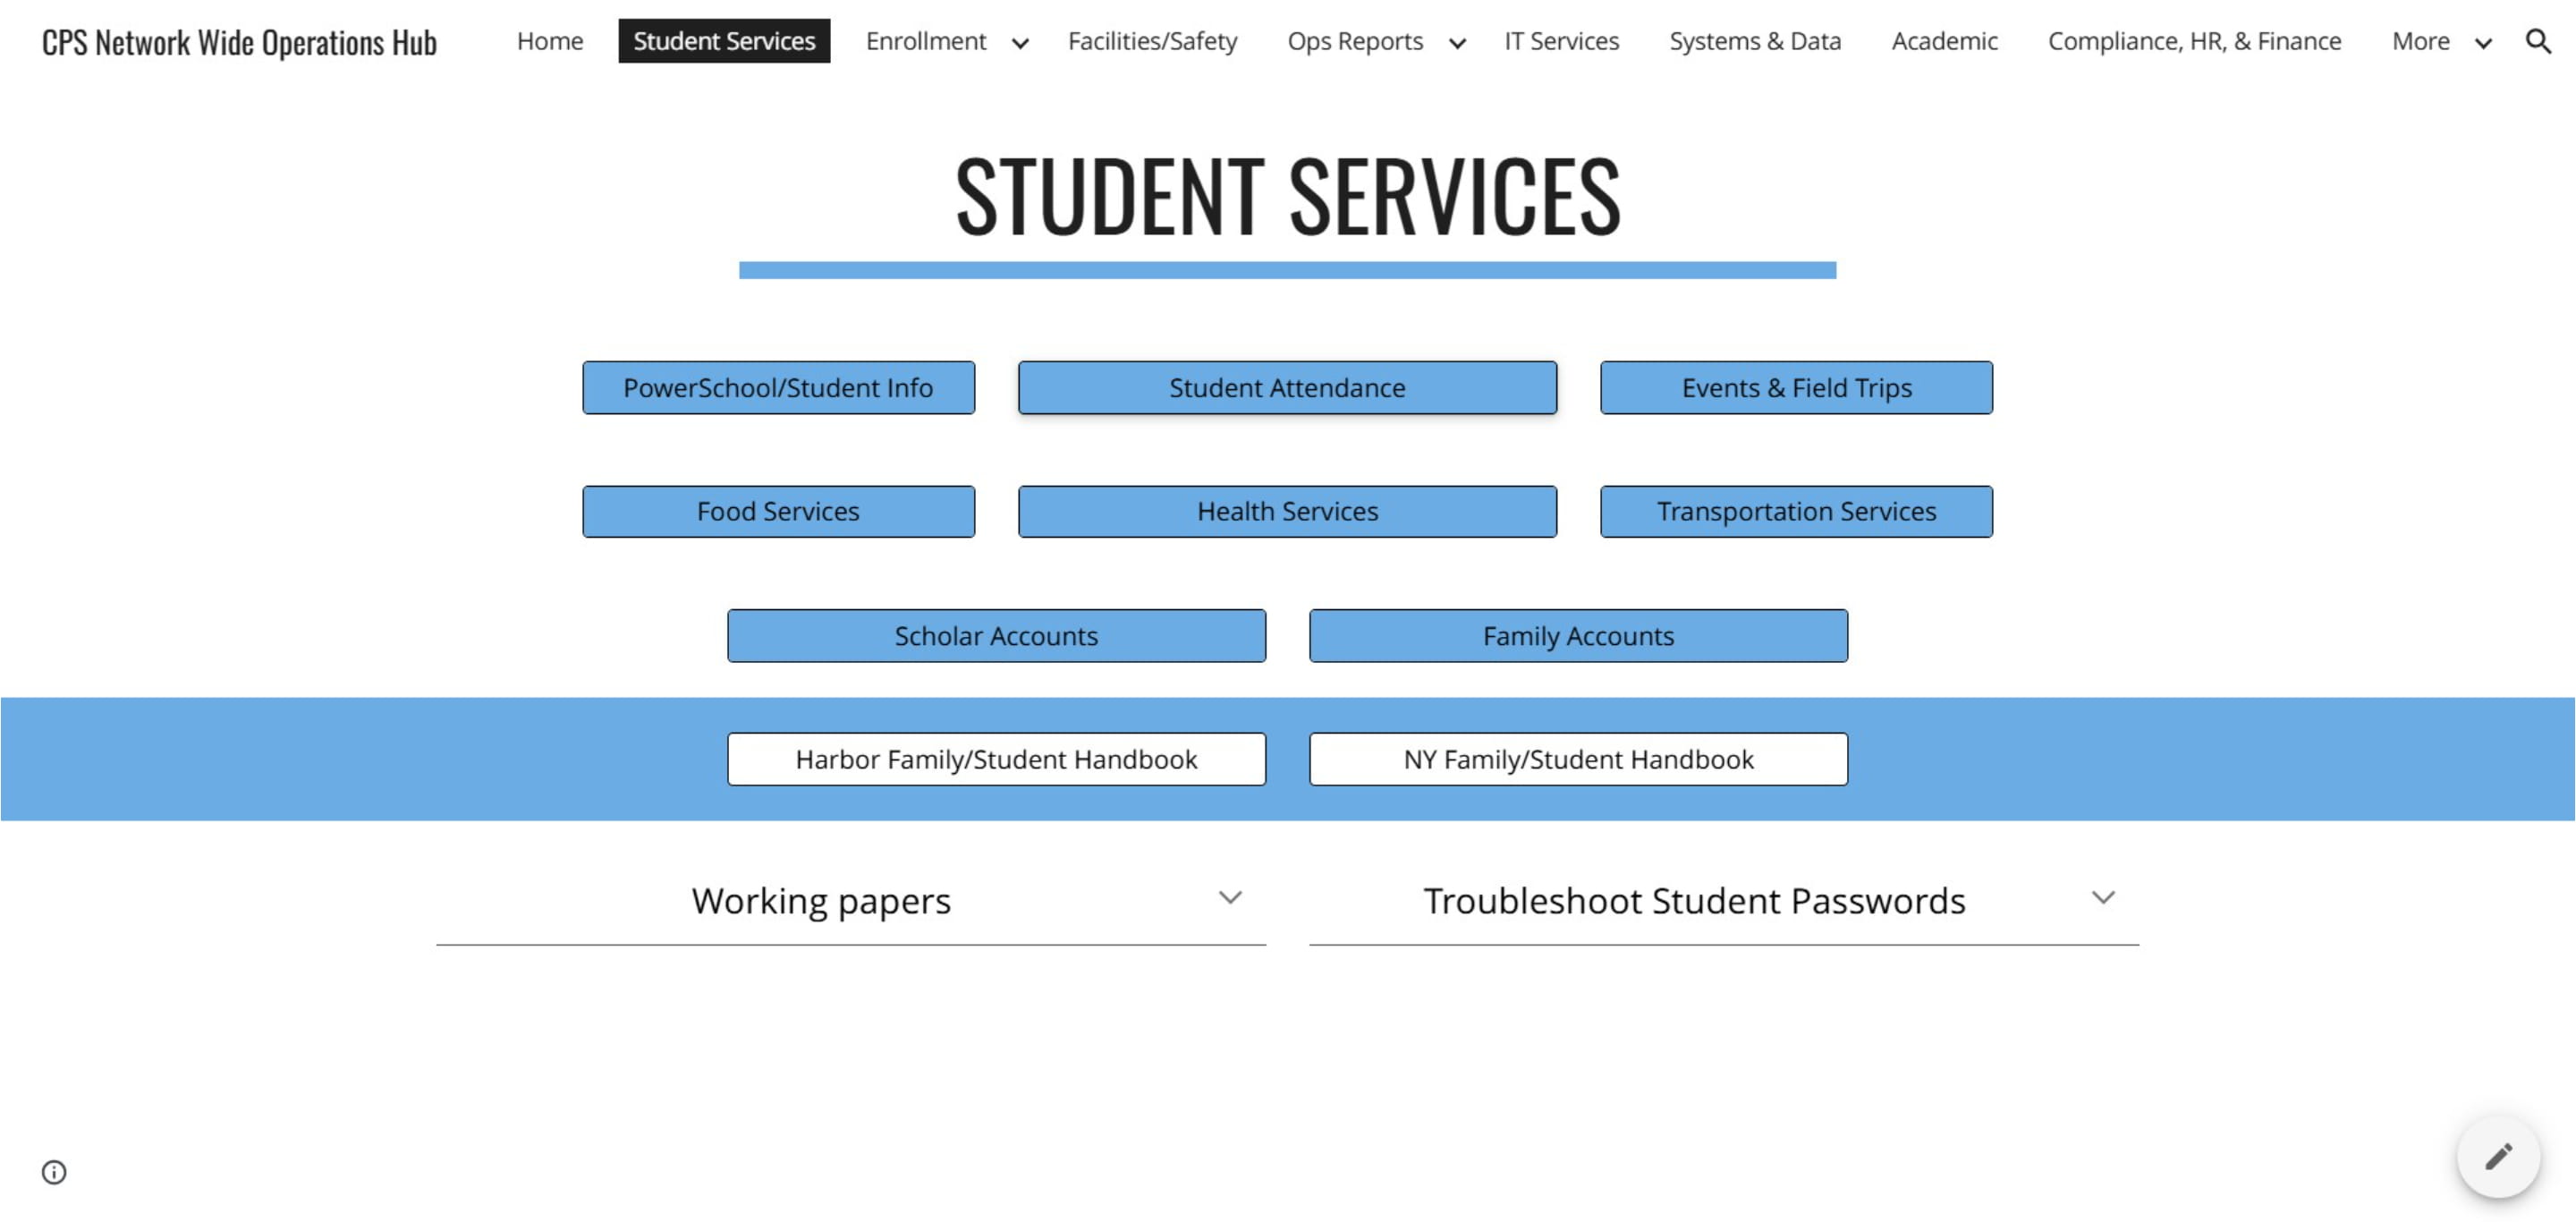
Click on "Student Attendance"
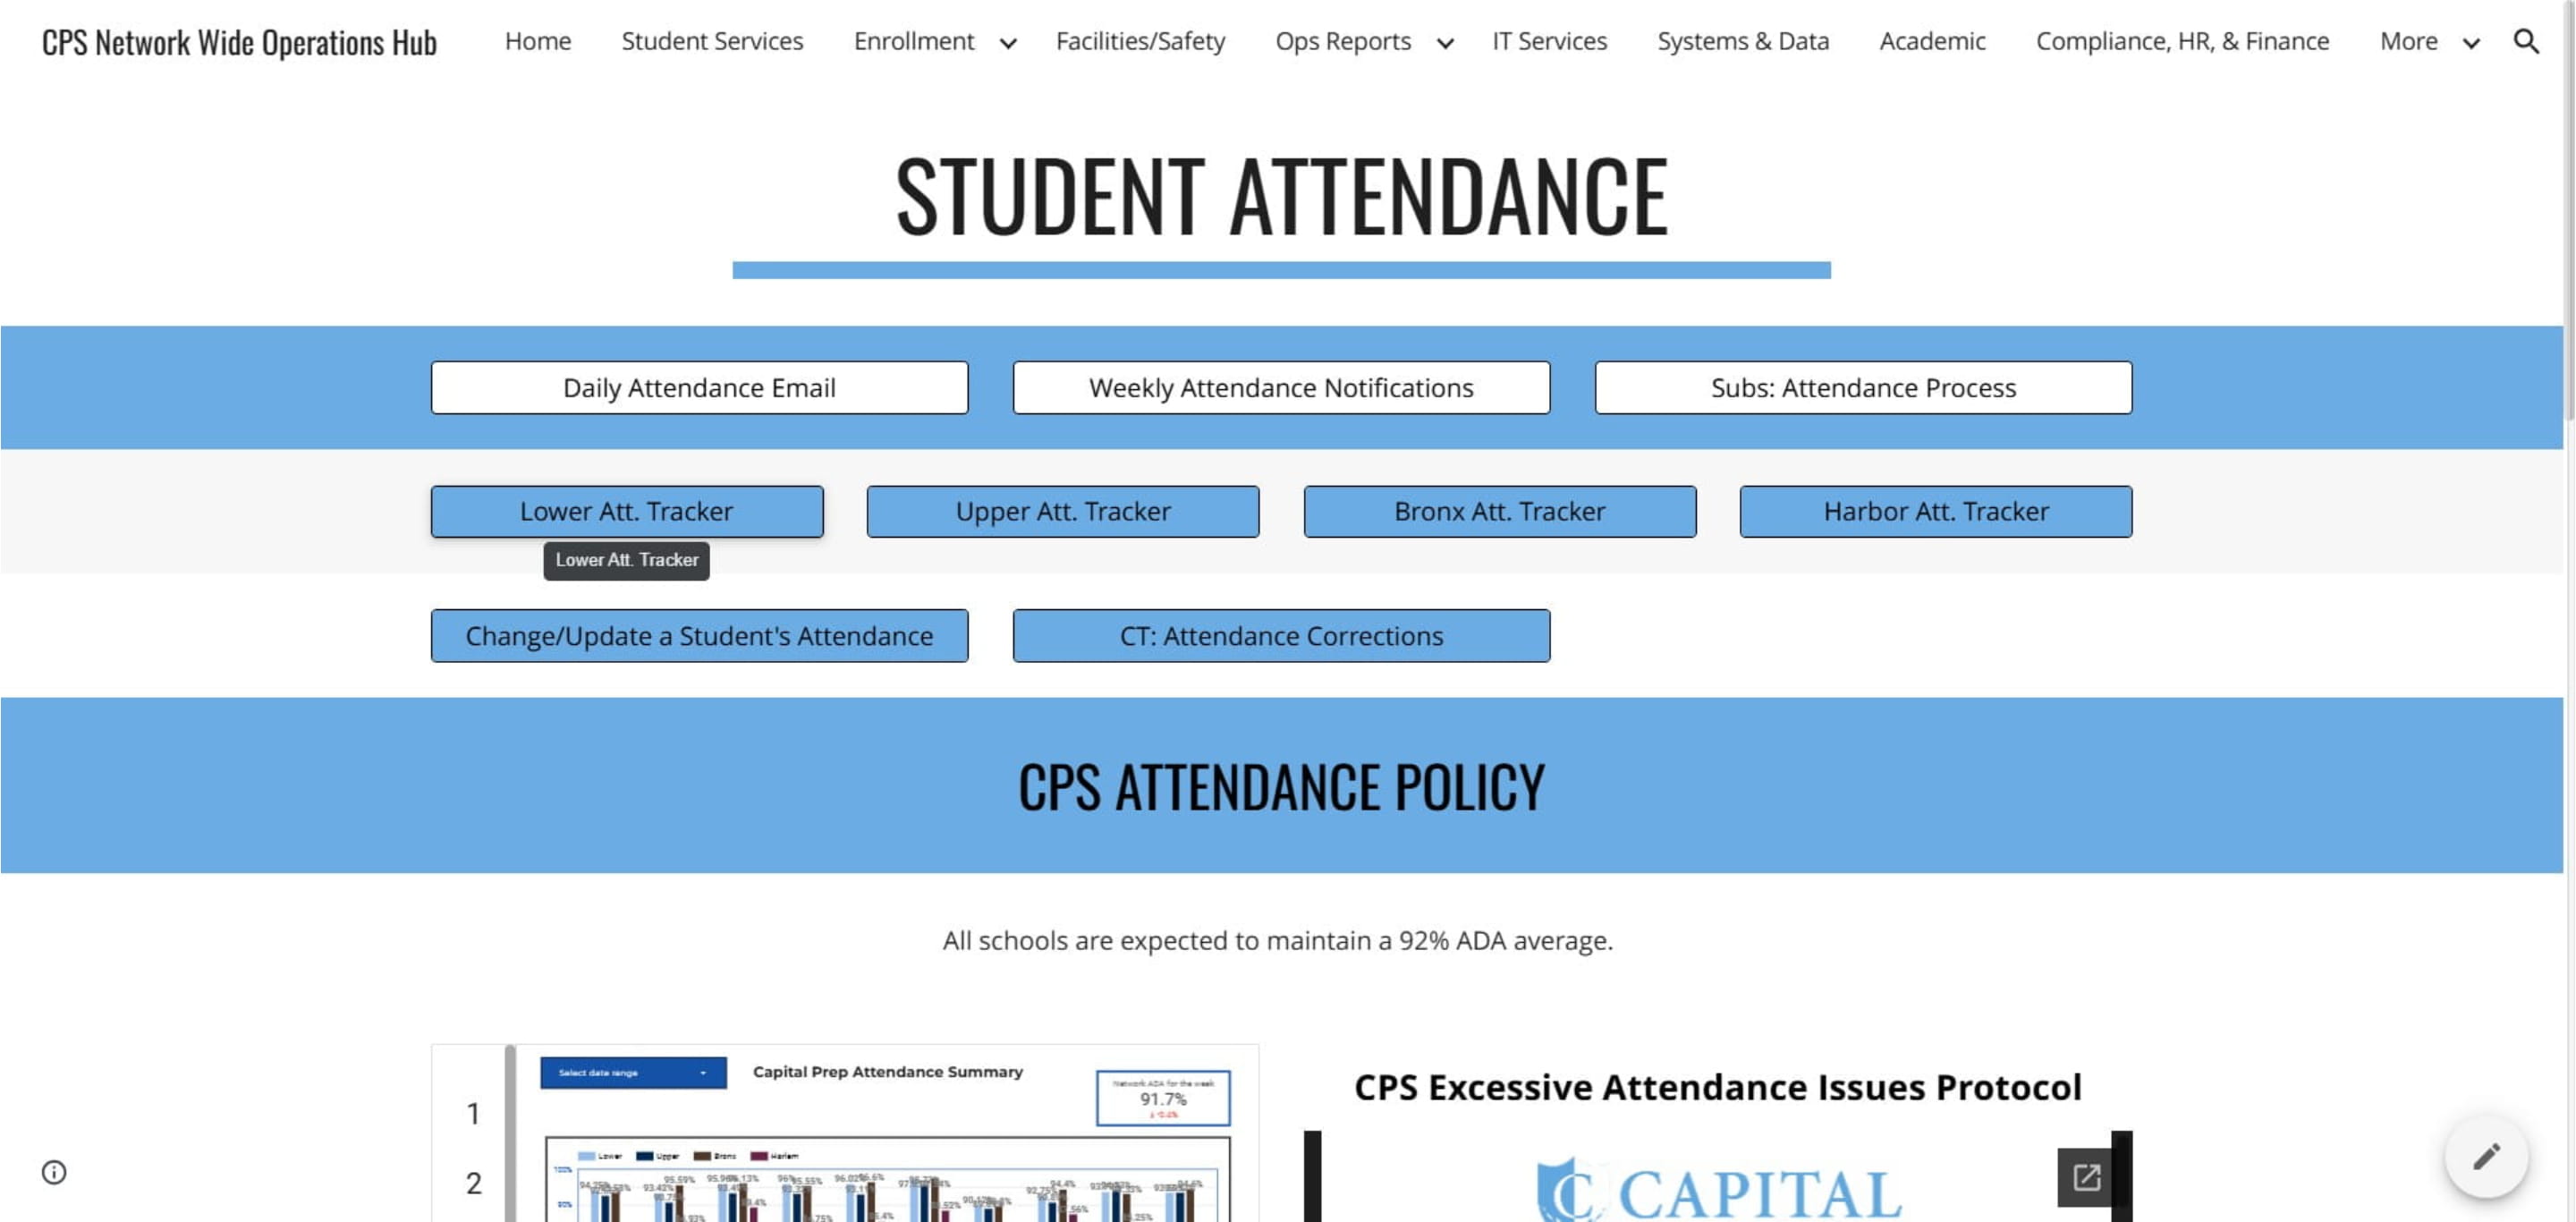
Select your schools' attendance tracker
Download Log Entries Report from PowerSchool
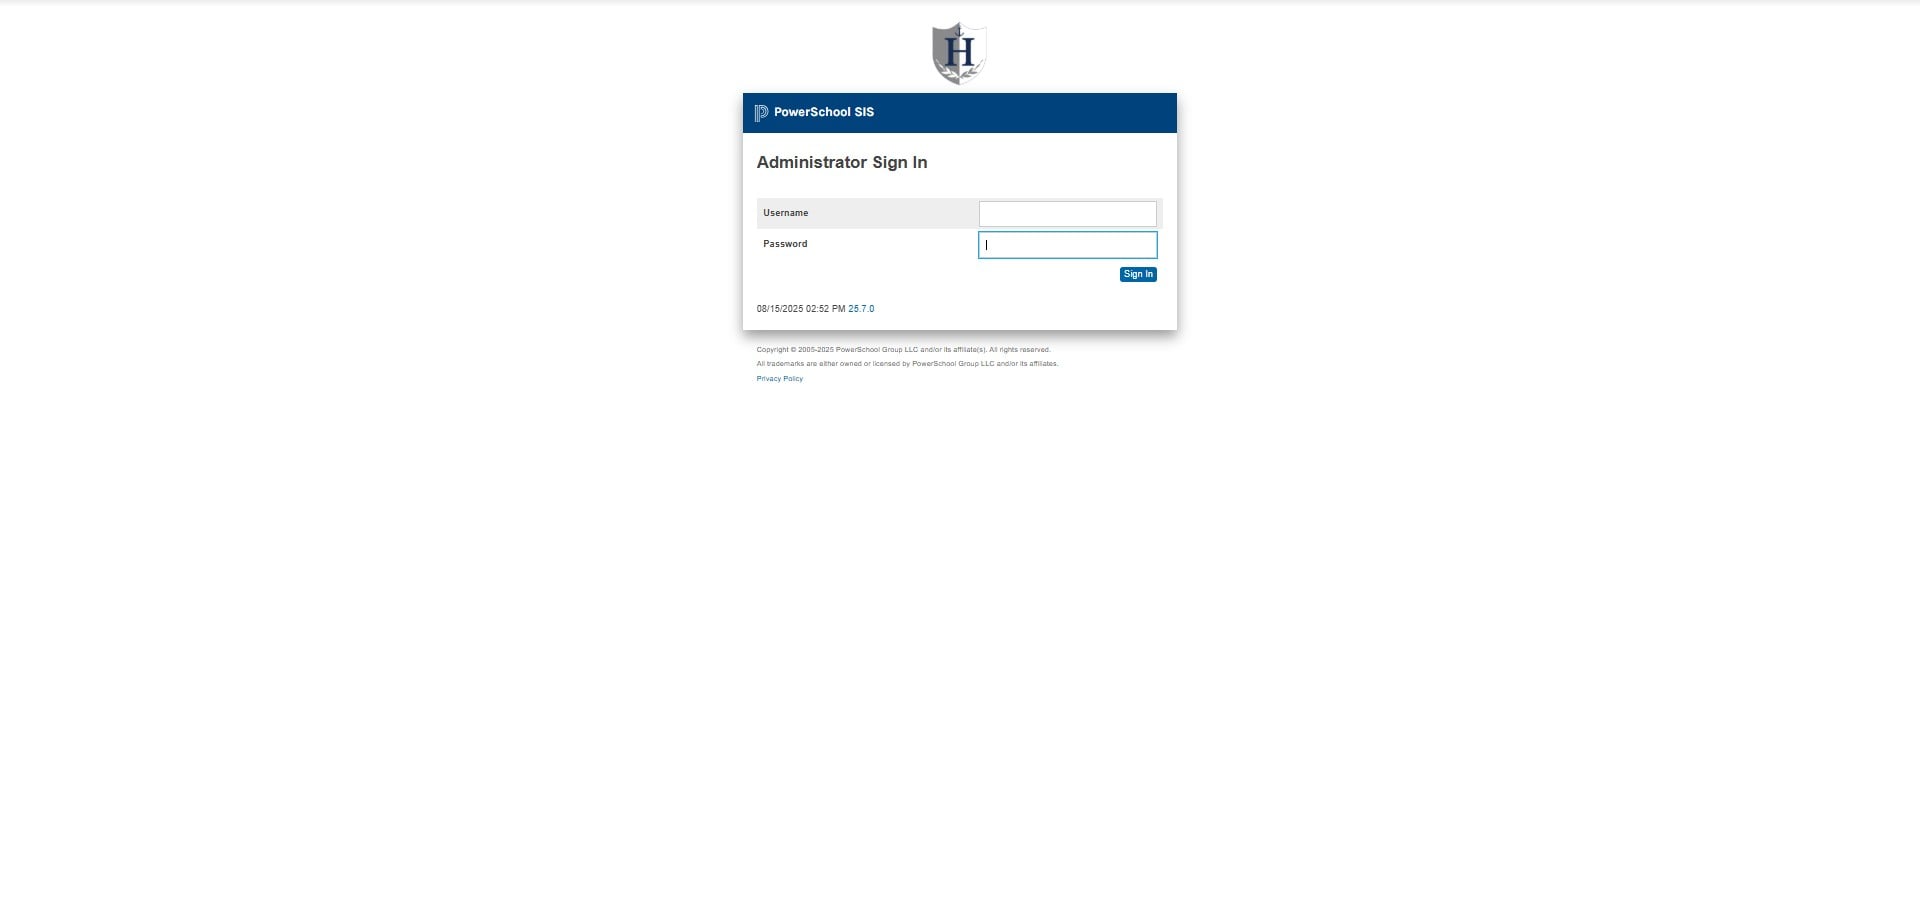
Sign into PowerSchool
CT: https://capitalprepct.powerschool.com/admin/home.html NY: https://capitalprepny.powerschool.com/admin/pw.html
Click Data and Reporting
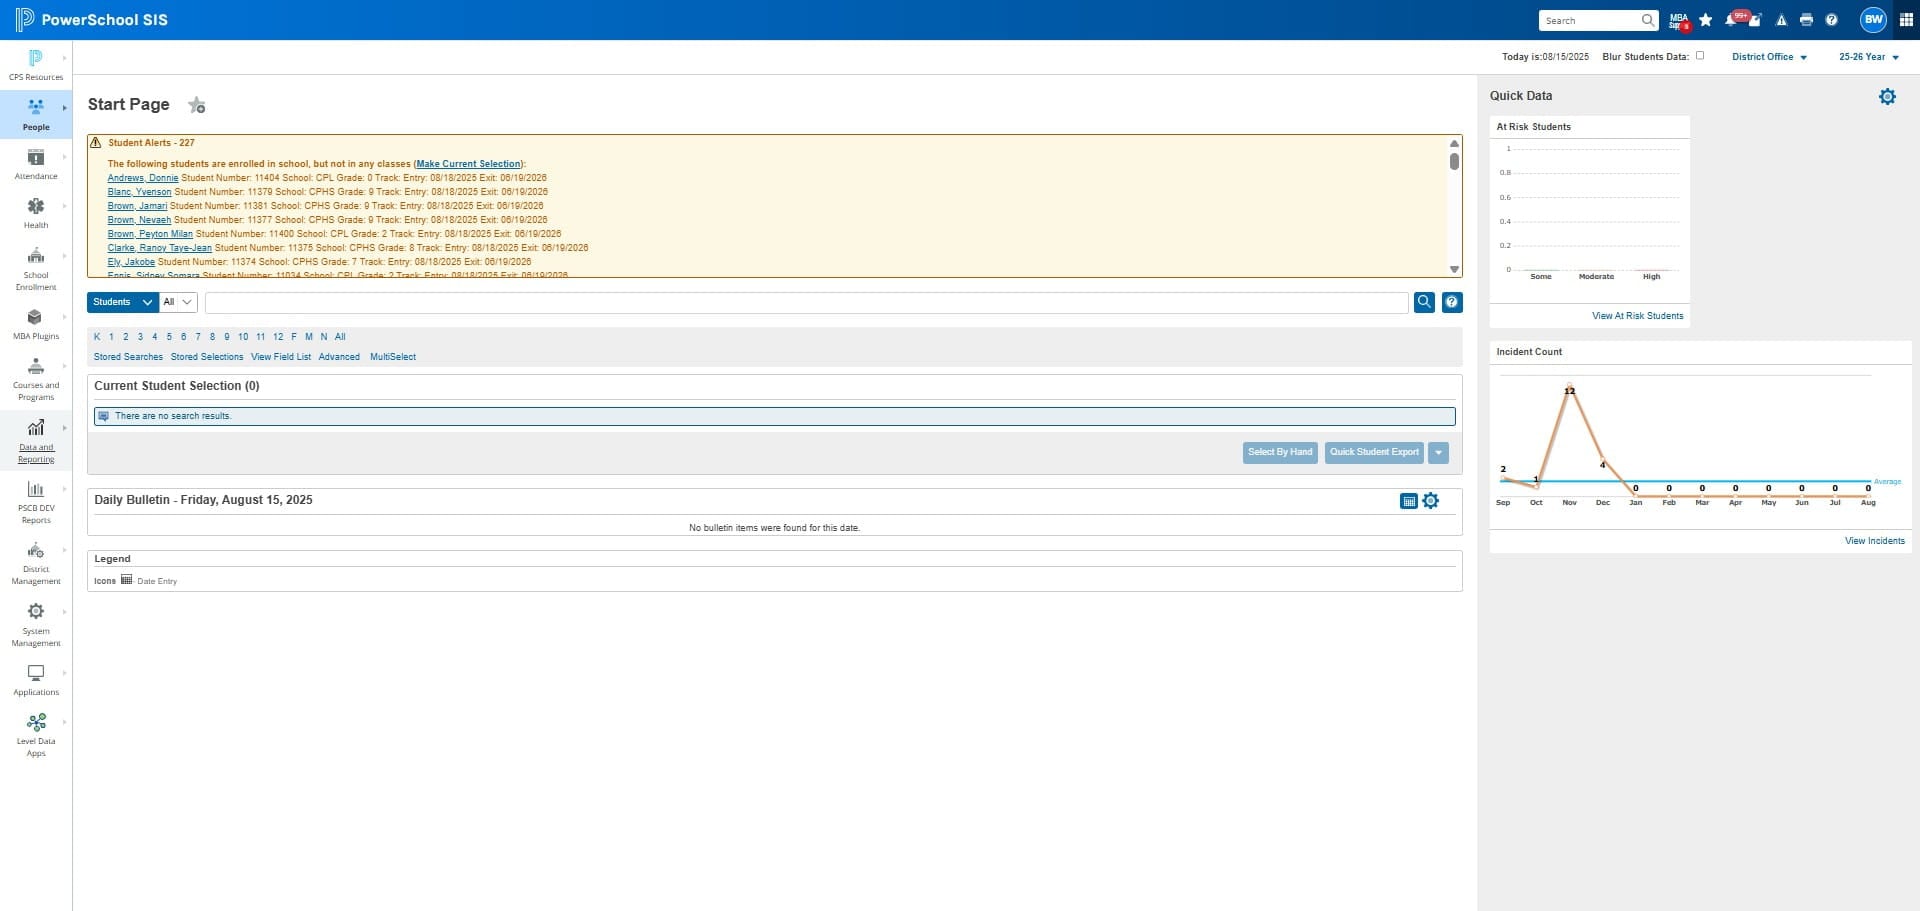
Click on "Reports"
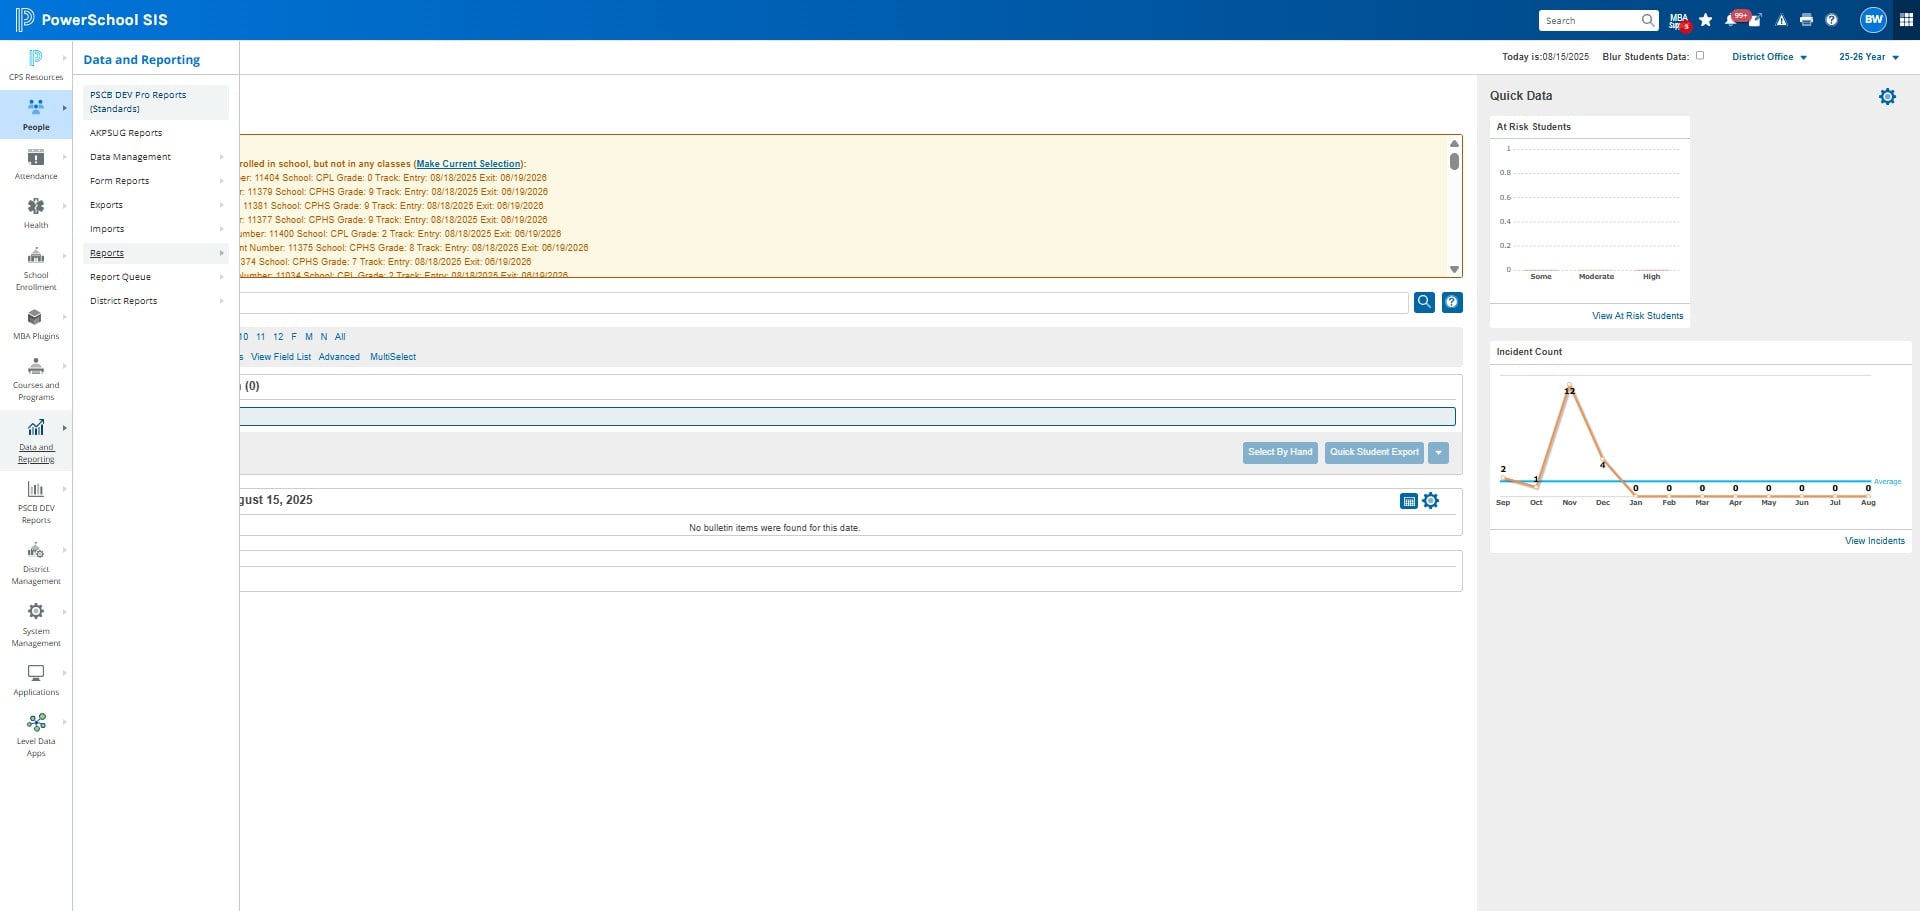
Click on "Enterprise Reports"
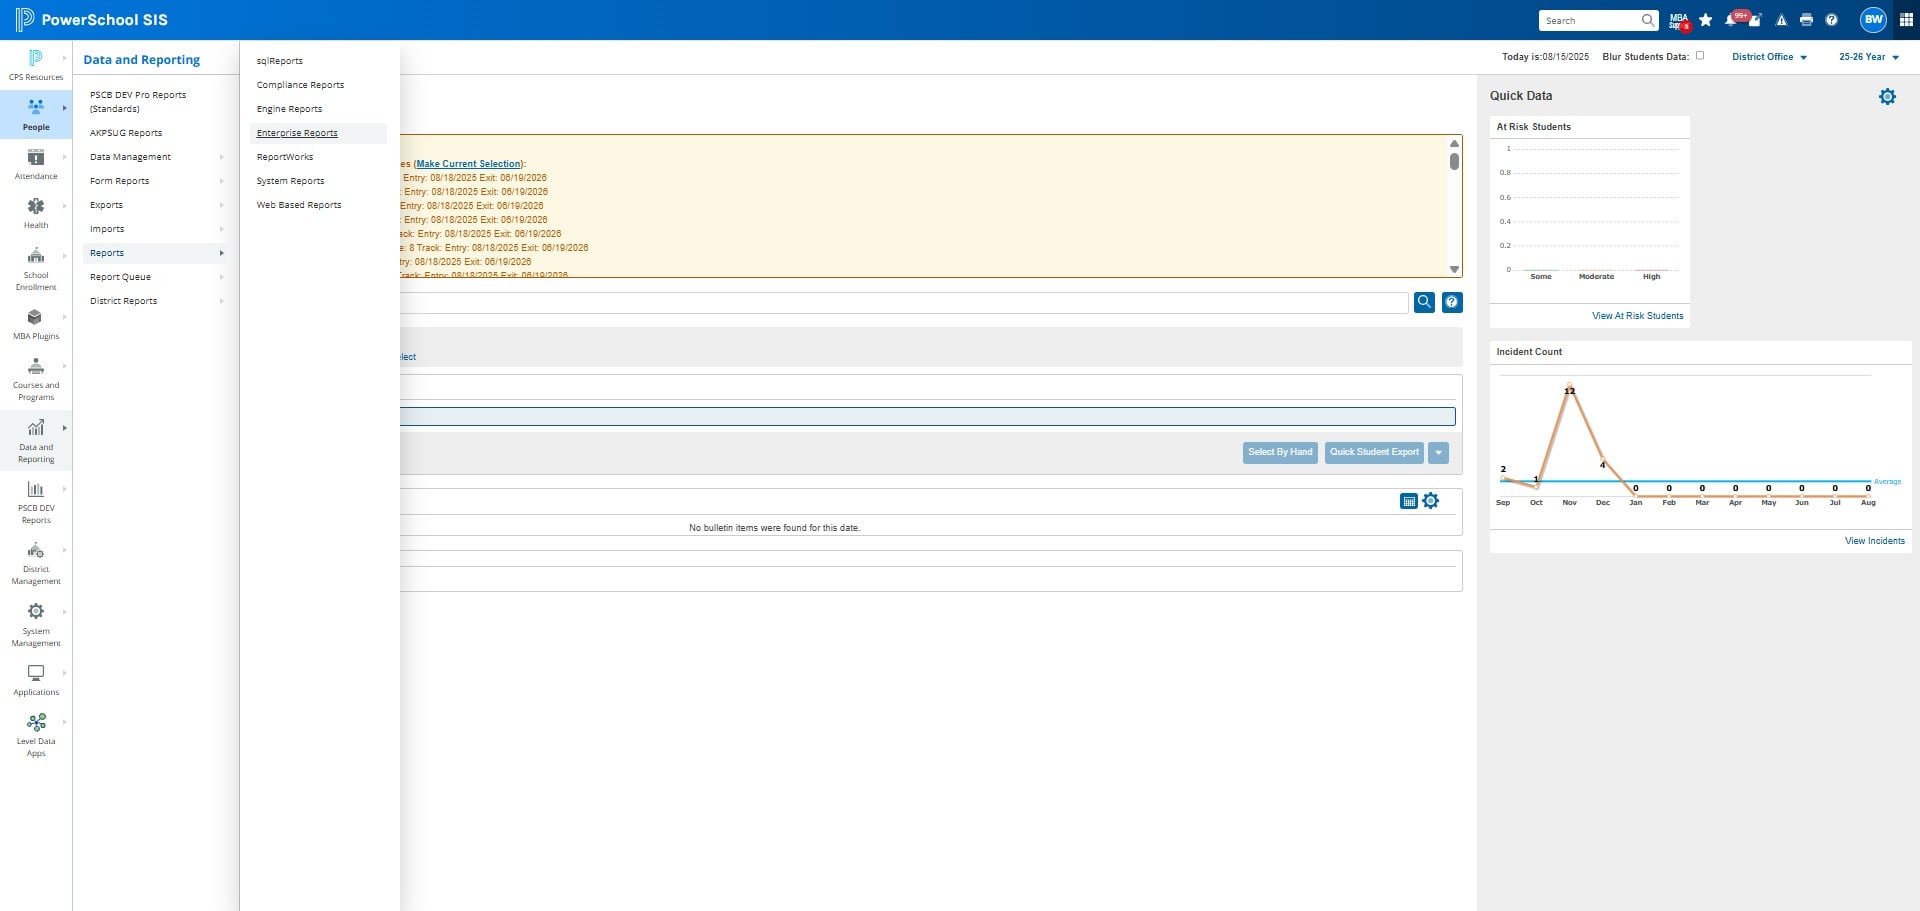
Click on "Log Entries"
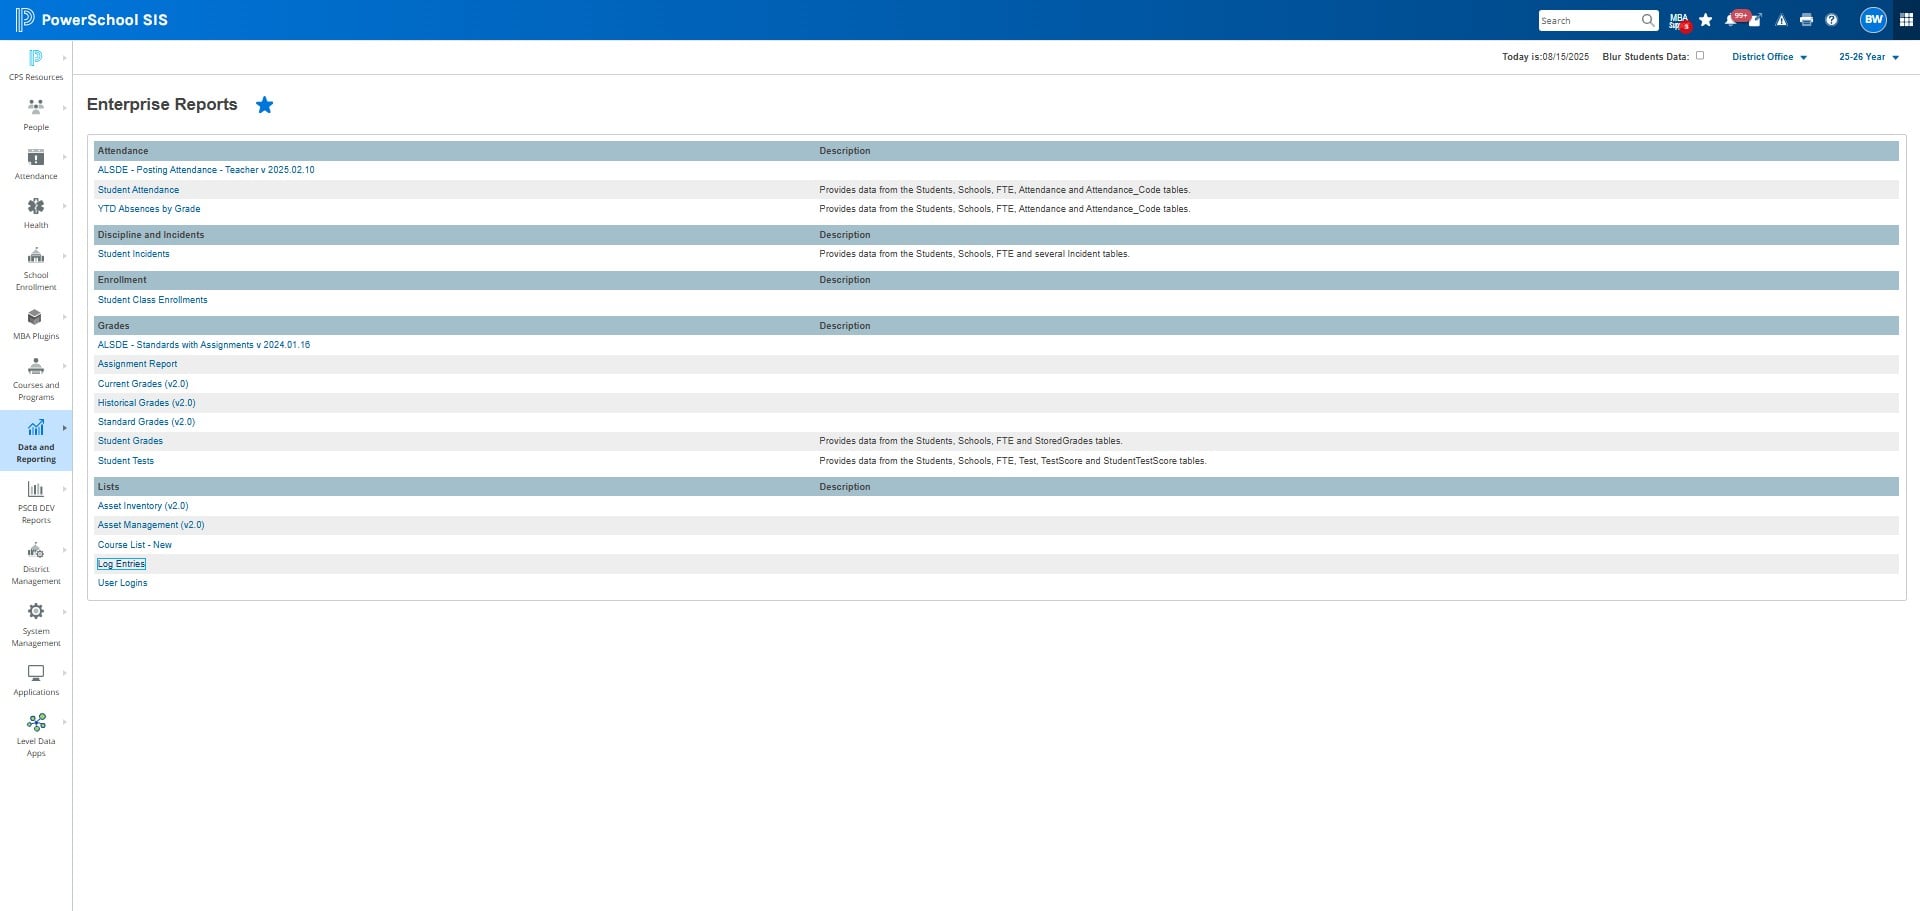
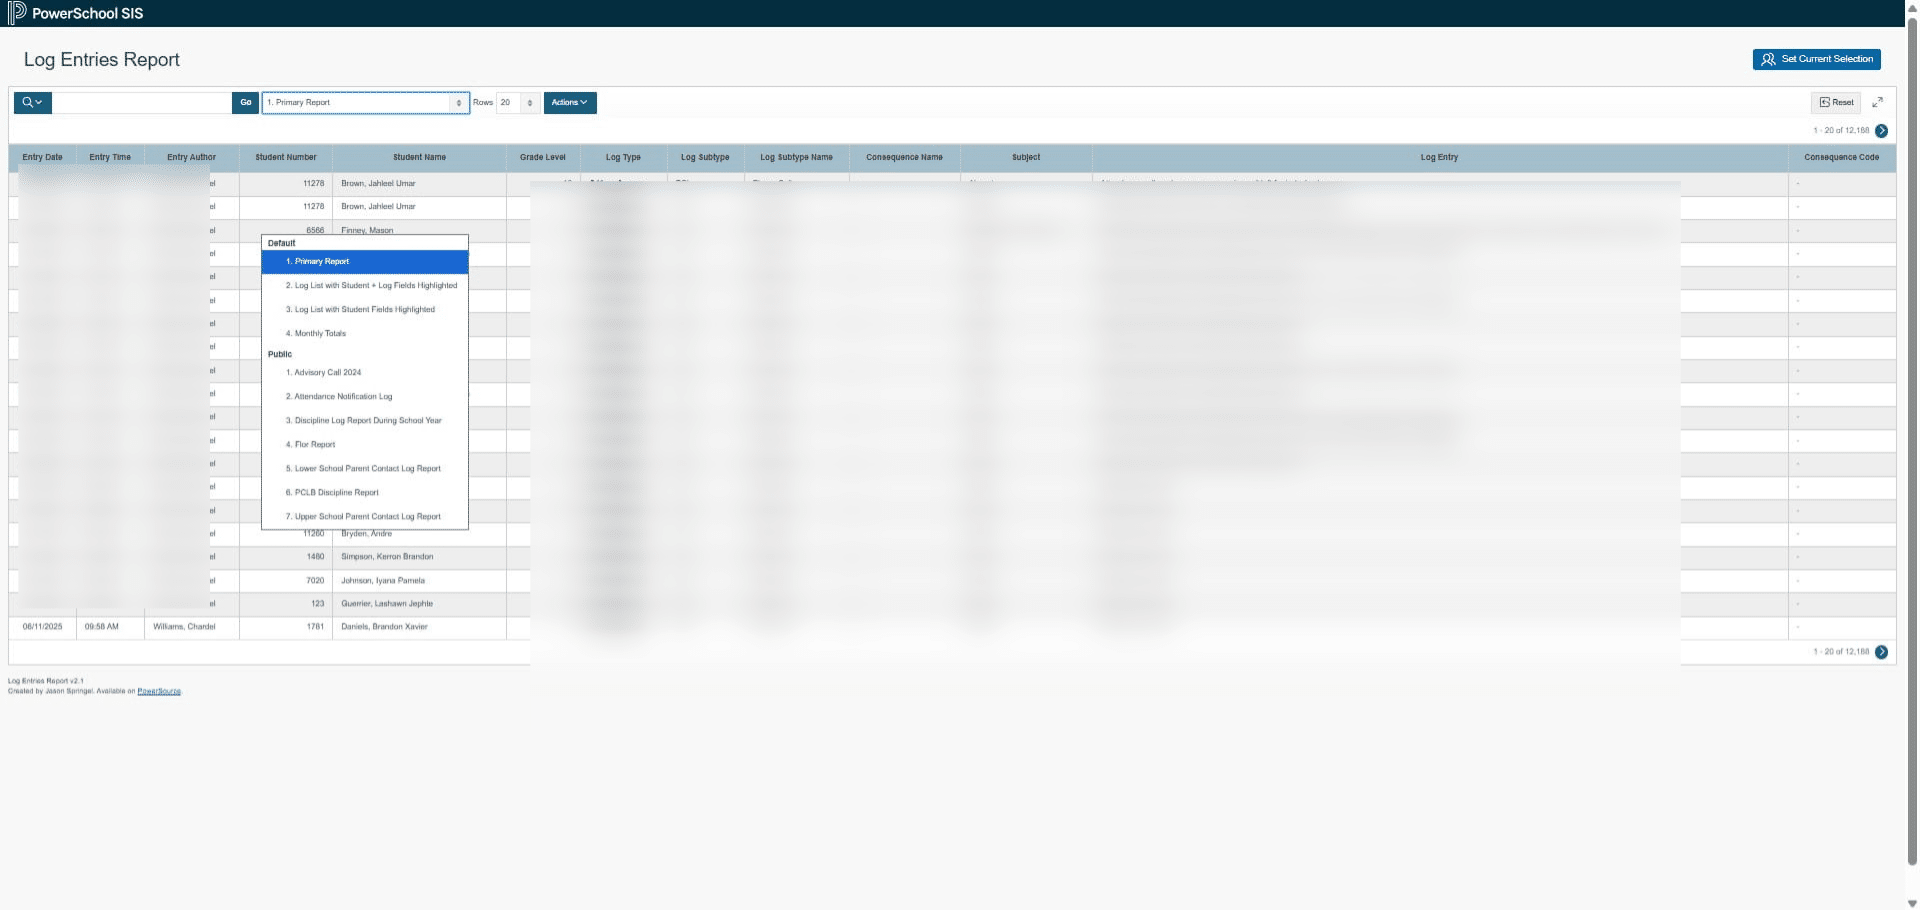
Click on "1. Primary Report" and change to Attendance Notification Log
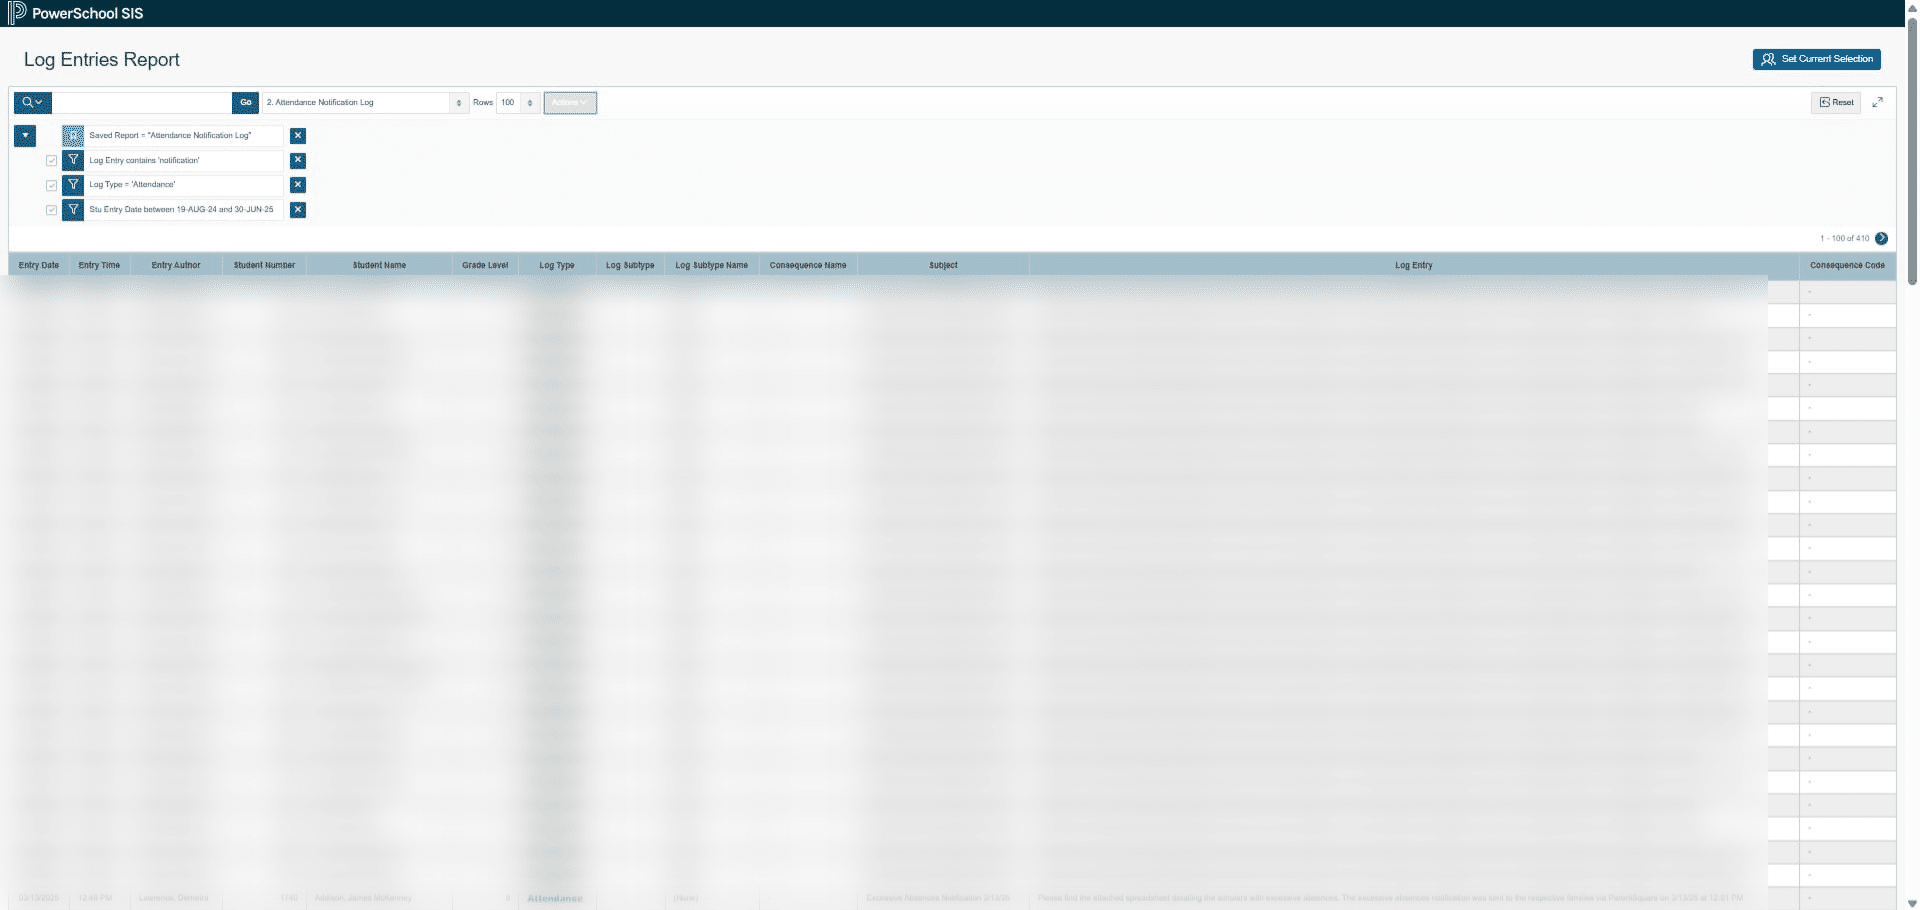
Click Actions
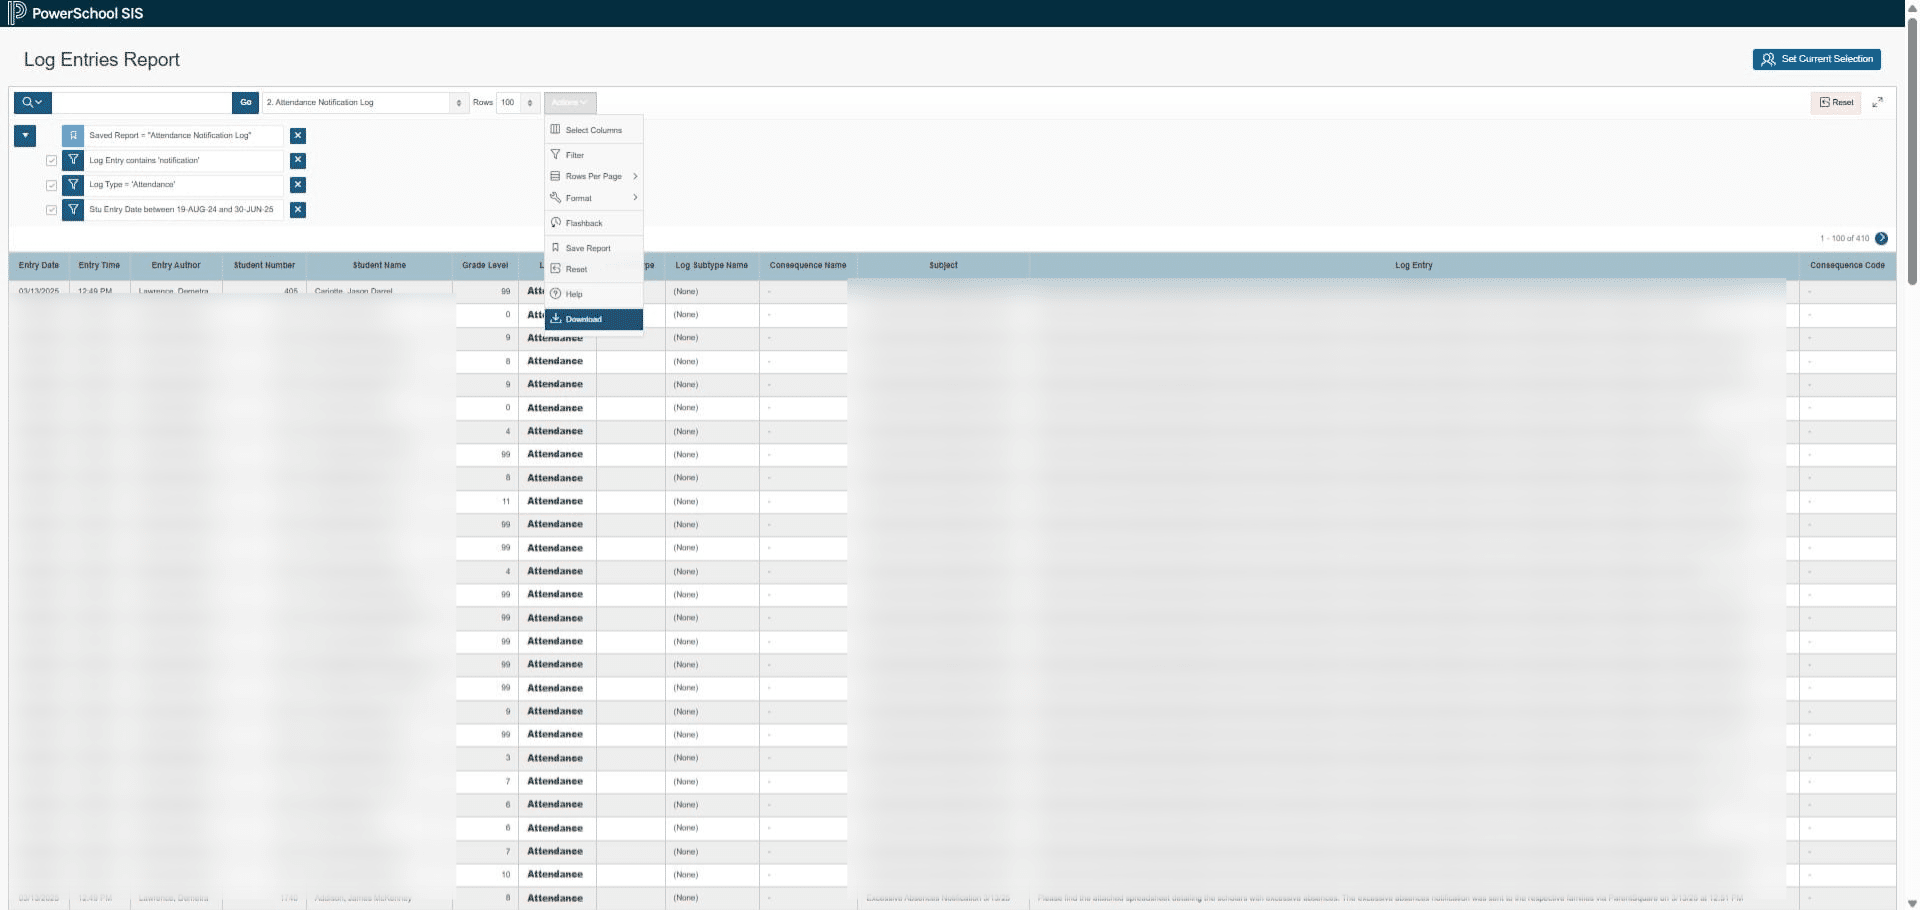
Click on "Download"
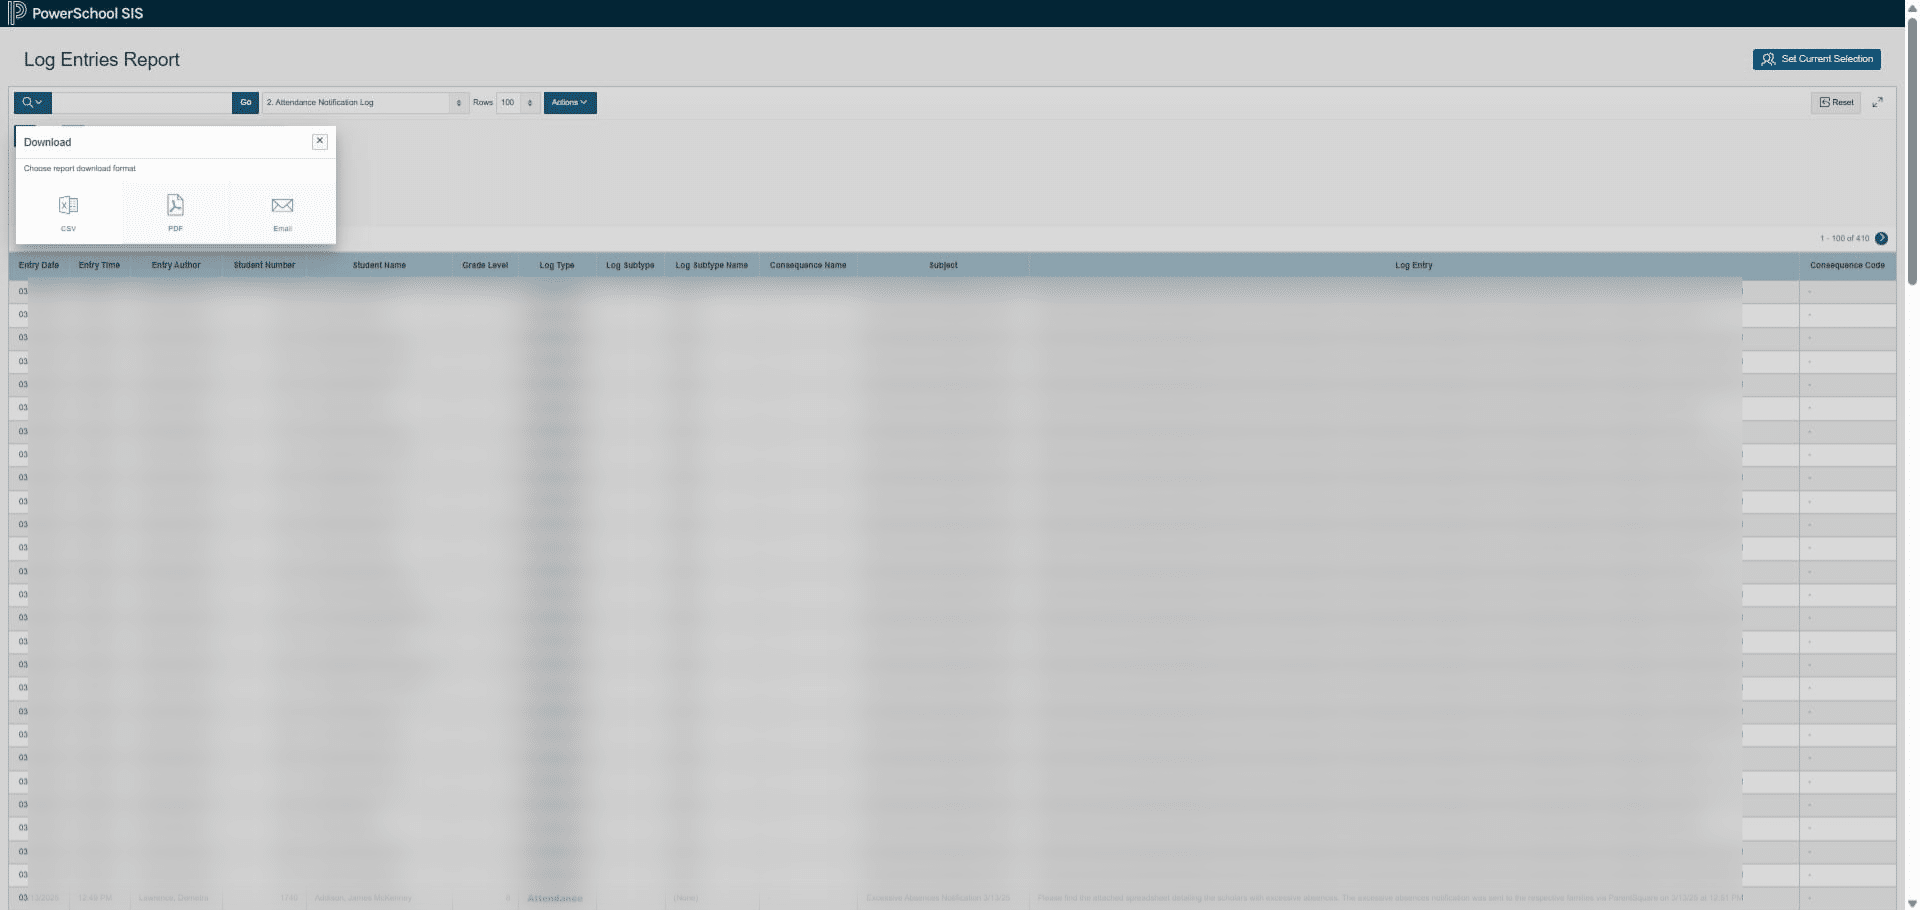
Click on CSV
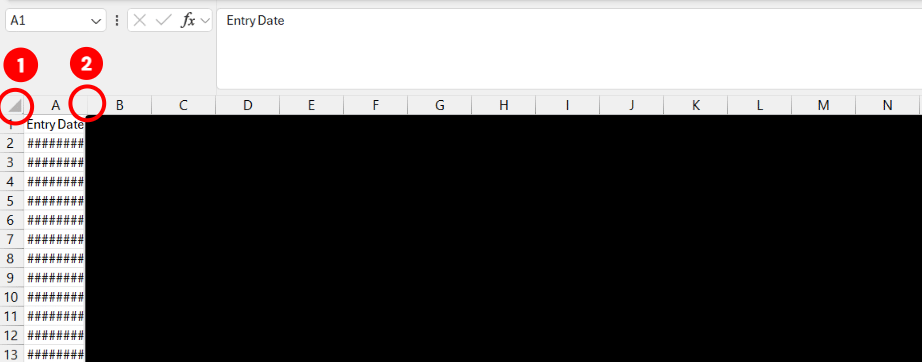
Open up the CSV you just downloaded from PowerSchool. Click the triangle and then double click the small line between A and B to open up the dates.
Copy the data
Open up your schools' attendance tracker
Click on "1. Insert Log Entries"
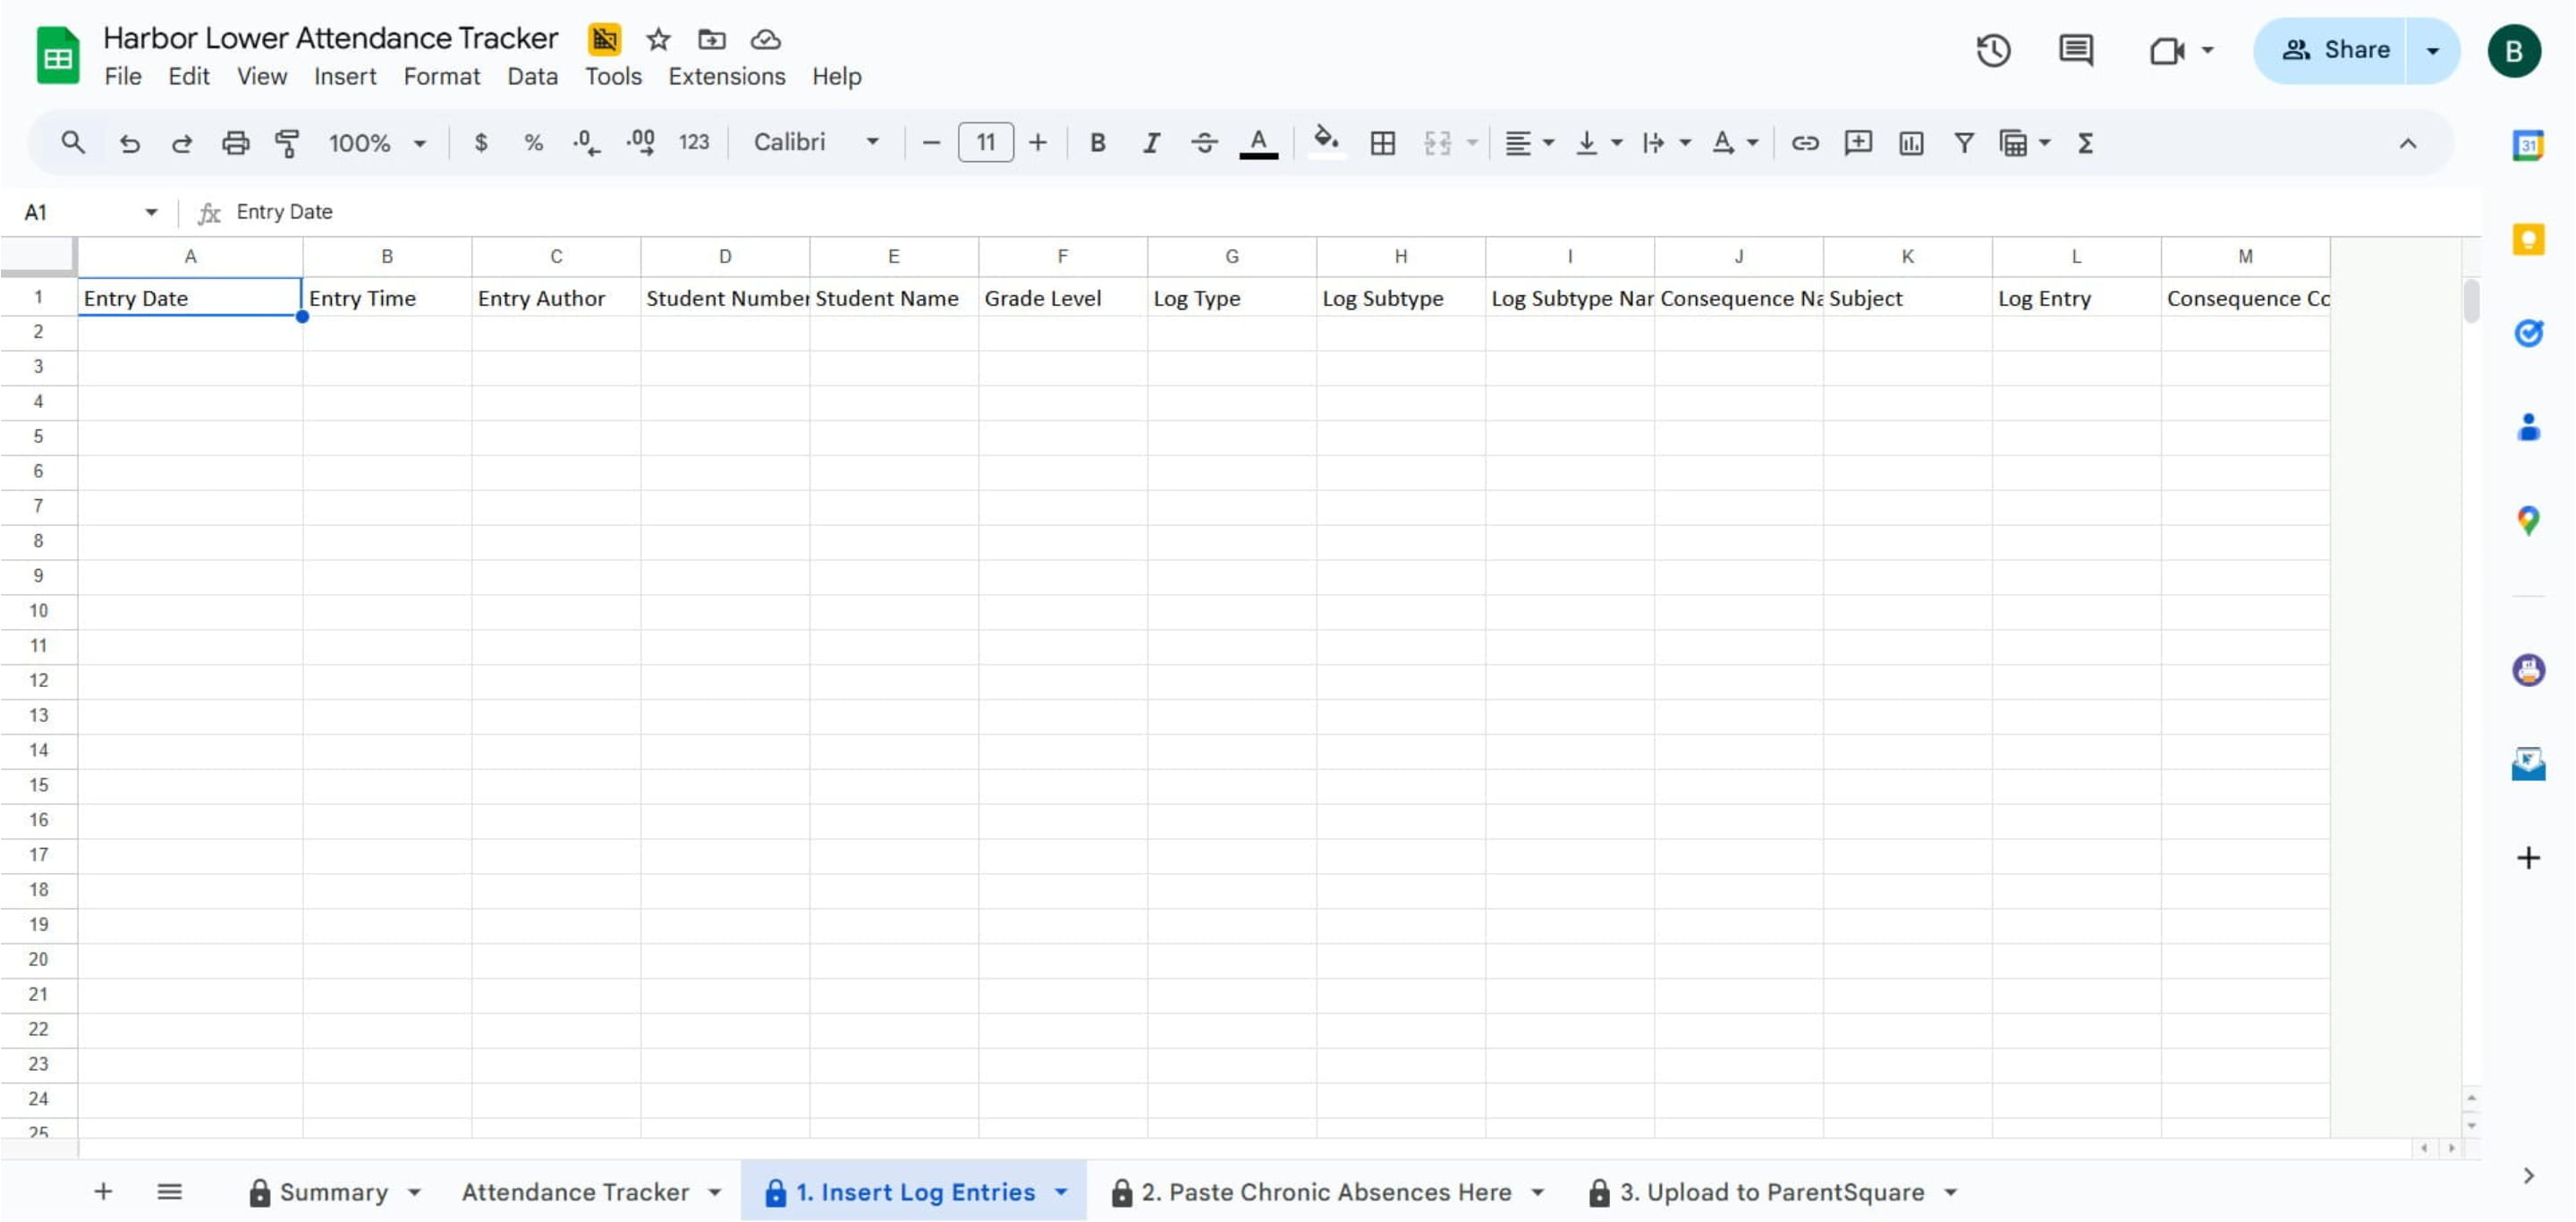
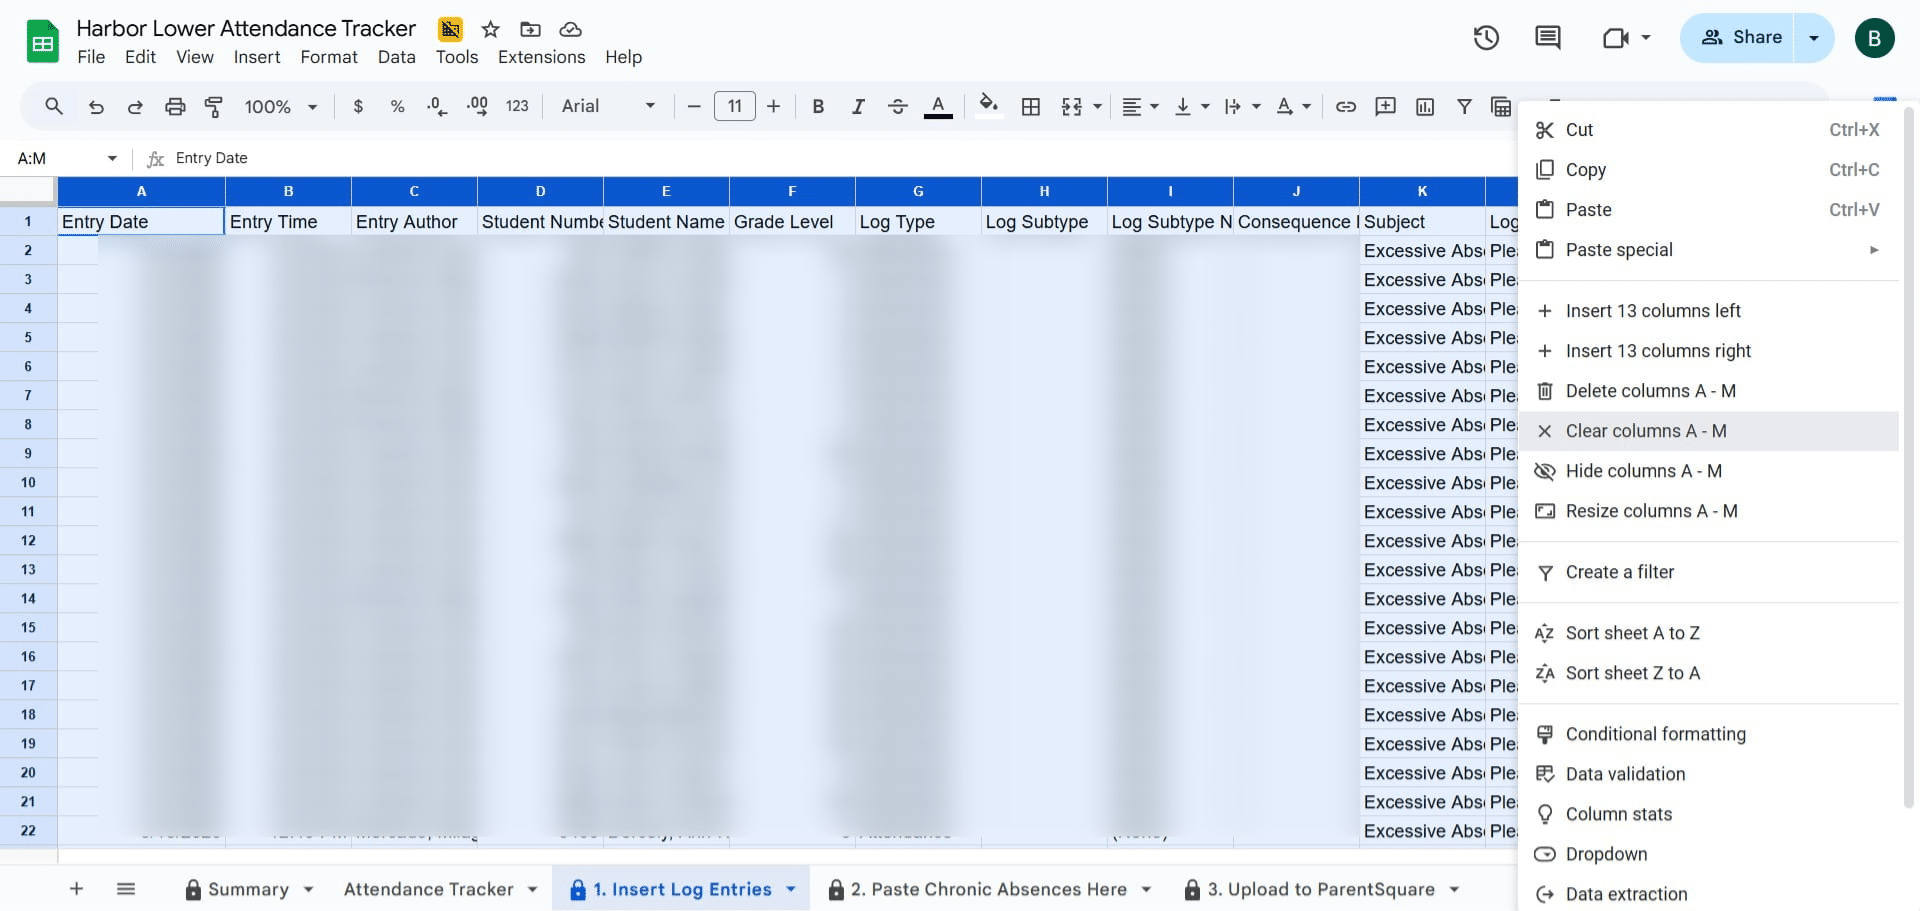
Select all columns and erase old data
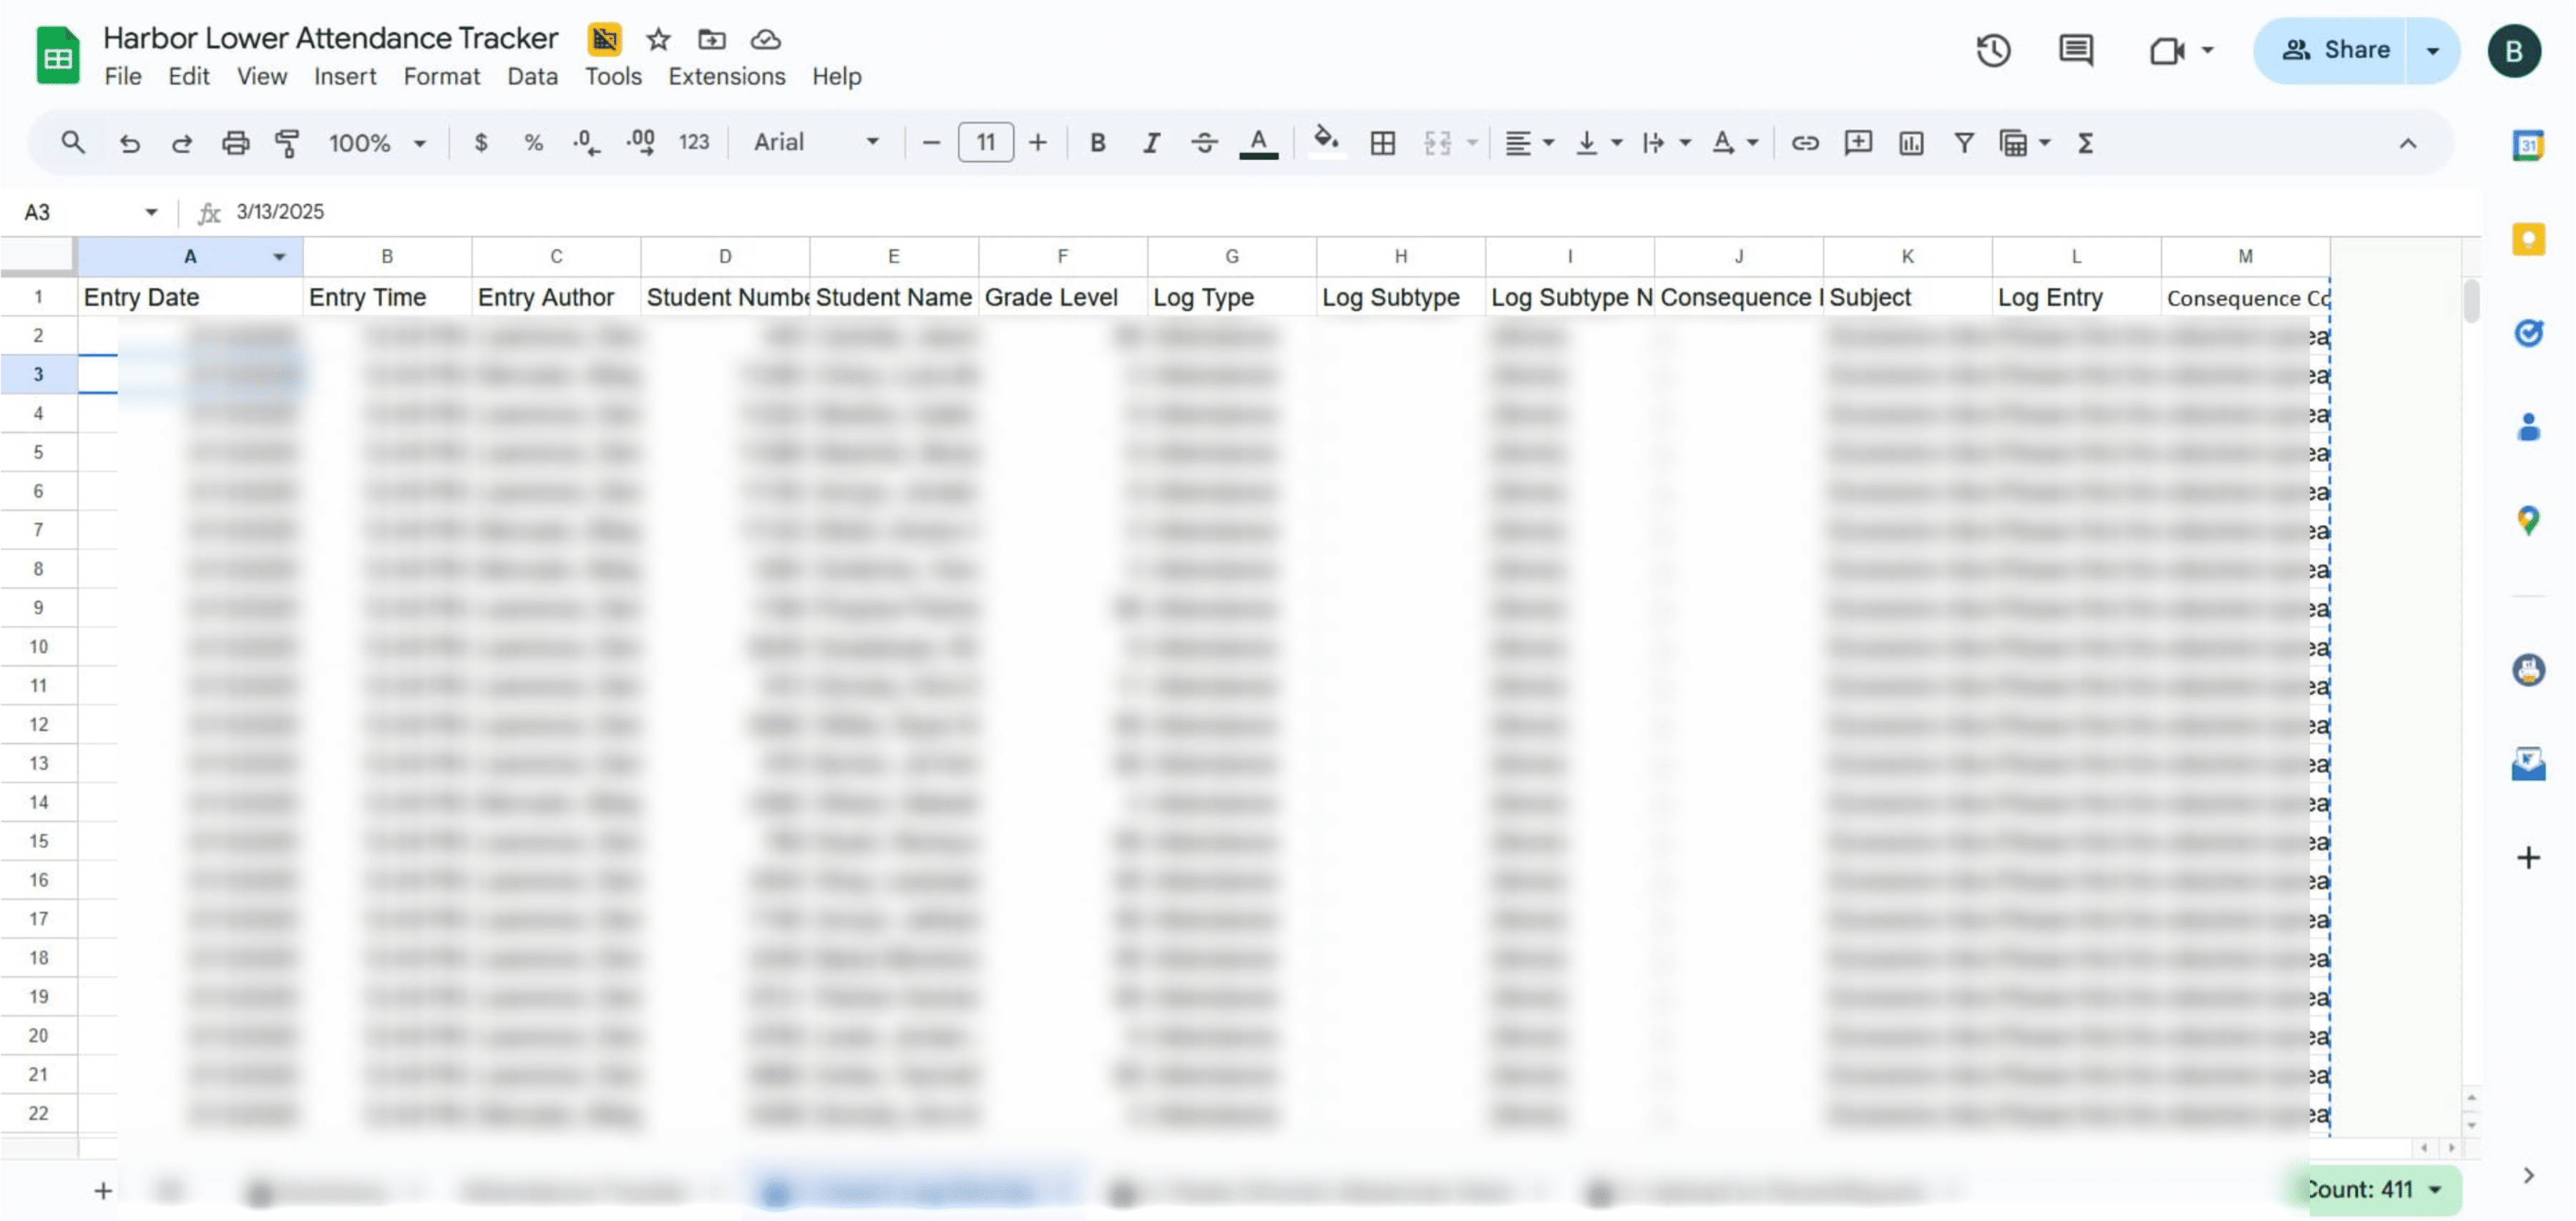
Click here
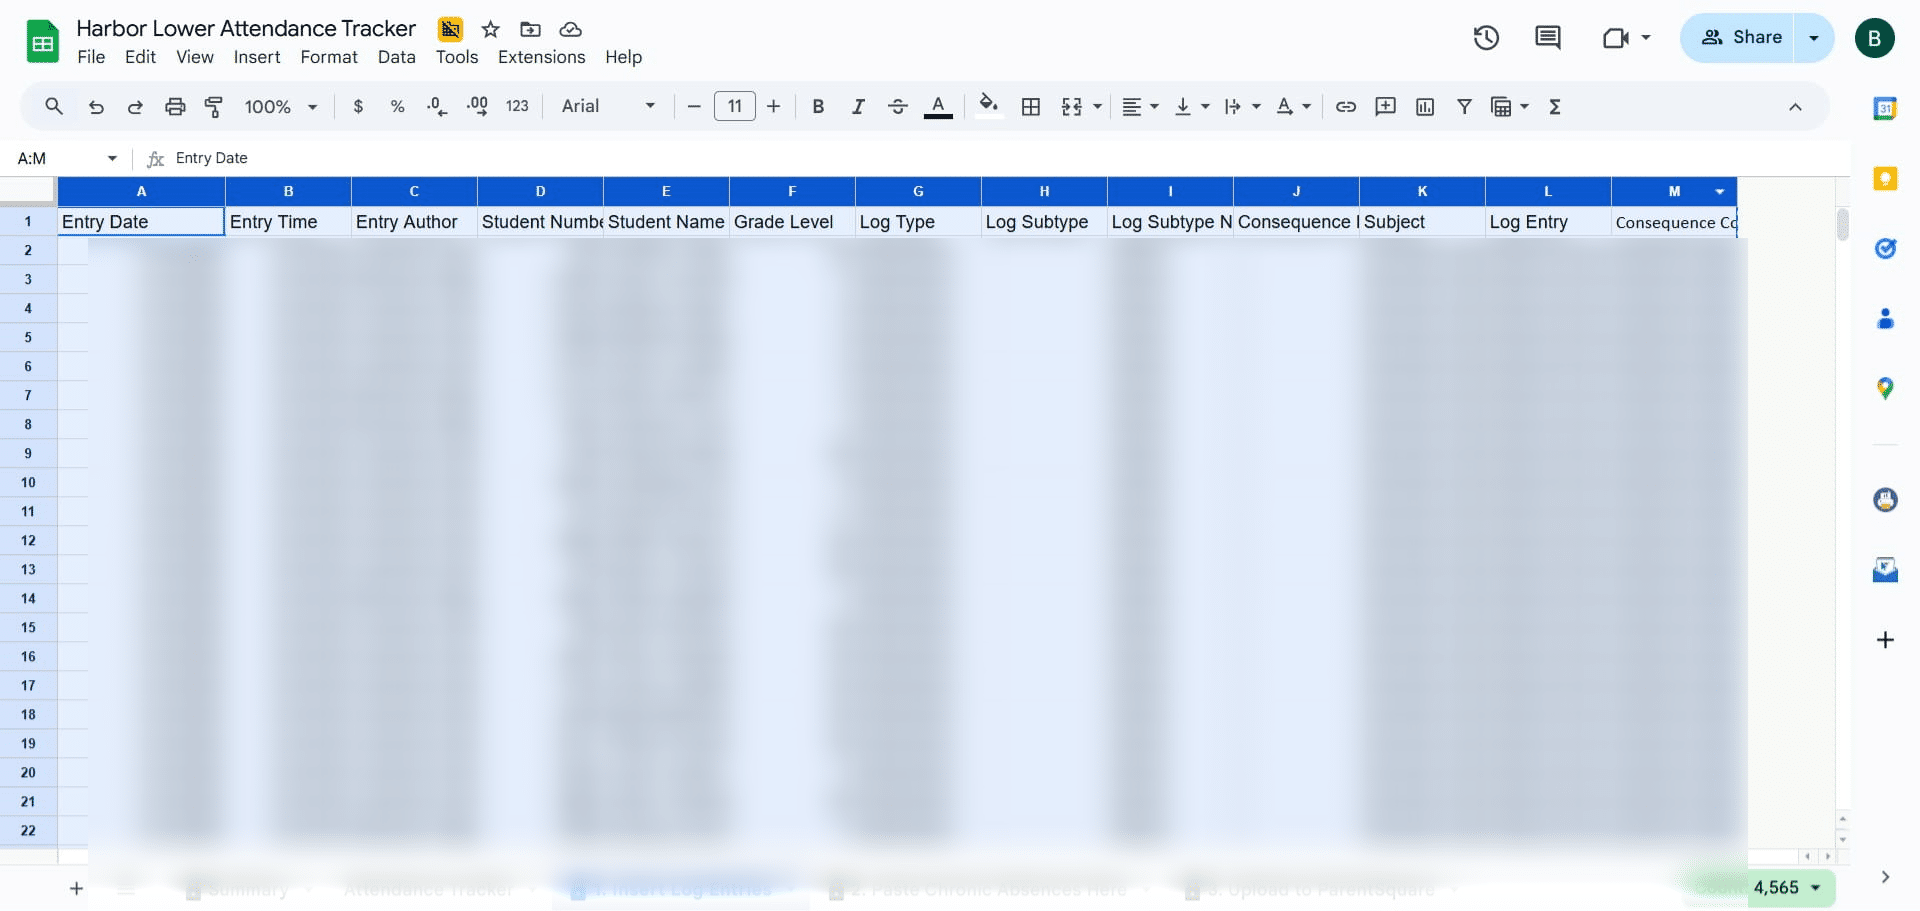
Right Click and Click on "Clear columns A - M"
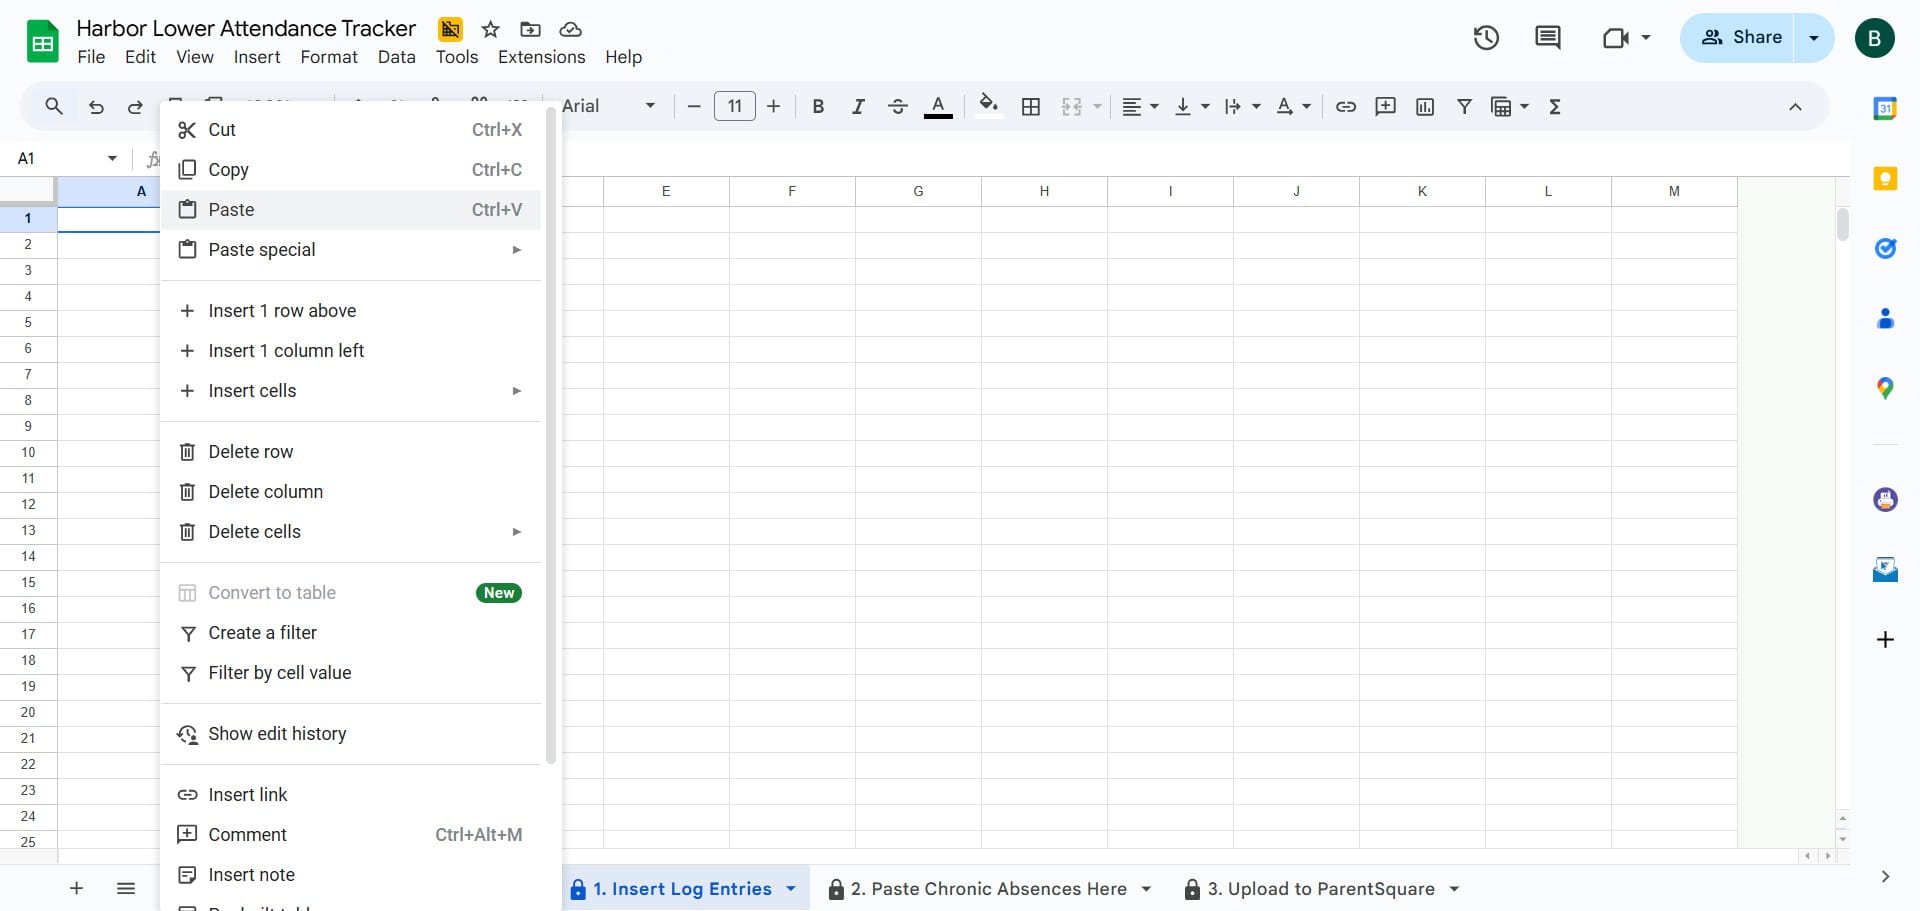
Go to Column A row 1
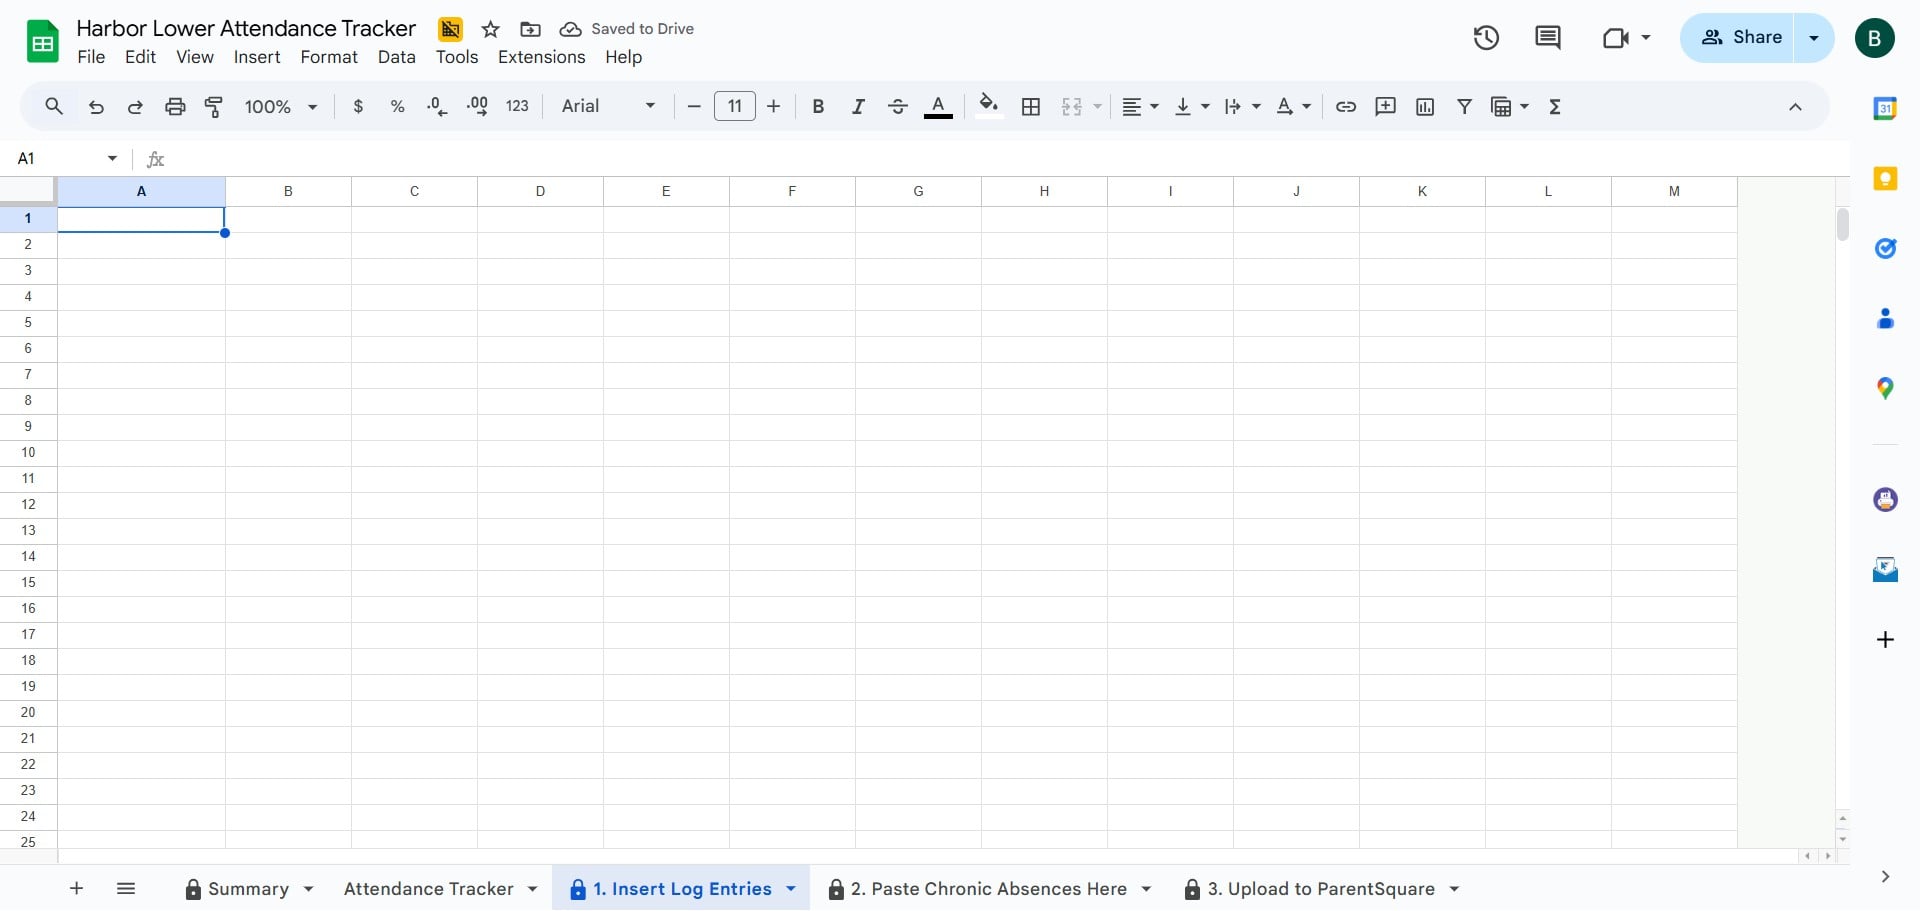
Right click and click Paste
Download Chronic Absences Report from PowerSchool
Go back to PowerSchool
Click on "Data and Reporting"
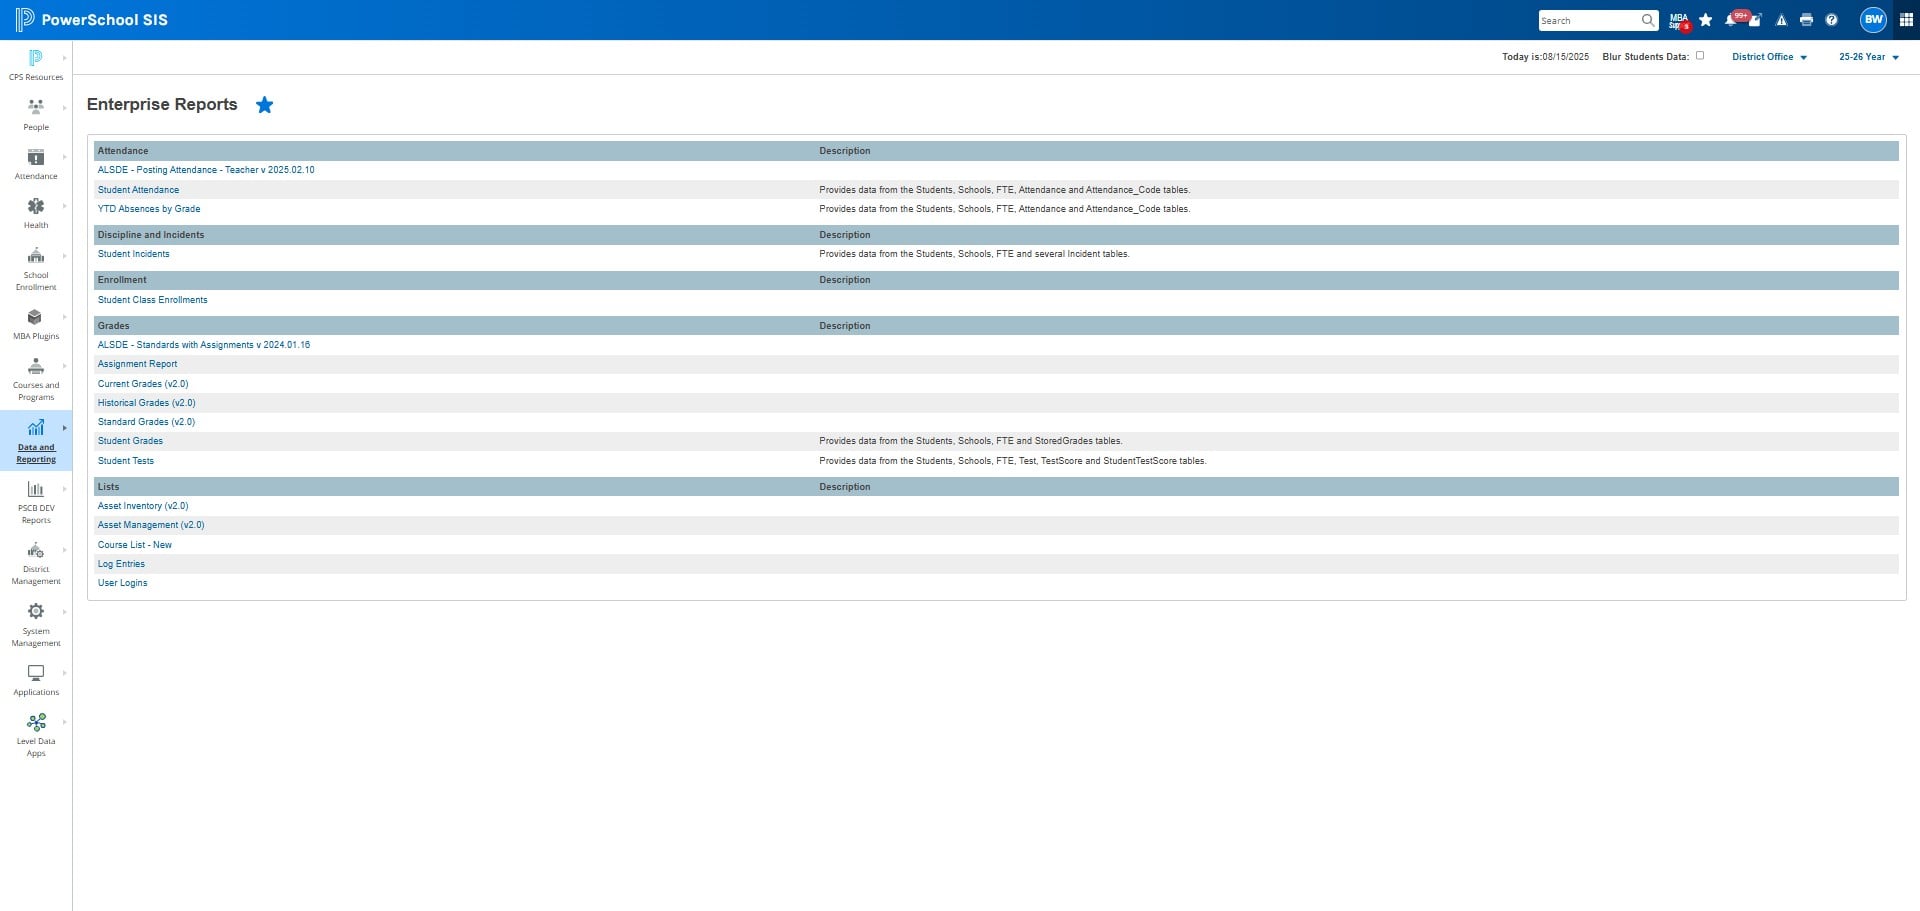
Click on "Reports"
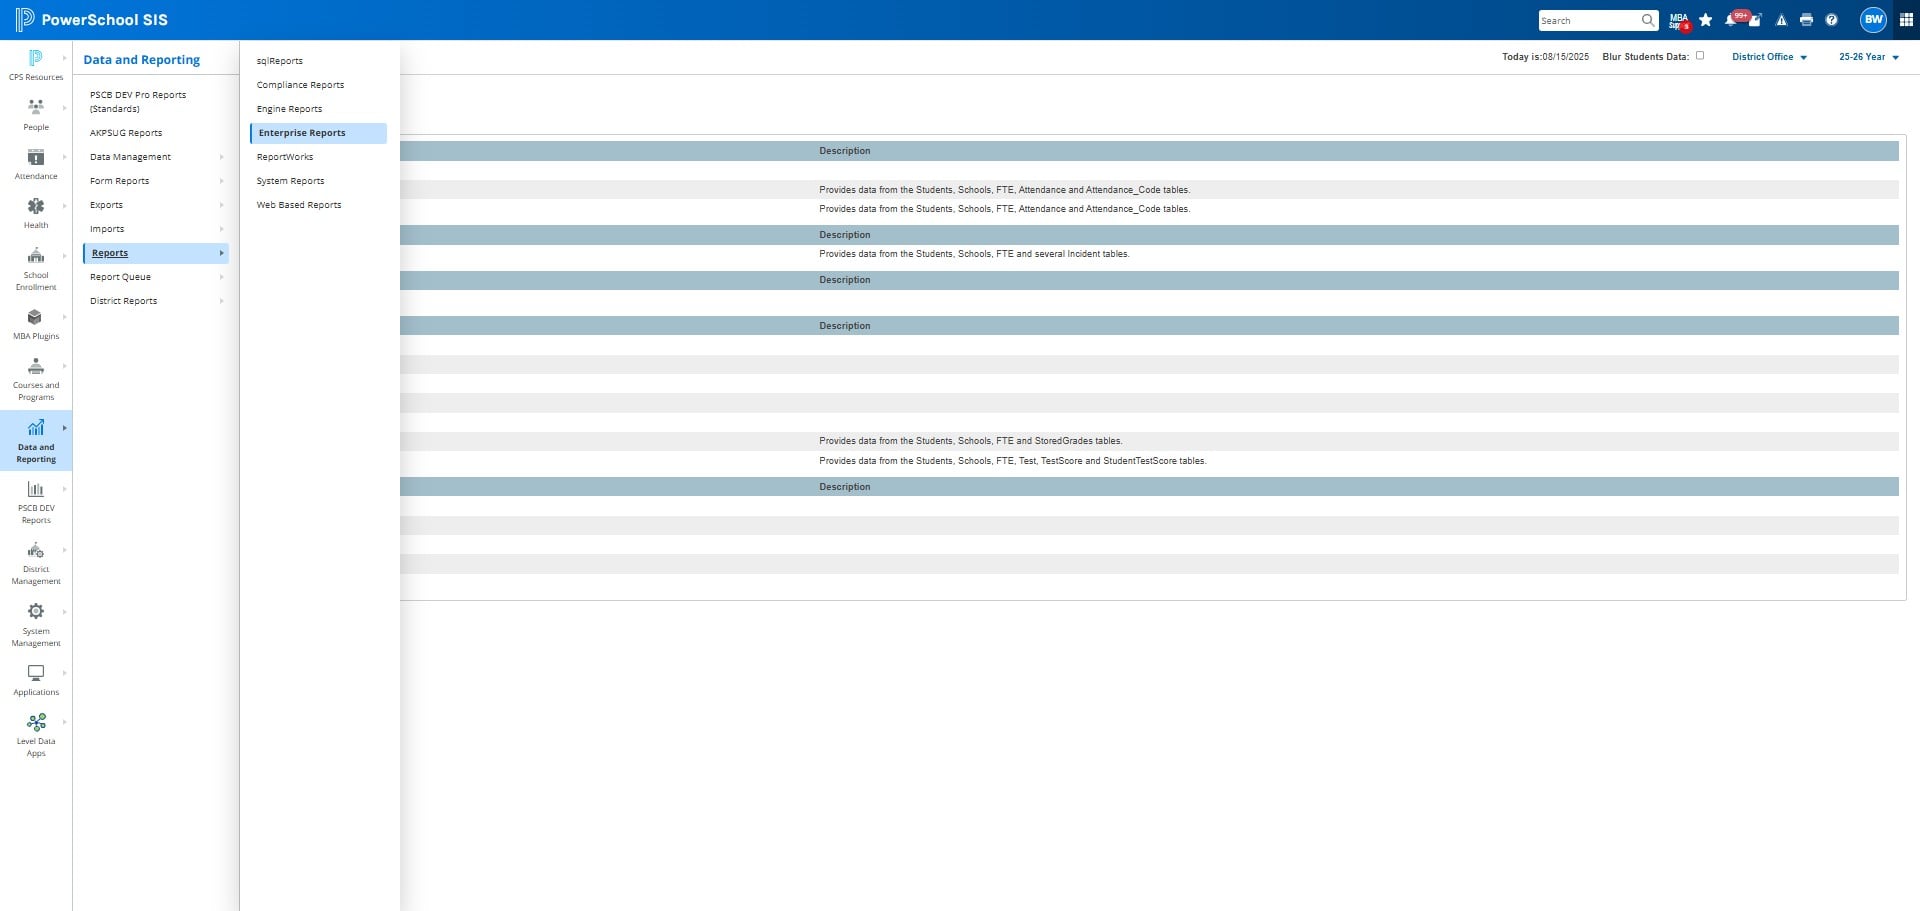
Click on "sqlReports"
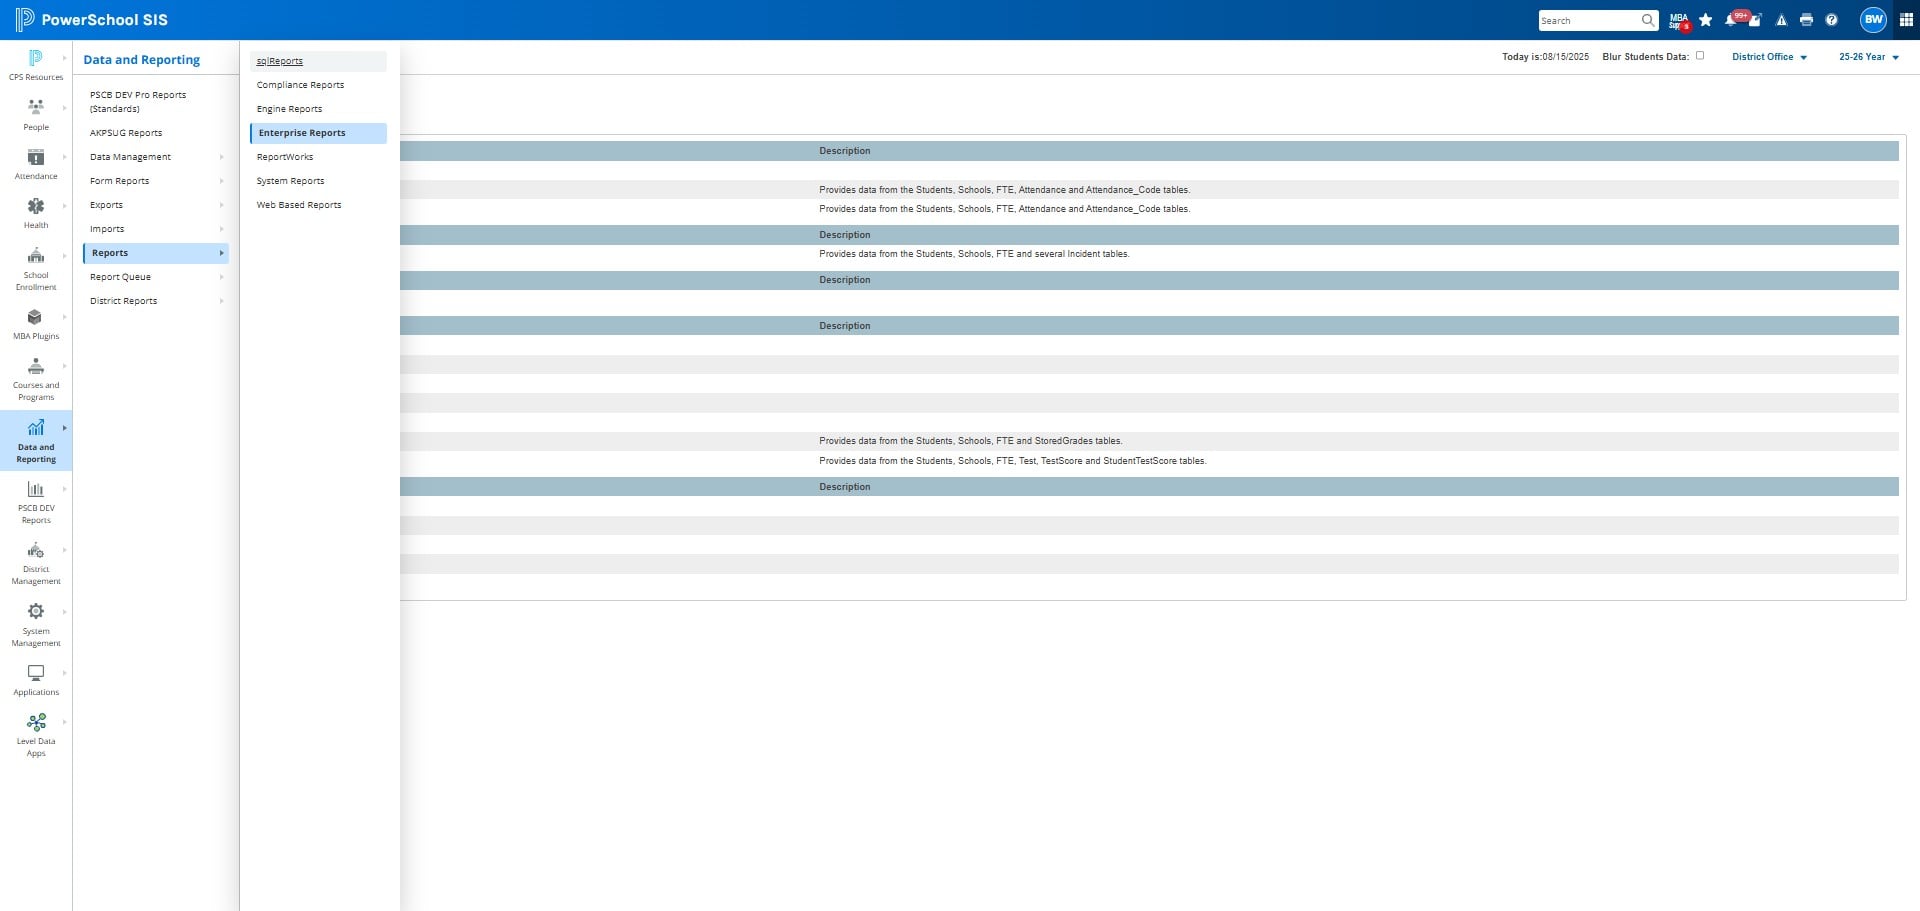
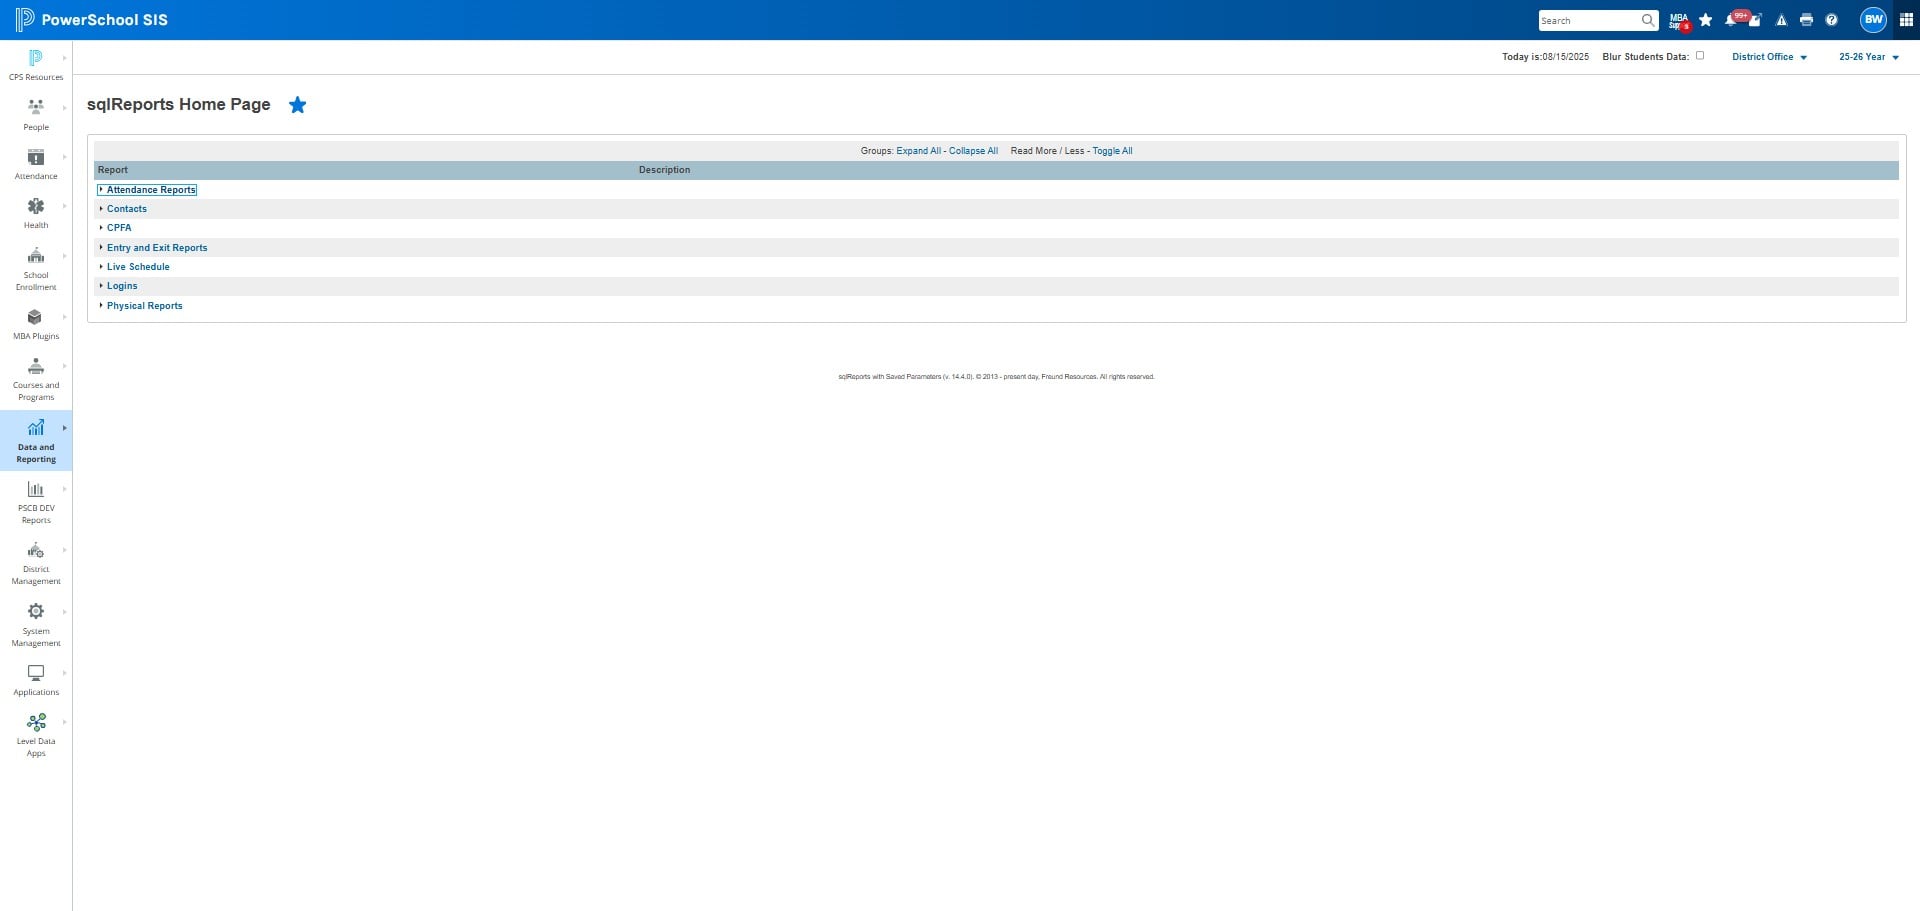
Click Attendance Reports
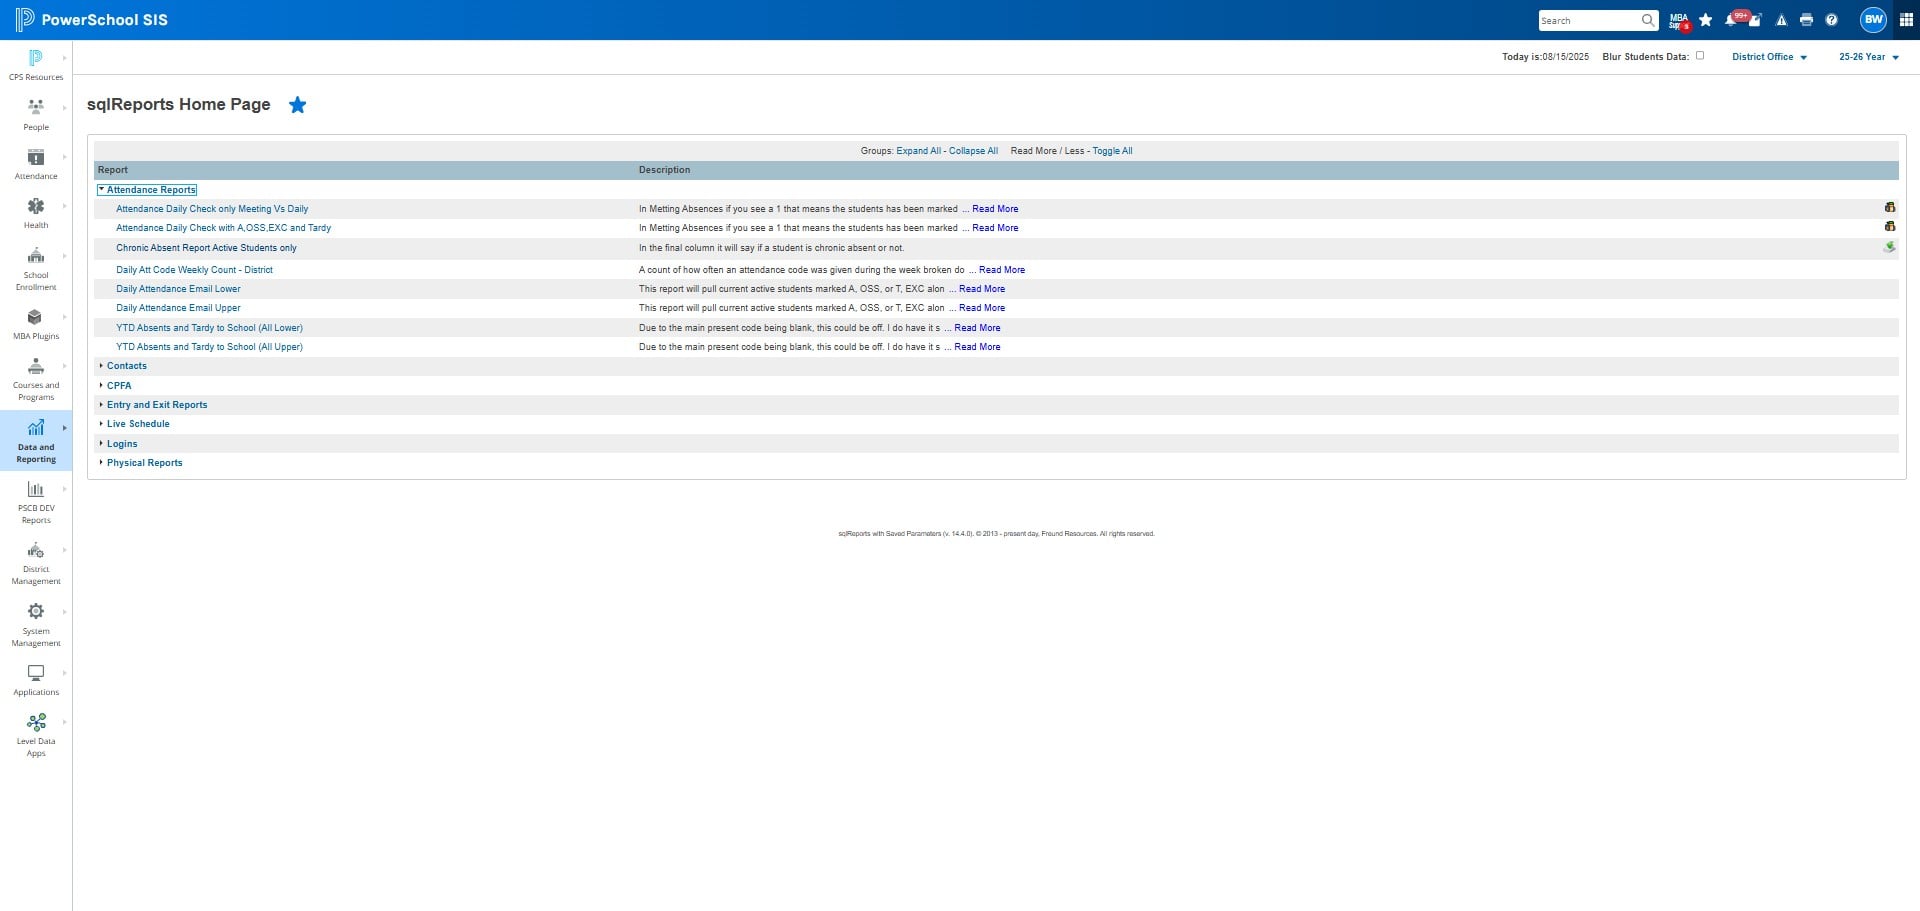
Click on "Chronic Absent Report Active Students only"
Change the dates to the first and last day of school
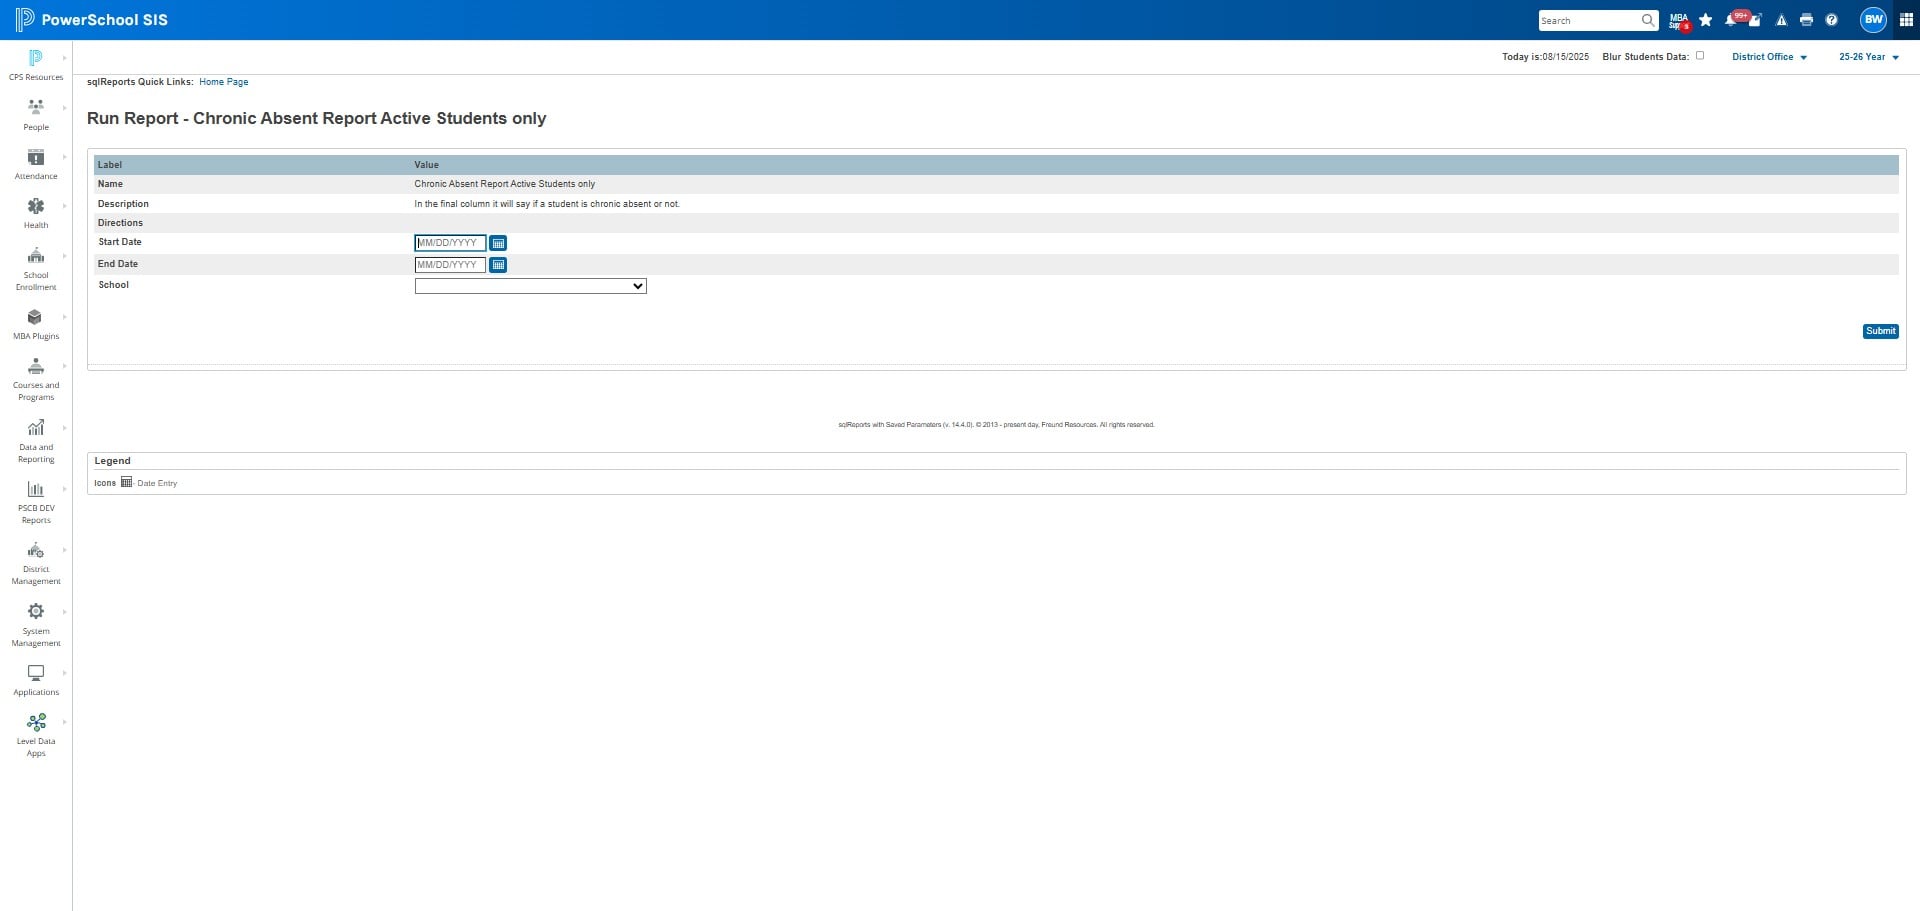
Select your school from the drop down
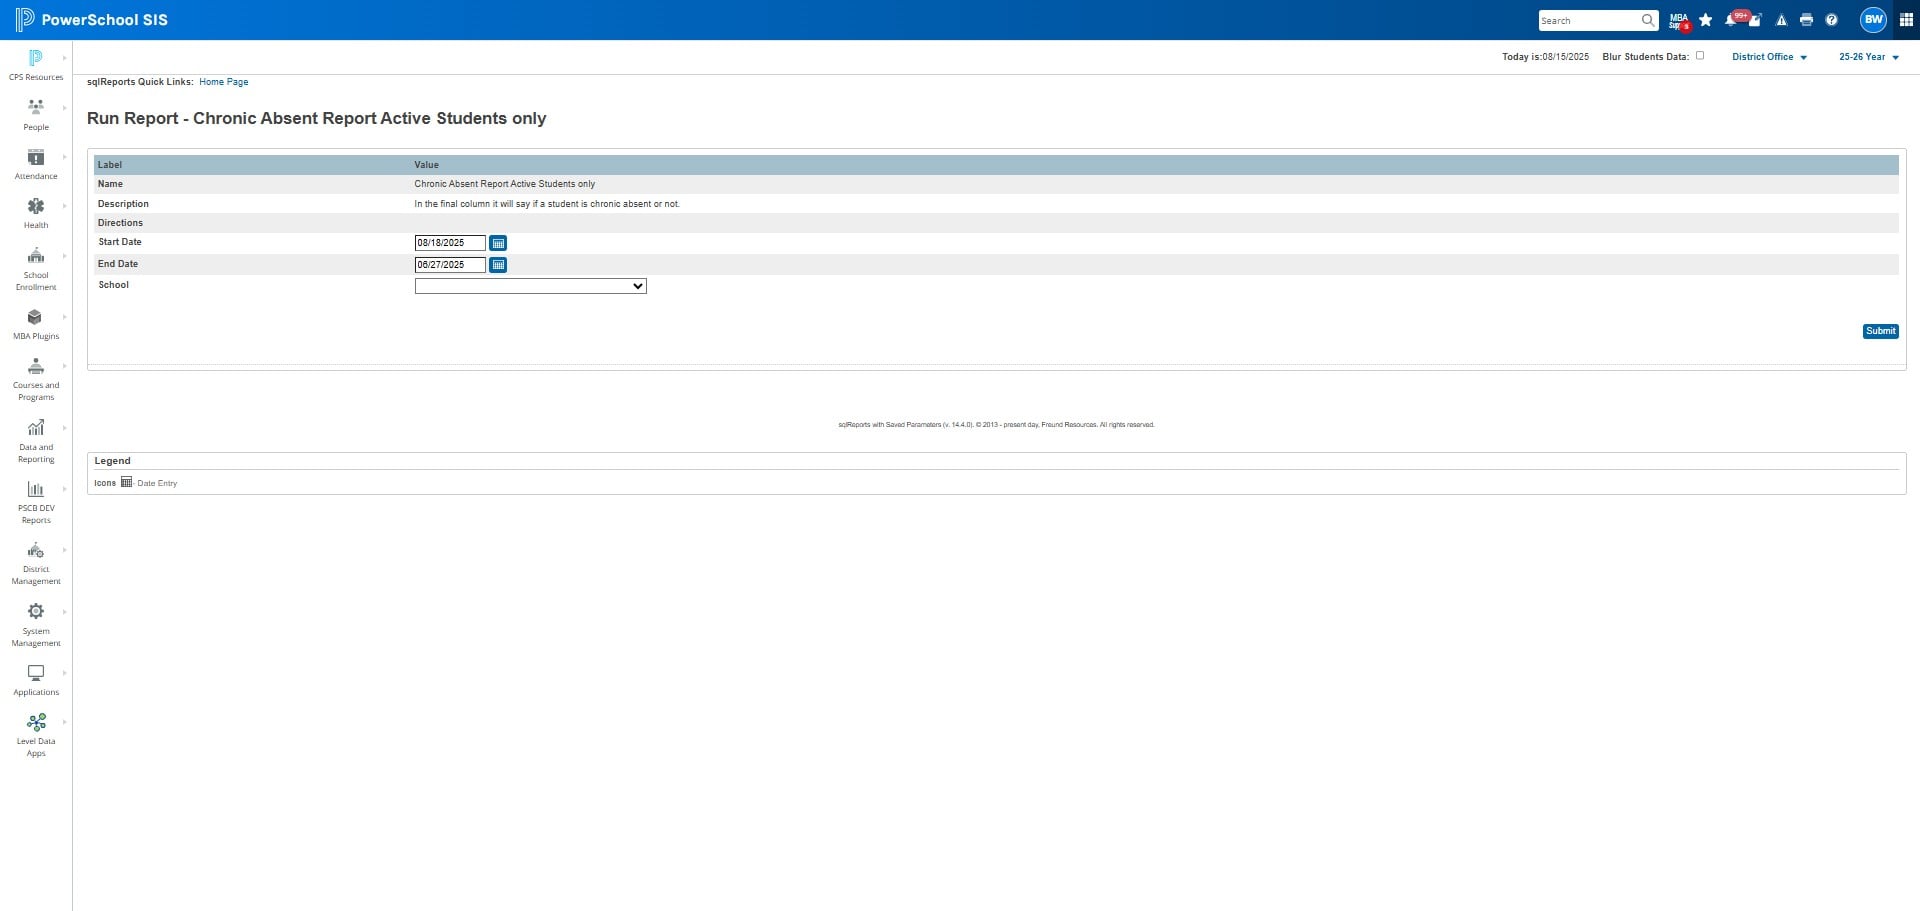
Click on "Submit"
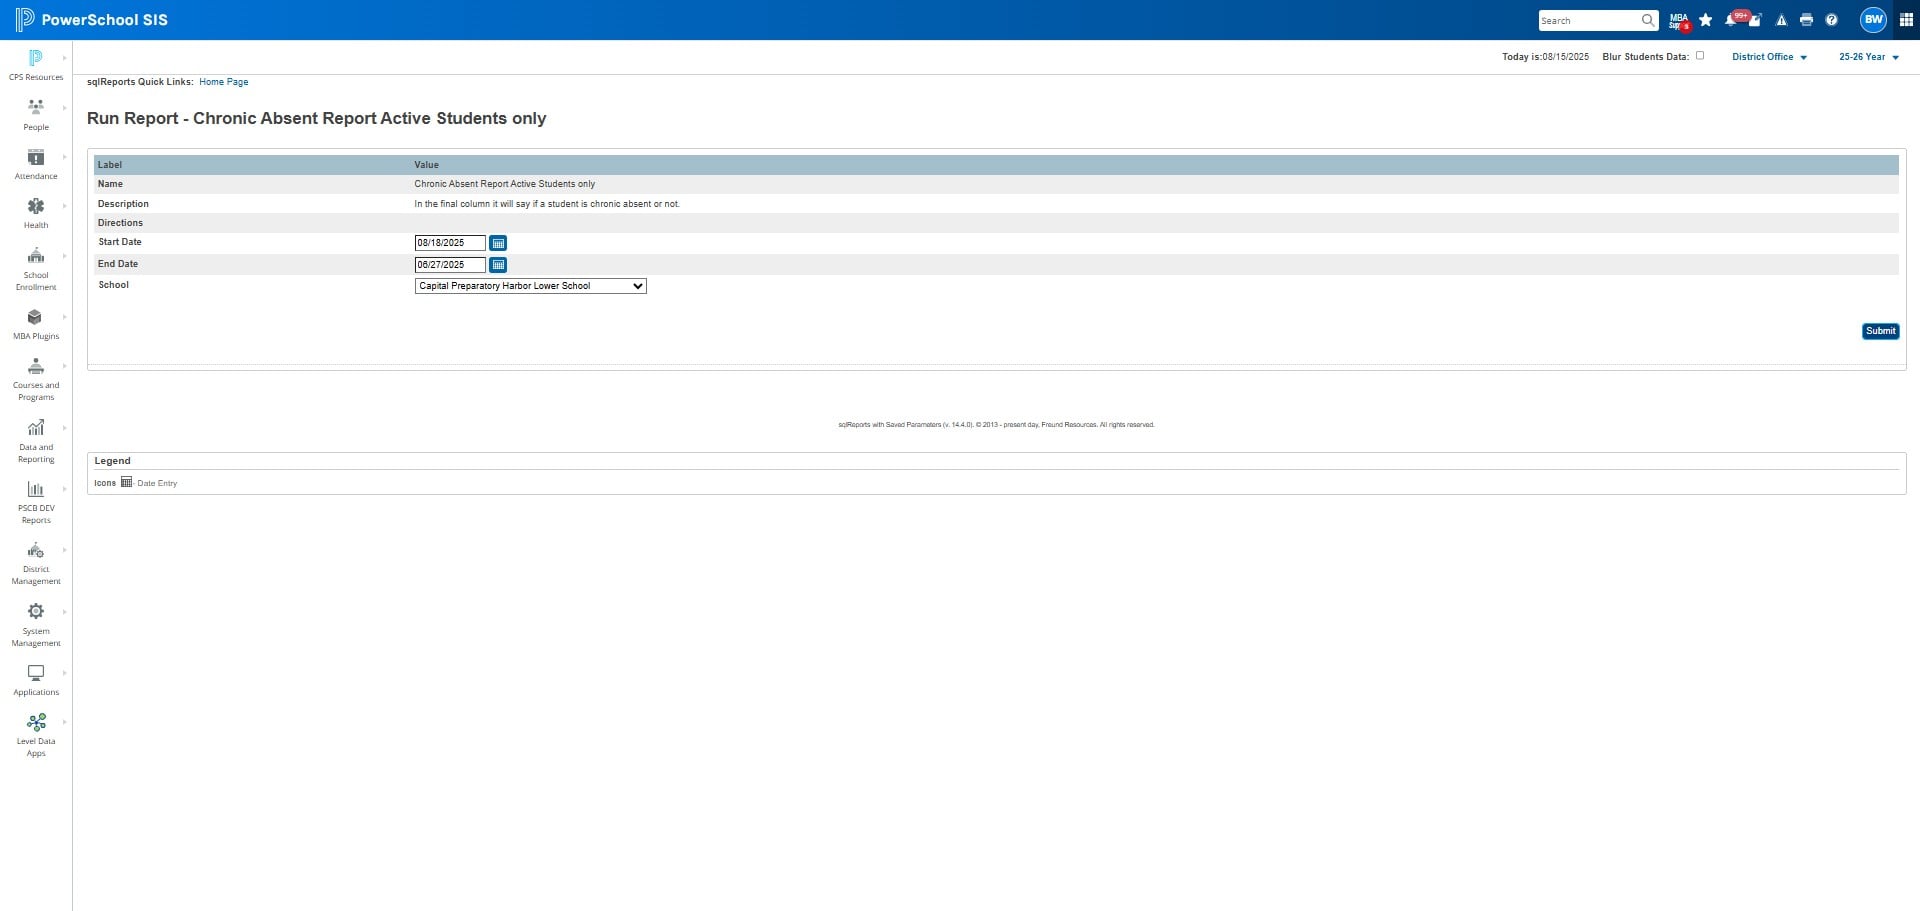
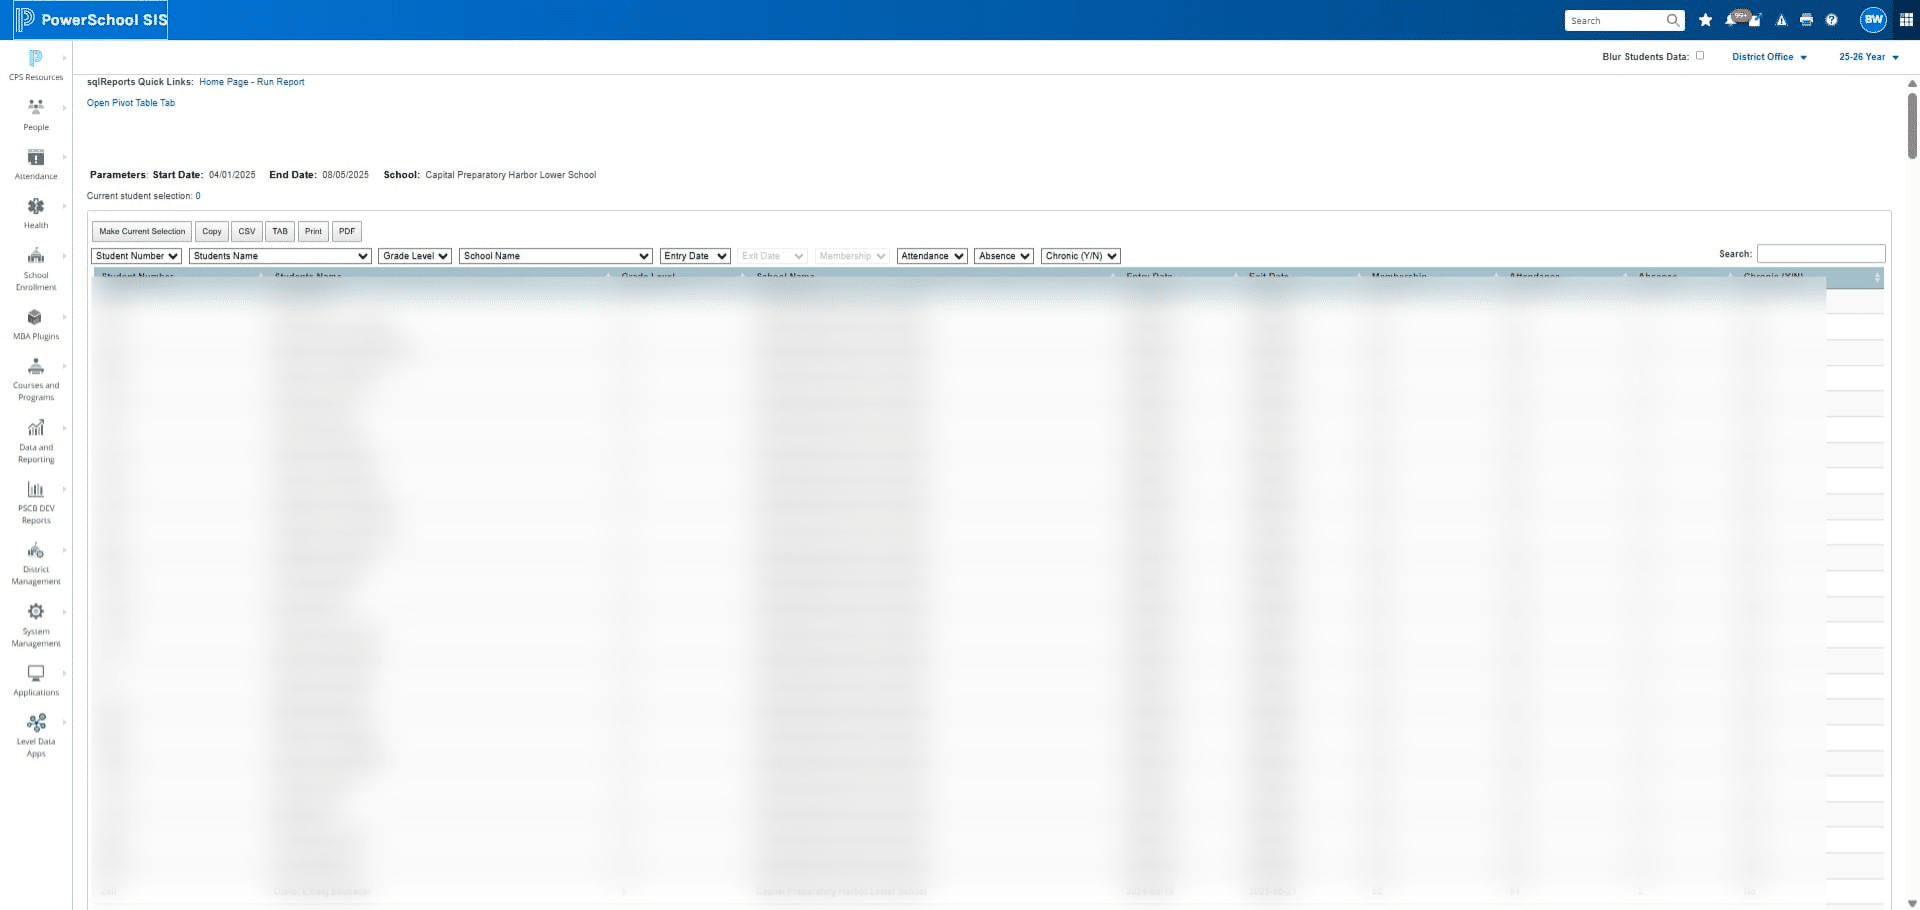
Click on "Copy"
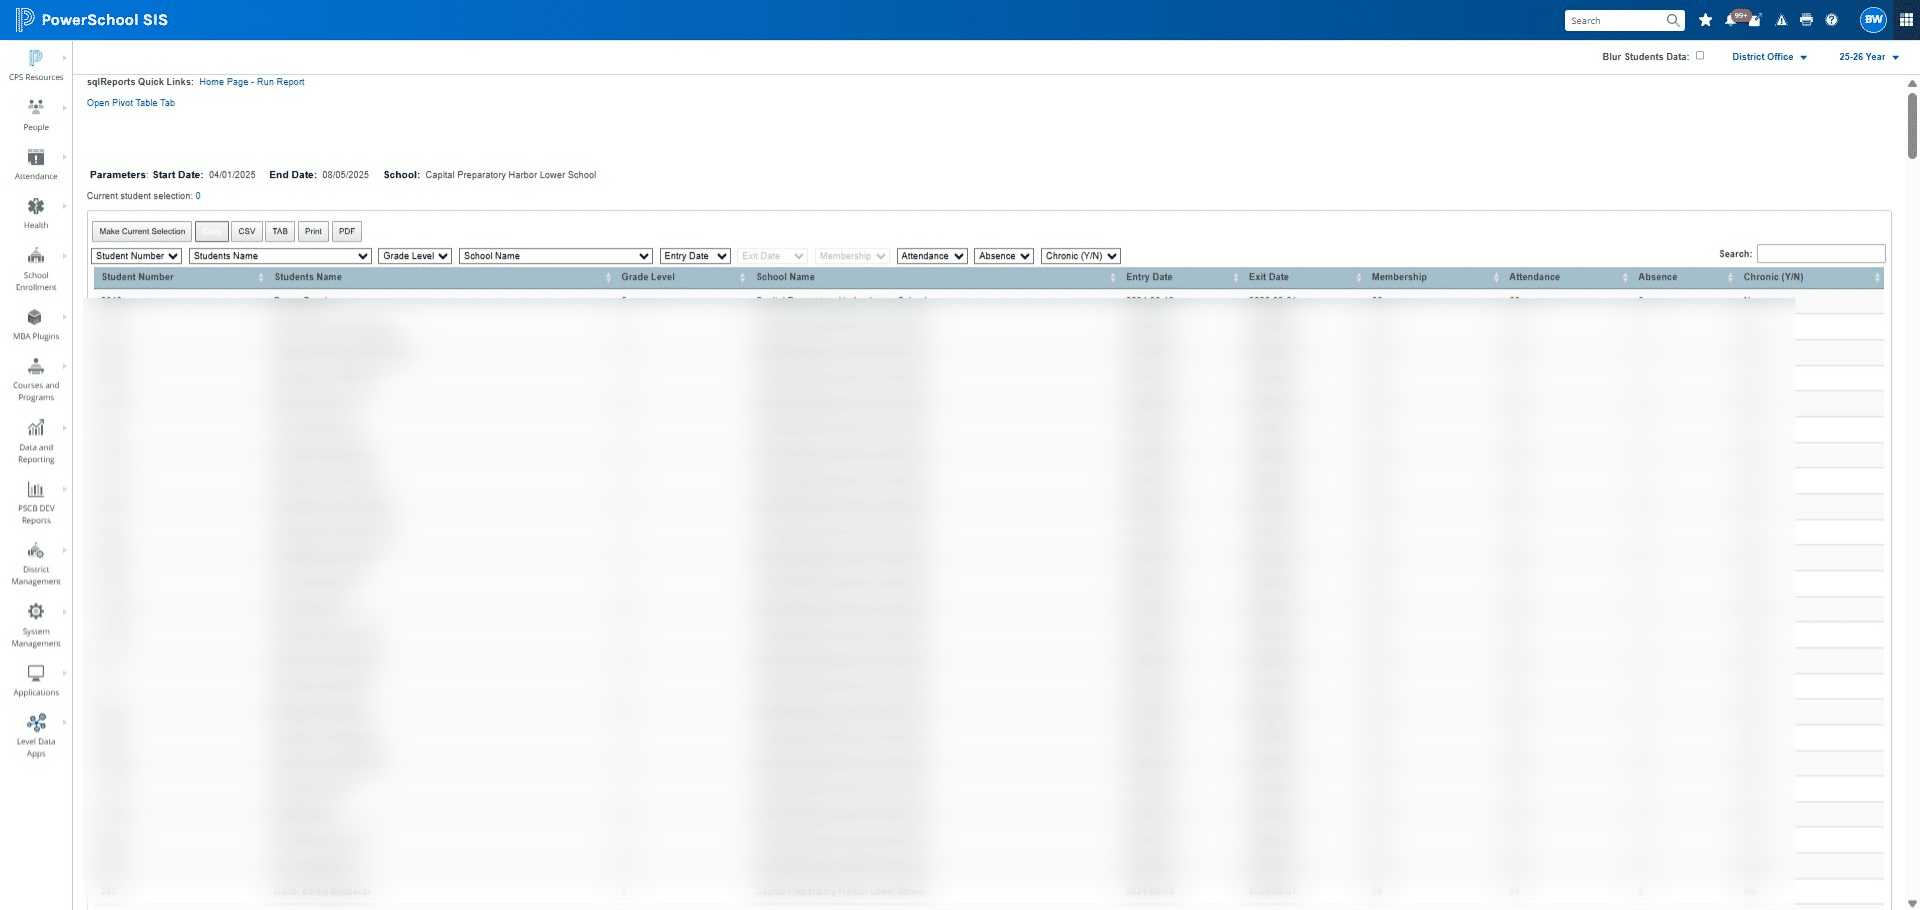
Go back to the Attendance Tracker
Go the Paste Chronic Absences Report Here Tab
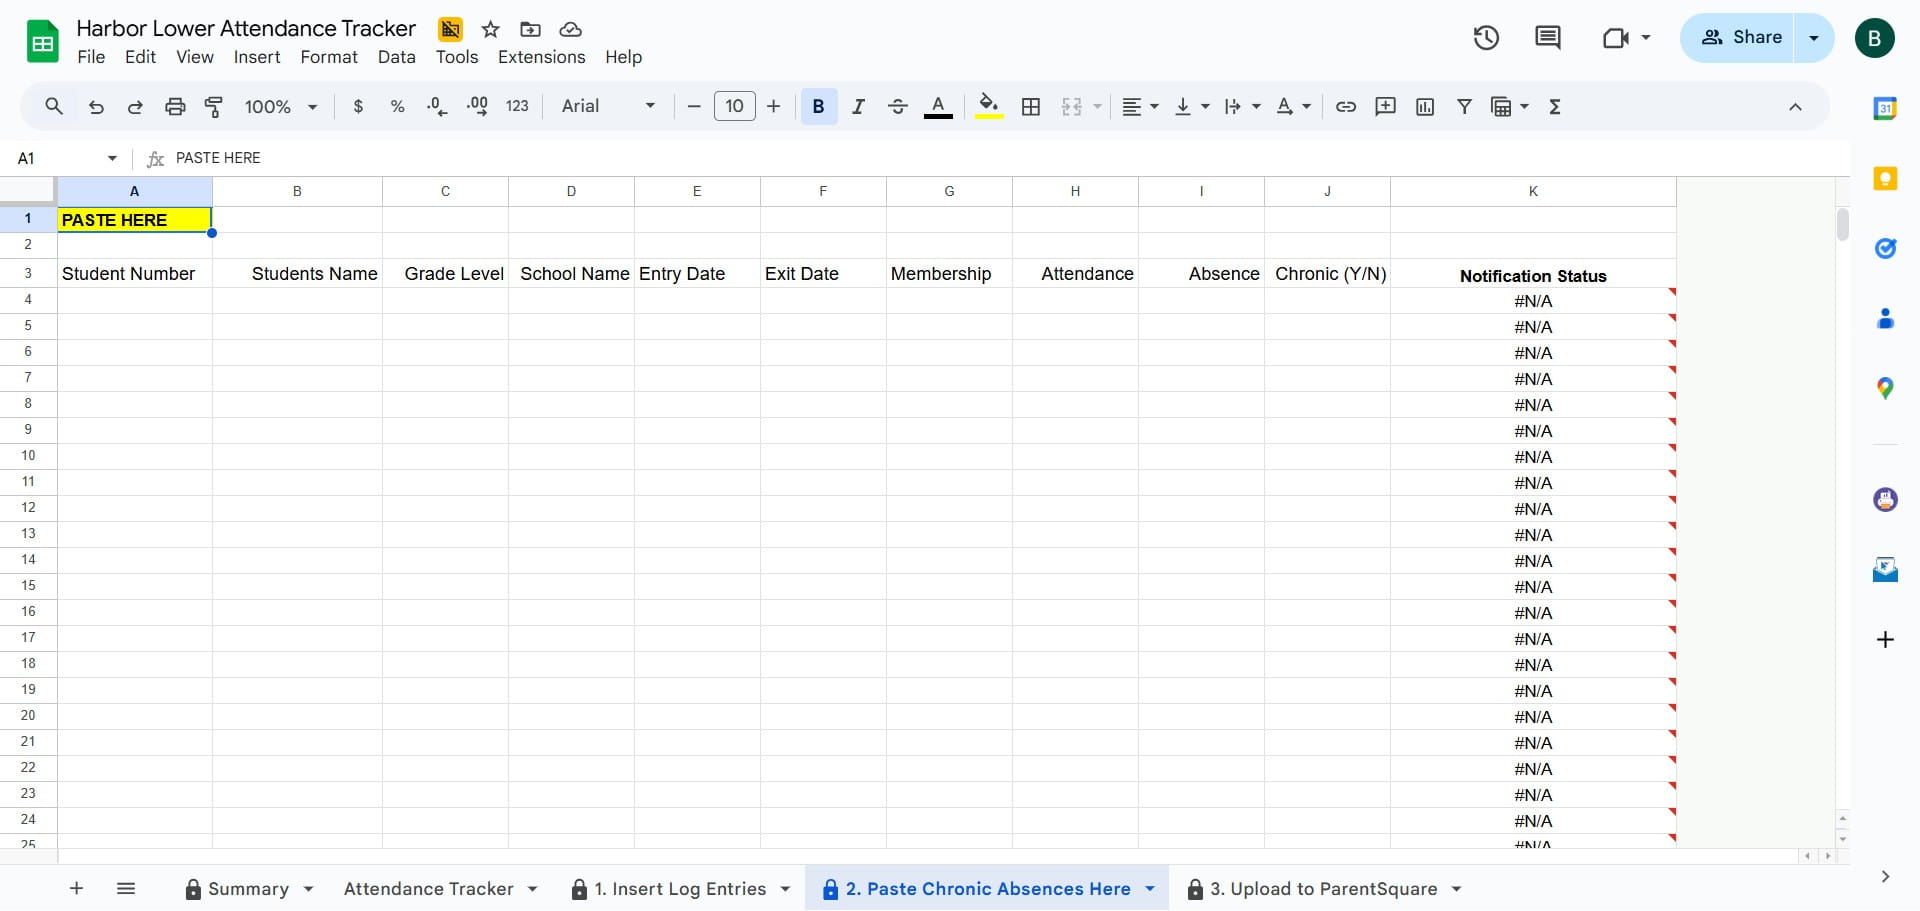
Go to Column A row 1, right click and Click on "Paste"
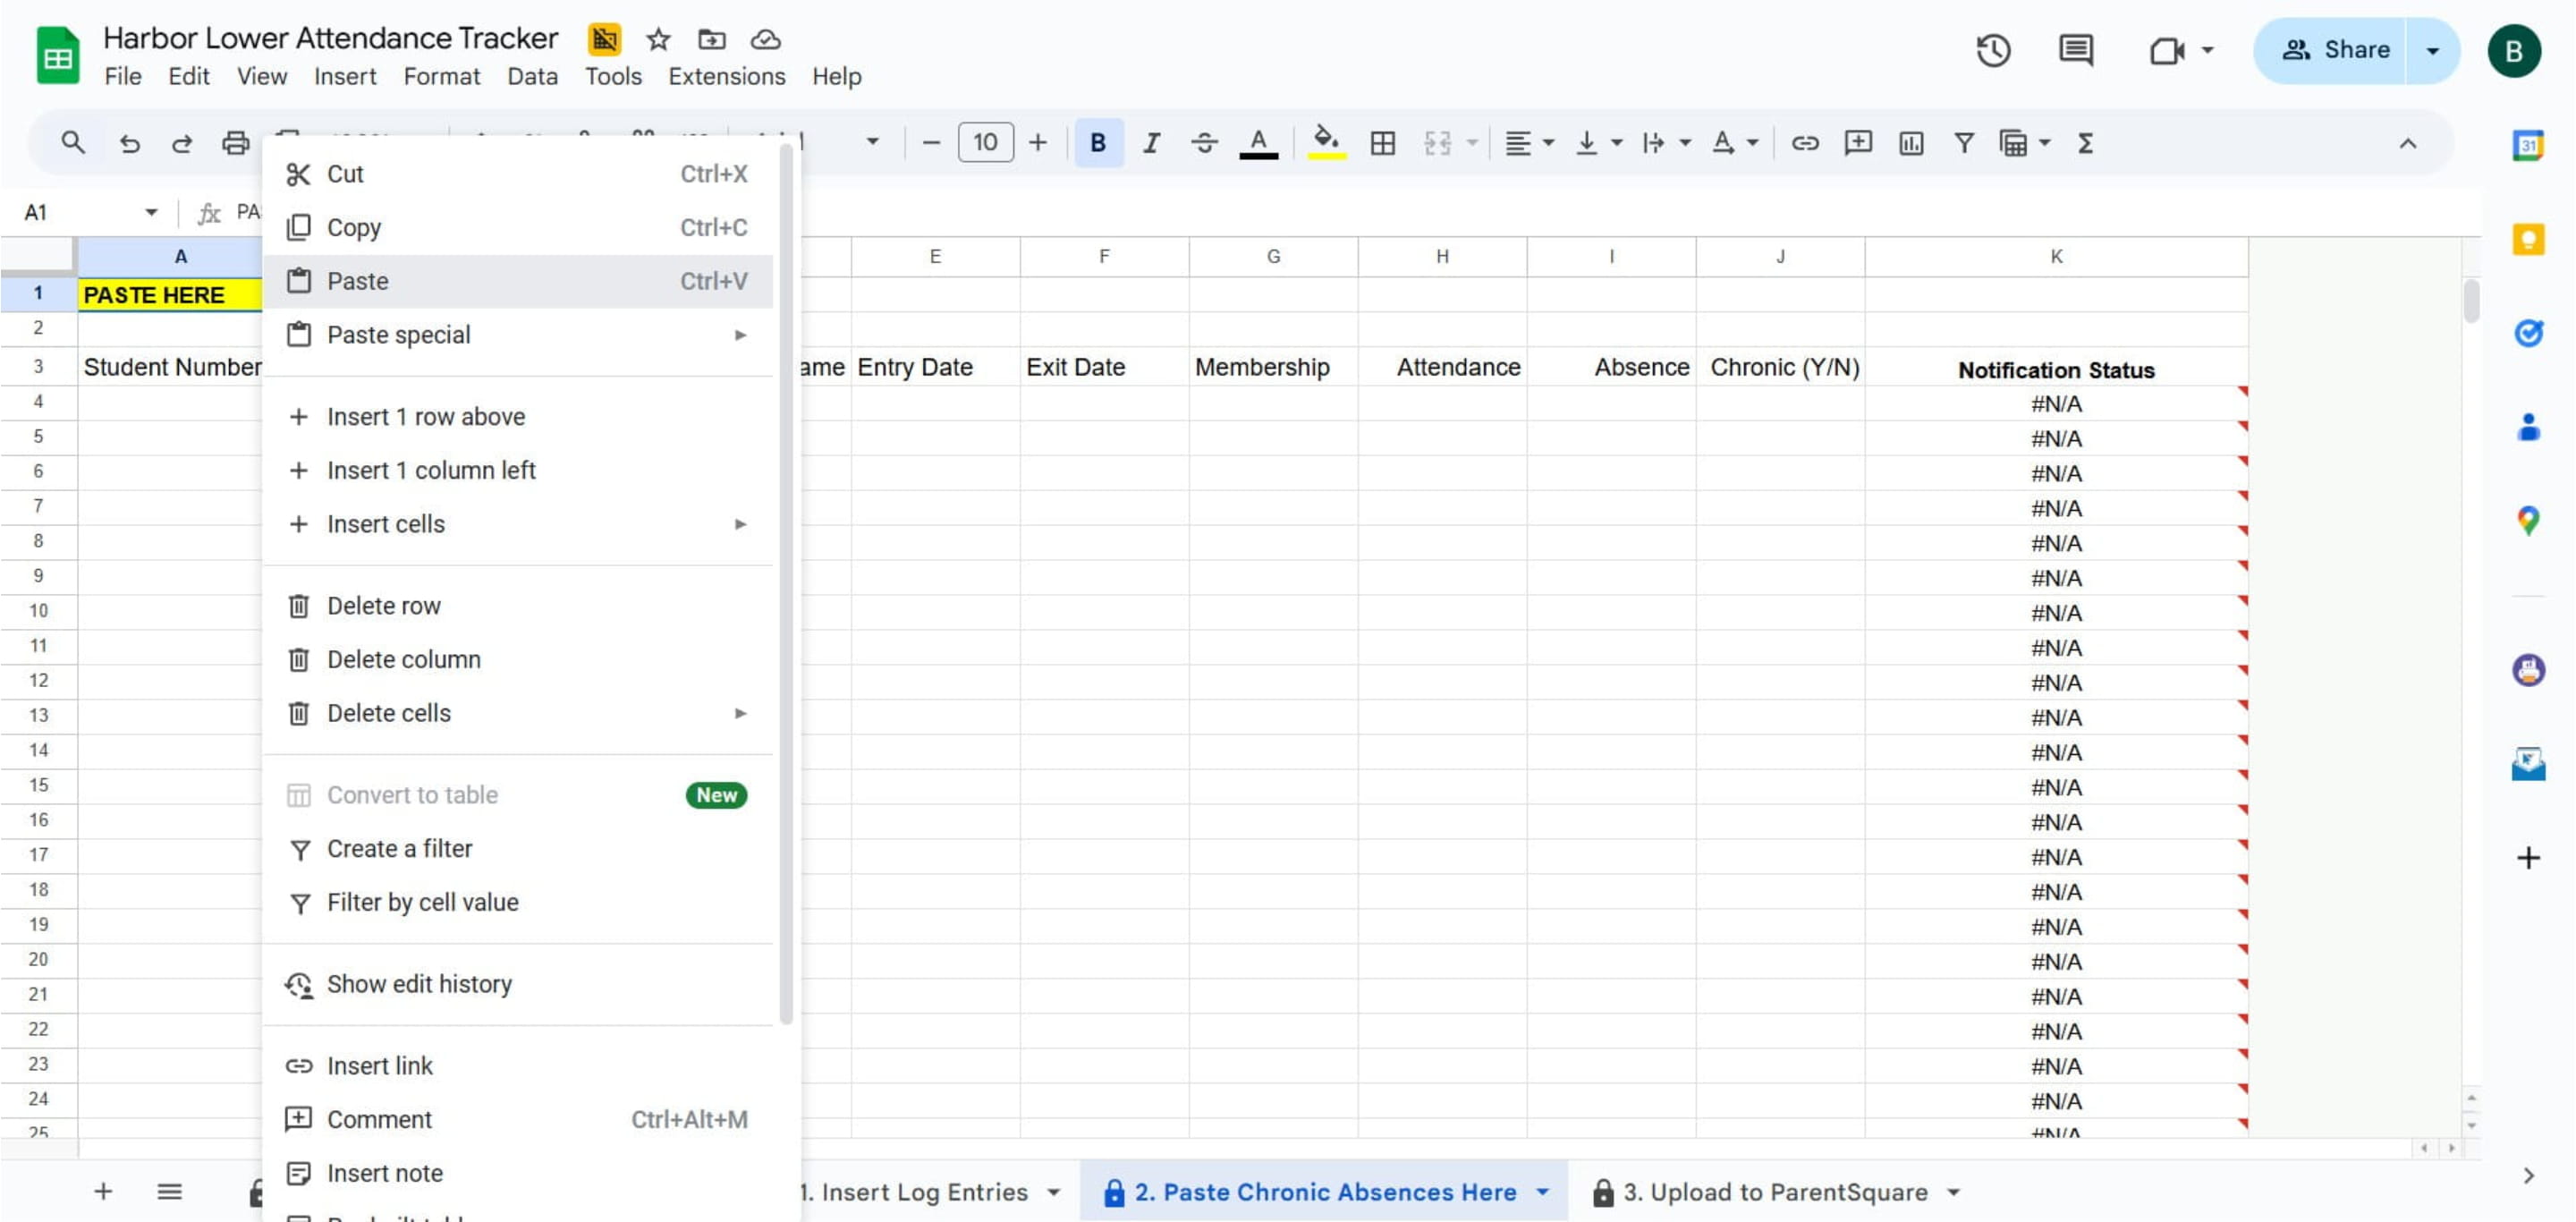
Your report will look similar to this if you pasted correctly
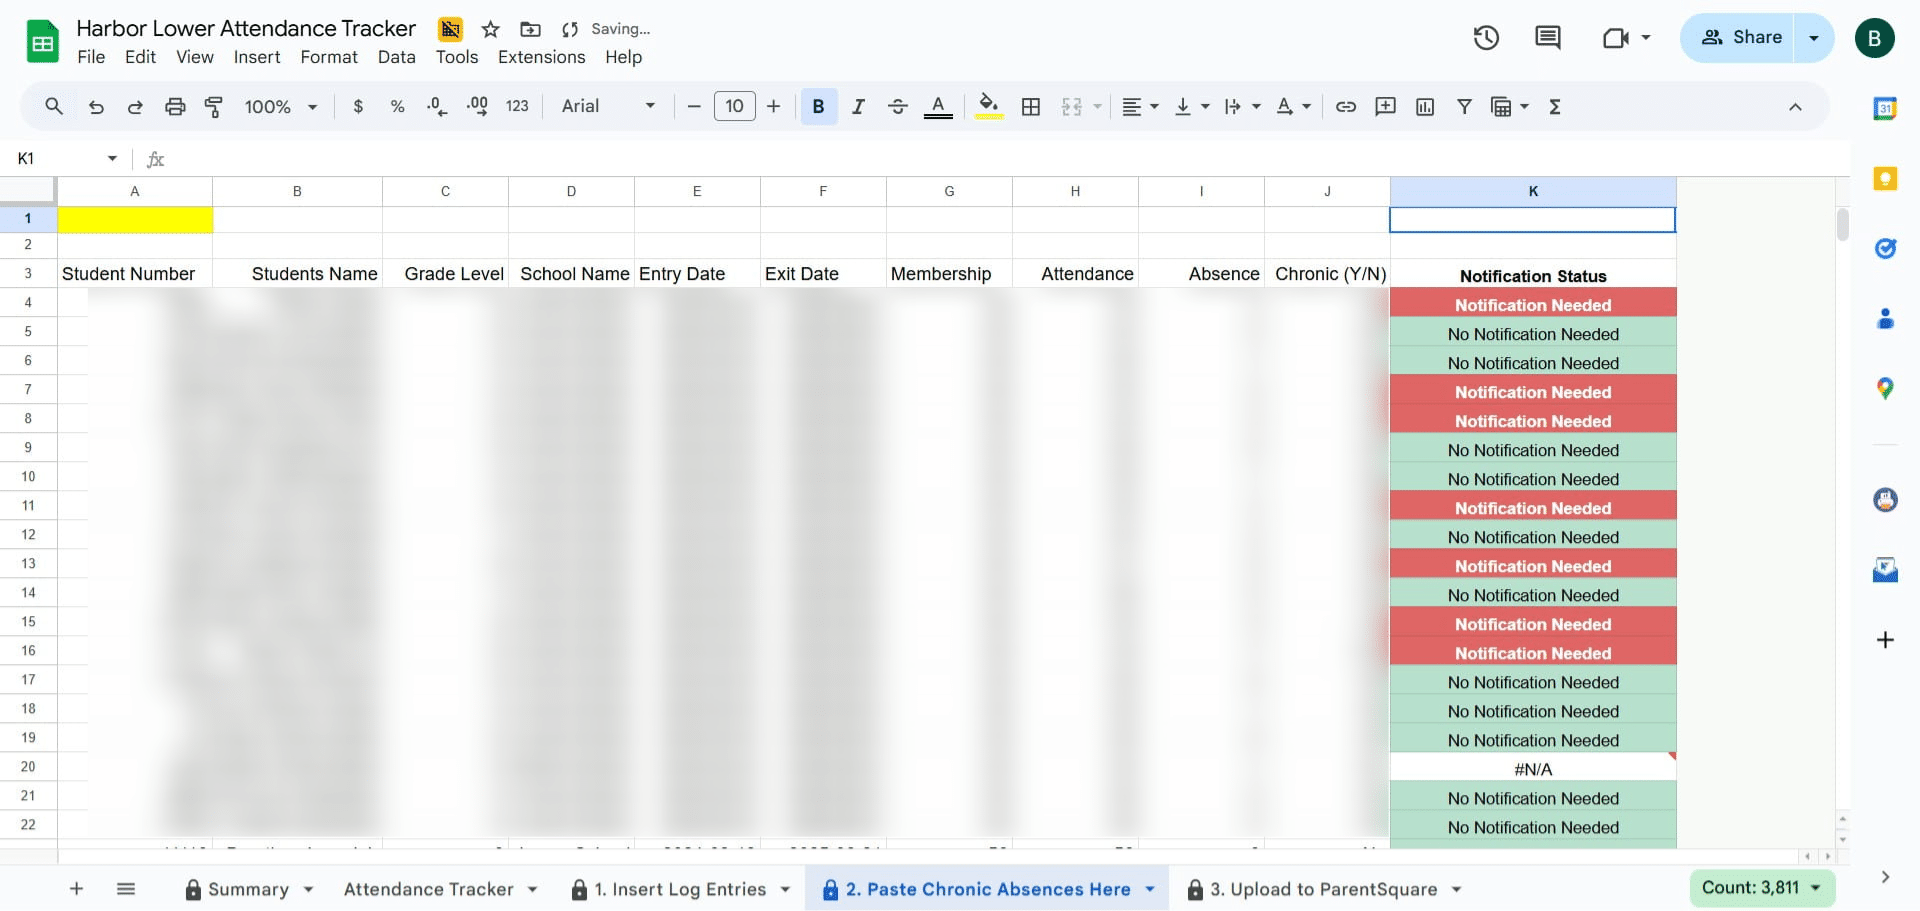
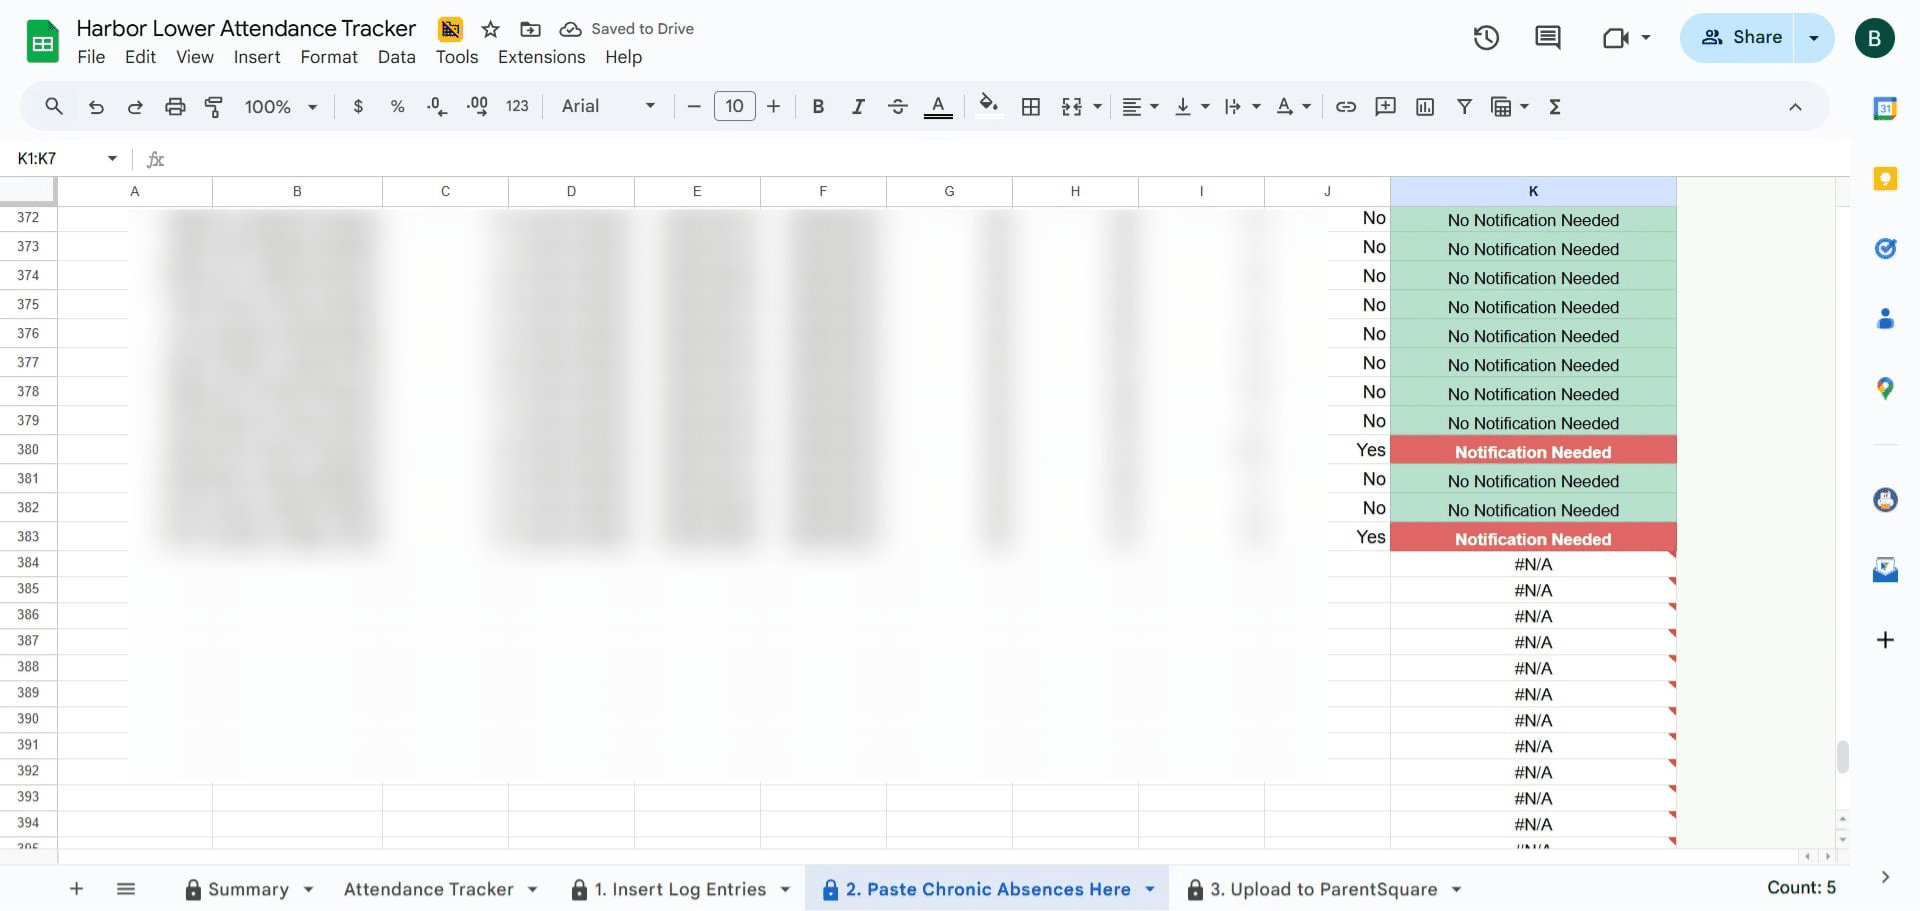
Scroll down to the bottom of the report and make sure the last row of the students has a no notification needed or notification needed in Column K
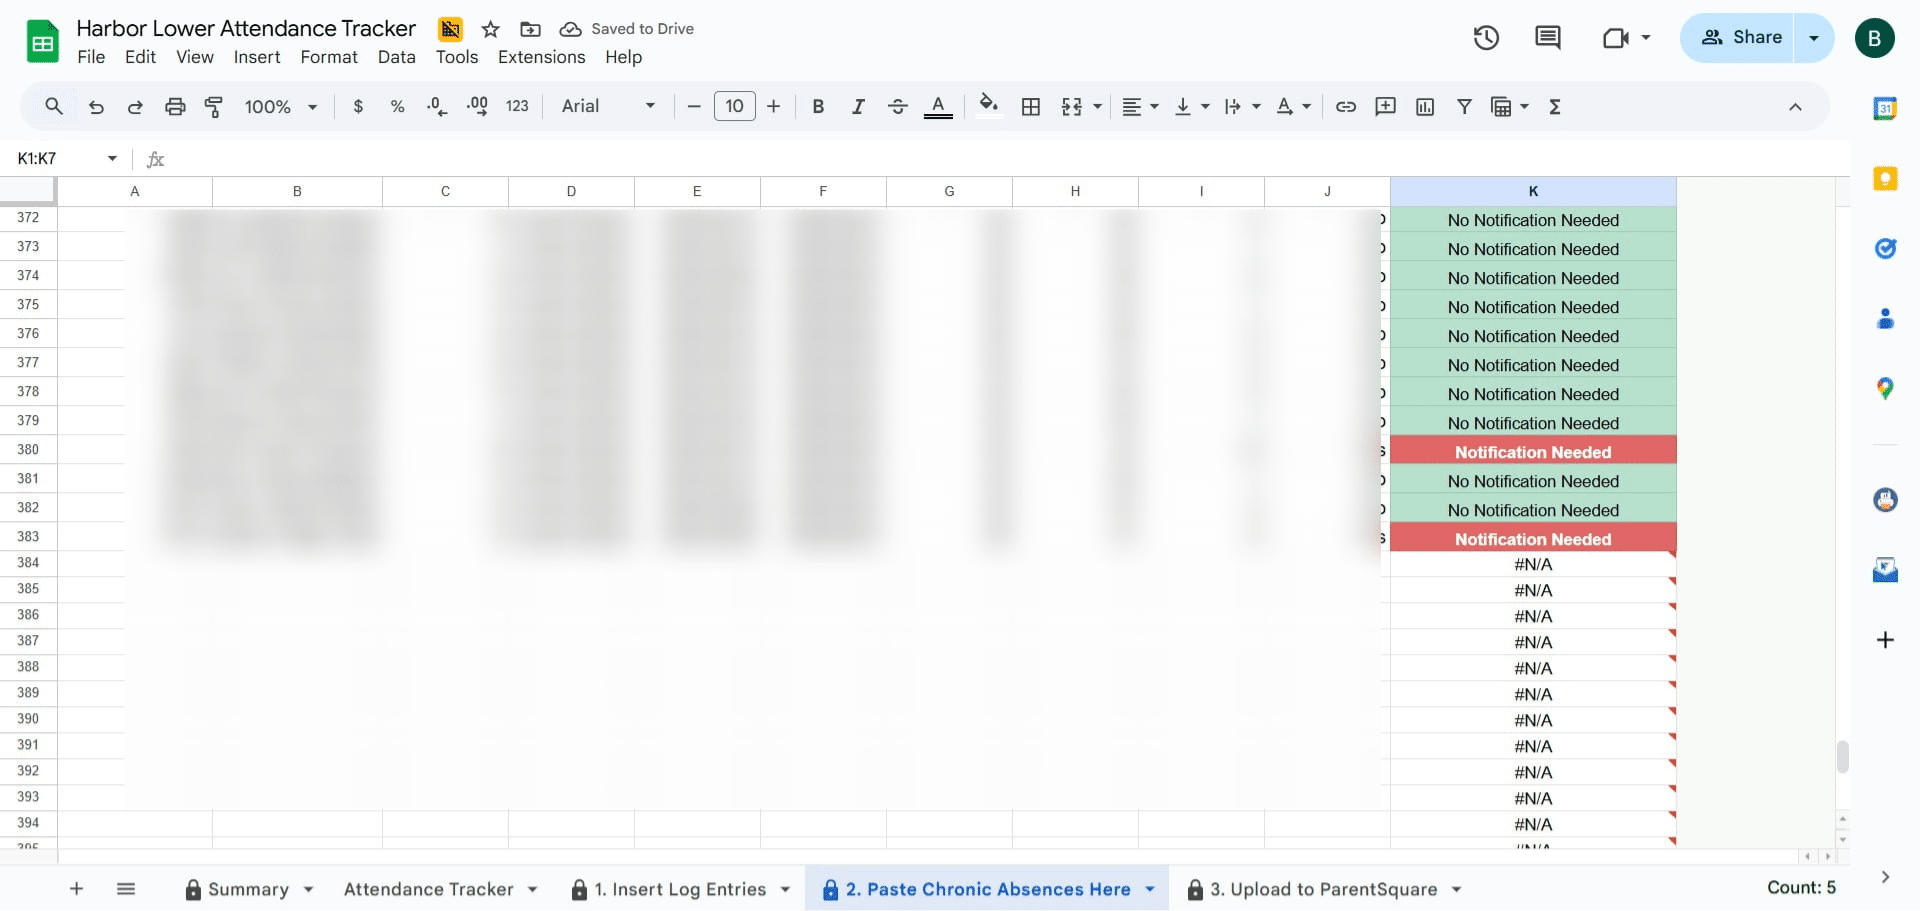
Drag the formula down to the bottom of the sheet
Send Notification via ParentSquare
You must update the Log Entries and Chronic Absences tabs in the attendance trackers FIRST before downloading this information.
Click on the tab called "3. Upload to ParentSquare"
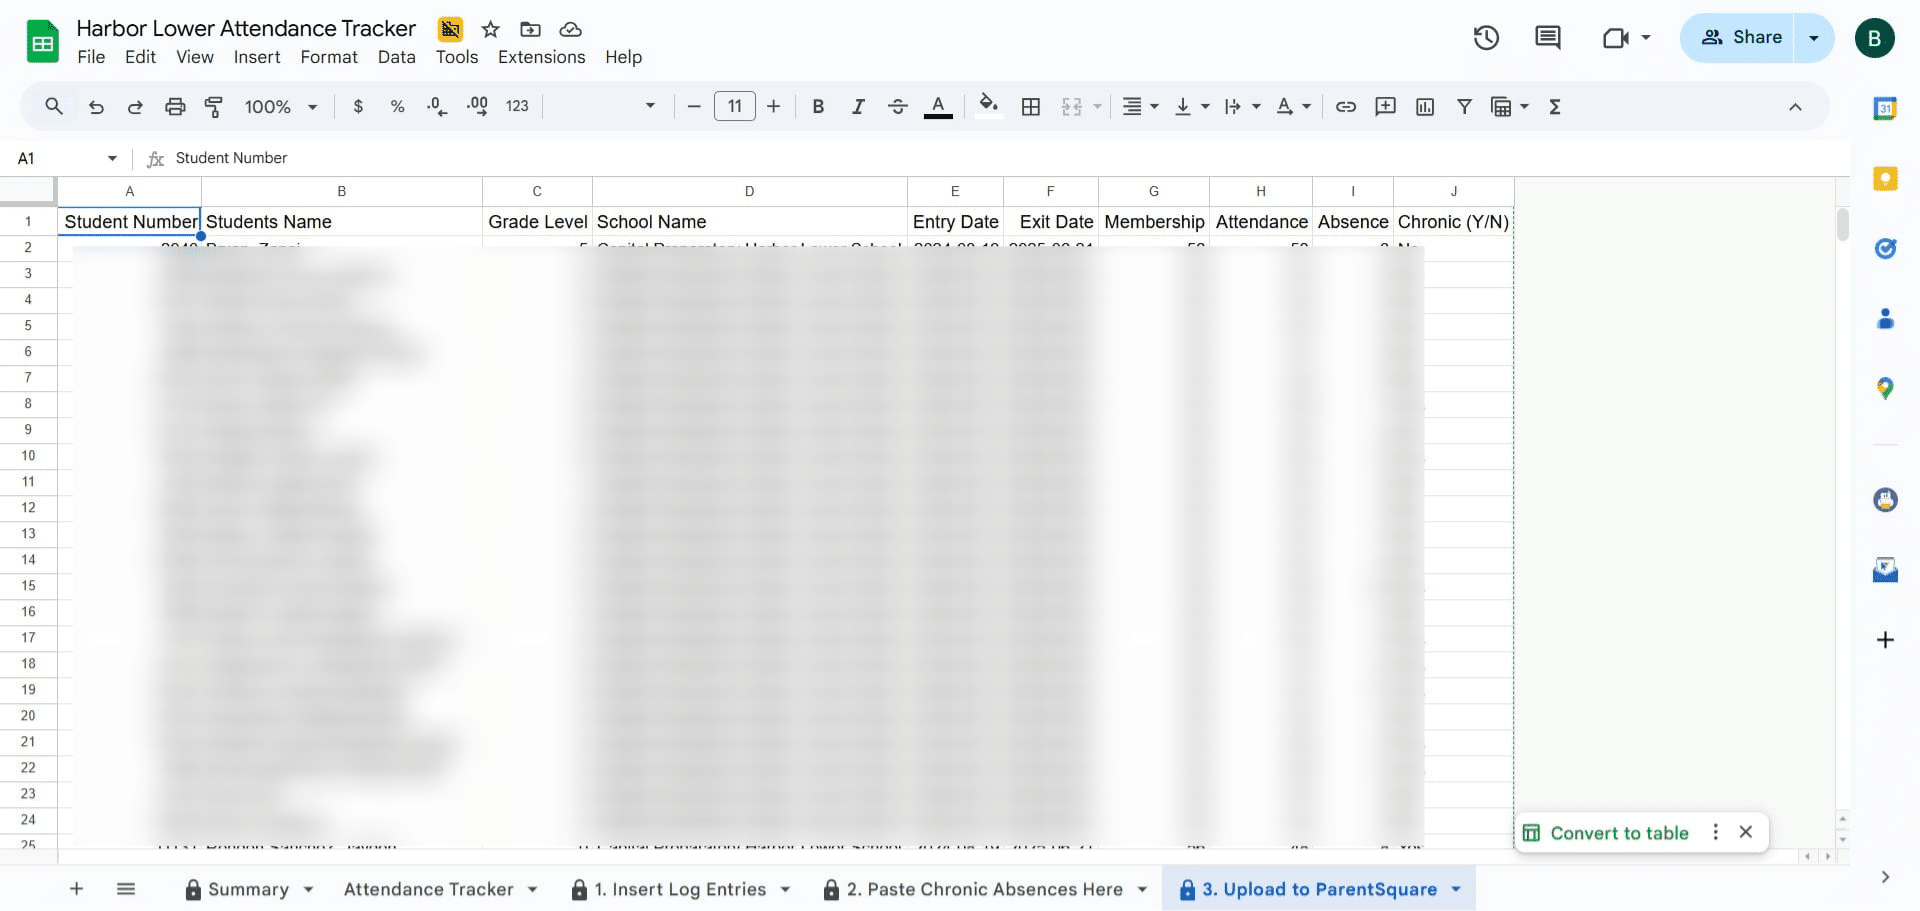
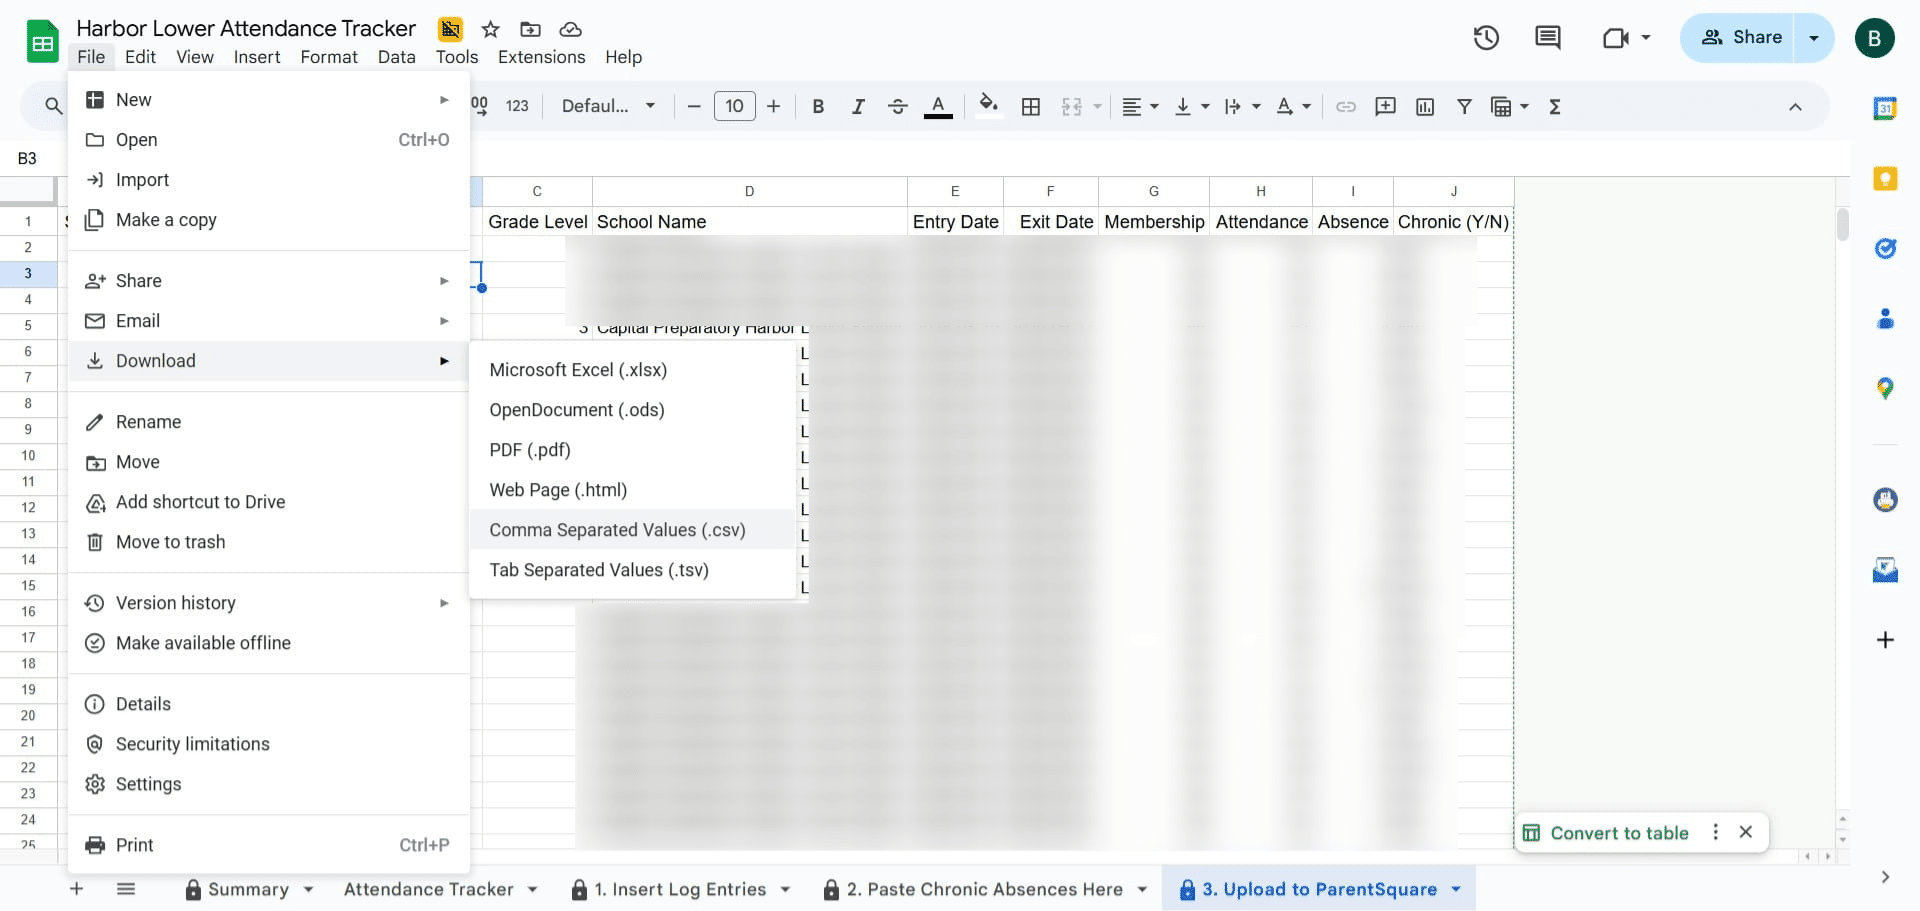
Click on "File"
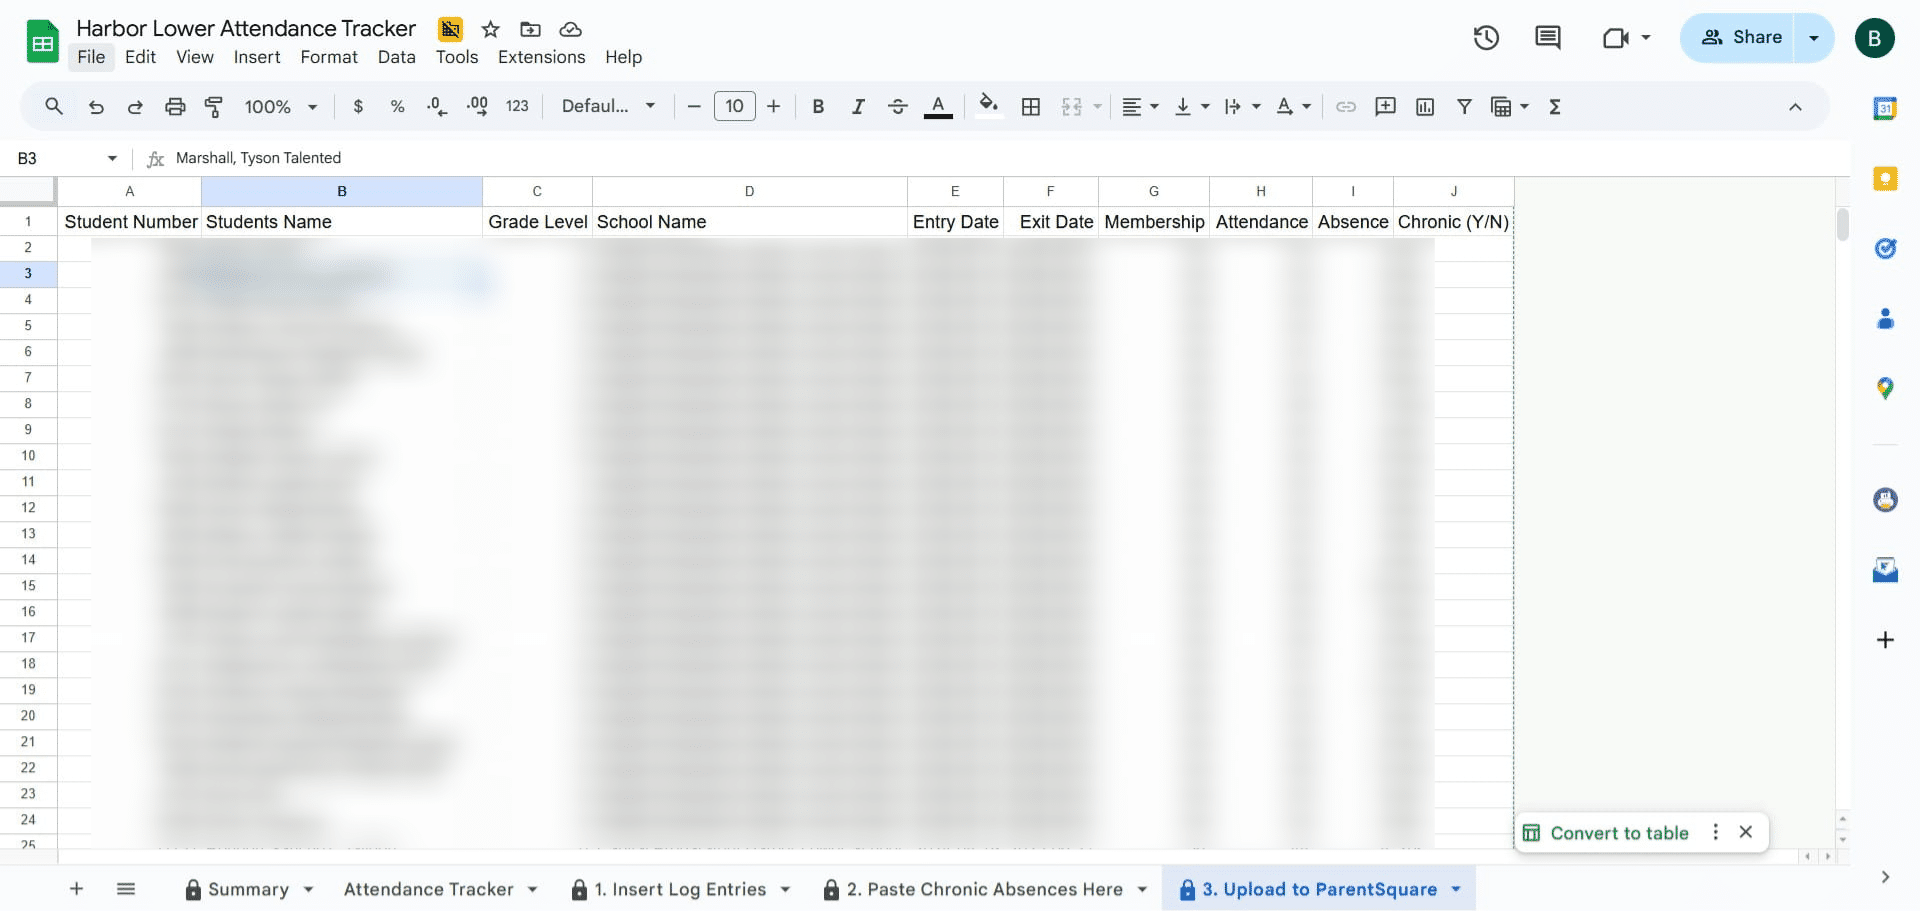
Click Download
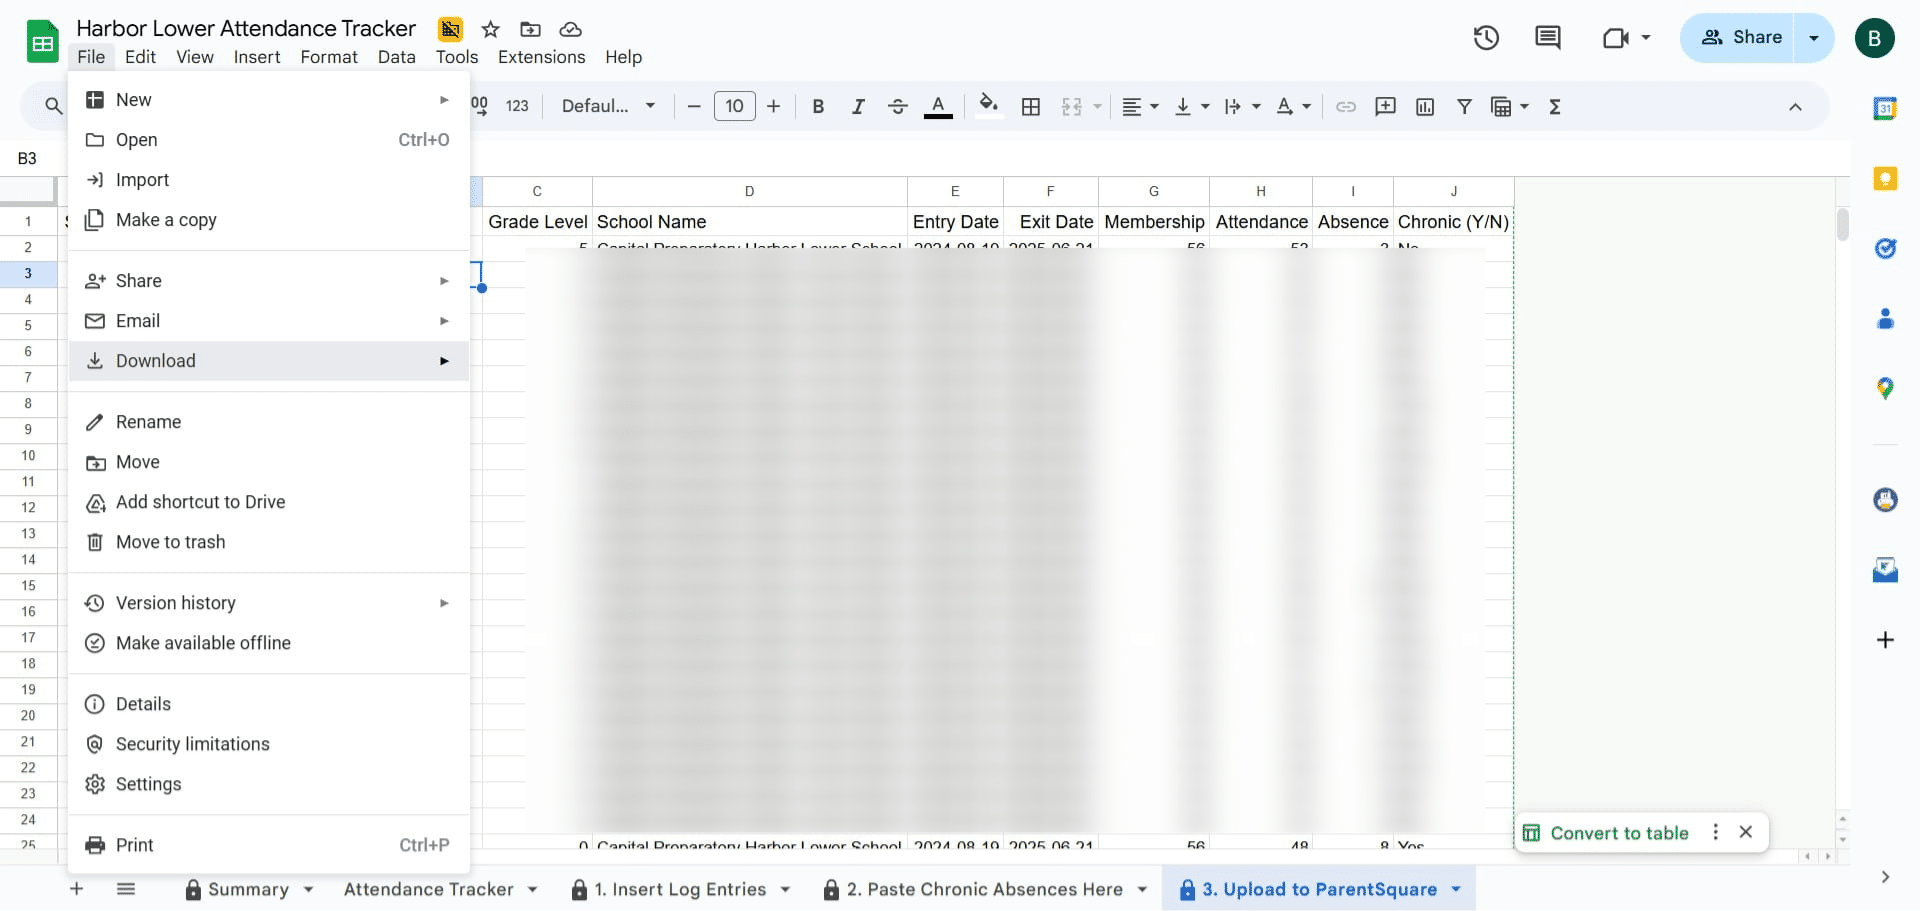
Click on "Comma Separated Values (.csv)"
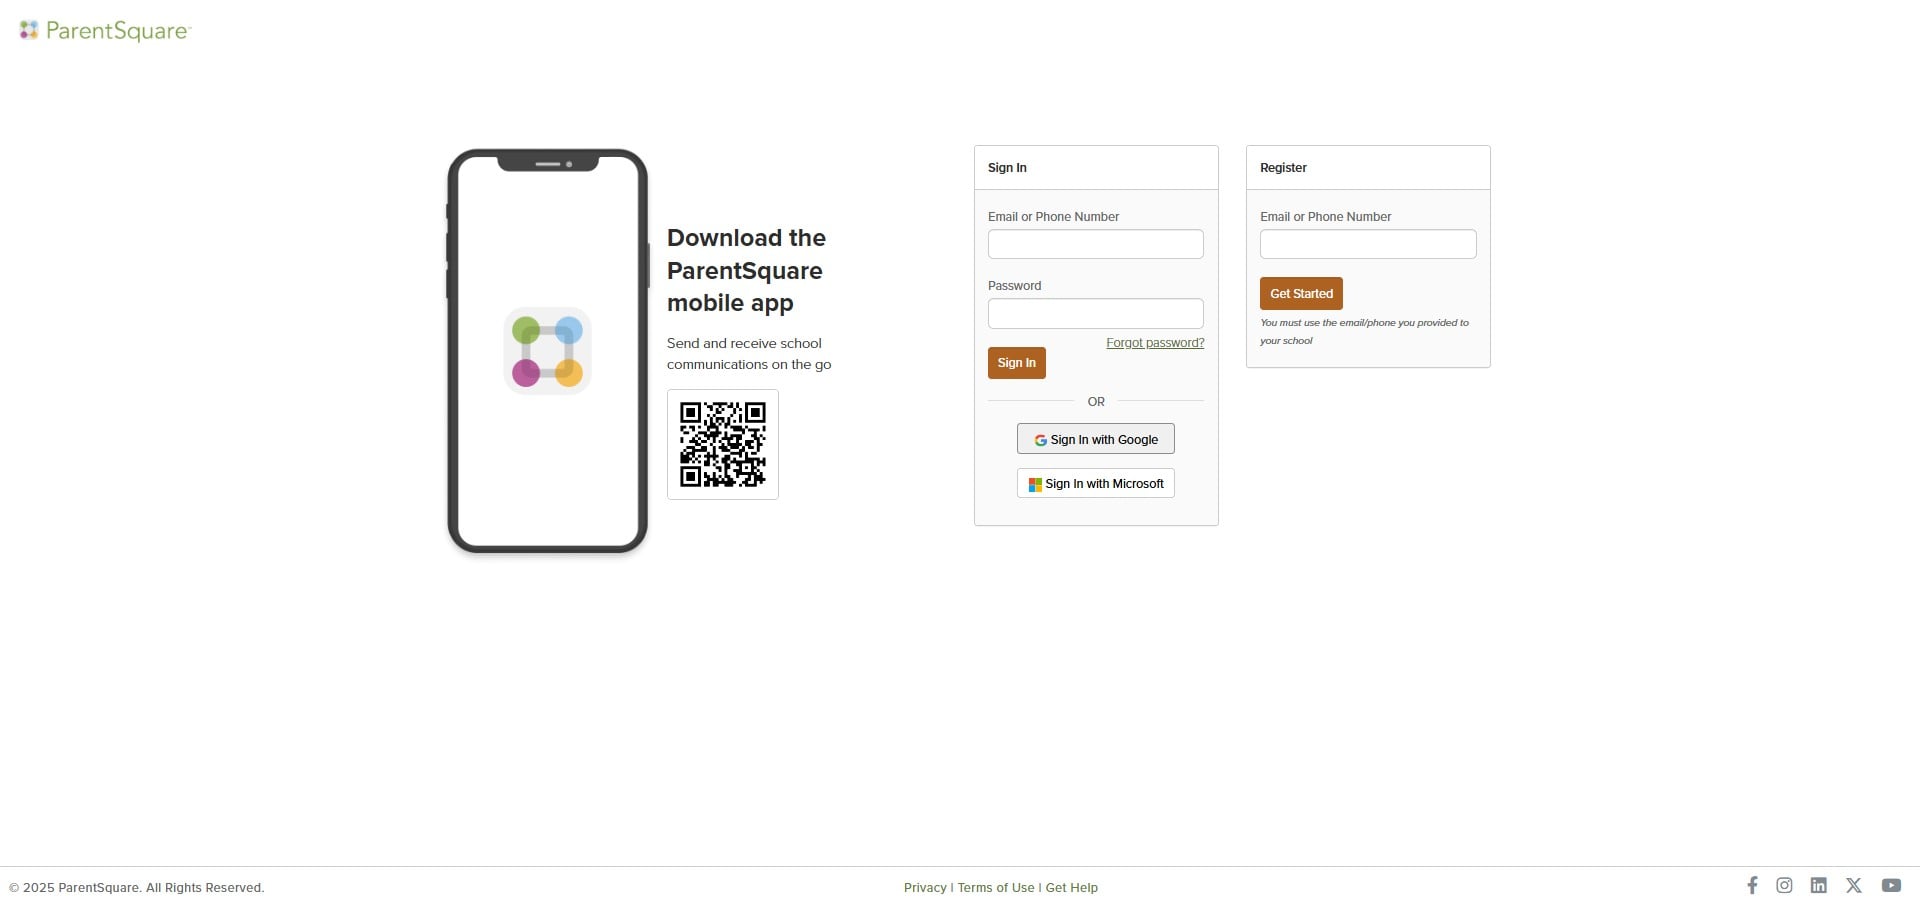
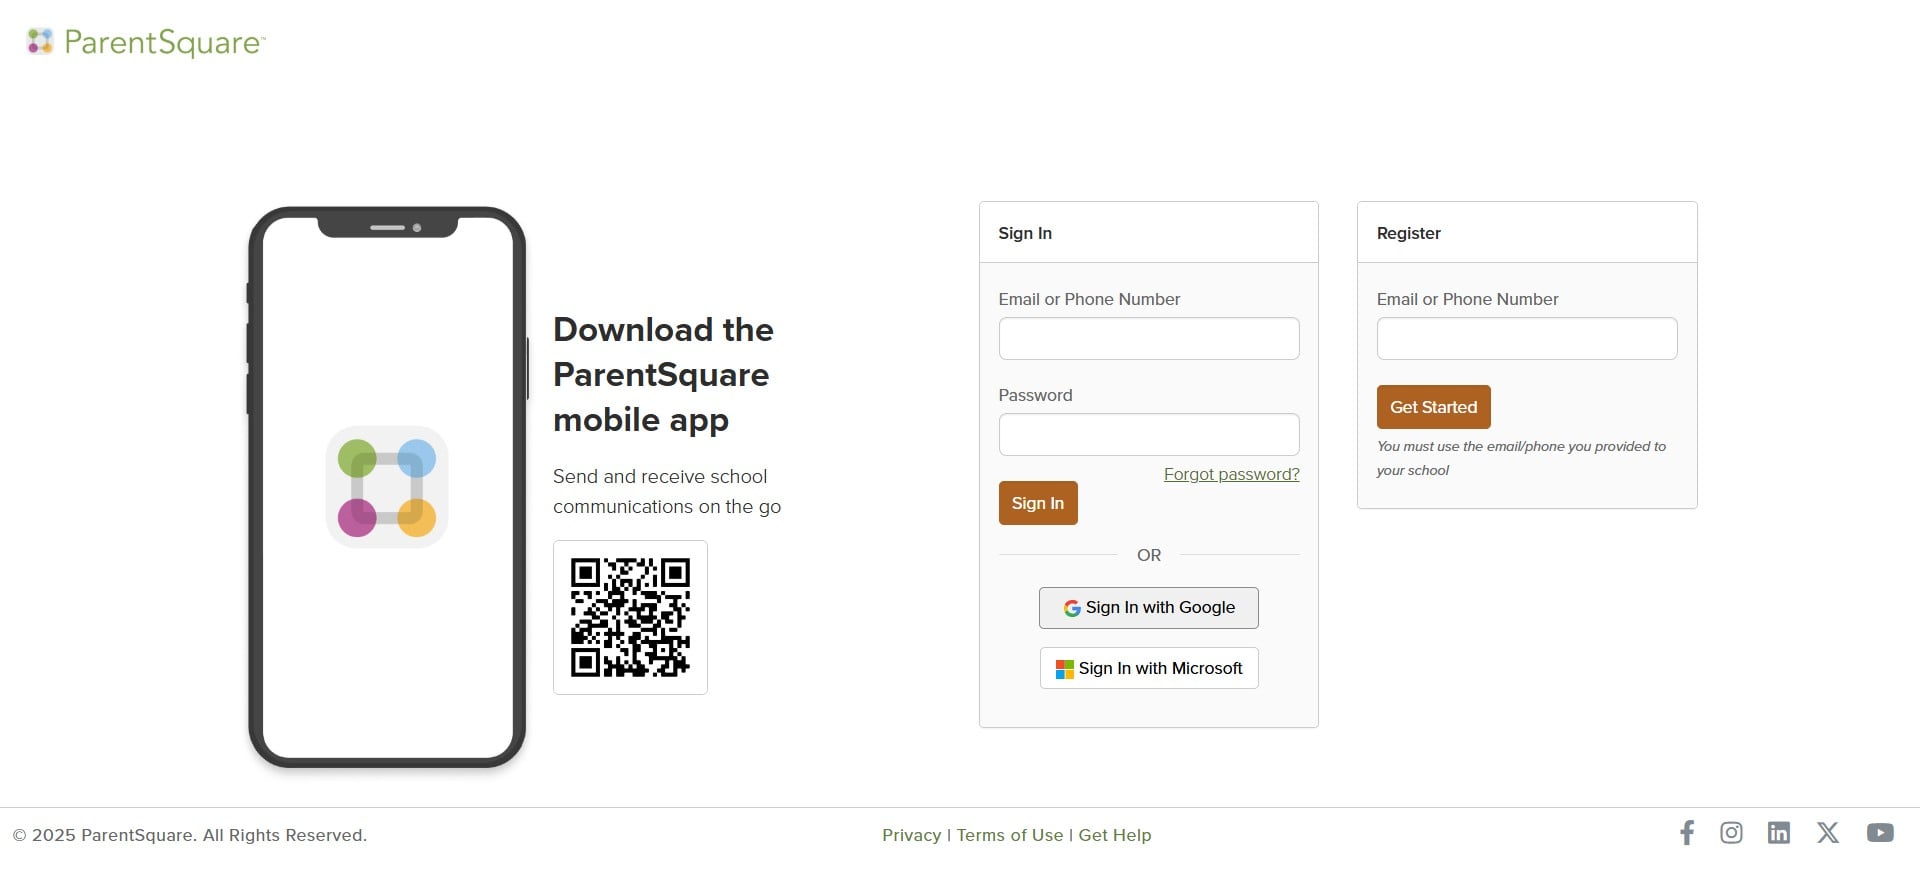
Sign into ParentSquare
Parentsquare.com
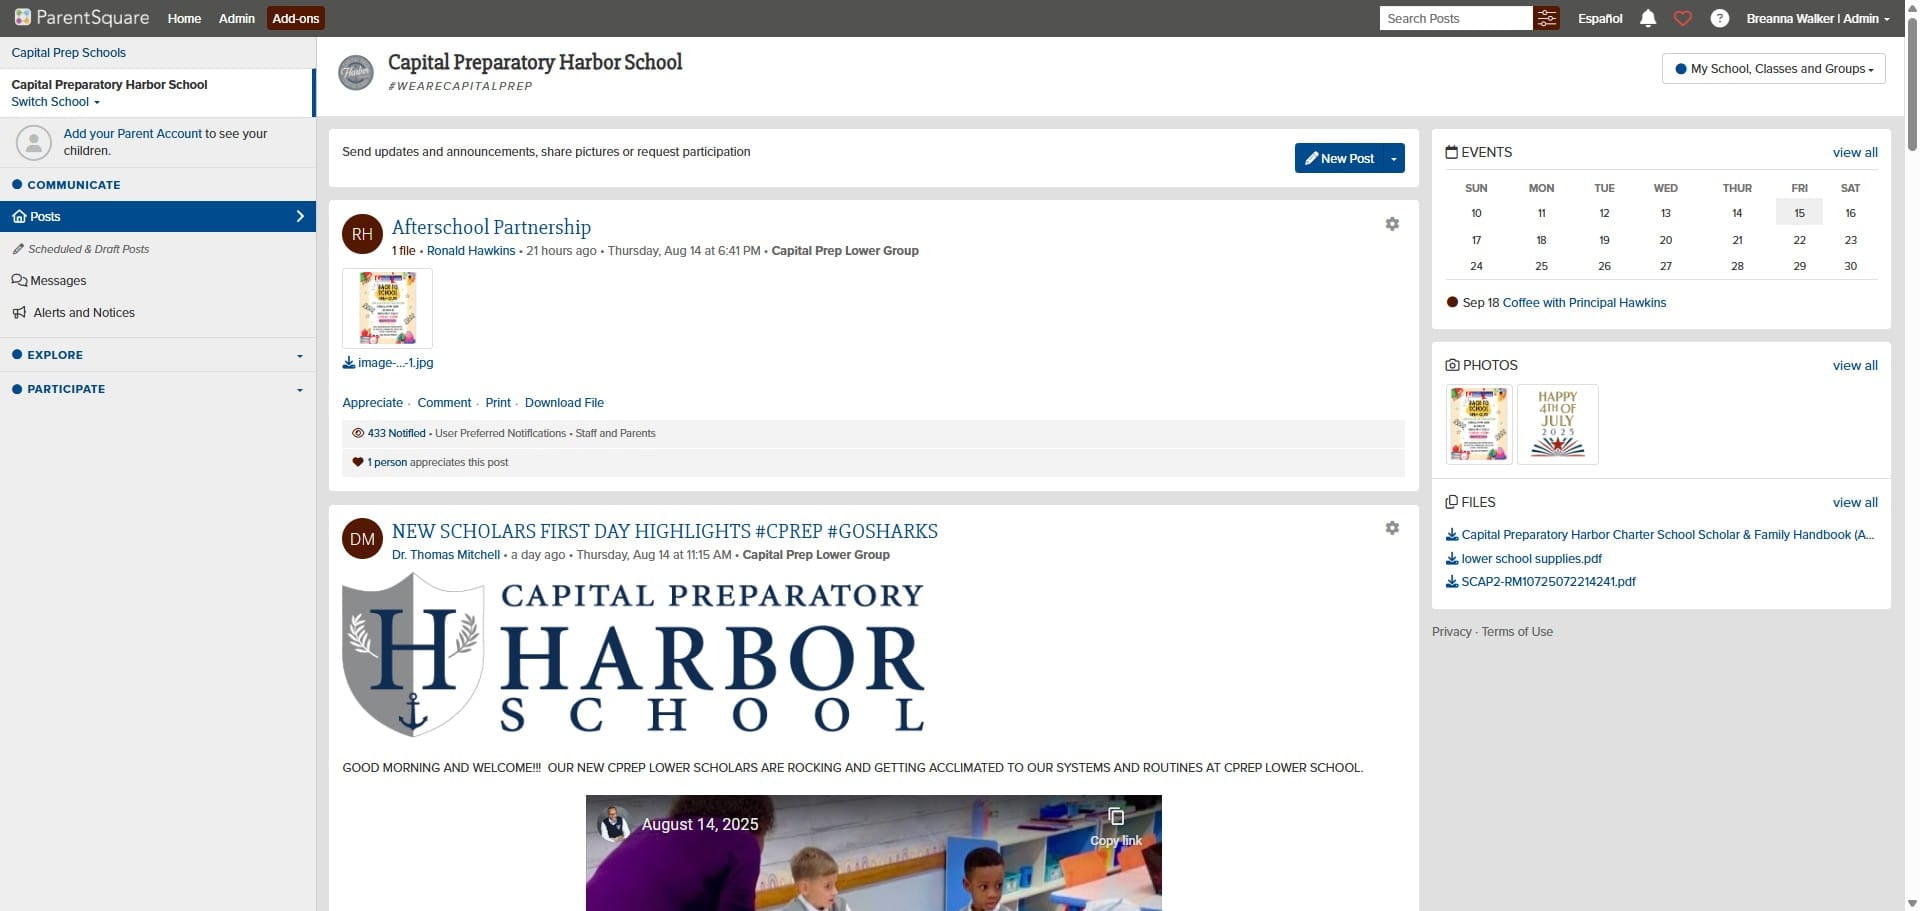
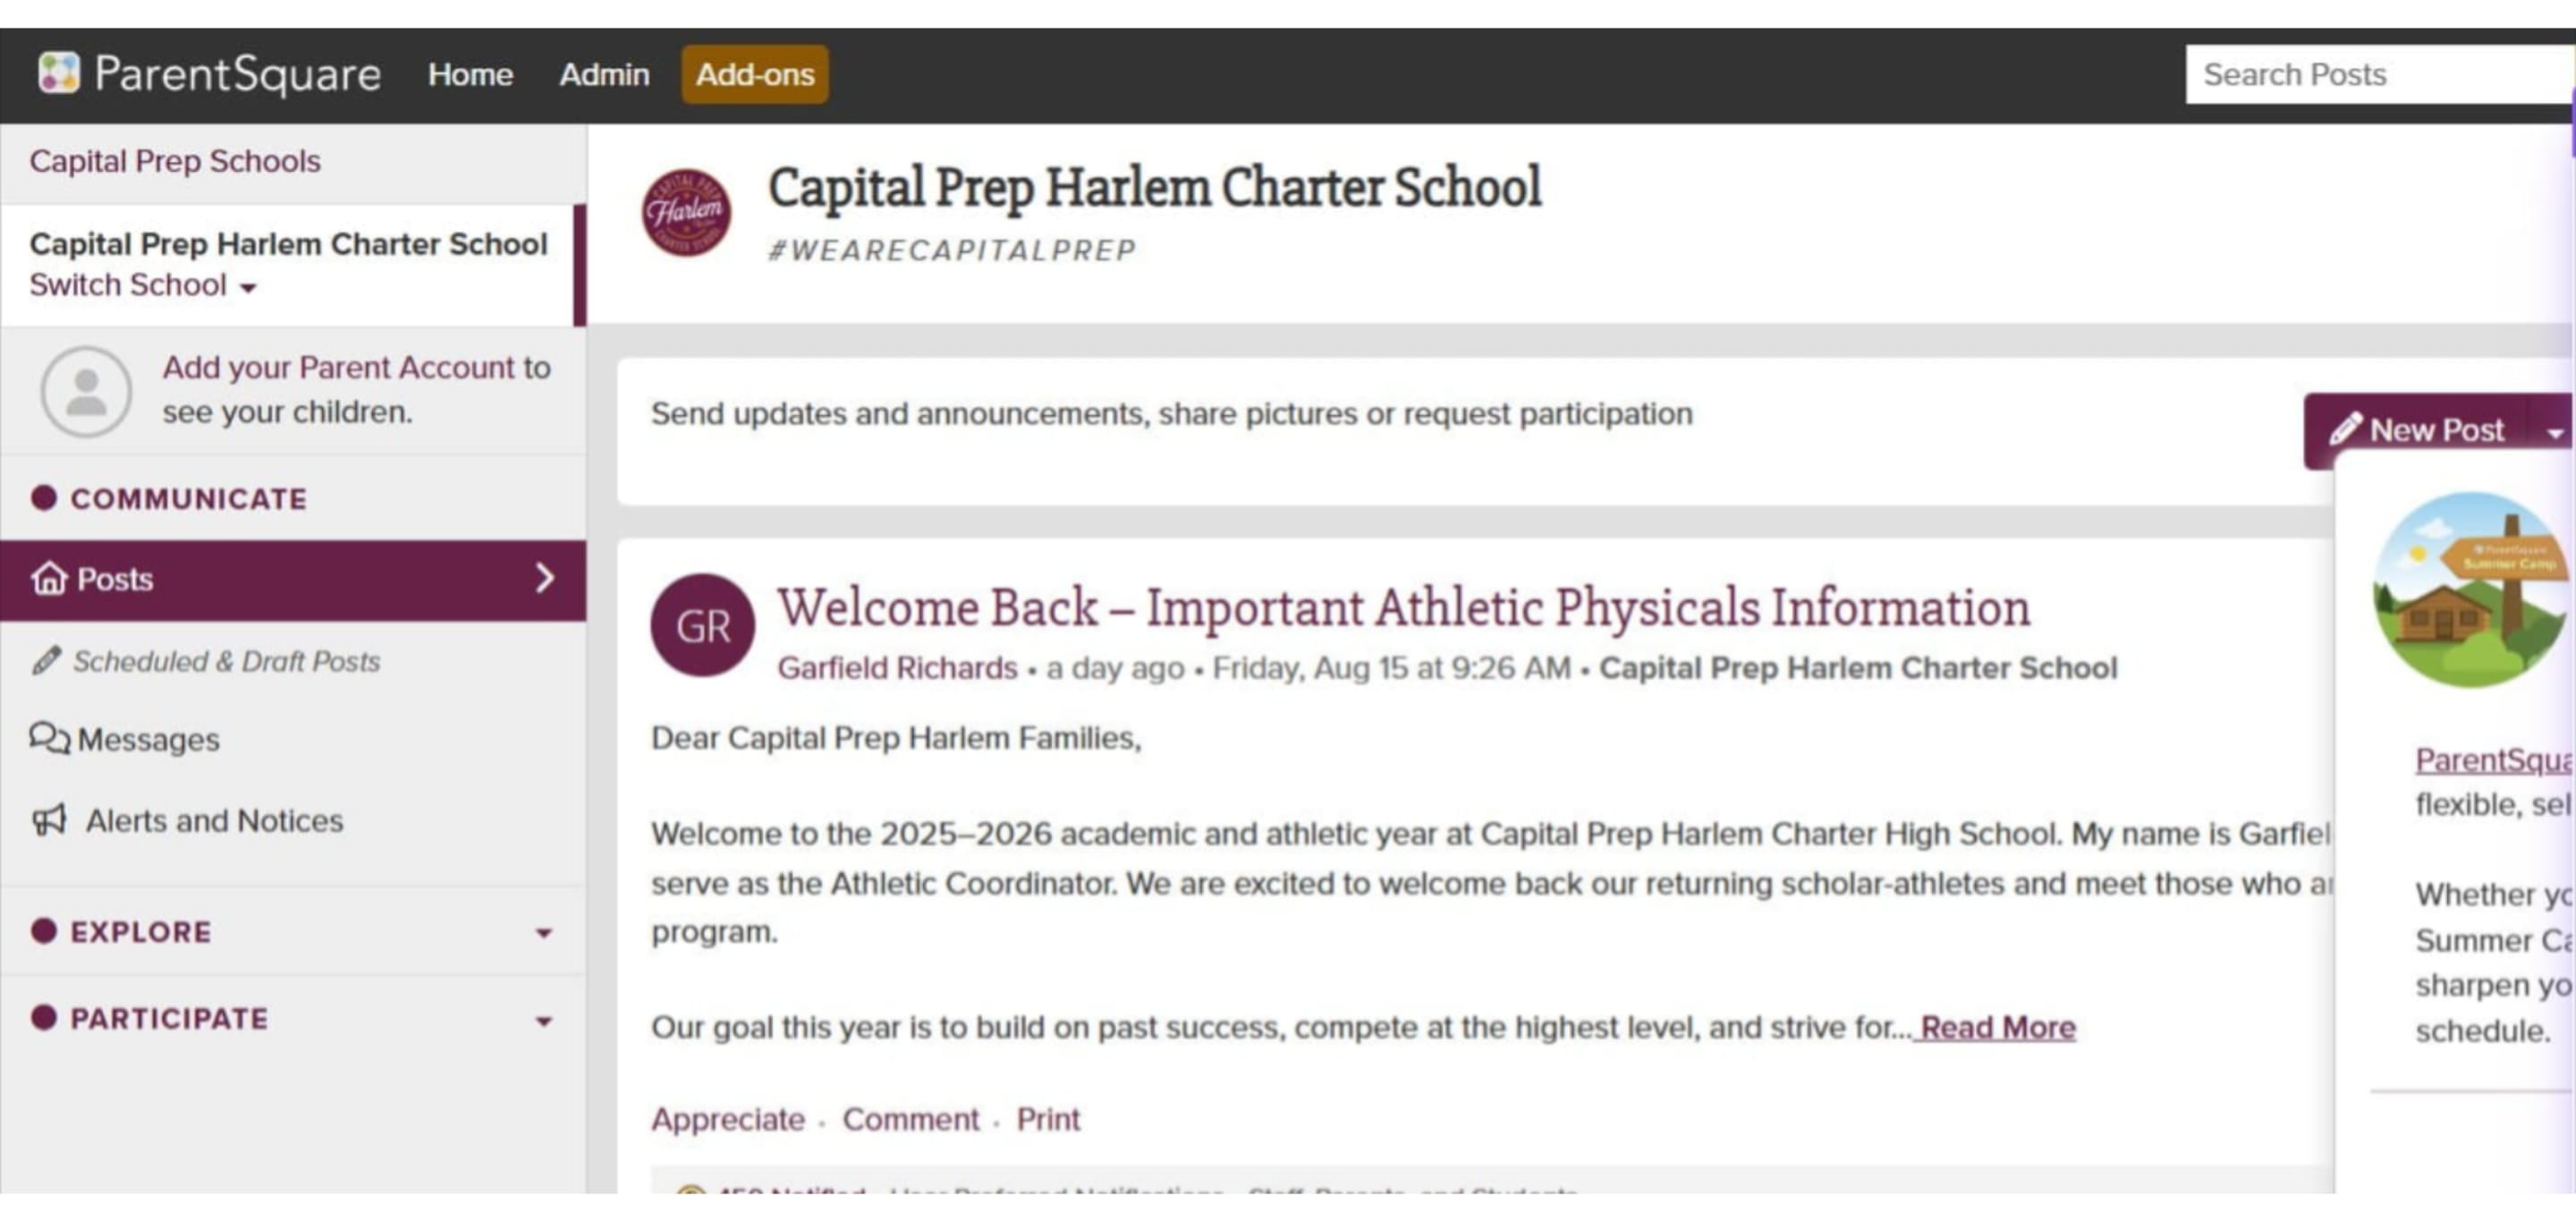
Click on "Add-ons"
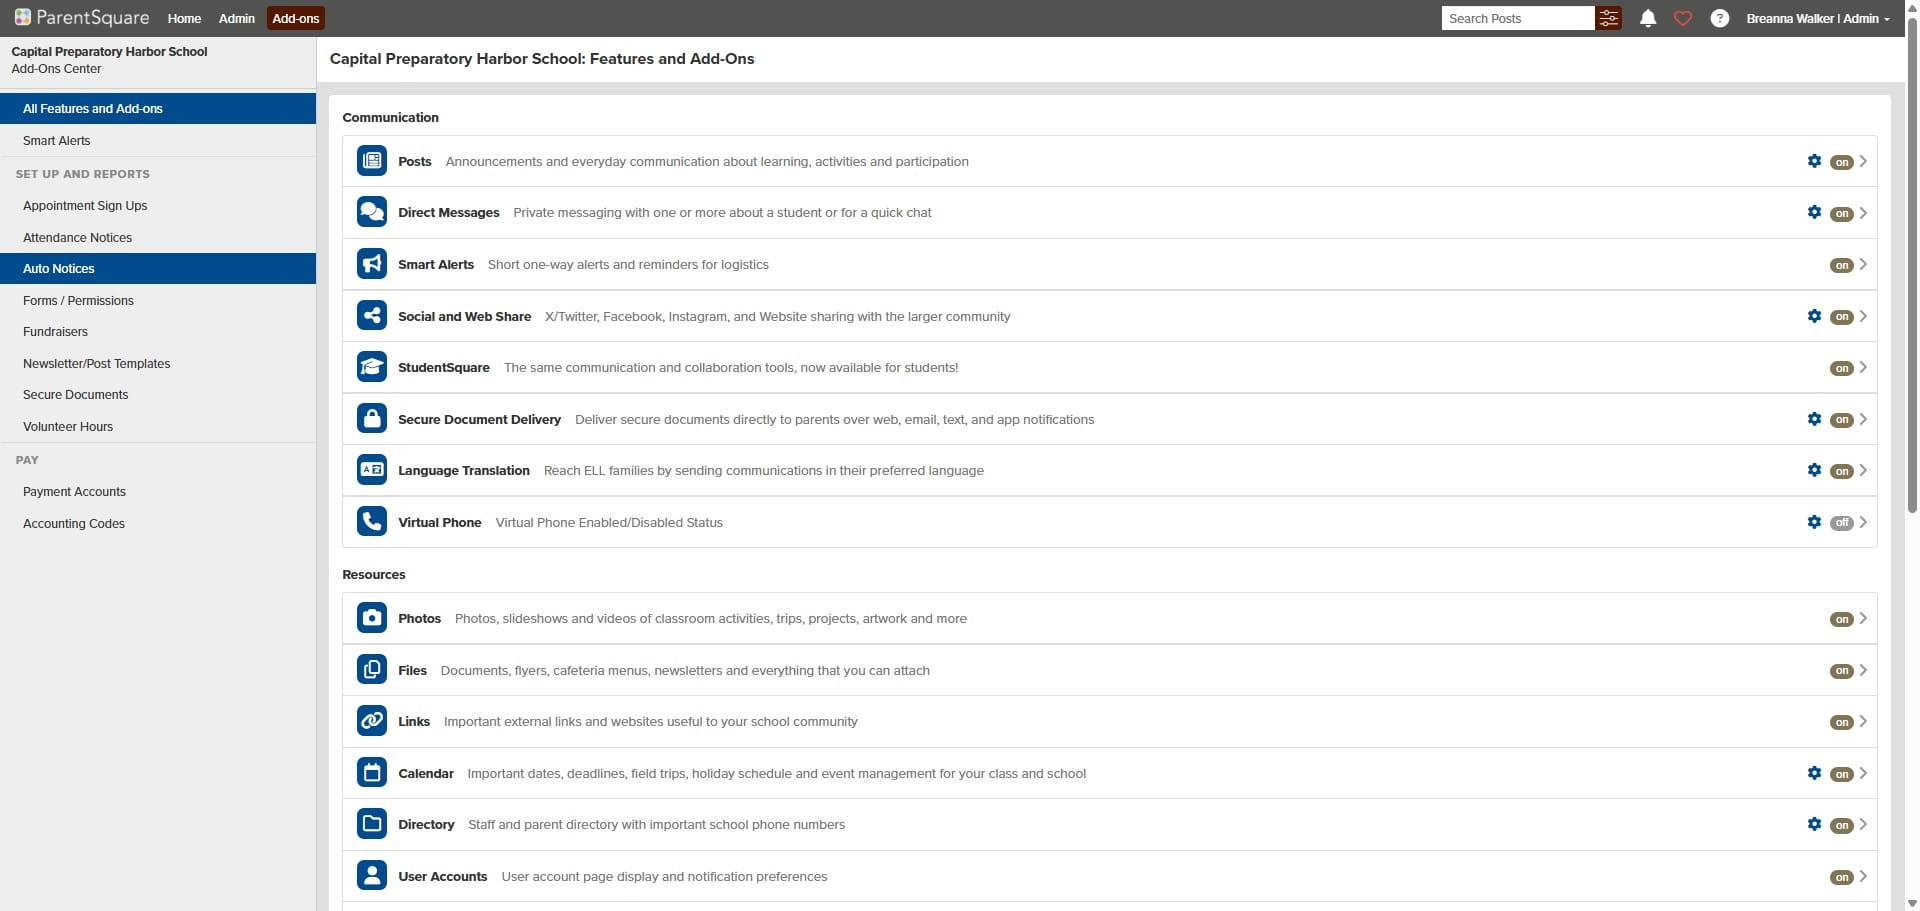
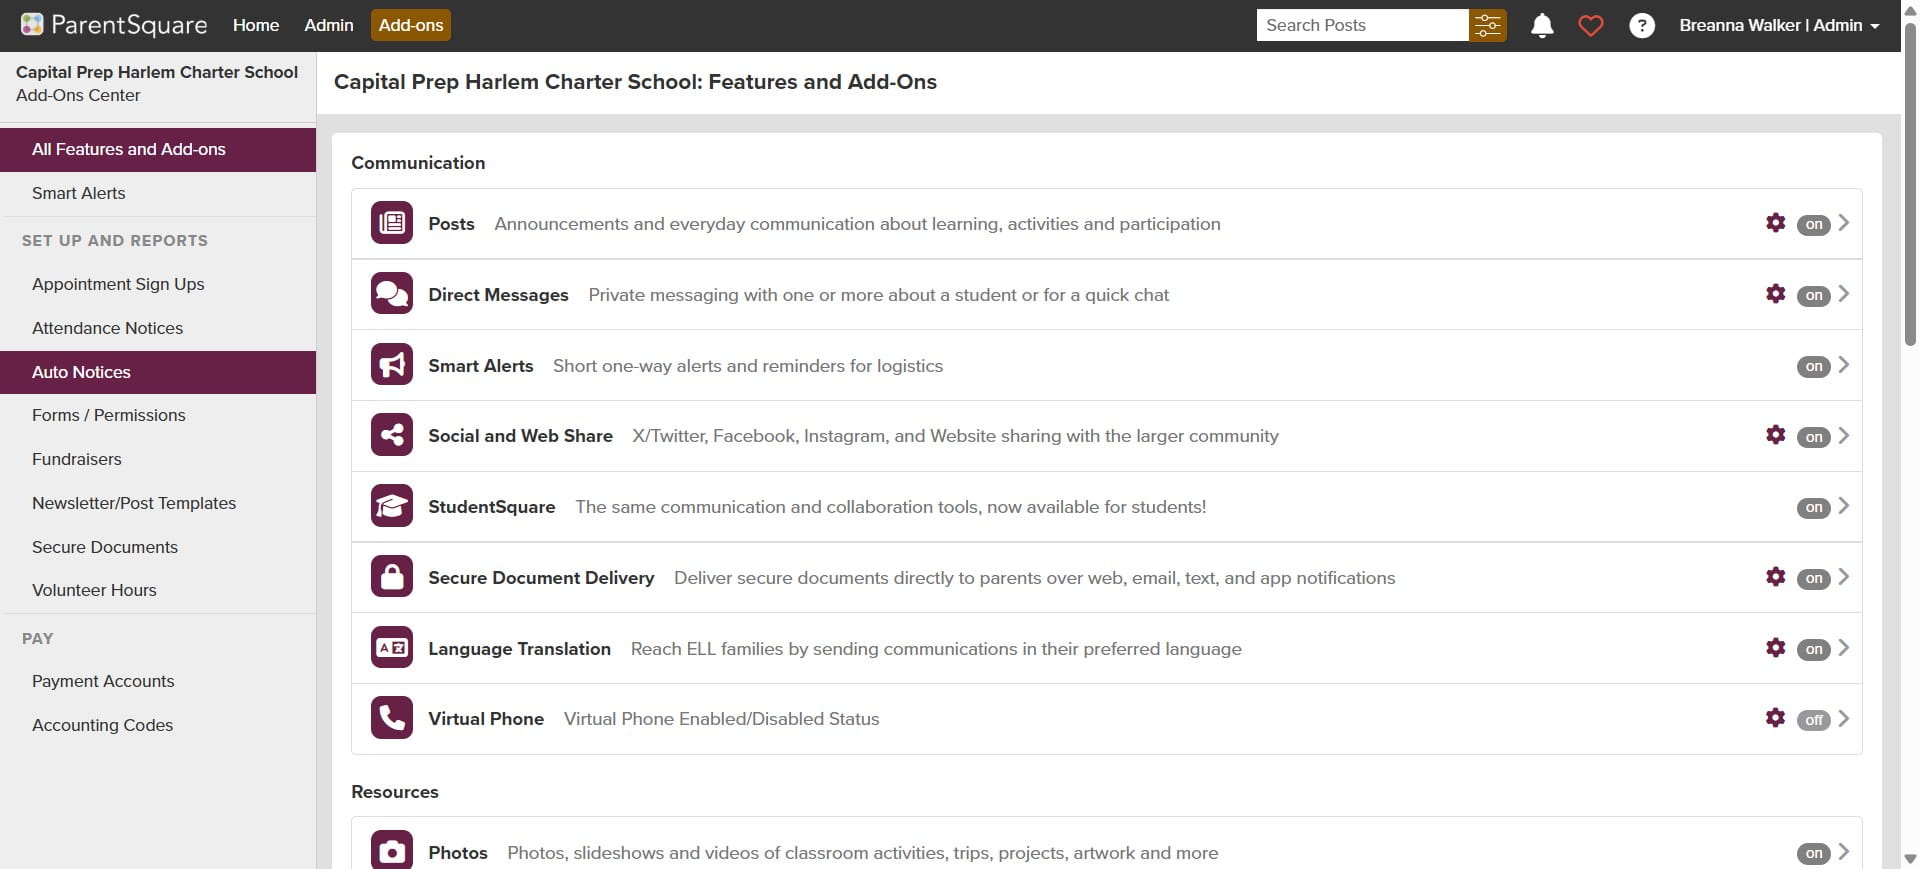
Click on auto notices
Look for Excessive Absences then Click on "Send From Template"
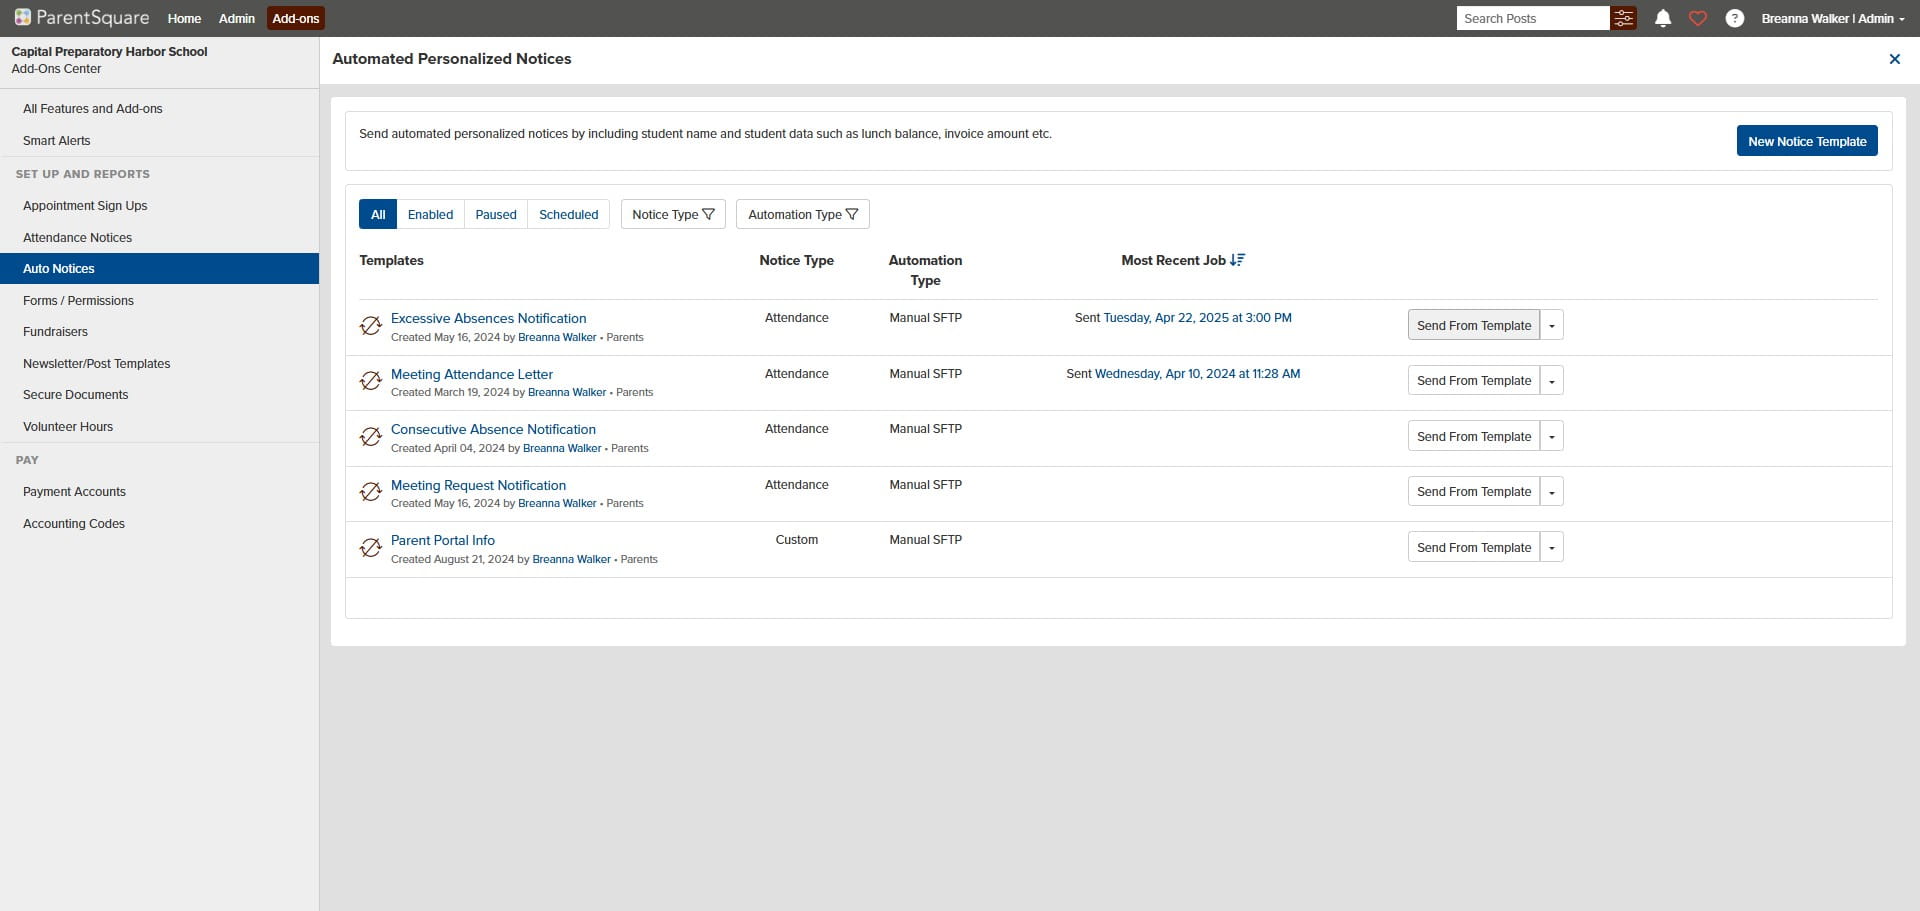
Click on "Select Files to Upload"
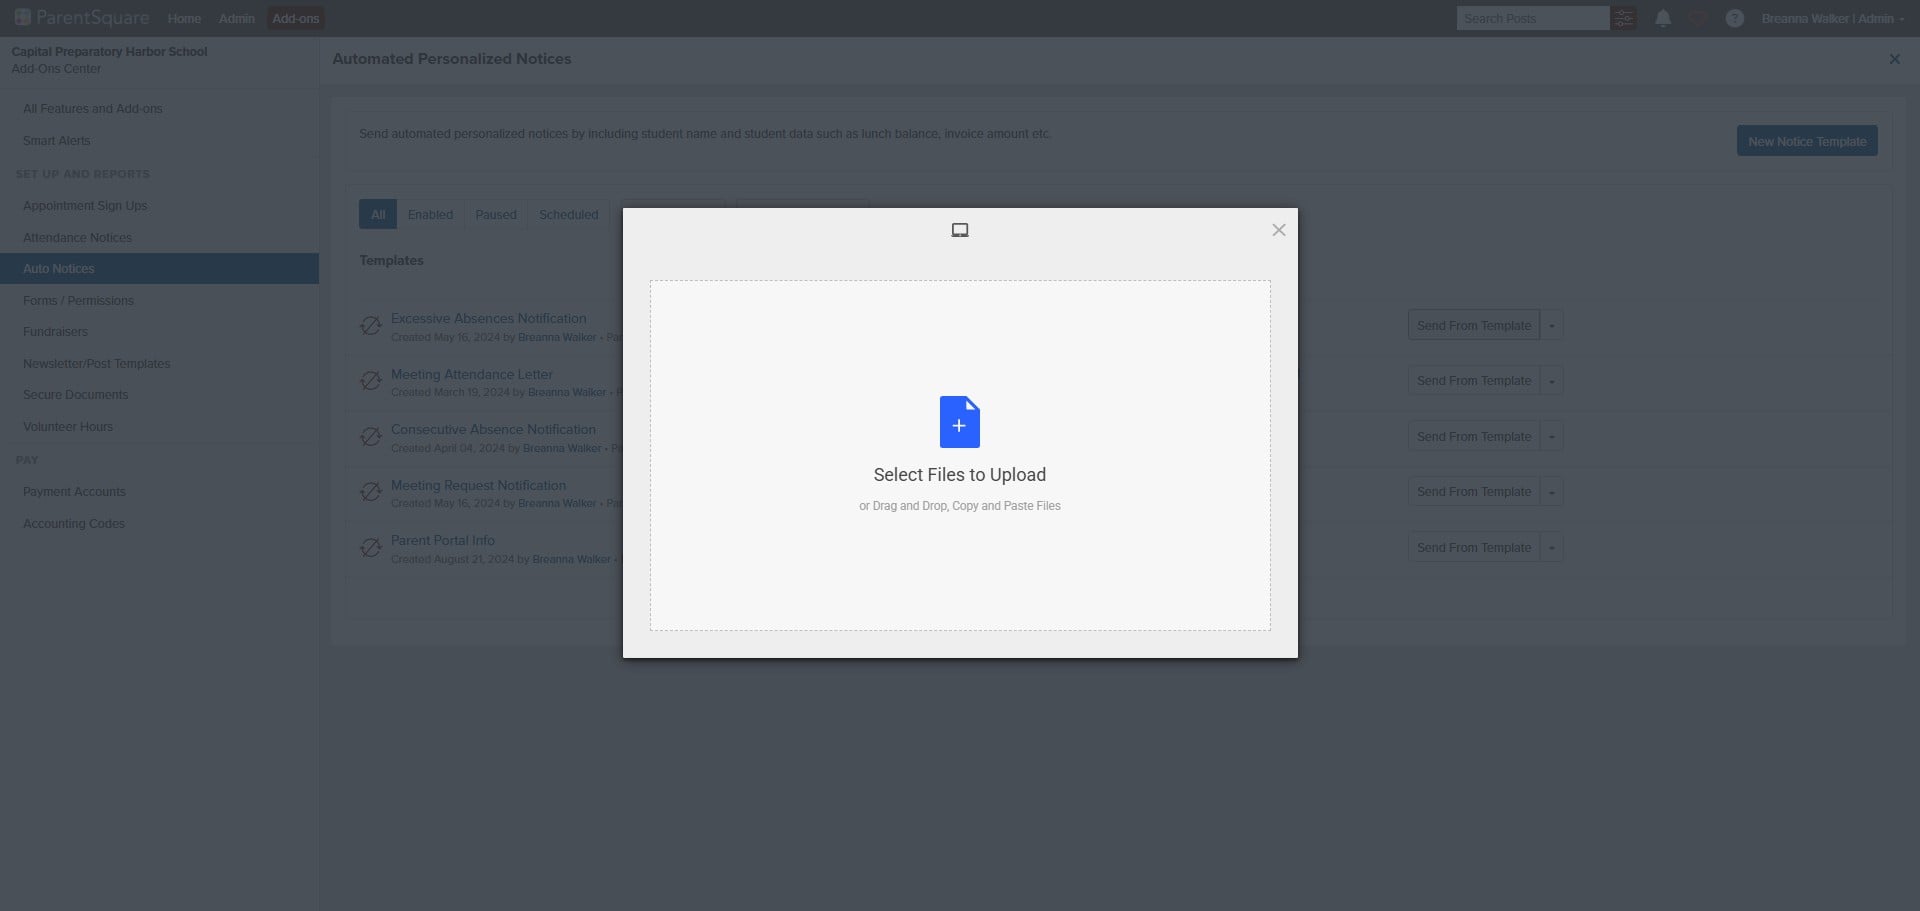
Click on "Upload" and upload the file you just downloaded from the attendance tracker
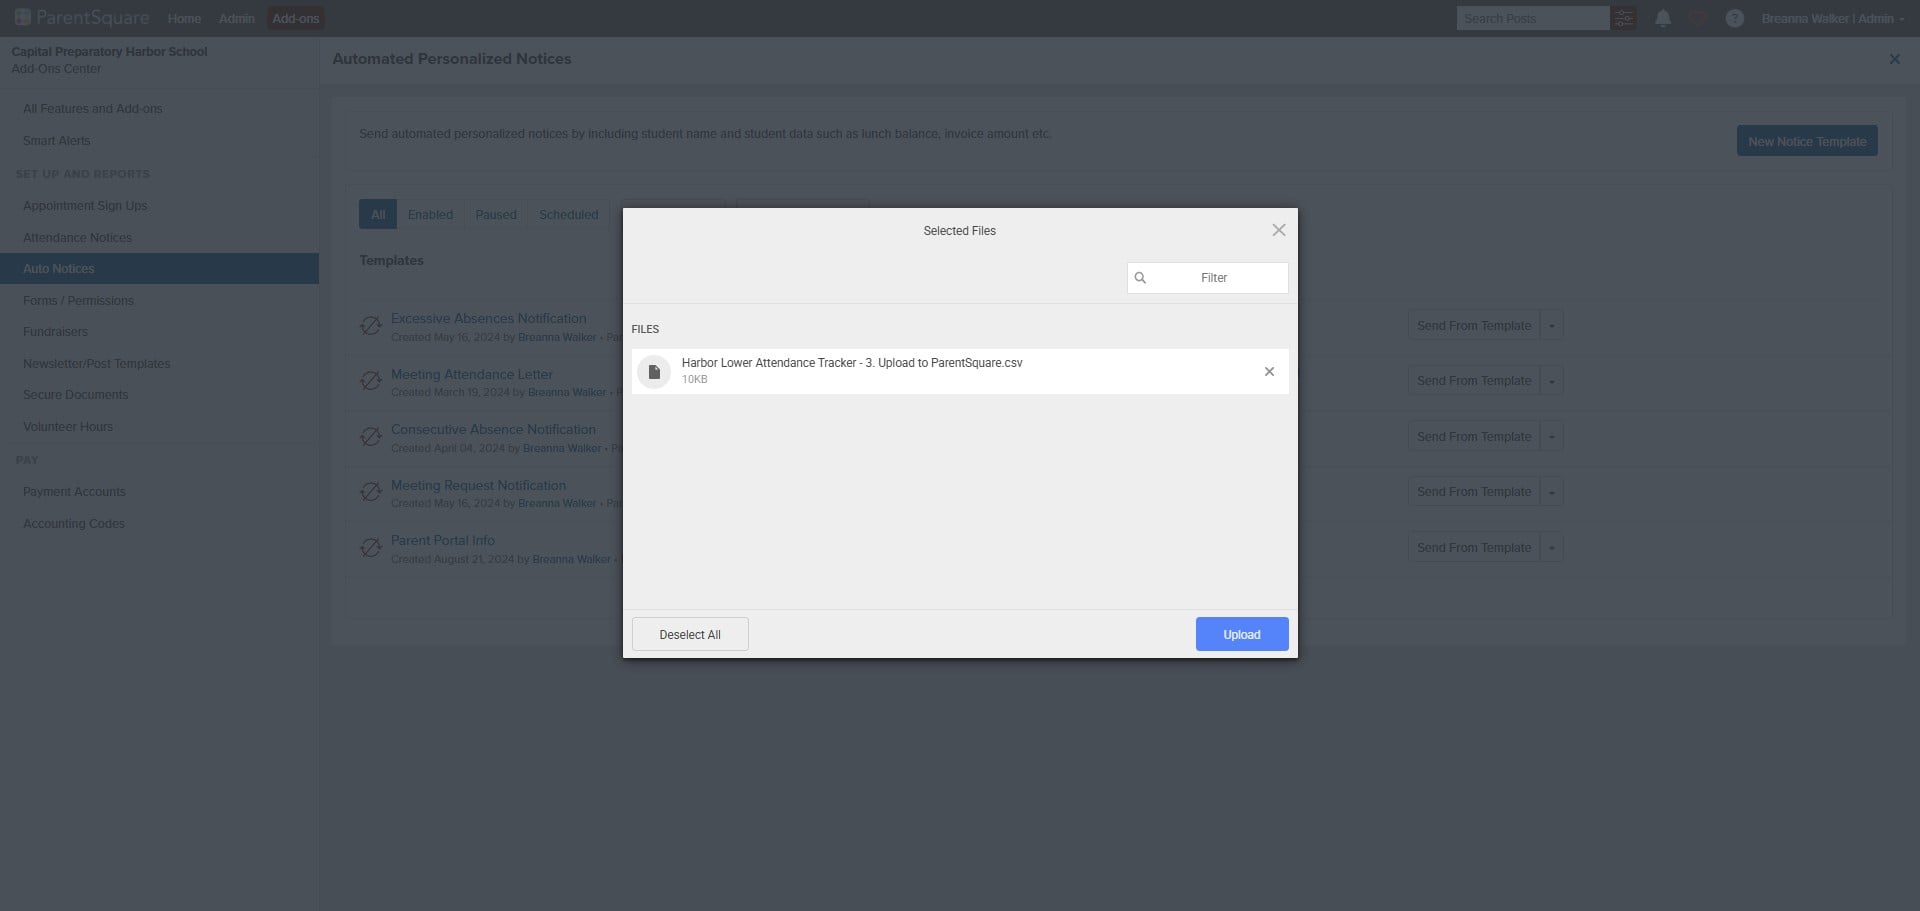
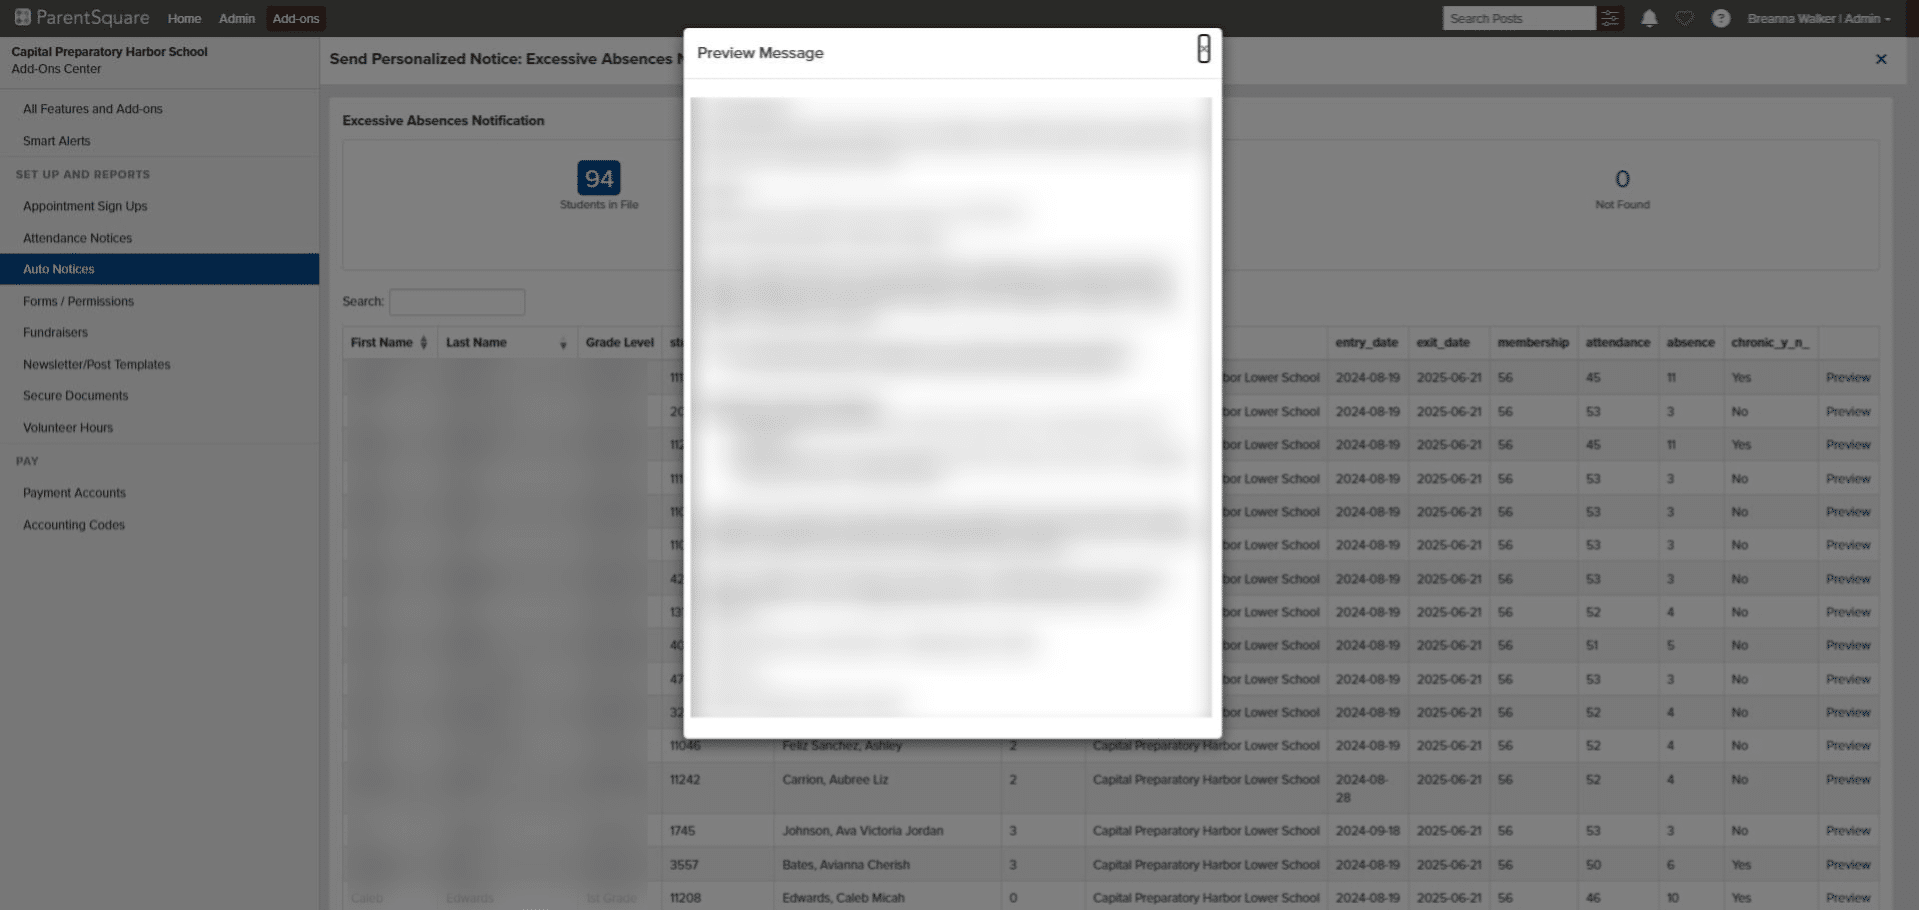
Click on "Preview" for some students to ensure the data is correct
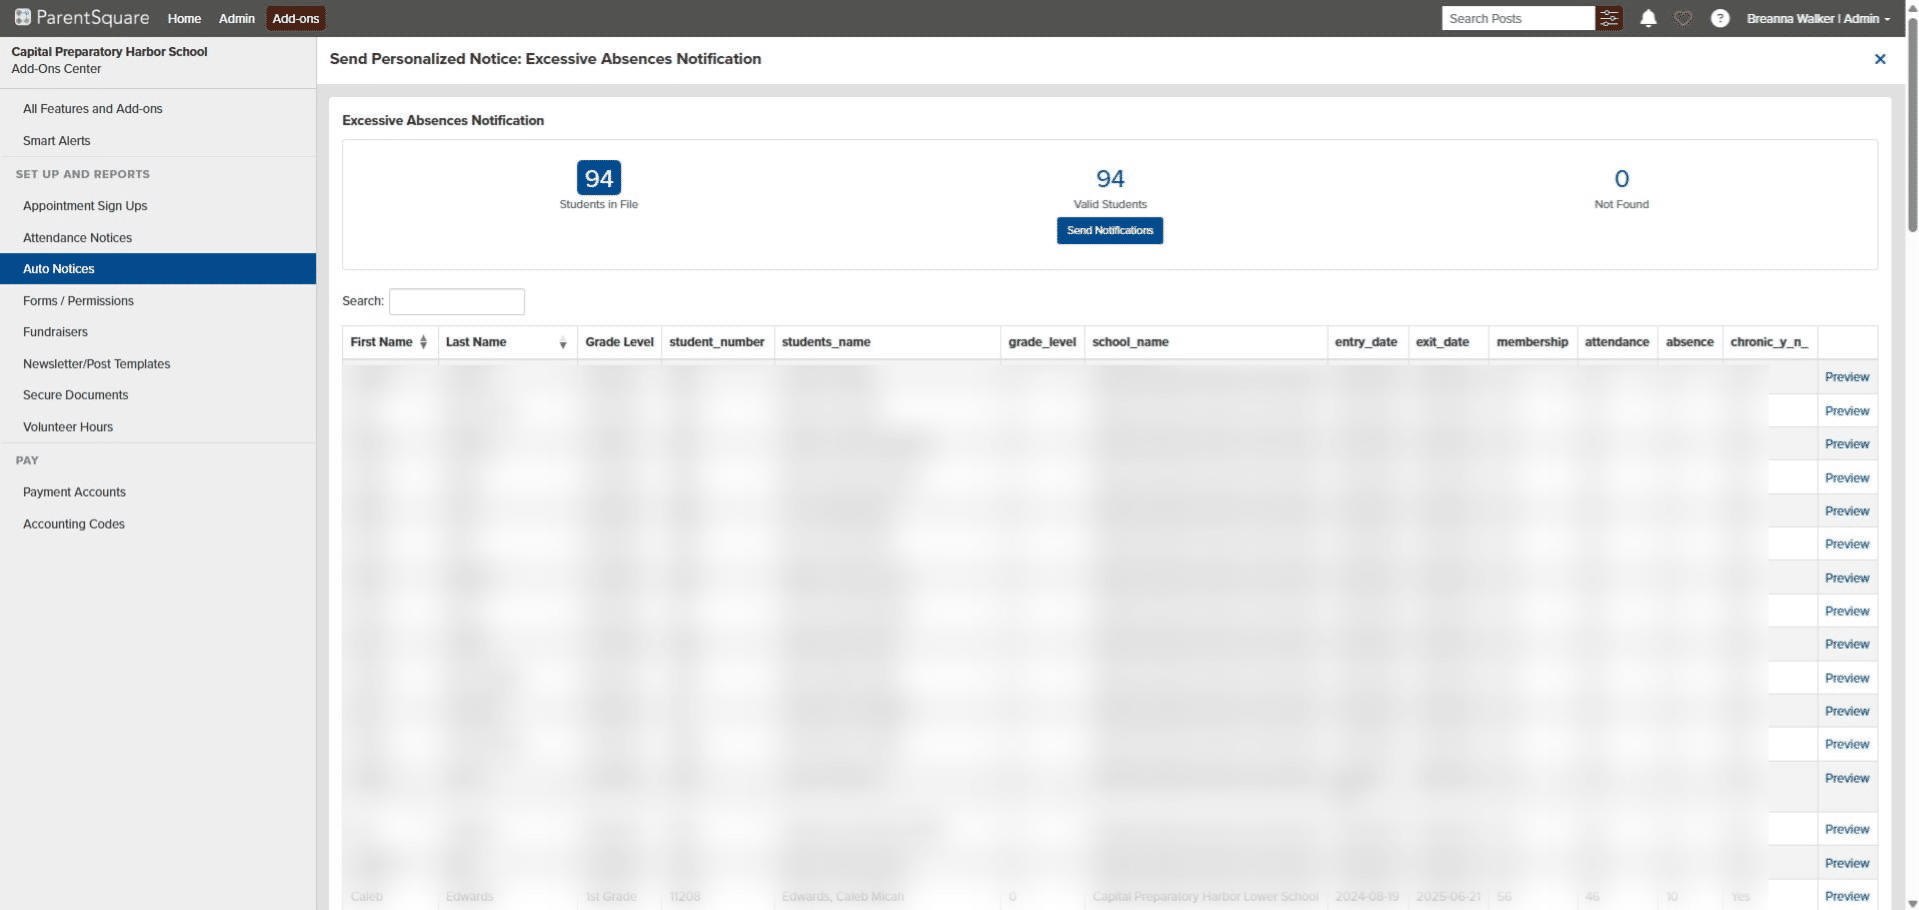
Review the information then Click on "×"
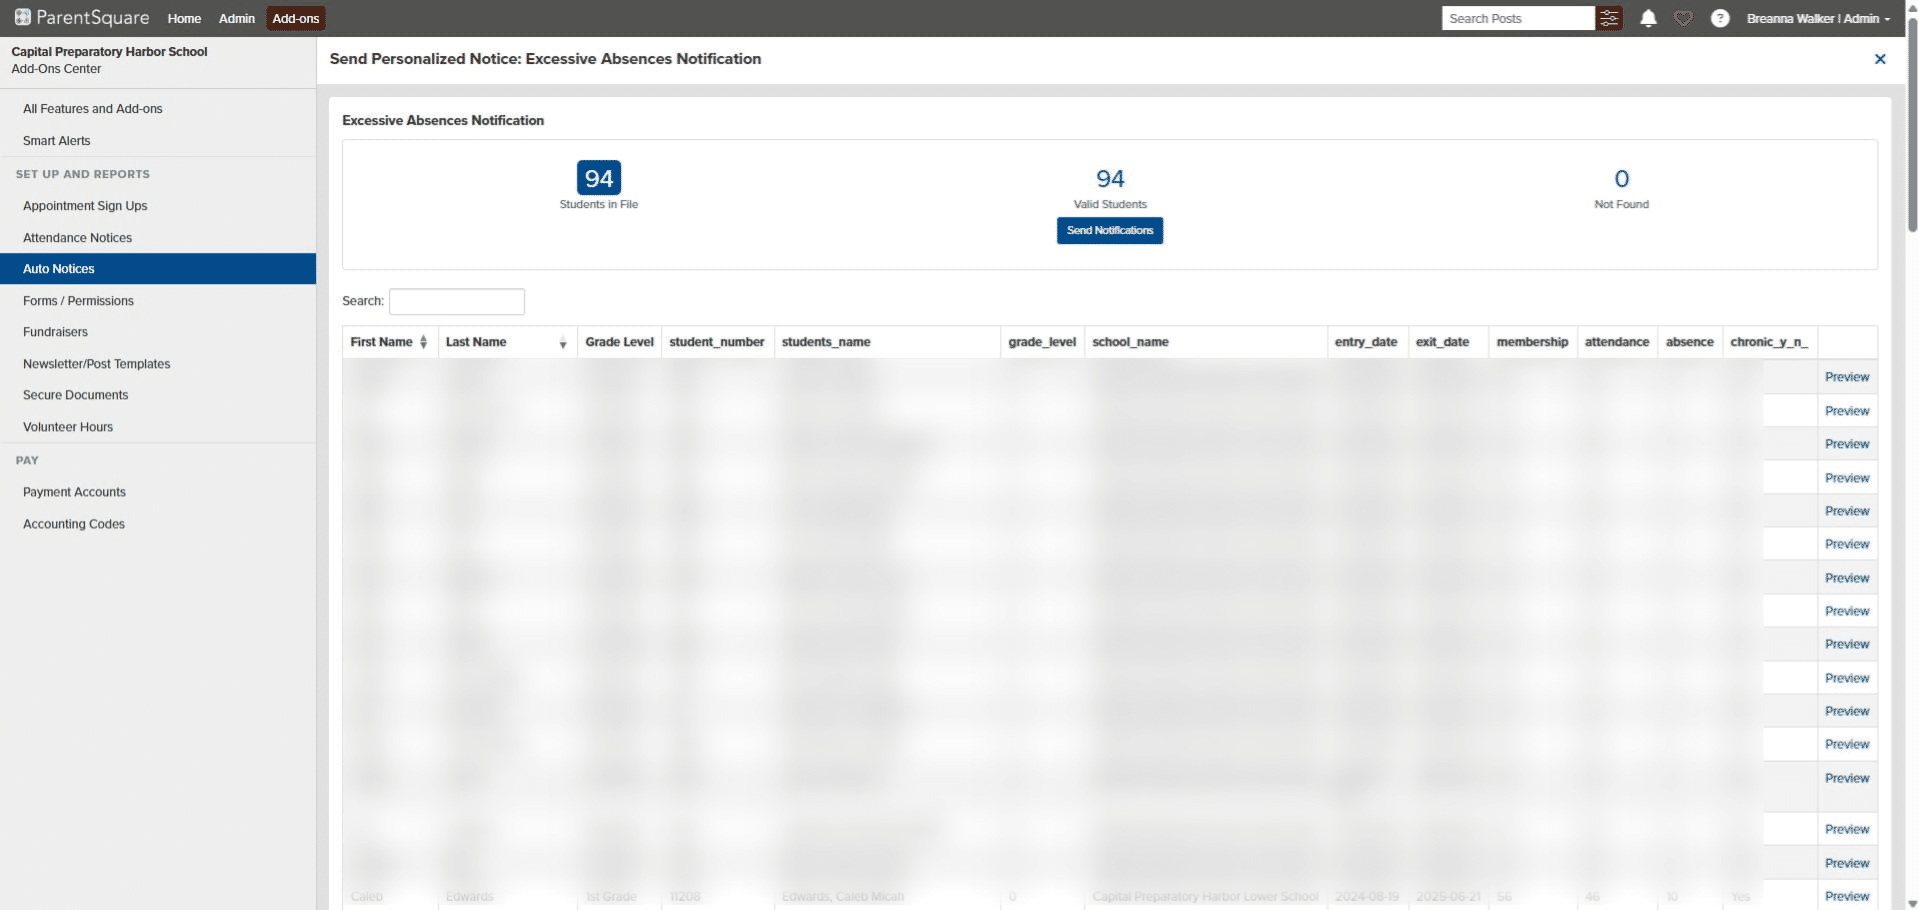
Click Send Notifications to send via ParentSquare
Log the notifications in PowerSchool
Go back to your attendance tracker -> 3. ParentSquare Upload
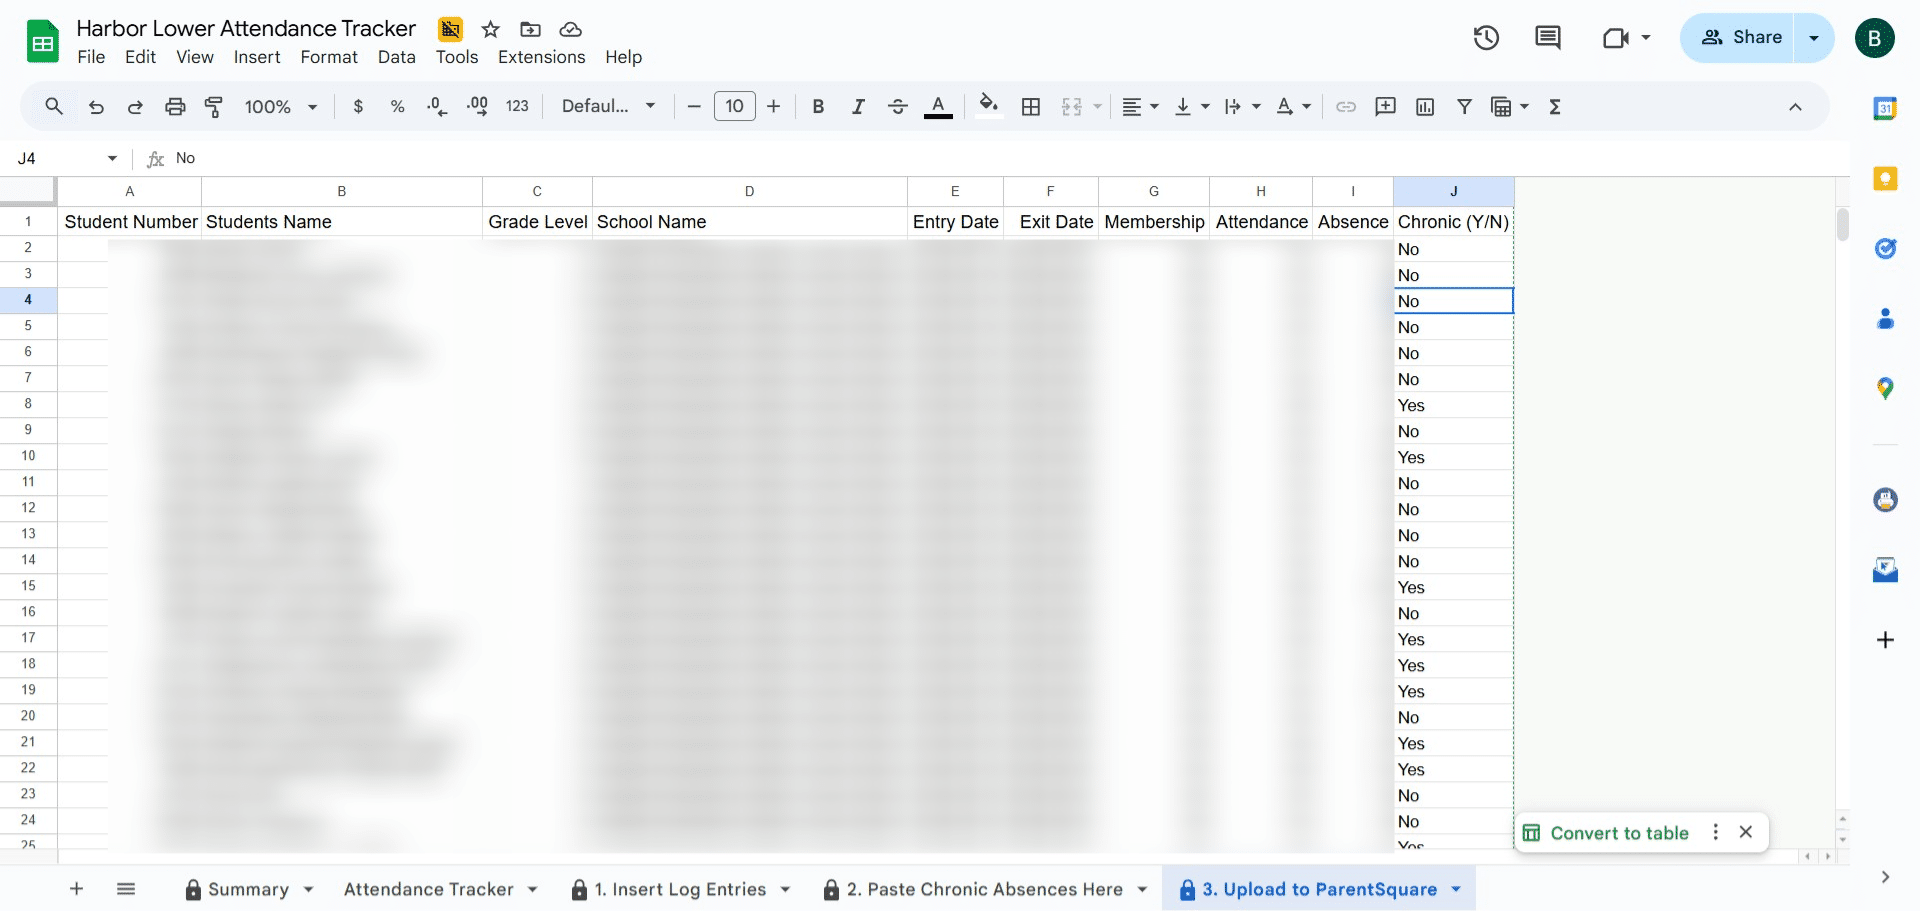
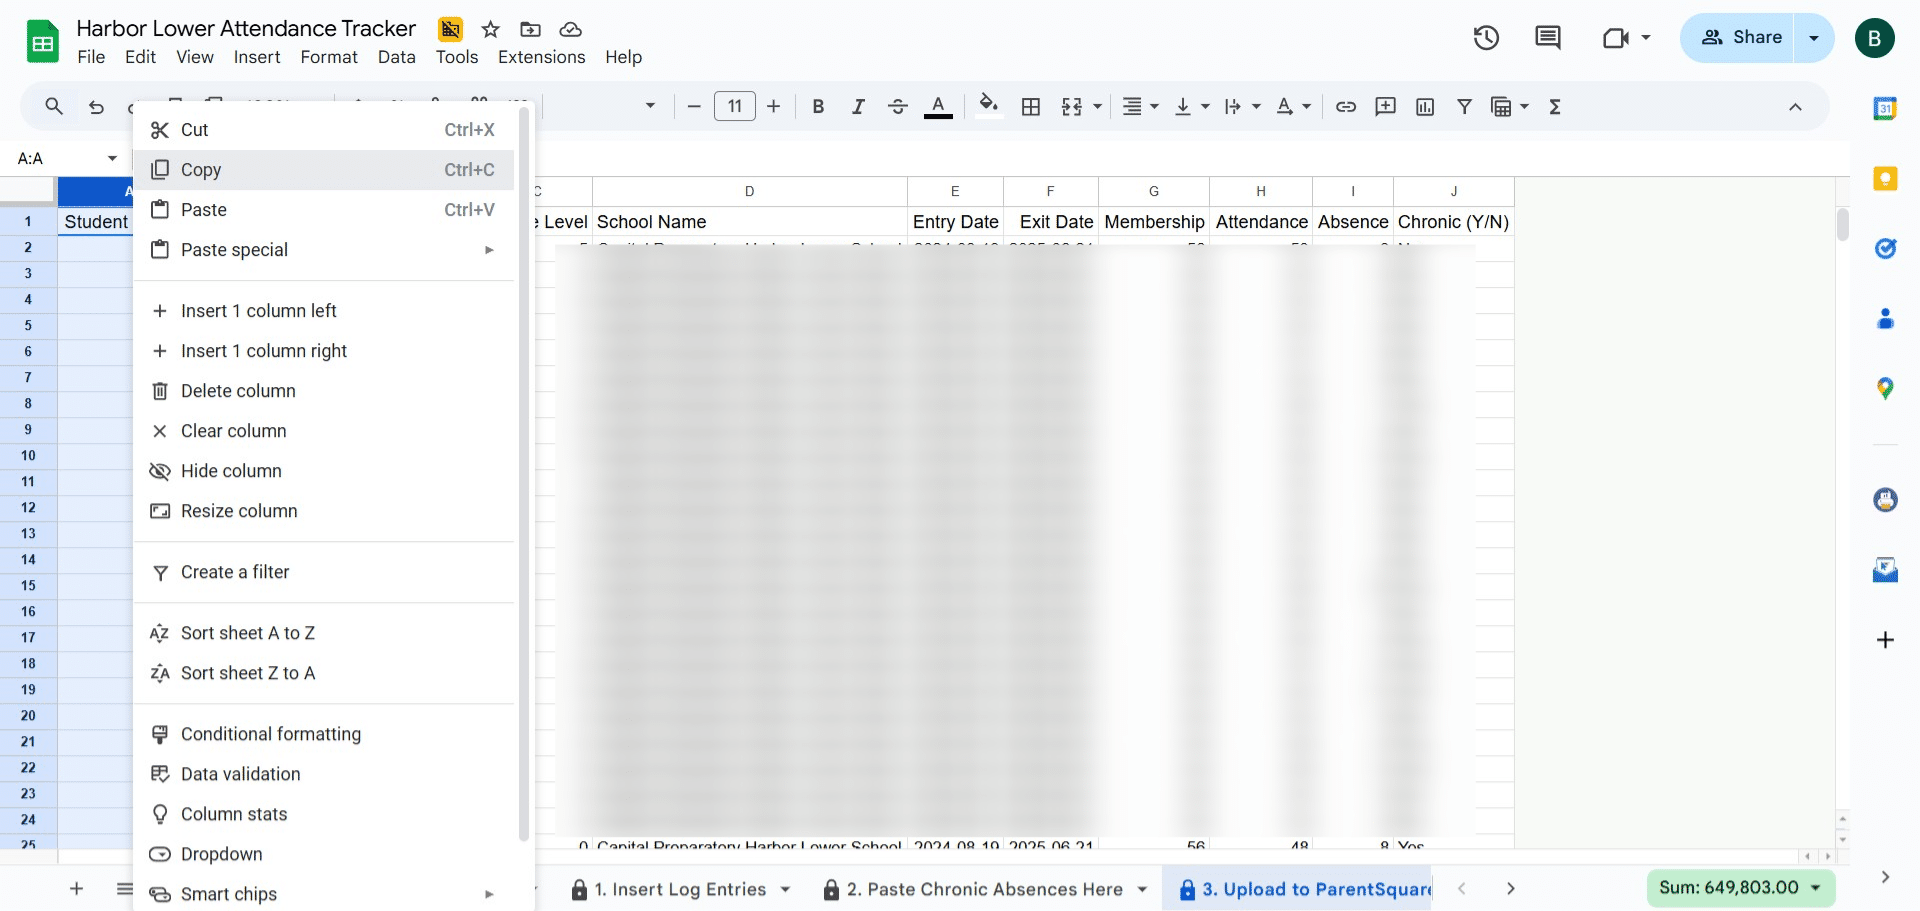
Copy Column A
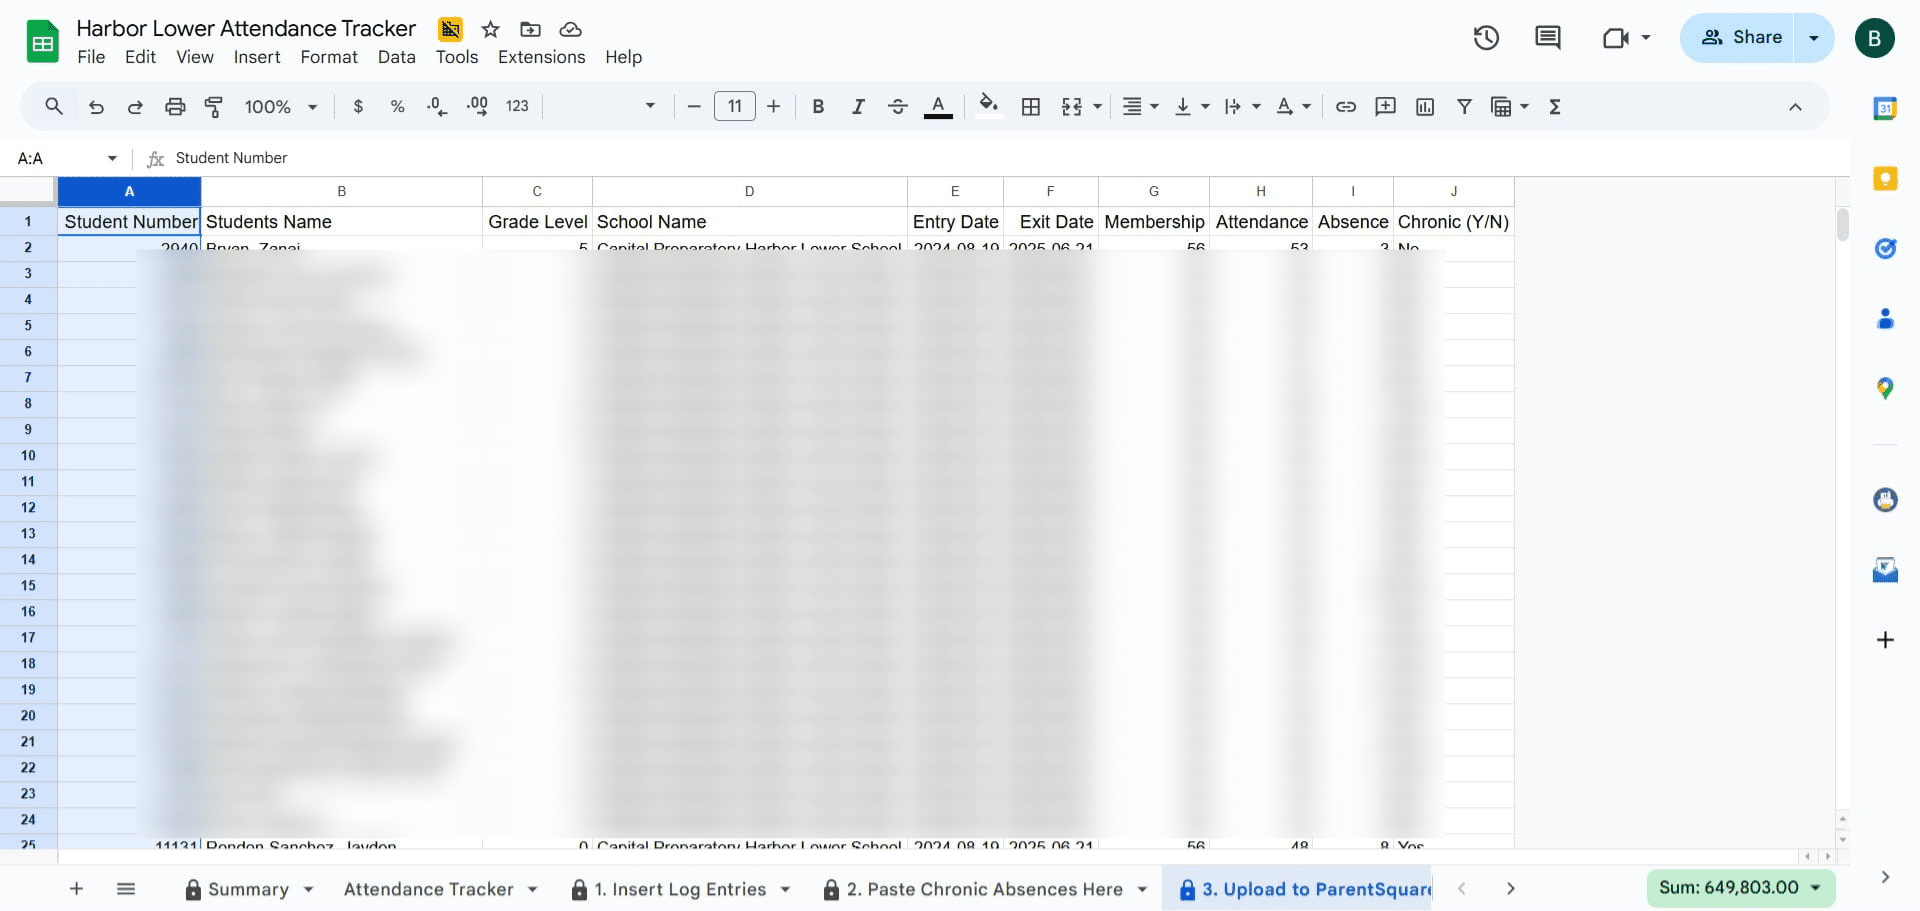
Copy Column A
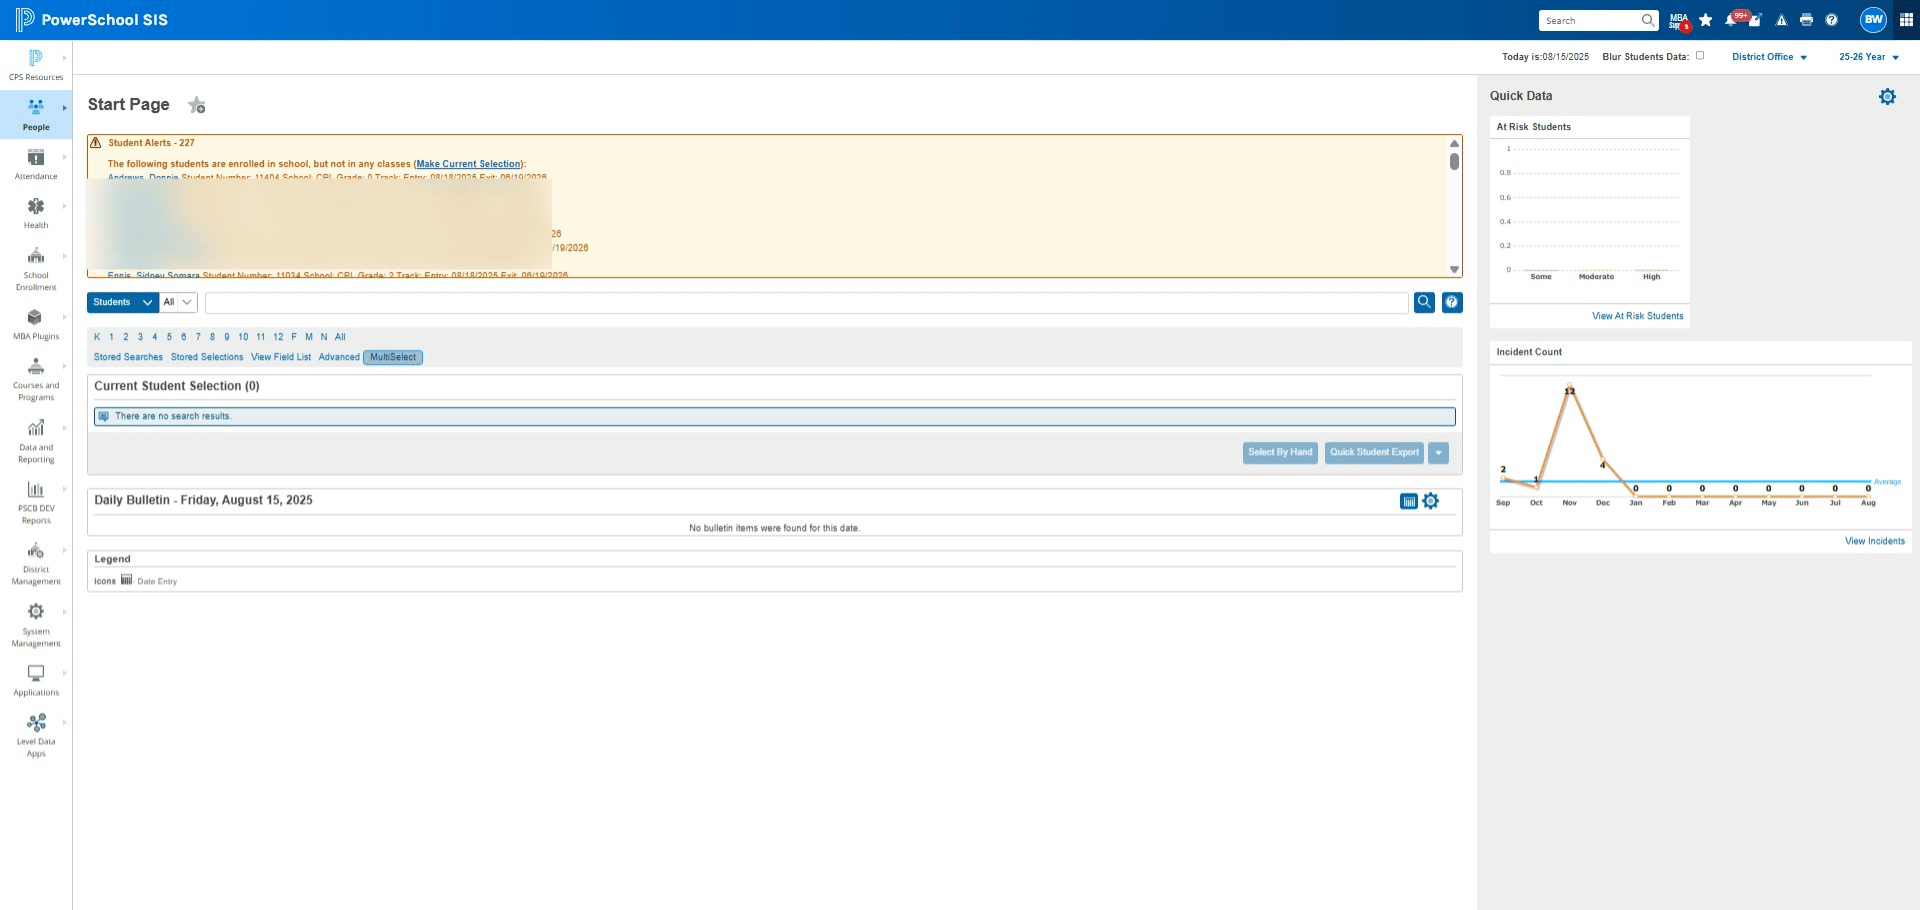
Click on "PowerSchool SIS"
Click on "MultiSelect"
Right click and click PASTE
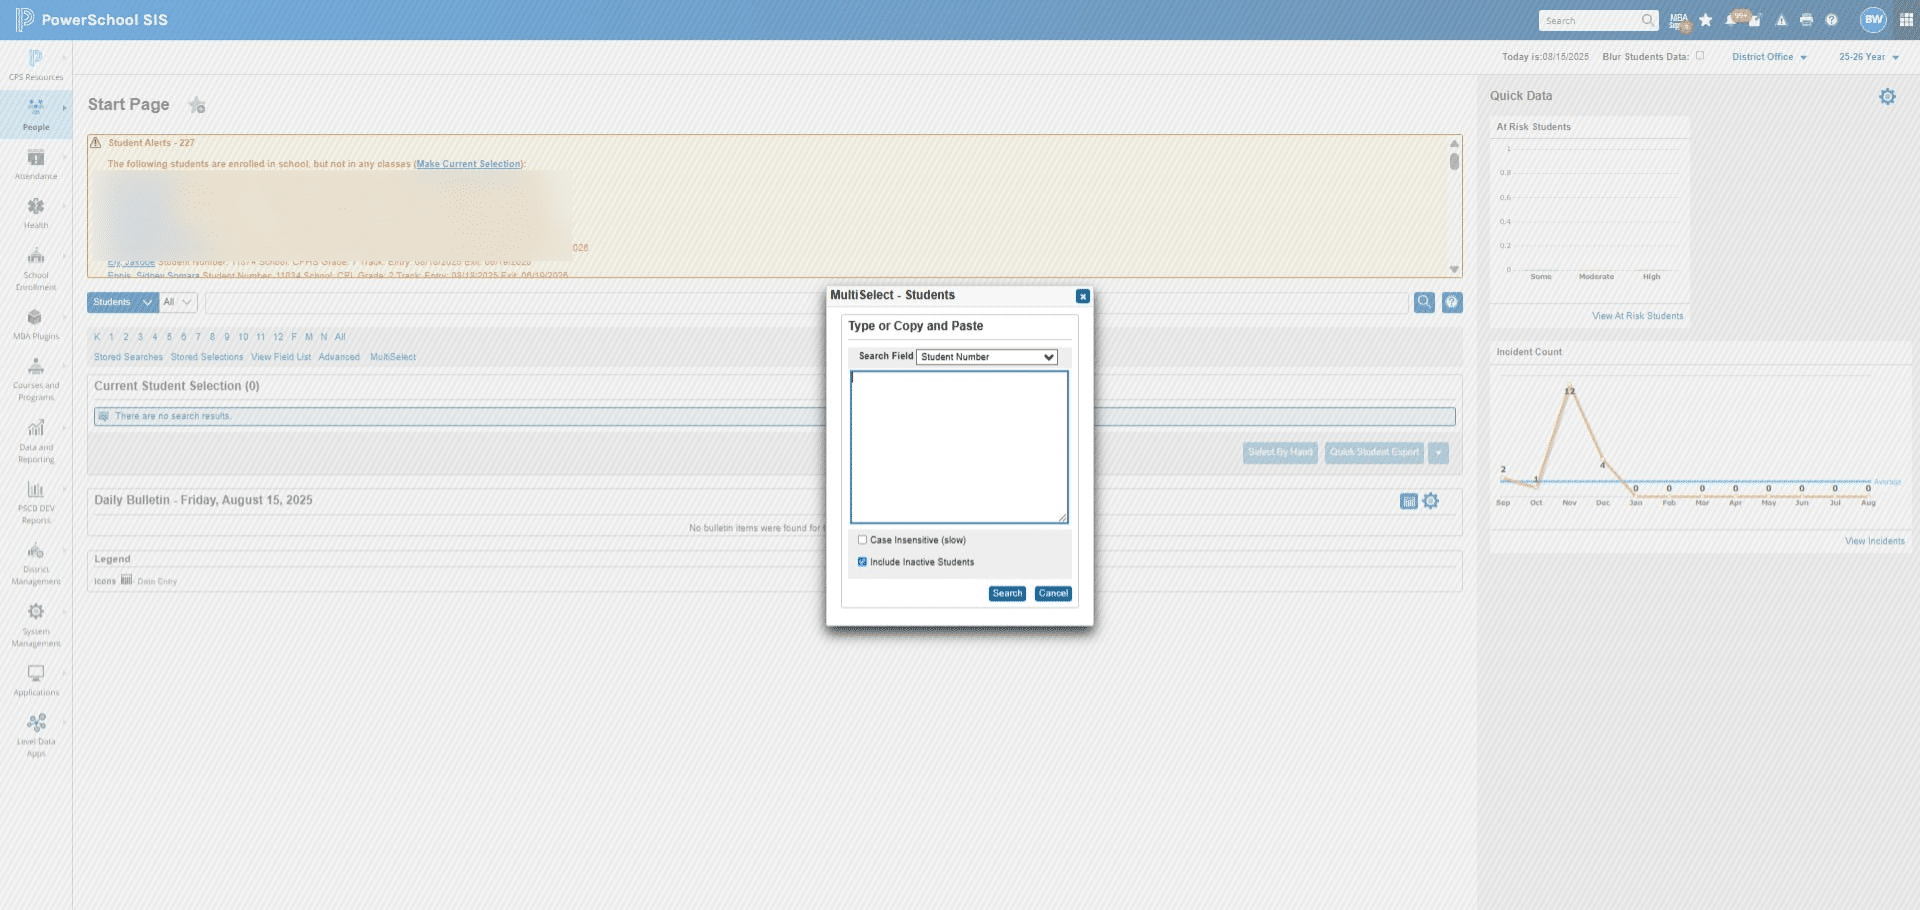
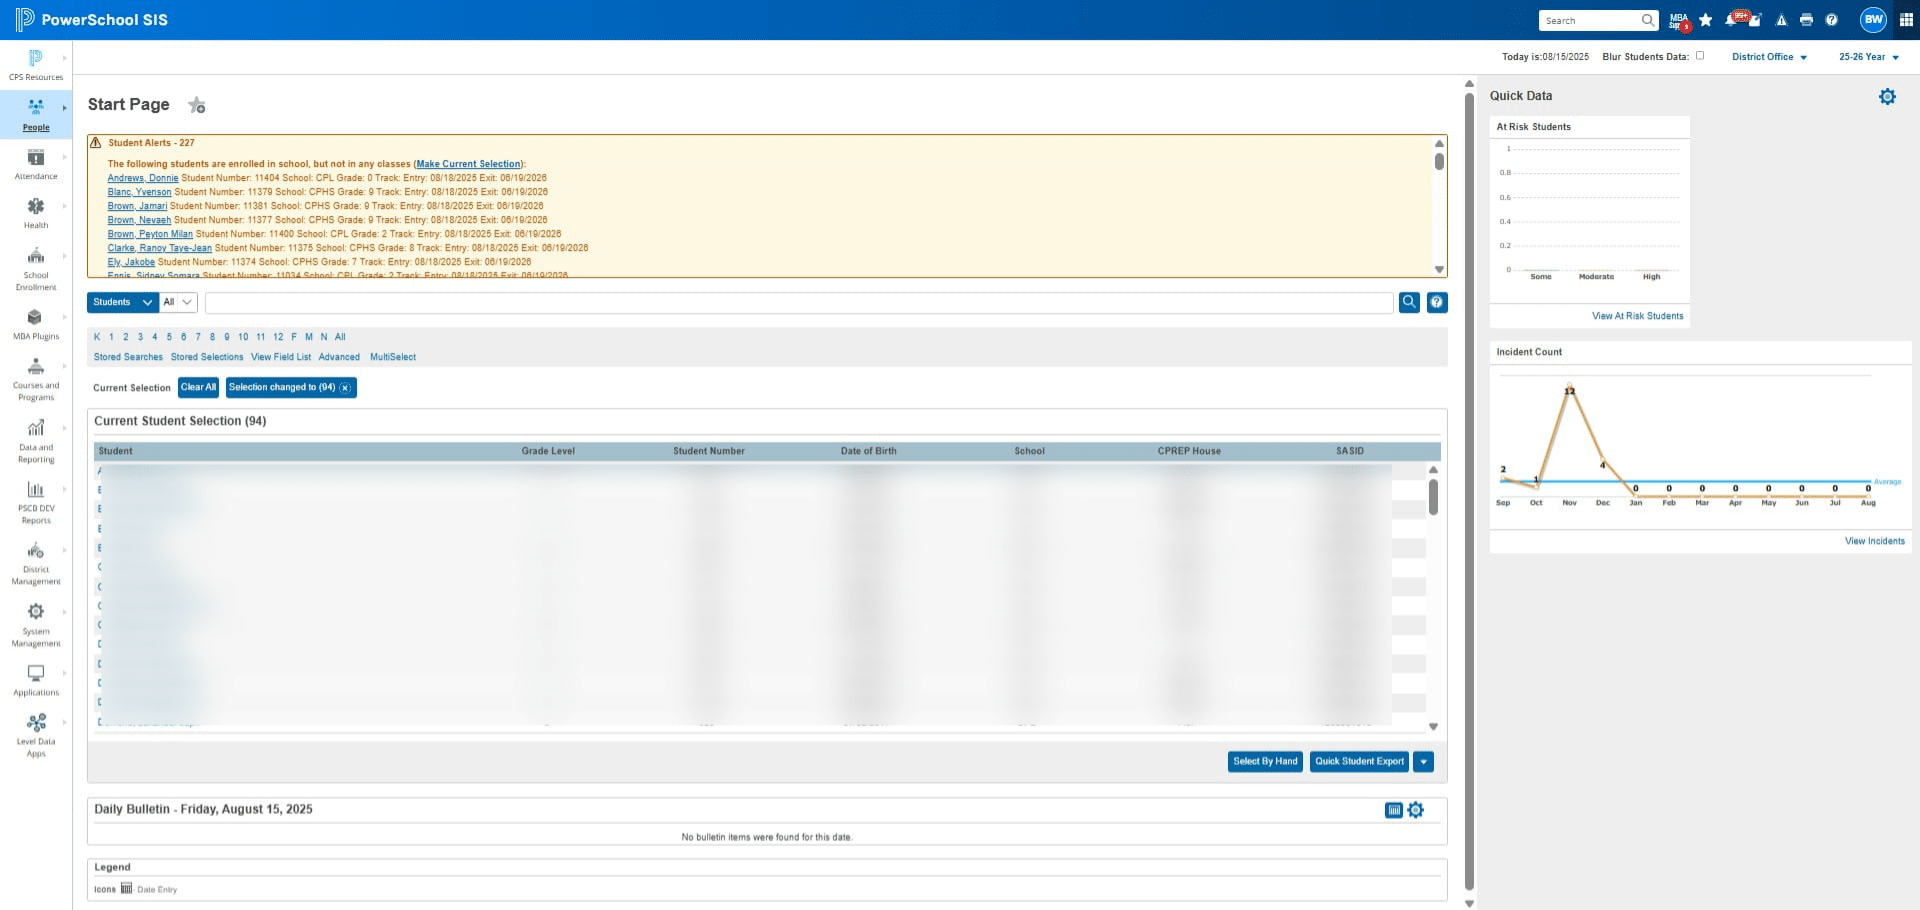
Click on "Search"
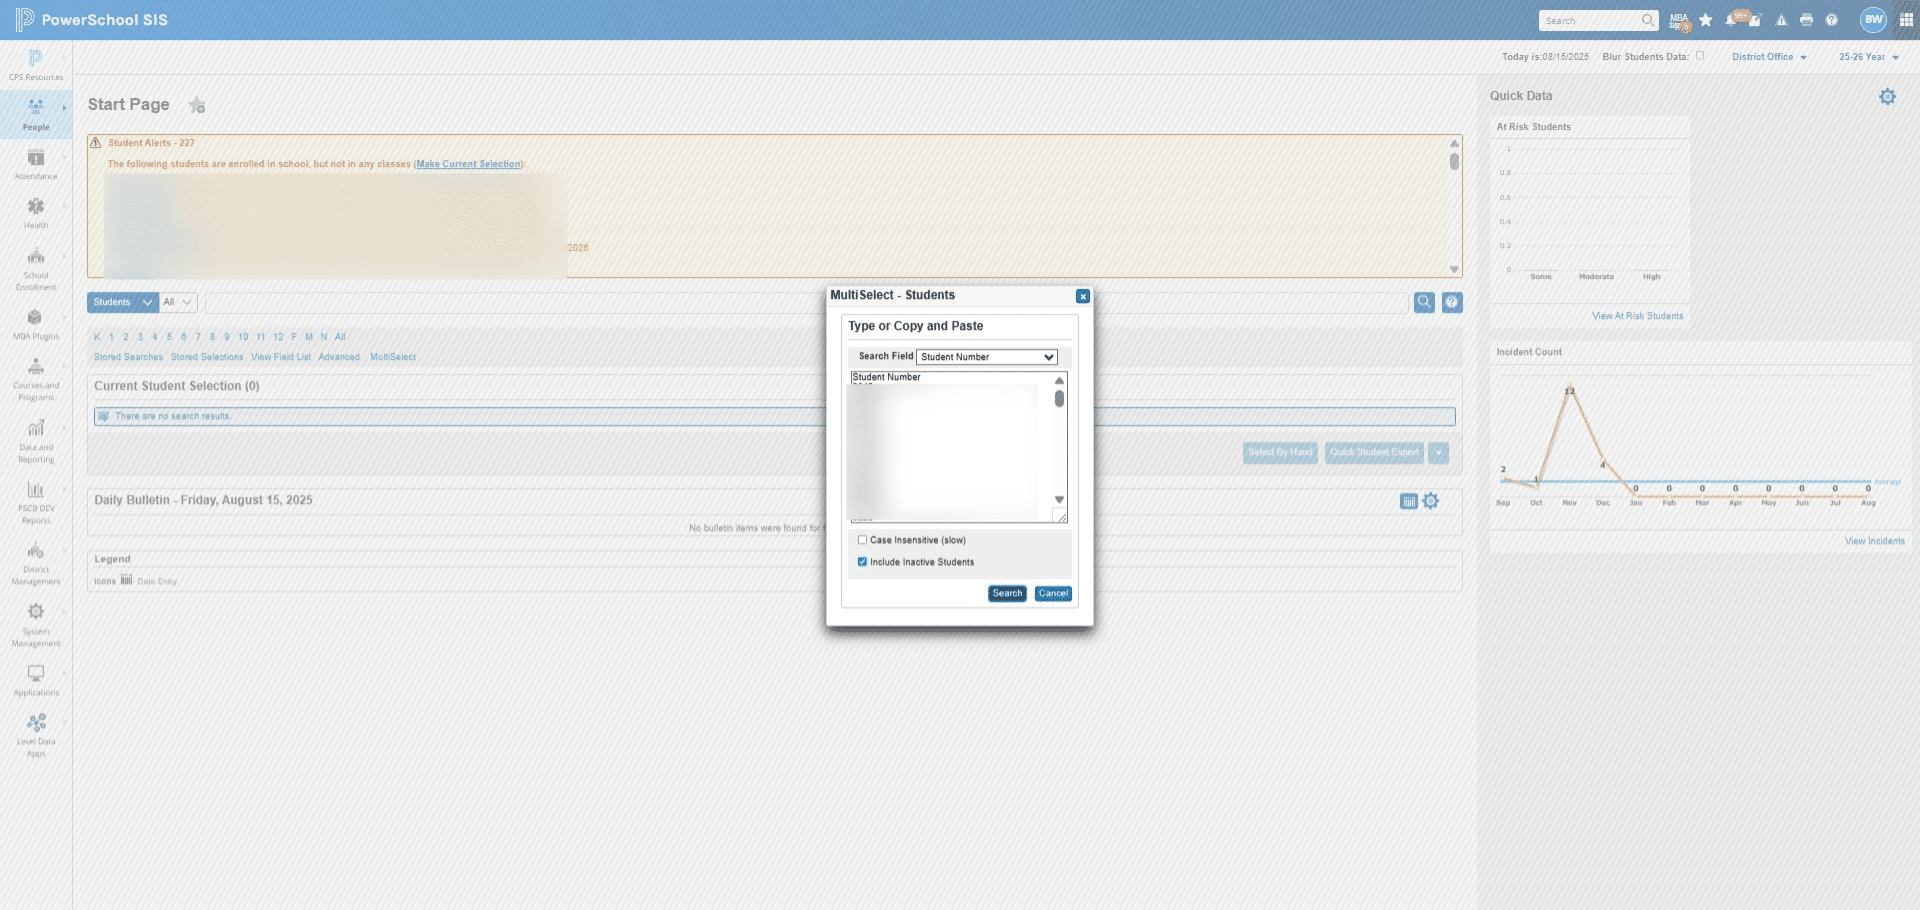
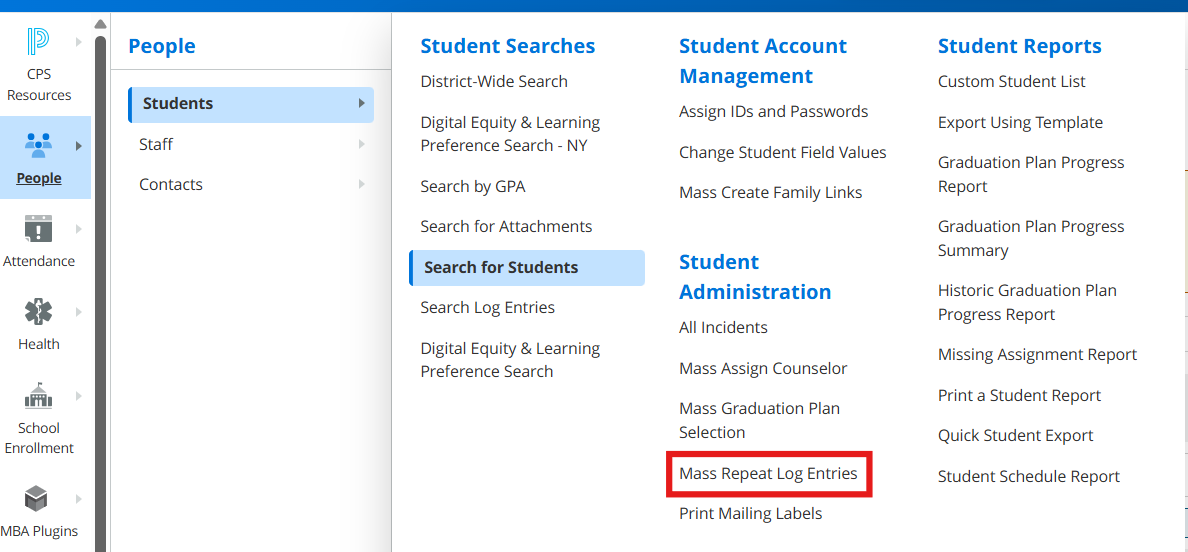
Click PEOPLE
Click on "Mass Repeat Log Entries"
Select ATTENDANCE for Log Type
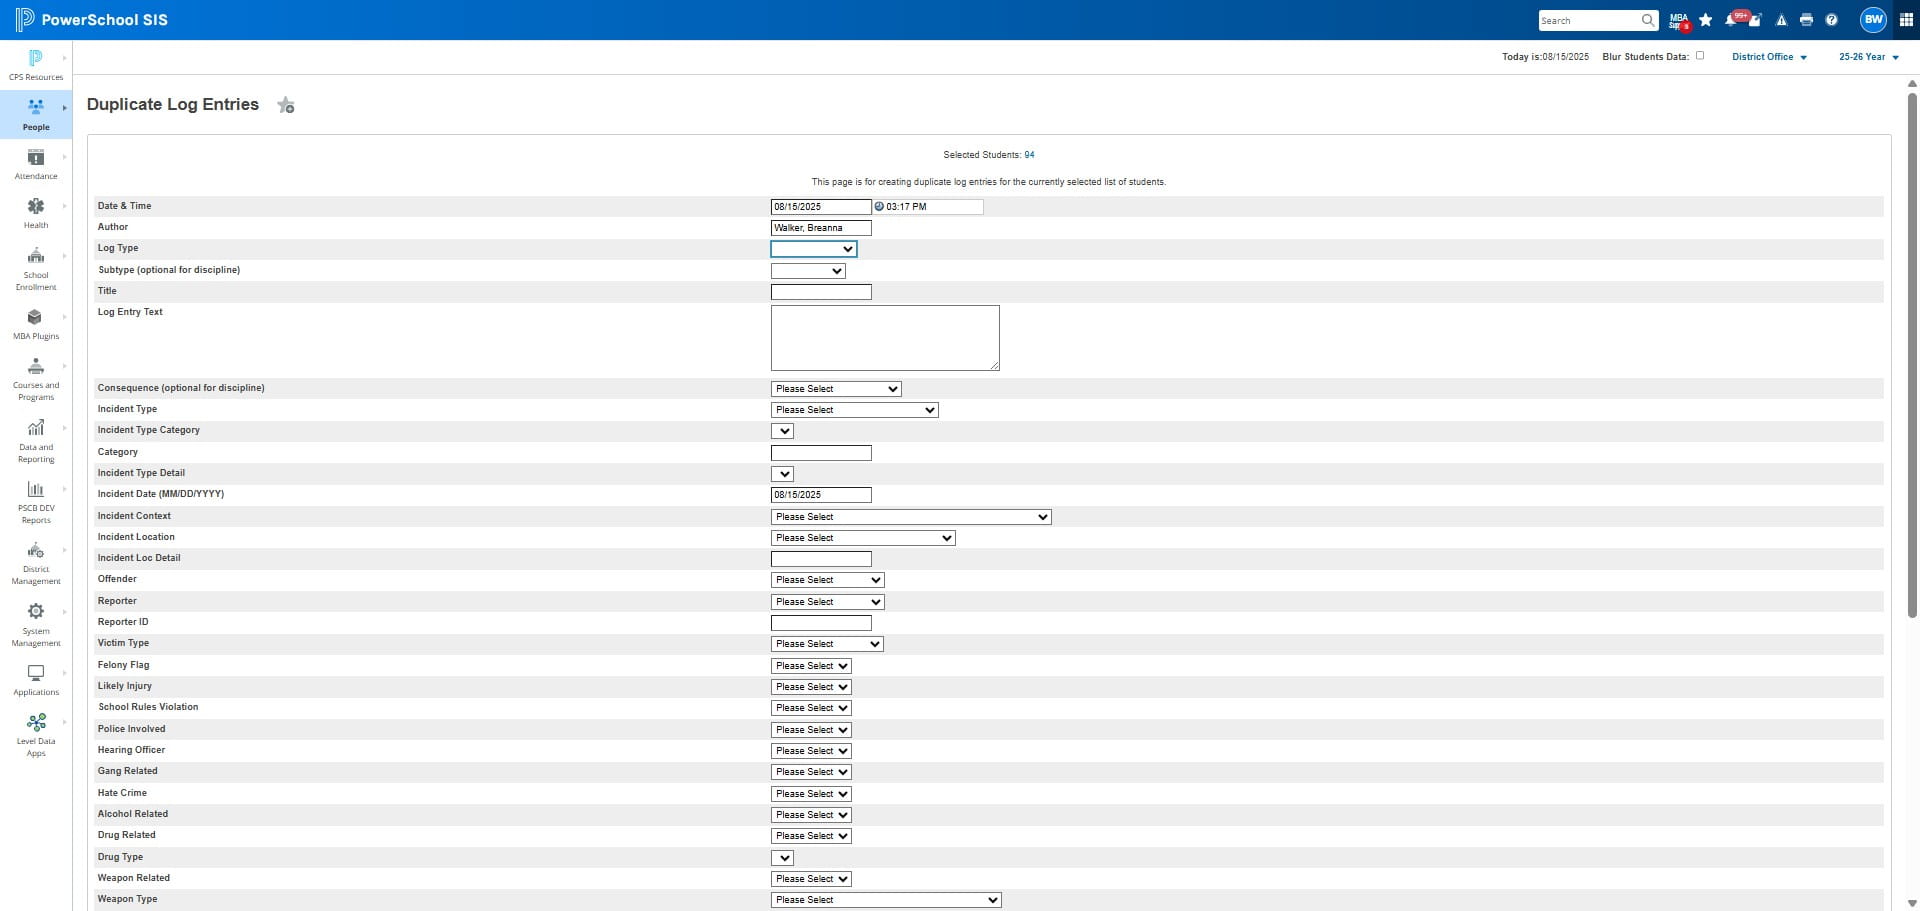
Select PSM ParentSquare Message for Subtype
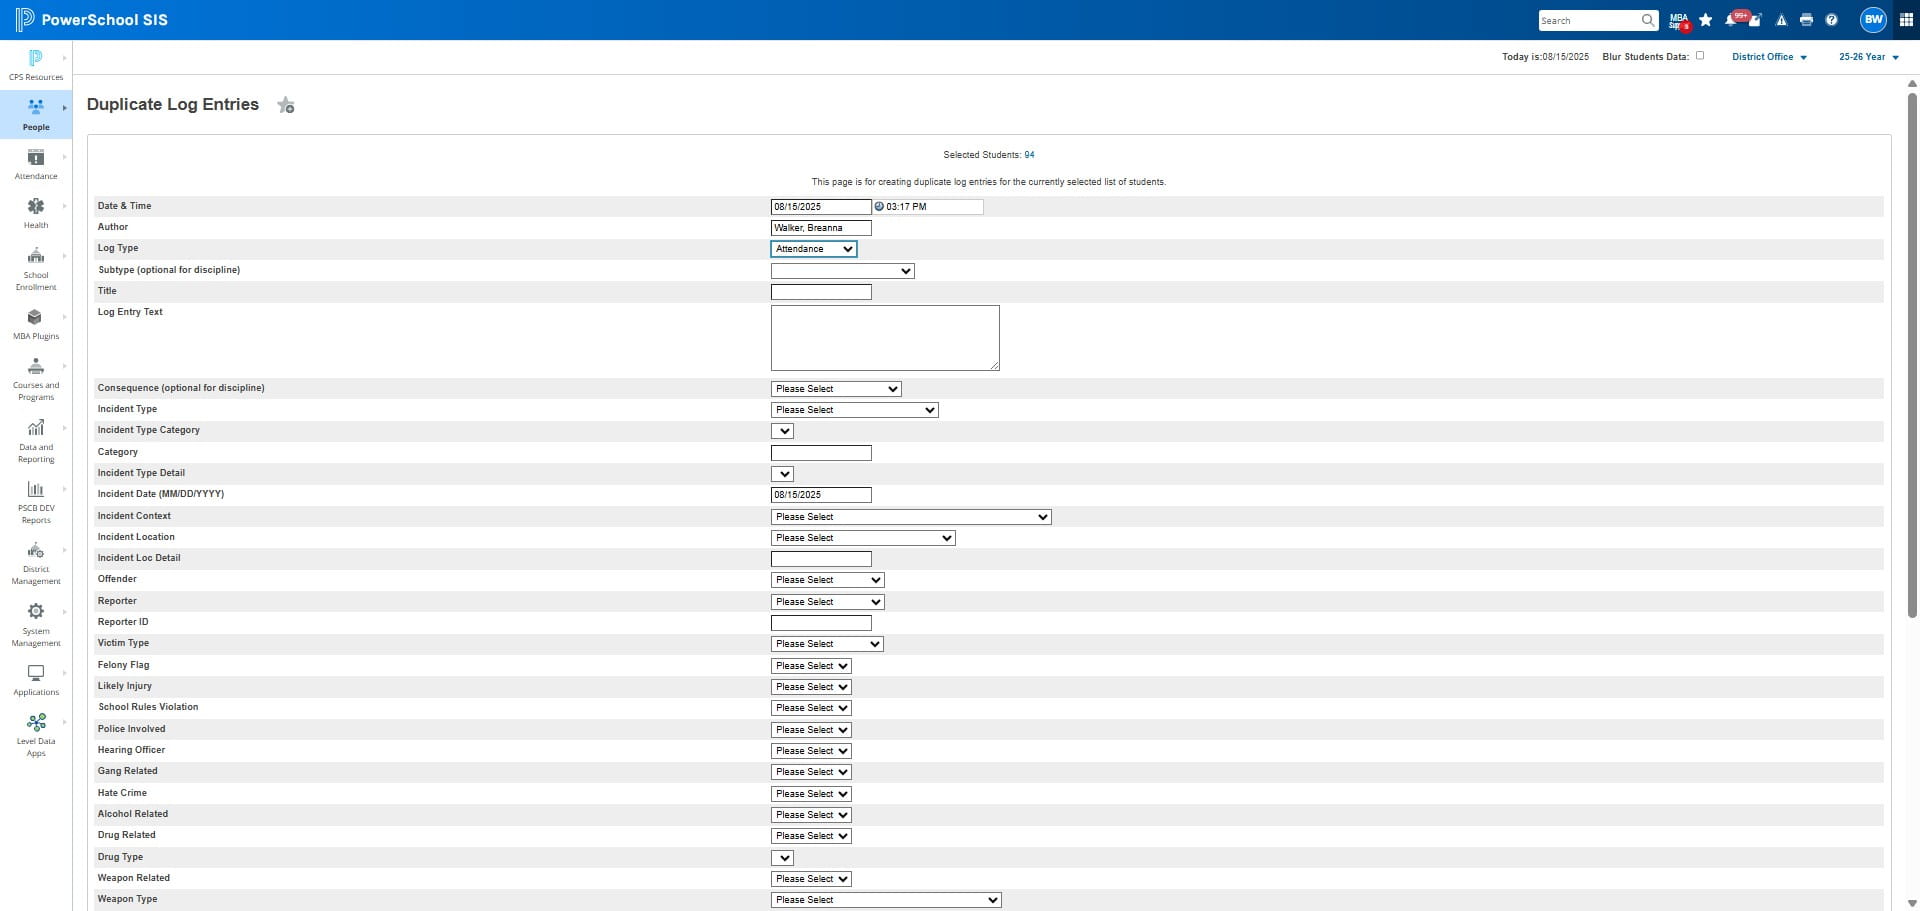
The word NOTIFICATION must be in the Title and Log Entry Text
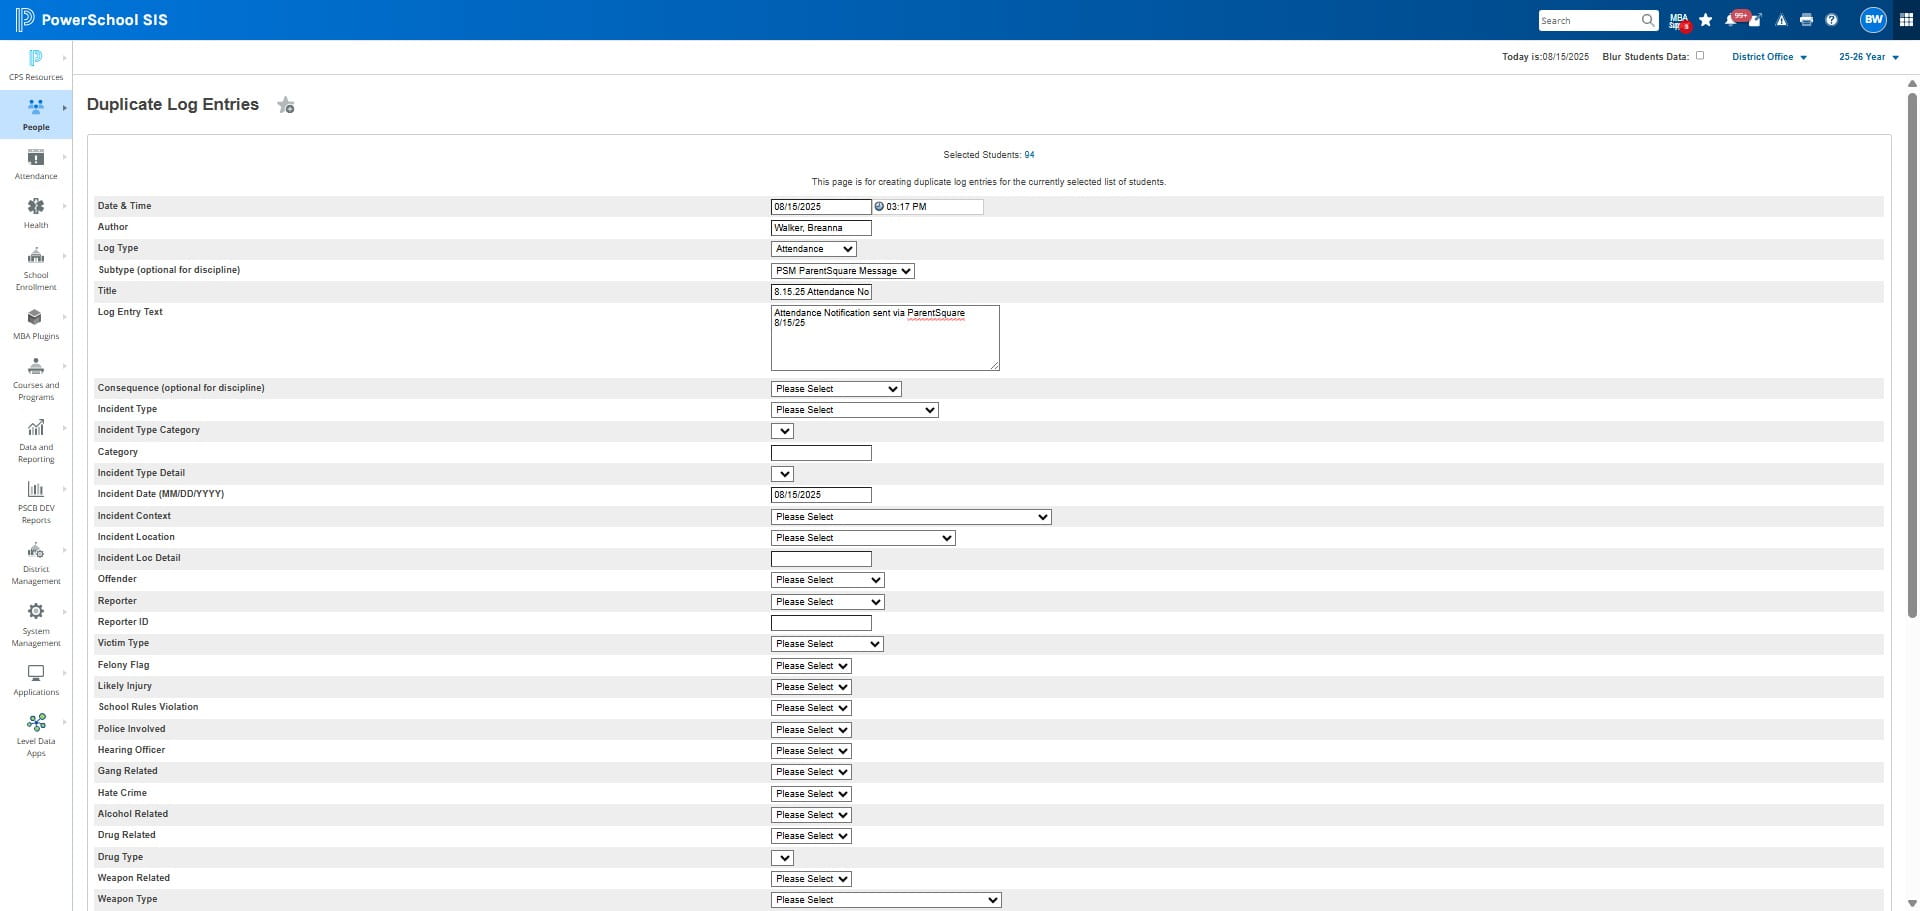
Type in the Date & Attendance Notification -> EXAMPLE - 08.15.25 Attendance Notification
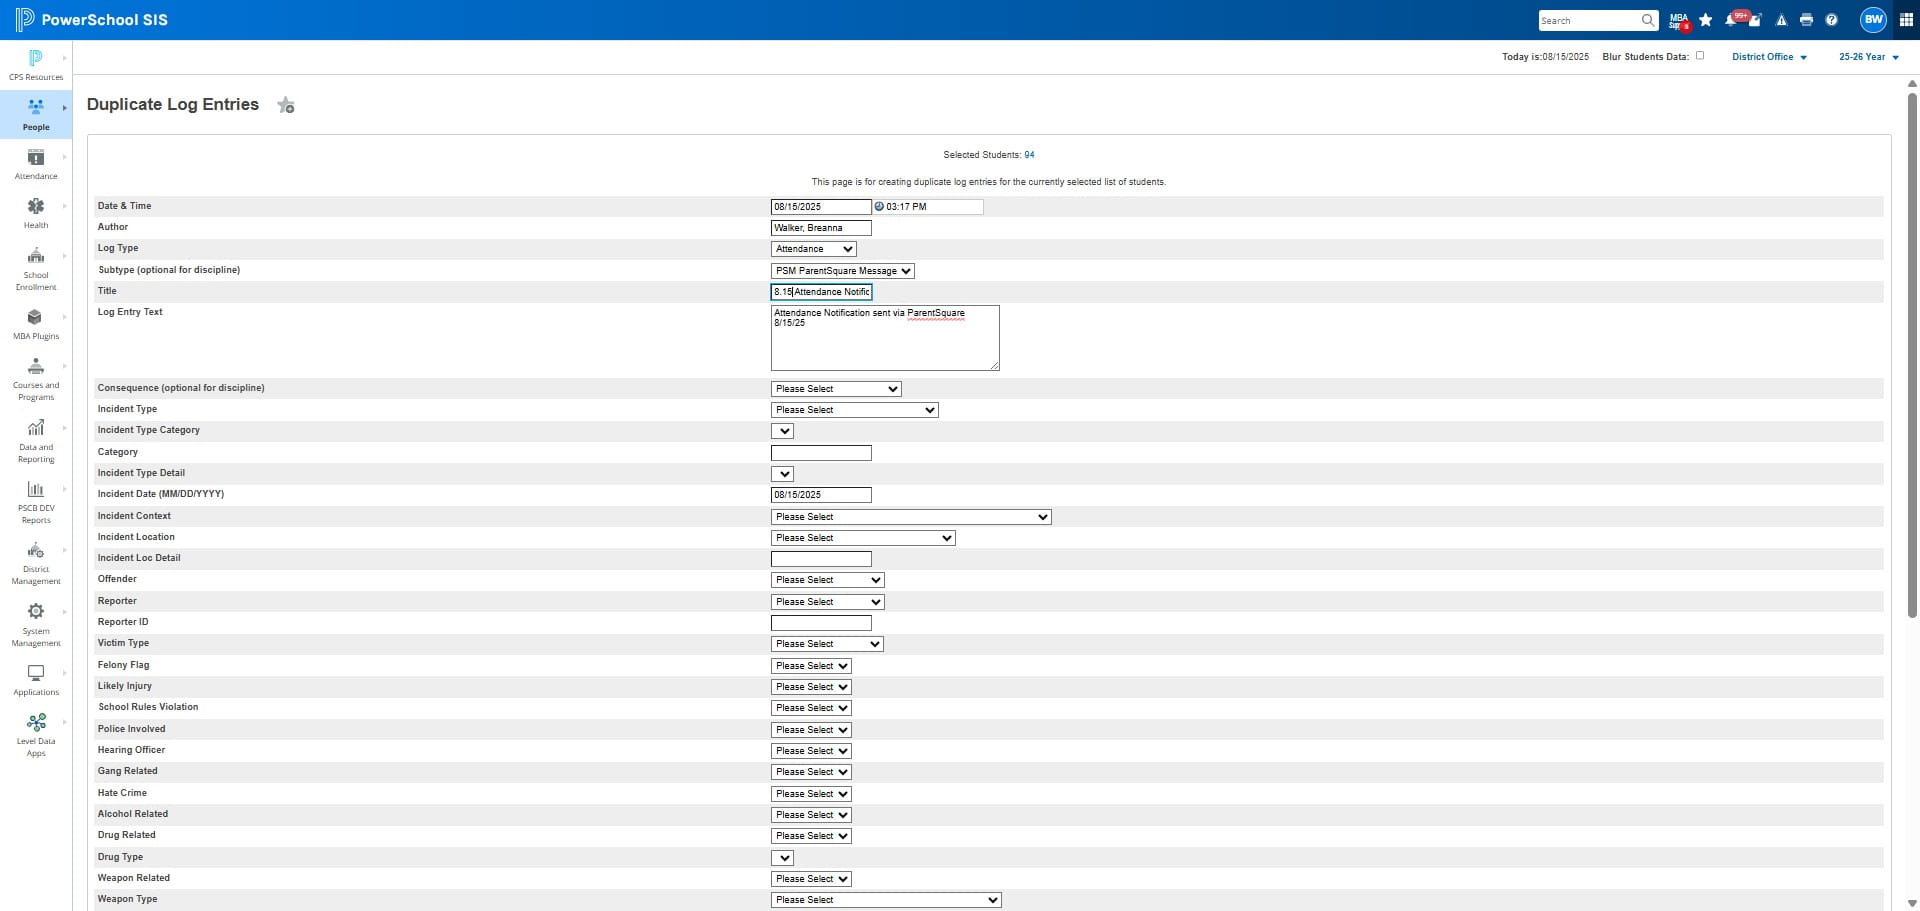
For the log entry text type - Date - Attendance Notification Sent via ParentSquare
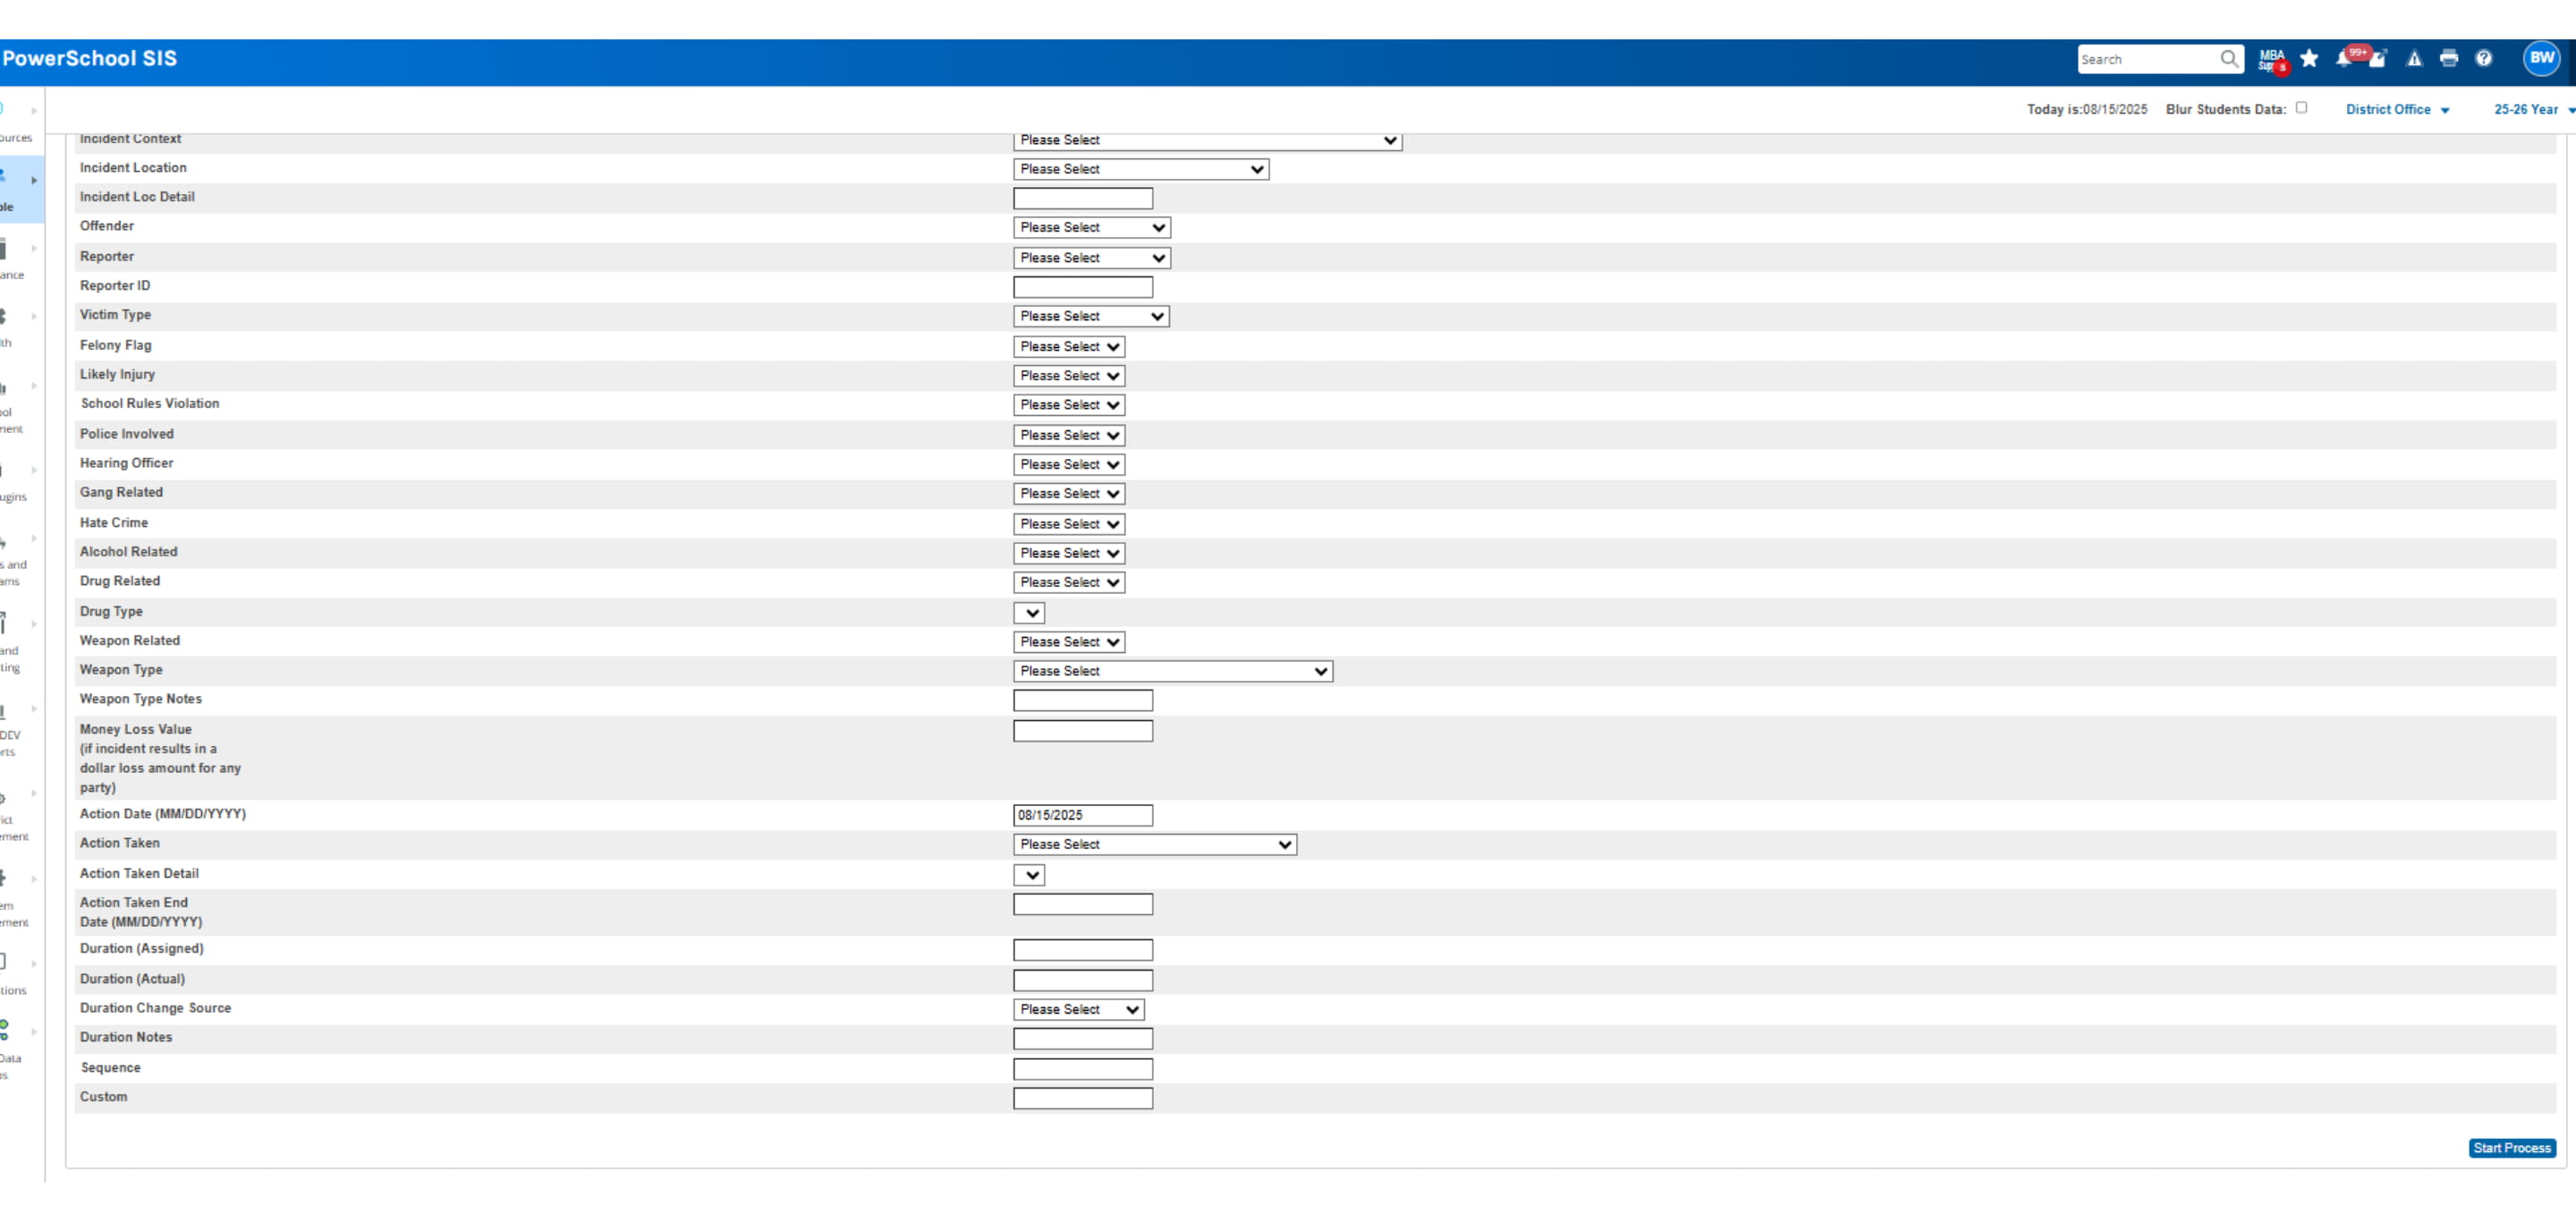
Click Start Process
Email report to Building Admin
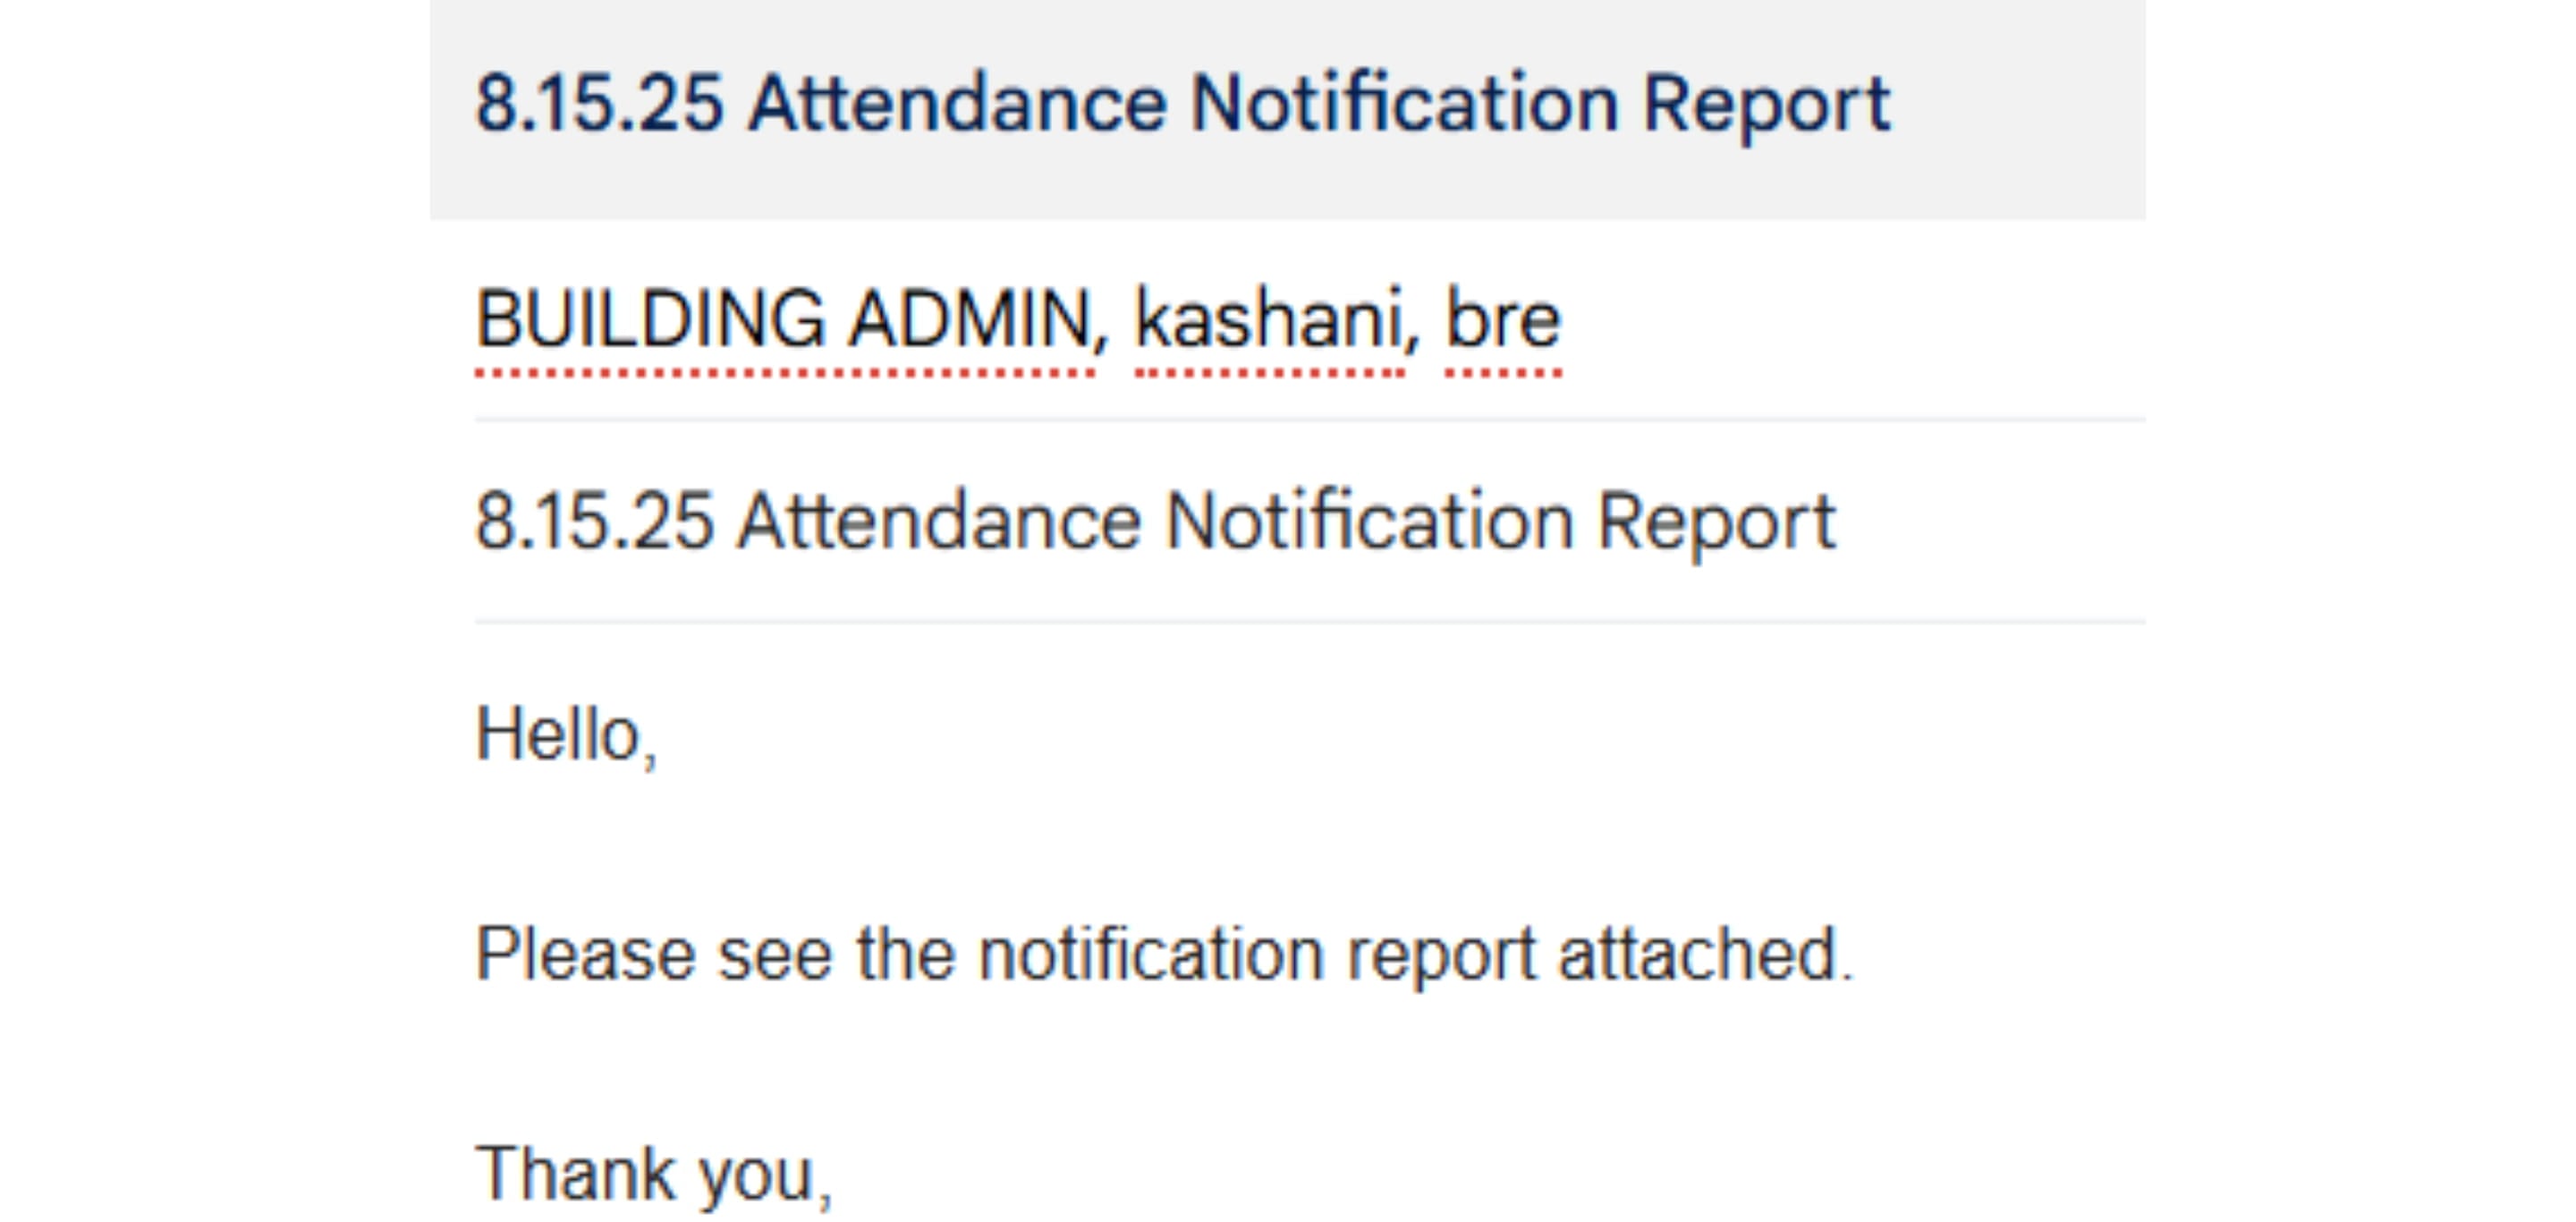
After you send the ParentSquare notification out, send the completed report to your building admin, Kashani, and Bre
Click on "Sign In"
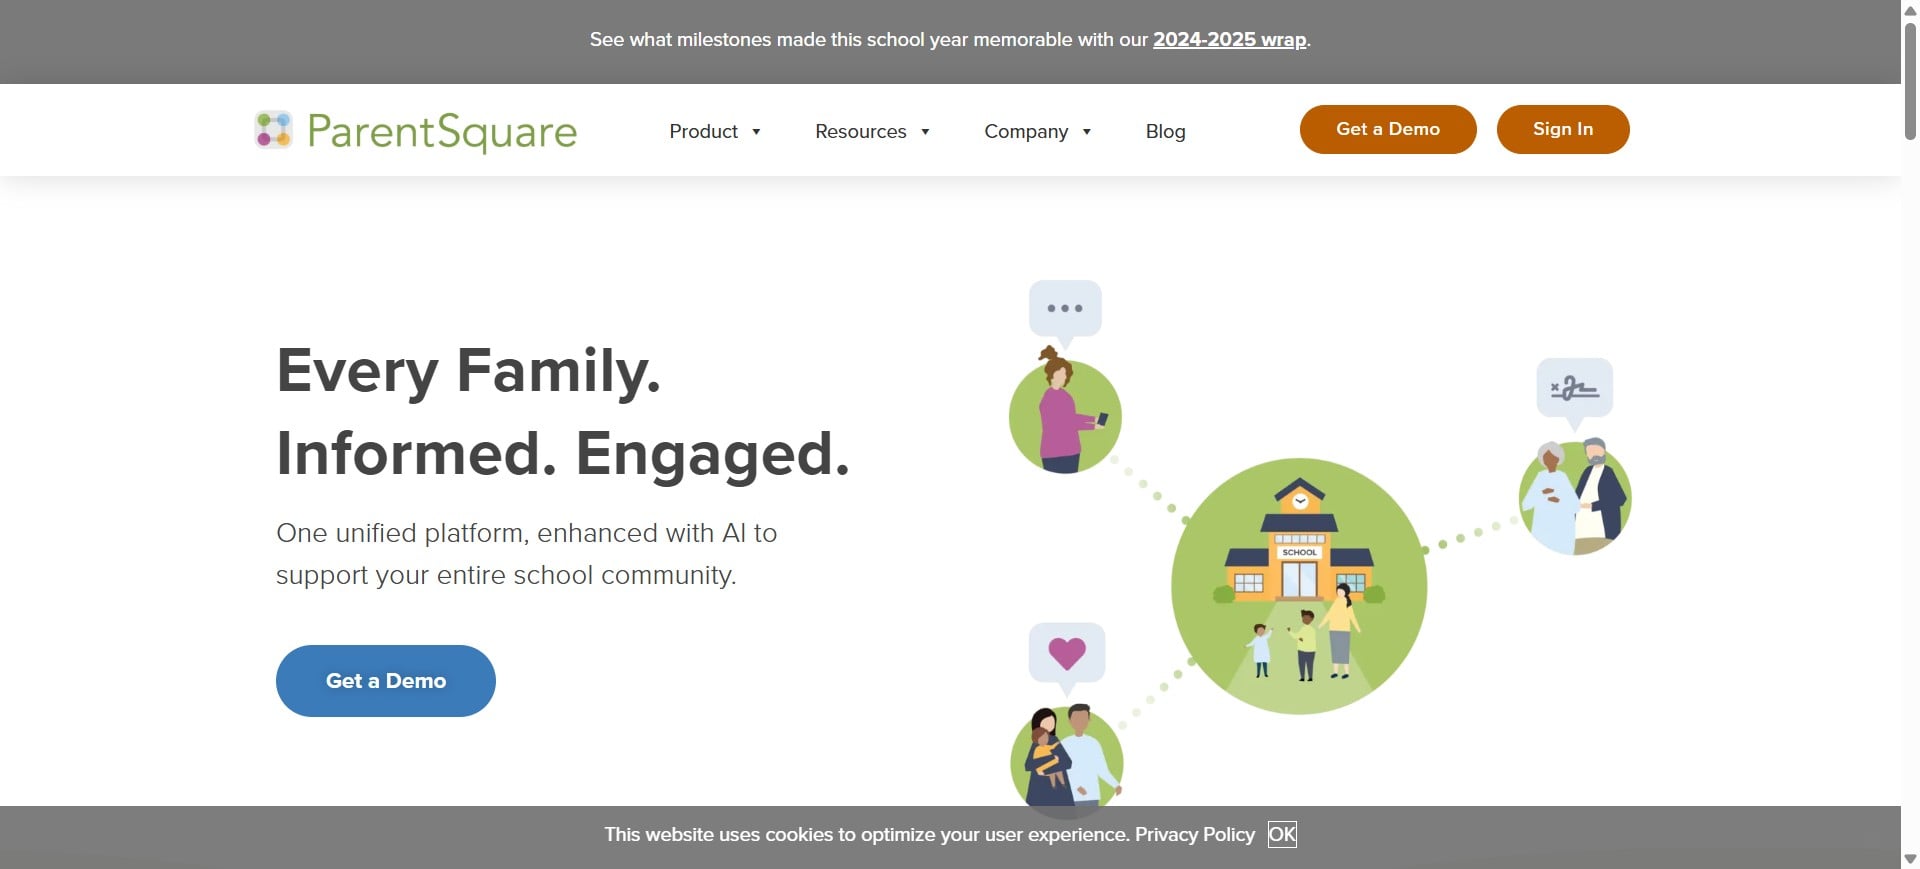
Click this image
Click on "Add-ons"
Click on "Auto Notices"
Look for the Excessive Absences Notification Template.
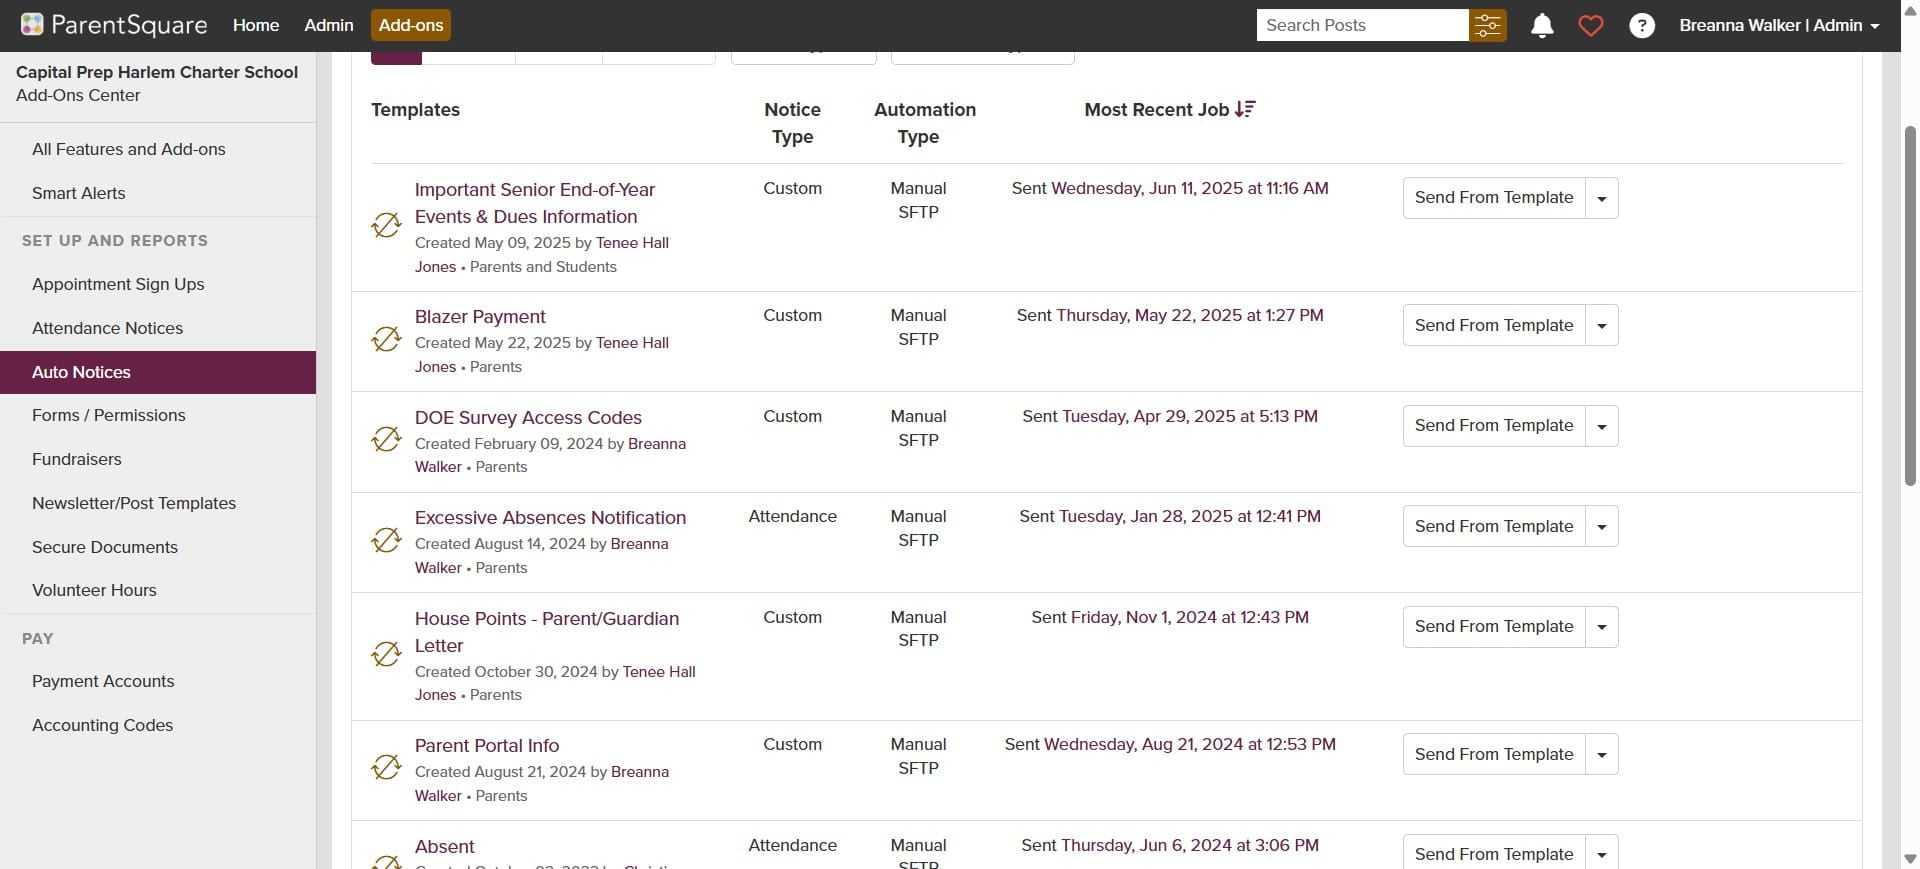
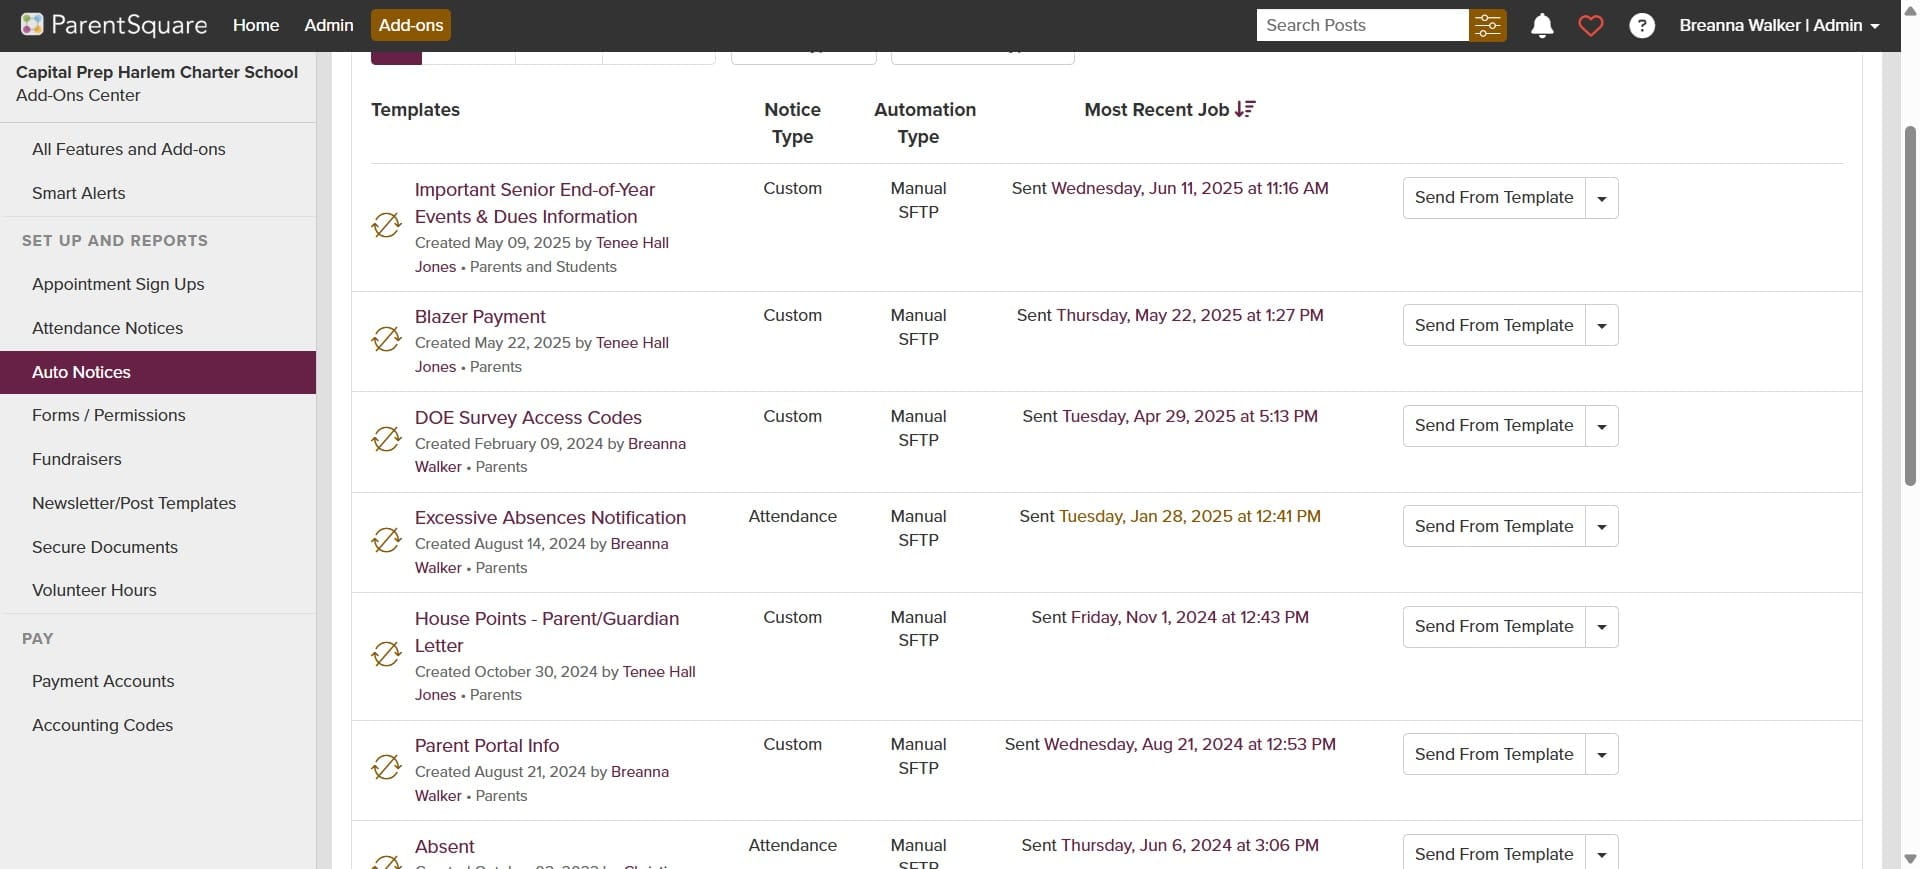
Click on the last job sent under "Most Recent Job"
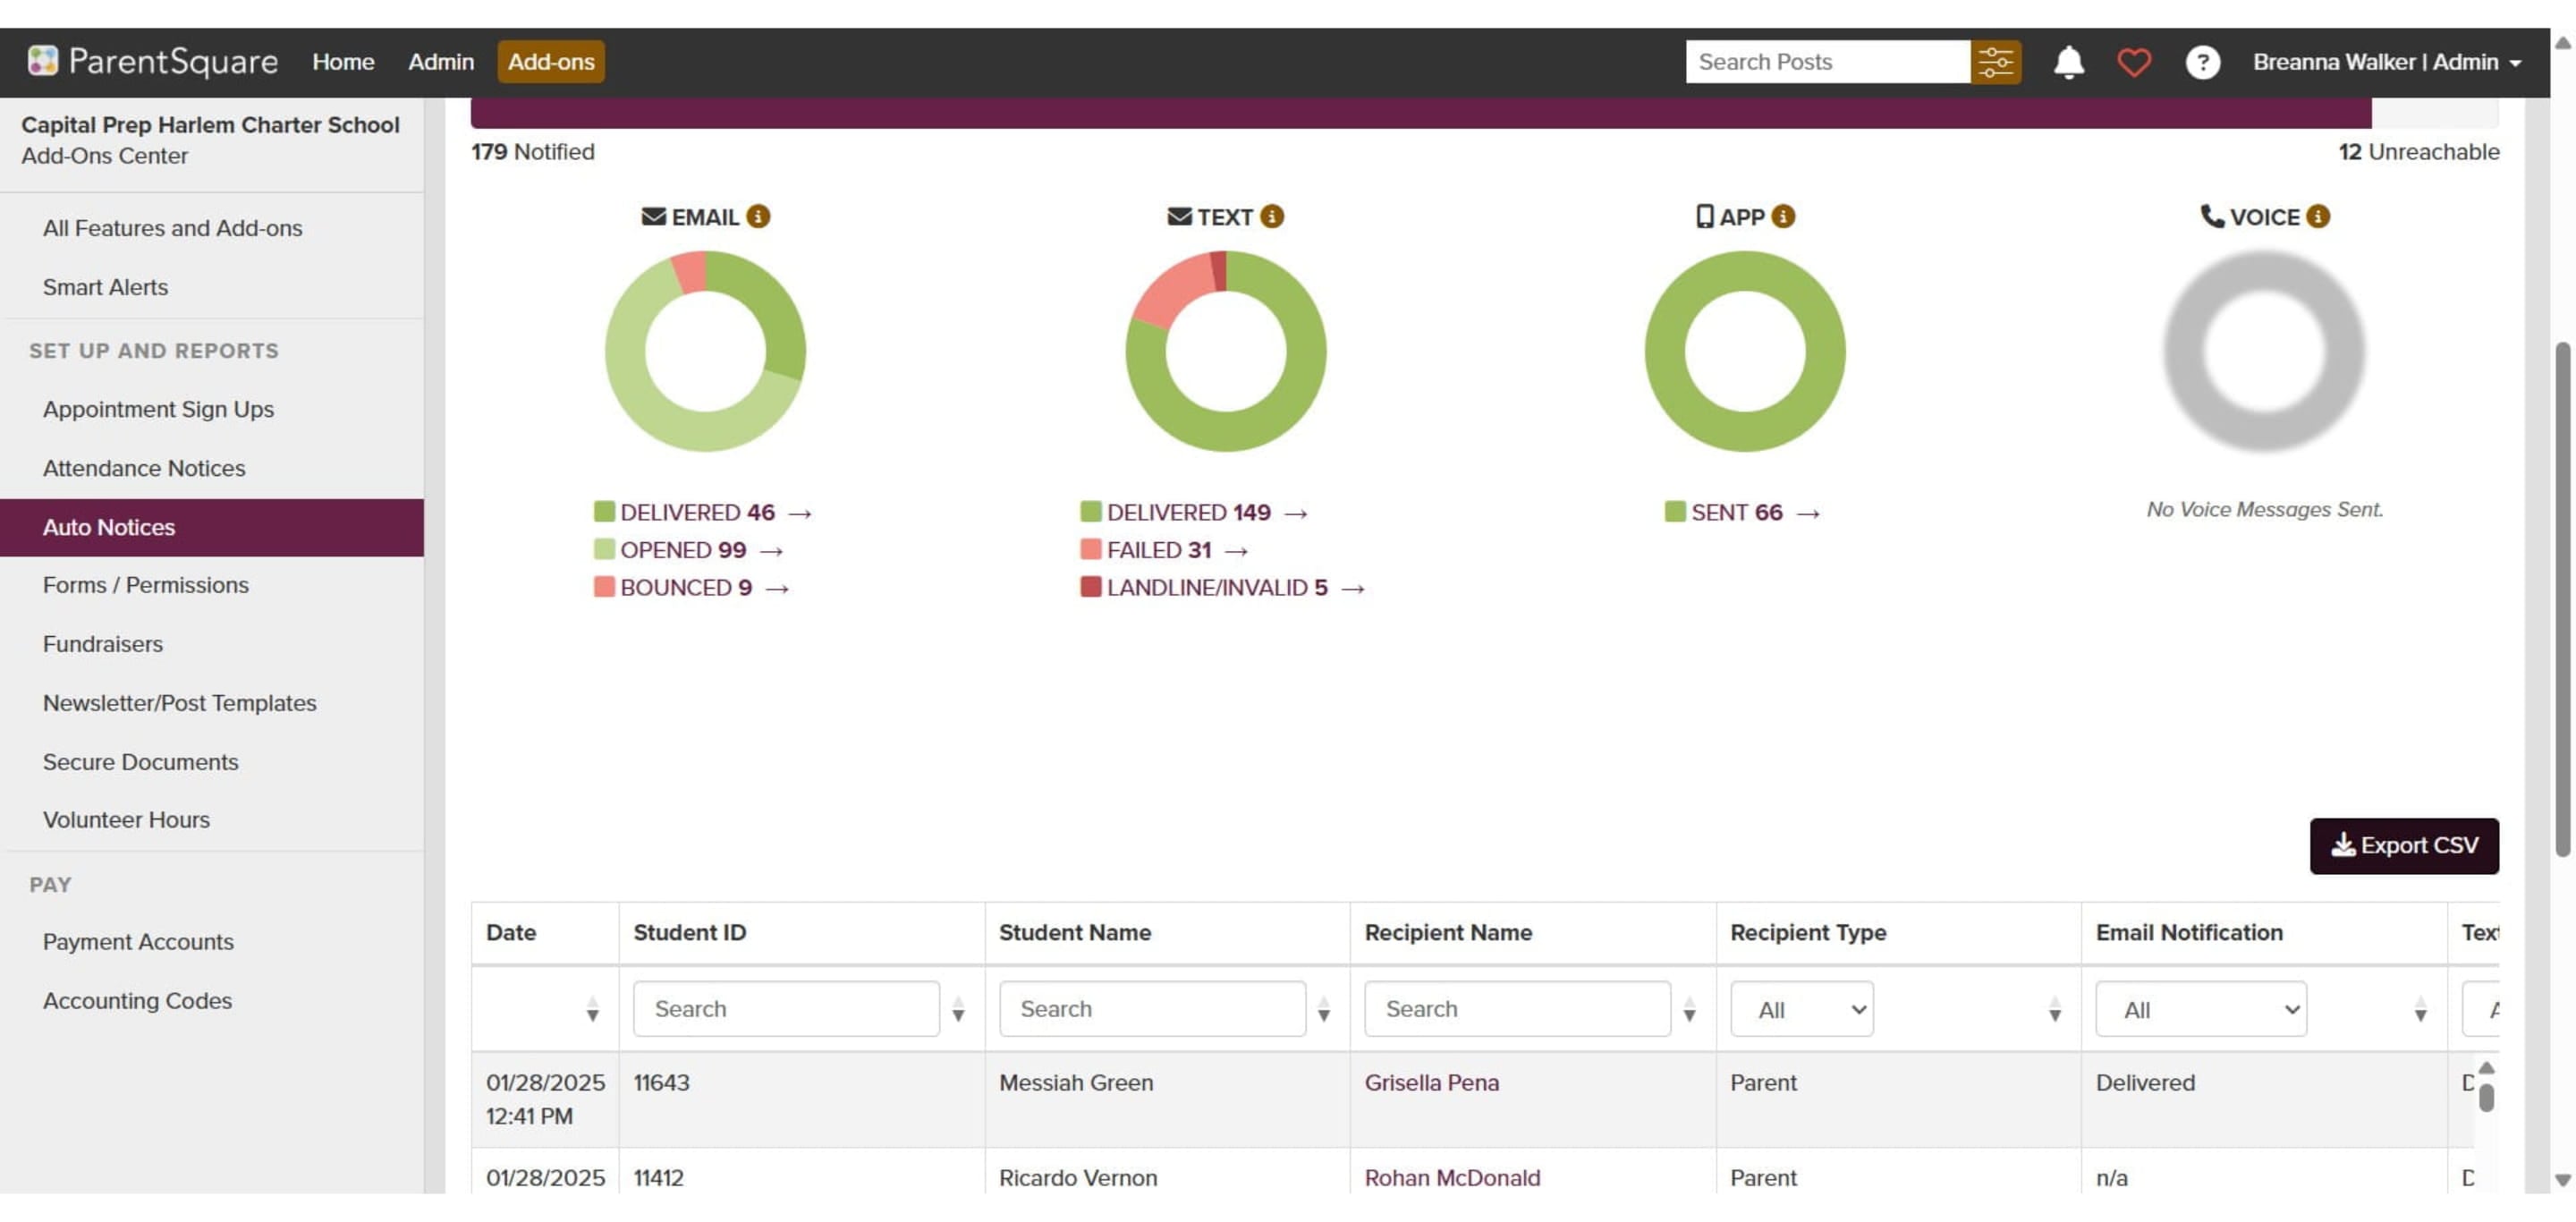
Click Export CSV. The report should download
Open up Gmail and send the email to your building admin, Kashani, and Bre
Frequently Asked Questions
- Why is it important to update the Log Entries and Chronic Absences tabs in the attendance tracker before sending notifications?
Before sending notifications via ParentSquare, you must first update both the Log Entries and Chronic Absences tabs in the attendance tracker to ensure the most current data is used.
- How do I download the correct file from the attendance tracker for uploading to ParentSquare?
Navigate to the '3. Upload to ParentSquare' tab in the attendance tracker, click on 'File,' then 'Download,' and select 'Comma Separated Values (.csv).' This CSV file is then uploaded to ParentSquare to send the notifications.
- How do I log the ParentSquare notifications in PowerSchool after they have been sent?
After sending notifications, go to the '3. ParentSquare Upload' tab in the attendance tracker and copy Column A. Paste this into PowerSchool SIS using MultiSelect to log the notifications for each student.
- What is the correct format for the title and log entry text when logging notifications in PowerSchool?
The title and log entry text in PowerSchool must include the word 'NOTIFICATION.' An example title is '08.15.25 Attendance Notification,' and the log entry text should be 'Date - Attendance Notification Sent via ParentSquare.'